
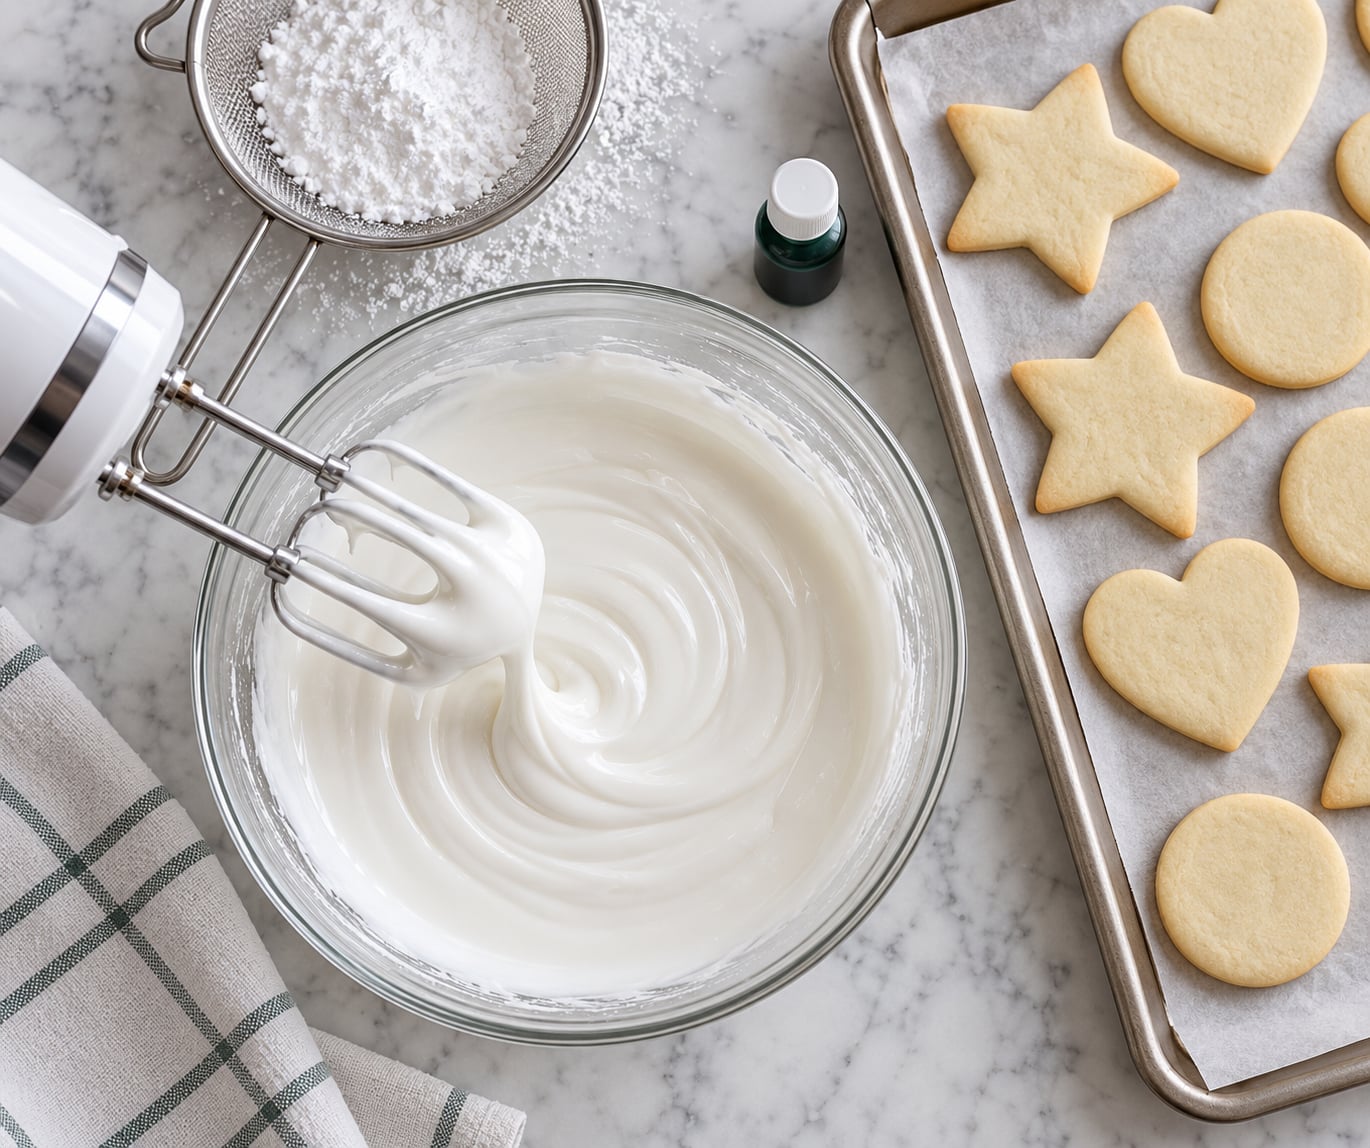
Royal icing is powdered sugar plus meringue powder and a small splash of water, beaten until it holds a peak and dries to a hard, candy-like shell. Learning how to make royal icing for sugar cookies takes about ten minutes of mixing, and the whole thing hinges on one number: consistency. Get it right and piped borders, floods, and fine detail all work. Get it slightly wrong and the icing slides off the edge.
I have made this icing more times than I can count, mostly in December, usually while the coffee goes cold beside the mixer. The recipe below is the one I come back to every time, written in both cups and grams because measuring by volume is where most people go wrong.
A little planning goes a long way when you are baking a double batch of dough overnight, the way I do for holiday cookie decorating, so if you like a similar head start, my guide to making cinnamon rolls the night before covers the same make-ahead logic. Ready-to-go dough also freezes well, much like the pizza dough method I keep in the freezer for weeknight use.
Table of Contents
- What You Need to Make Royal Icing for Sugar Cookies
- Step-by-Step
- Common Mistakes and How to Fix Them
- Storage and Cleanup Tips
- Frequently Asked Questions
- Can I make royal icing without egg whites?
- Why is my royal icing too thin to hold a border?
- How thick should royal icing be for outlining cookies?
- How long does royal icing take to dry on sugar cookies?
- What piping tip should I use for royal icing details?
- Can I fix royal icing after it has started to dry?
- Conclusion
What You Need to Make Royal Icing for Sugar Cookies
The base is three ingredients. Everything else is equipment and optional flavor.
Meringue powder method (the one I recommend):
- 4 cups (480 g) powdered sugar, confectioners’ sugar, sifted
- 3 tablespoons meringue powder
- 9 to 10 tablespoons room temperature water, plus more as needed
- 1 teaspoon clear vanilla extract or clear almond extract
- Gel food coloring, optional
Egg white method:
- 4 cups (480 g) powdered sugar, sifted
- 3 large egg whites (about 90 g), room temperature
- 1 teaspoon clear vanilla extract
- Gel food coloring, optional
The egg white version uses no added water at all, since the whites bring their own. Three large whites to four cups of sugar is the ratio that works. For a small batch of about a dozen cookies, drop to 2 cups (240 g) of sugar with 1 tablespoon of meringue powder or 2 large whites.
That batch covers roughly 3 cups of finished icing, enough for 24 to 30 three-inch cut-out cookies if you are flooding and outlining. Detailed work eats more.
Equipment you actually need:
- A stand mixer with the whisk attachment, or a hand mixer
- Fine-mesh sieve for sifting the sugar
- Small spray bottle filled with water, for thinning in tiny increments
- Piping bags, disposable zip-top bags, or a silicone bag that seals
- Round tip such as Wilton #2 or #3 for borders and writing
- Small offset spatula and a scribe tool or toothpick for flooding
- A toothpick, for popping air bubbles
Before you mix anything, wipe the bowl and whisk attachment with a damp cloth and dry them completely. Any trace of butter or oil stops the whites from foaming, and you get flat icing that will never hold a peak. Room temperature eggs foam faster and hold more air, so take them out of the fridge twenty minutes ahead.
Step-by-Step
How to Make Royal Icing for Sugar Cookies: Mix the Icing Base
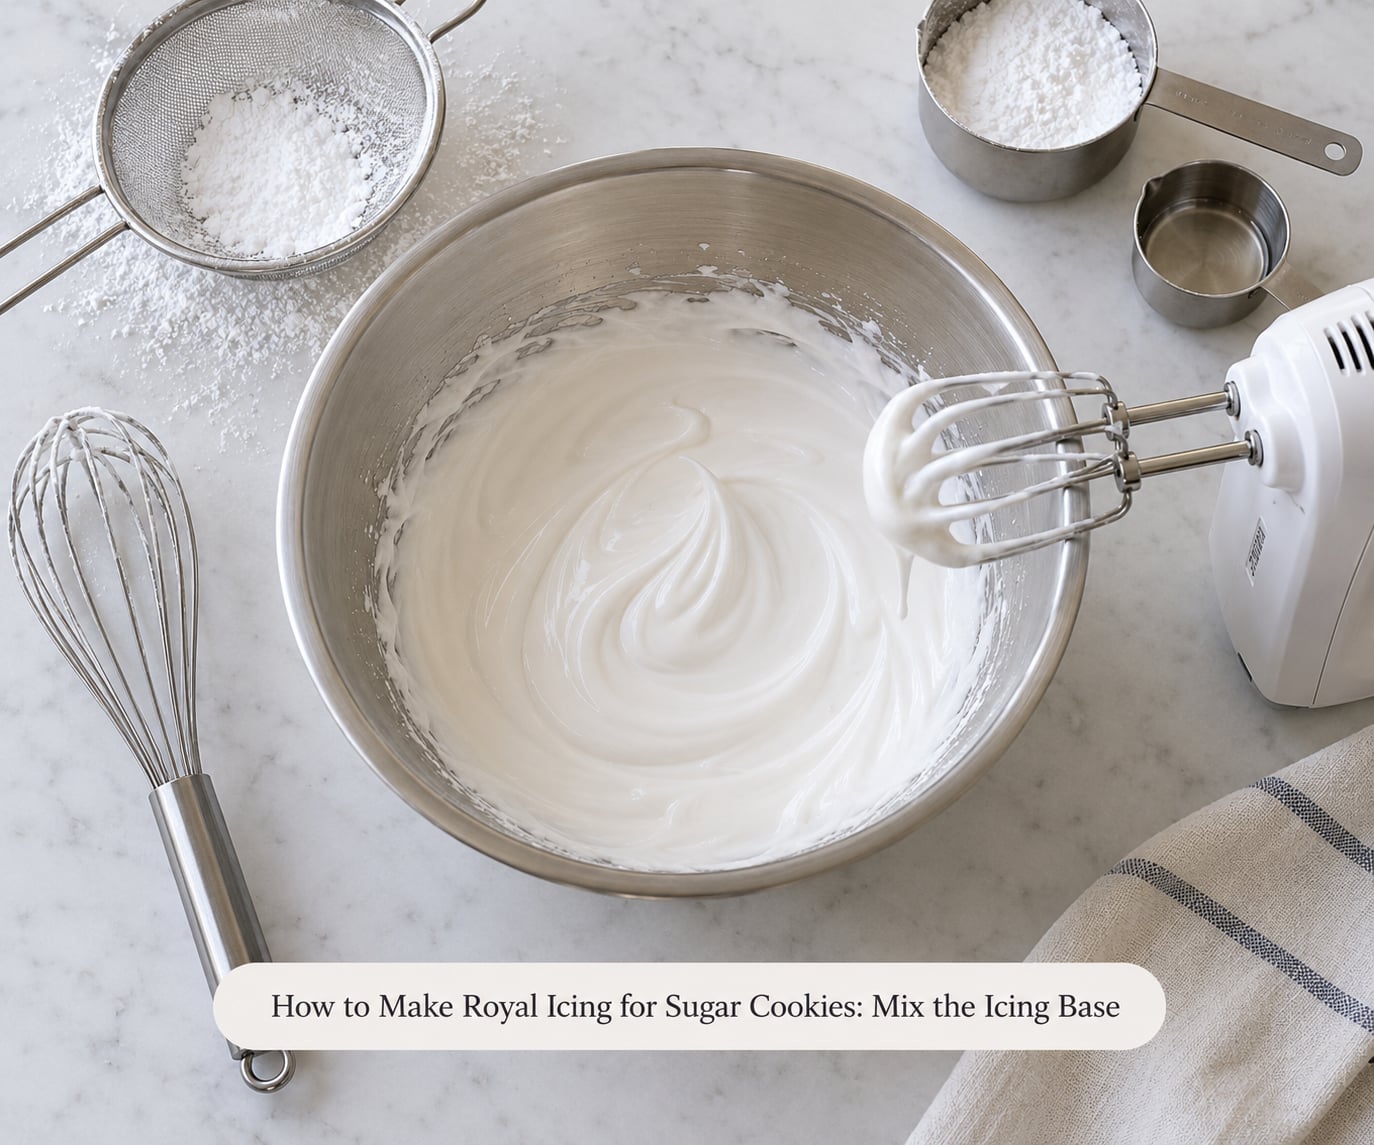
Sift the 4 cups of powdered sugar into a clean bowl. Sifting is not optional here. Powdered sugar clumps, and a lumpy base stays lumpy no matter how long you beat it, which is the single most common complaint about gritty icing.
Add the 3 tablespoons of meringue powder and mix it into the sugar so the powder disappears entirely, then add about 2 tablespoons of the water and the vanilla. Start whisking on low.
Add the remaining water one tablespoon at a time with the mixer running on medium. You want the icing to loosen and start clinging to the whisk rather than sitting in a dry mound.
Whip the Egg Whites Until the Peaks Hold
Turn the mixer up to medium-high and let it run for a full two minutes before you judge it. Royal icing looks under-whipped for longer than you expect, and stopping early is the usual reason nothing holds a shape.
At two minutes the icing will be loose and slightly grainy. Keep going until it pulls away from the bowl and holds a peak that bends over at the tip when the whisk is lifted. That is the point where the meringue has fully aerated and the sugar has dissolved into the foam.
If you use fresh egg whites instead of meringue powder, the same peak test applies, and the total whipping time runs closer to five minutes. Stop as soon as the peak holds. Push past that and you are folding too much air into the icing, which dries into a brittle shell that cracks later.
Add Powdered Sugar Gradually
With the meringue powder method, the sugar goes in at the start and your adjustment happens with water. With fresh egg whites, reverse it: whip the whites to soft peaks first, then add the sifted sugar one spoonful at a time on low speed.
Add the sugar slowly enough that you can still see the whites disappear into it. Scrape the bowl down every thirty seconds or so, since dry powder settles in the base and around the whisk.
By the end the icing should be uniformly white and glossy with no dry pockets, and a lifted peak should stand up without slowly folding into itself. That slow fold is the sign the sugar has not fully hydrated yet, and it will keep firming for another minute or two of mixing.
Add Vanilla and Check the Consistency
Add the vanilla at the very end, once the icing has stiffened, and beat for another fifteen seconds. Adding flavor while the icing is still thin drags in extra moisture and can leave you chasing consistency again.
Then run the melt test. Drag a line of icing across the surface of the icing with a butter knife or the back of a spoon, so the line sits raised rather than disappearing. Lift the tool away and count.
- 10 to 15 seconds before it settles: flood consistency, right for filling a cookie
- Holds its shape and barely moves: piping consistency, right for borders, flowers, and lettering
- Melts almost immediately: too thin for anything
- Never relaxes at all: too stiff to pipe cleanly
For thickness, picture the texture of toothpaste or soft cream cheese. For flood, picture thin honey.
If the icing is too thin, the right move is to fold in icing you deliberately held back at thick consistency rather than dumping in powdered sugar, which throws off your ratio. If you have nothing in reserve, add a teaspoon of sifted sugar and re-test. If it is too stiff, add water one drop at a time from the spray bottle, mixing fully in between. A spray bottle exists because one drop is the smallest increment that matters.
Color Icing Without Weakening It
Use gel food coloring, not the liquid kind from the grocery baking aisle. Liquid coloring carries several tablespoons of water per color, and a few drops in a full batch can move the icing from piping to puddle without you noticing.
Start with a single drop on the end of a toothpick for a pastel shade. Mix it in completely before deciding whether you need more. Deep shades take a few drops and a lot more mixing time than they should, because the pigment disperses slowly.
Mix until the color is even with no streaks. Streaky color in a flood shows up as darker patches after drying, since the pigment settles as the water evaporates.
For color that stays true, keep it simple: work one color at a time, and if you are doing wet-on-wet polka dots, pipe the dots onto a wet flood so the colors bleed together exactly as much as you want and not one drop more. For a dyed icing that keeps a clean edge, let each layer dry fully before piping the next color on top.
Pipe, Spread, and Dry the Decorated Cookies
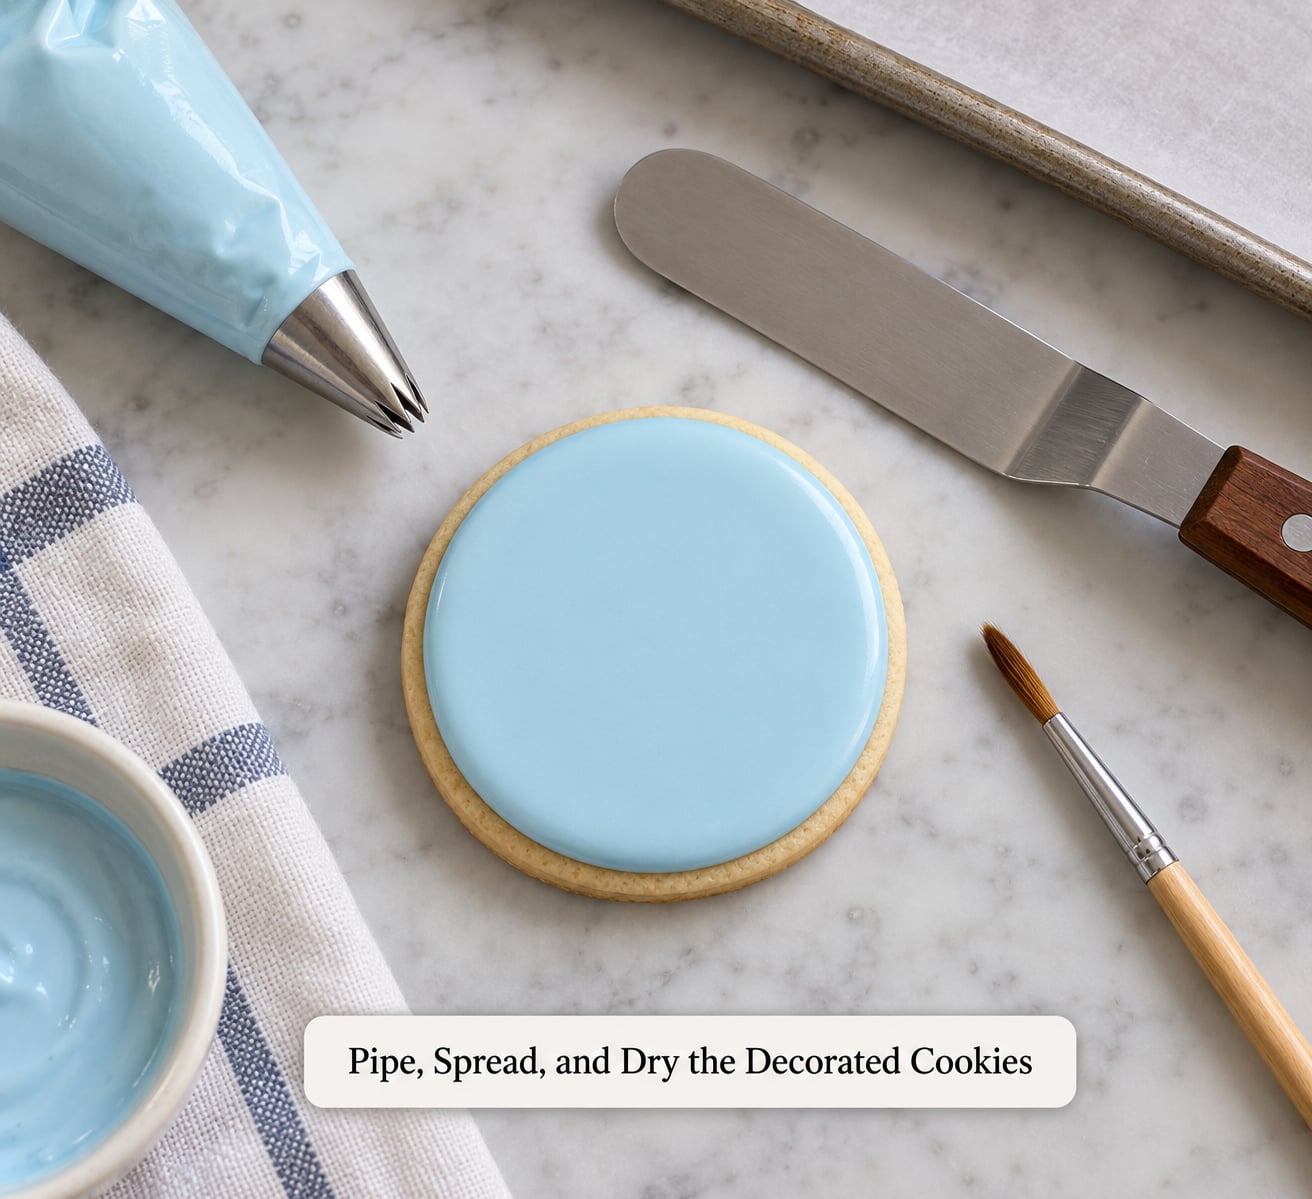
Fill a piping bag about one-third full. Twist the top closed, hold it in one hand, and squeeze from the base so the pressure reaches the tip evenly. A bag filled to the top puts too much strain on the seam and it can split.
For an outline, hold the tip about an inch above the cookie, start squeezing, and trace the edge in one continuous motion. Keep the pressure steady from start to finish, since squeezing harder in one spot builds a thick blob that takes far longer to dry.
Lift the tip with a quick vertical flick at the end of the line to close it off cleanly. Wait a minute or two for the border to set to a skin, then fill with flood consistency icing.
For a flood, add a small pool in the center and push it outward with the back of the spoon or an offset spatula, letting the icing find the border as it spreads. Scoop the excess back off, then tap the cookie lightly on the counter to settle the surface.
Pop any air bubbles with a toothpick within a few minutes, while the icing is still wet. Leaving them means small craters once the icing dries.
Allow the icing to form a dry skin before moving the cookies, which takes about two hours at room temperature. Single-layer cookies are generally safe to store overnight. Wait the full six to eight hours before stacking, and longer for anything with thick layers or heavy piping.
If you are shipping or transporting decorated cookies, give each layer a full eight hours and let the cookies sit uncovered overnight in a cool, dry room before boxing them. Any trapped moisture turns the surface tacky and pulls the layers apart.
Common Mistakes and How to Fix Them
Nearly every royal icing problem traces back to water, sugar, or timing. Here is what the symptom looks like and what to change.
The icing will not form stiff peaks. The usual cause is a greasy bowl or a drop of yolk in the whites, both of which block foaming. The other cause is too much water added at the start, since the meringue never gets a chance to build structure. Wipe the bowl with vinegar, dry it, and use pasteurized egg whites or meringue powder.
The icing runs off the cookie and pools underneath. It is thinner than flood consistency. Fold in reserved thick icing a spoonful at a time, or dust in a teaspoon of sifted sugar. Adding water here makes it worse. This is also the problem to avoid in the first place: hold back a quarter of the sugar dry so you have rescue material.
The icing is stiff and will not pipe cleanly. The bag clogs, the line breaks, and the tip keeps popping off. Add water one drop at a time and re-test with the melt test before each addition. Ten seconds of patience here saves a whole batch.
The icing is gritty. This is the most common quality complaint and it comes from two places. Cheap or old meringue powder does not dissolve cleanly and leaves visible grain, so use a reputable brand such as Wilton or Genie’s Dream. Beyond that, unsifted sugar is a direct cause, as is powdered sugar that has been stored somewhere damp and hardened.
The icing is lumpy. The sugar went in too fast, or you stopped scraping the bowl. Beat on low with a spatula scrape every thirty seconds until no dry pockets remain at the base.
The icing cracks after drying. Over-mixing is the culprit. Icing beaten well past the stiff peak stage holds too much air, and that air forms weak spots as the shell contracts while drying. The fix is time, not ingredients: stop at the peak, and next time hold back a little of the water.
Color bleeds into the layer below. You piped wet-on-wet when you wanted a clean edge, or the layer below was still soft. Let each layer develop a dry skin before adding the next color.
The icing never hardens. Check three things in order. Humidity slows everything down, so run a dehumidifier or use a fan rather than adding more sugar. A very thick flood takes longer than you think, since the center holds moisture for days. And if you used raw egg whites, confirm they were pasteurized, because unpasteurized whites do not set reliably.
The icing tastes like soap or cardboard. Powdered sugar absorbs whatever smells are in the room, and it picks up odors from cabinets and cleaning products faster than you would expect. Use clear vanilla rather than brown, store the finished icing covered, and decorate somewhere away from the stove.
Air bubbles and craters in a flood. Pop each one with a toothpick while the icing is still wet. Once it dries, the craters are permanent.
Storage and Cleanup Tips
How long royal icing lasts depends entirely on how much water it holds. Thick piping icing keeps far longer than flood icing, which is why it pays to store the two separately rather than dipping into one shared batch.
Piping bag at room temperature. Sealed bags of thick icing sit at room temperature for up to two weeks in a cool room. This is the most convenient option for holiday baking, since you squeeze and decorate straight from the bag.
Fridge. An airtight container or a bowl covered with plastic wrap keeps plain or colored icing for a few days. Press the wrap directly onto the surface of the icing so no air sits on top, and add a layer of plastic under the lid for extra protection.
Freezer. A freezer bag or airtight box holds icing for two to three months. Thaw it in the fridge overnight rather than on the counter, then beat it again in the bowl before you use it, since it separates slightly while frozen.
Freezing works on flood icing too. The texture comes back cleanly enough that nobody will notice, as long as you re-beat it.
To soften icing that has hardened in the bag, hold the sealed bag under warm tap water for a minute without opening it, then knead it between your fingers. Add water only if it still will not move, one drop at a time.
Clean up while the icing is still wet. Scrape the used icing back into its container or the bin, rinse the piping bag and tip under warm water, and work the tip against the inside of the bowl with a toothbrush to clear the holes. Metal tips left overnight with dried sugar inside will not pass water again.
For your hands and counter, warm water first. Sugar dissolves faster than it dissolves cold, and a wet cloth removes dried icing in one pass while a dry cloth just spreads it around.
Frequently Asked Questions
Can I make royal icing without egg whites?
Yes, and most bakers use meringue powder instead. Combine 4 cups (480 g) sifted powdered sugar with 3 tablespoons of meringue powder, then add 9 to 10 tablespoons of room temperature water and 1 teaspoon of clear vanilla. It whips the same way fresh whites do and is pasteurized, so there is no raw egg concern. Avoid substituting plain egg white liquid from the carton unless you adjust the water down, since it thins the finished icing.
Why is my royal icing too thin to hold a border?
Either too much water went in early or the icing was not whipped long enough to stiff peaks. To rescue a thin batch, fold in icing you held back at thick consistency, a spoonful at a time. Adding powdered sugar also works but shifts your ratio, so use it sparingly. Prevention is easier: add water gradually, keep a quarter of the sugar dry in reserve, and run the melt test before you fill a bag.
How thick should royal icing be for outlining cookies?
For outlining, royal icing needs to be thick enough to hold a raised line that does not relax. Drag a line across the icing with a knife and it should still be there after 10 to 15 seconds. That is piping consistency, the texture of toothpaste or soft cream cheese. For flooding, you want the line to melt flat in the same 10 to 15 seconds. Making royal icing for sugar cookies works best when you mix one thick batch and thin a portion separately.
How long does royal icing take to dry on sugar cookies?
Expect about two hours before the surface is dry enough to handle gently, and six to eight hours before you stack or box the cookies. Thick piped borders and multi-layer designs need the full eight hours. Humidity stretches this considerably, so a fan running across the cookies helps more than you would expect. For shipping, add an uncovered overnight rest in a dry room before packing, since trapped moisture keeps the surface tacky.
What piping tip should I use for royal icing details?
A small round tip, Wilton #2 or #3, gives you the control you want for borders, dots, and lettering. Anything larger deposits too much icing and takes longer to dry. Cut a small opening in a zip-top bag if you do not have a bag and tip, and use the corner as a makeshift round opening. A star tip makes rosettes and borders, but only on icing already at piping consistency.
Can I fix royal icing after it has started to dry?
Not really, and this is where planning pays off. Dried royal icing cannot be returned to a pipeable state by adding water, because the sugar has already hardened. You can soften icing that has dried in its container or piping bag by warming the sealed bag under warm tap water and kneading it, but icing that has dried on a cookie is finished. If colors bled while wet, touch up the cookie while the icing is still damp by painting with a damp brush.
Conclusion
Start with 4 cups of powdered sugar, 3 tablespoons of meringue powder, and 9 to 10 tablespoons of water, beaten two full minutes before you judge the texture. Trust what the icing feels like rather than what the clock says, and adjust in single drops or single spoonfuls. Hold a quarter of your sugar back as rescue material so a thin batch is never a dead end.
Let each layer reach a dry skin before you add the next color, and give every finished cookie the full drying time before you stack, box, or carry them anywhere.
If you are hosting and want one more thing that mostly makes itself, my guide to making brunch at home is a good companion for a long decorating weekend.