
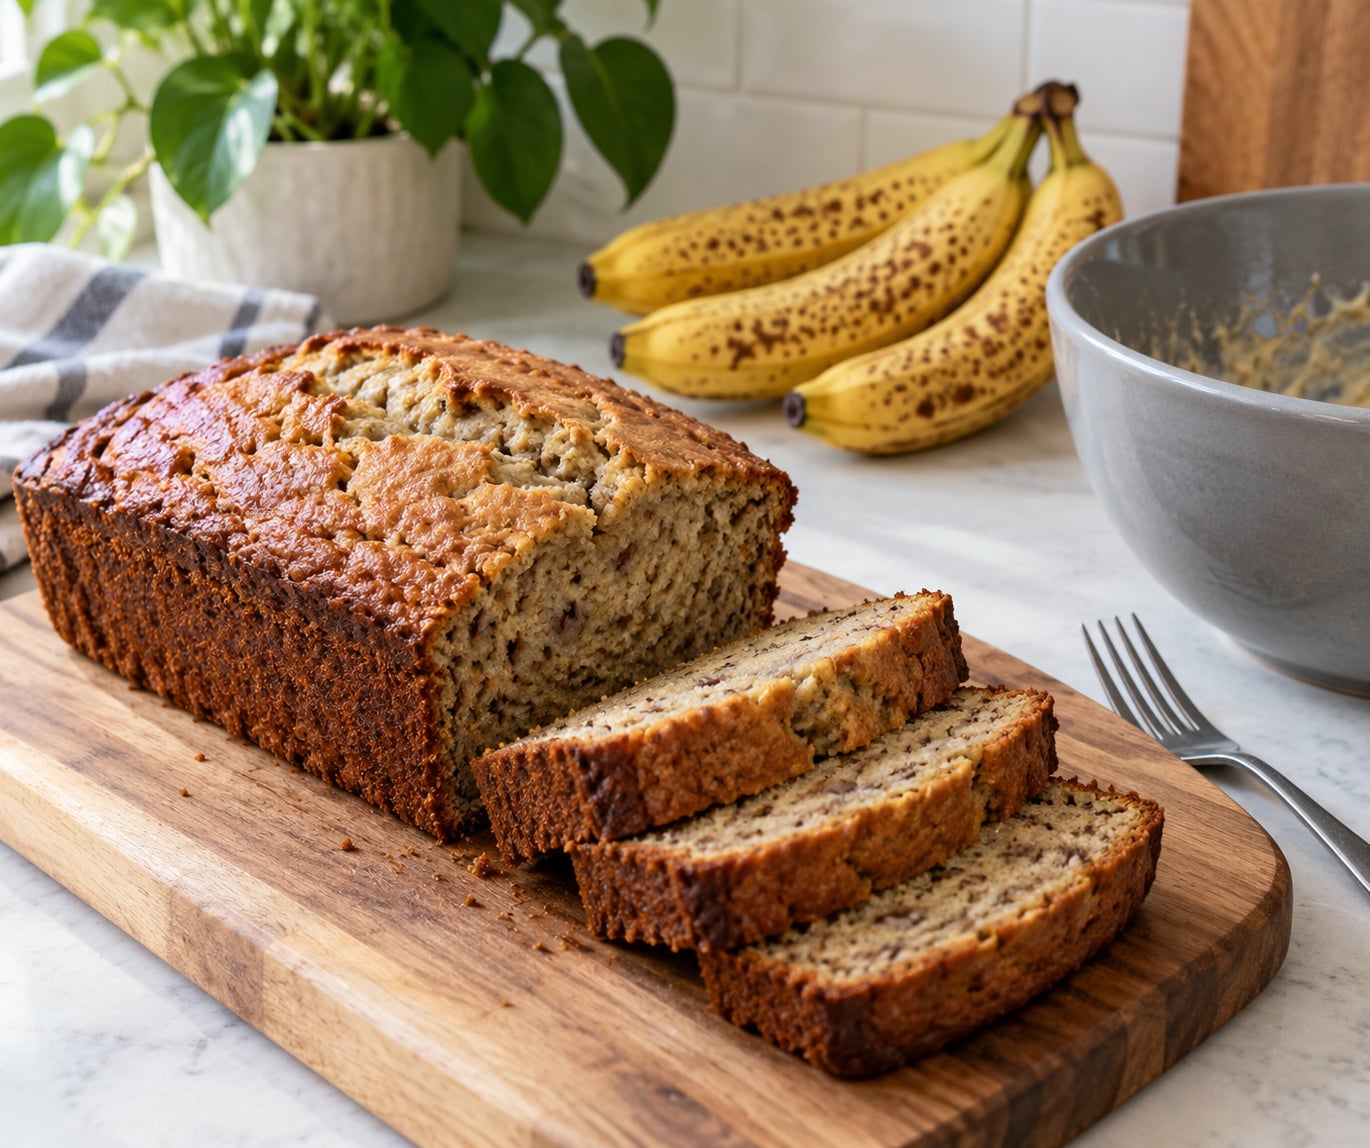
Dry banana bread usually comes down to four things: the bananas were too green, the fat was all butter, the batter got overmixed, or the loaf sat in the oven five minutes too long. Fix those and a loaf that stays tender for days is the normal result, not a lucky one. This method uses four very ripe bananas, a butter-plus-oil combination, and sour cream for a crumb that never turns out tough. It takes about 15 minutes of work and 60 to 70 minutes of baking, and it is beginner-friendly with one loaf pan and a whisk.
The single most useful thing to know when you ask how to make banana bread moist every time is that moisture comes from fat and acid, not from sugar. Oil stays liquid in the crumb and coats flour proteins so they never link into a chewy network. Sour cream brings acid that tenderizes the crumb and triggers the baking soda that gives the loaf its lift.
What You Need
A standard 9-by-5-inch metal loaf pan is the right size. Anything smaller bakes a denser loaf, and a larger pan gives you a flat, underbaked slab that dries out as it cools.
For the batter:
- 4 very ripe bananas, about 400 g mashed (peel mostly brown, flesh soft)
- 115 g (half cup) unsalted butter, melted and cooled slightly
- 60 ml (quarter cup) neutral oil such as canola or avocado
- 150 g (three-quarter cup) granulated sugar
- 80 g (half cup) packed light brown sugar
- 2 large eggs, room temperature
- 150 g (two-thirds cup) full-fat sour cream or plain Greek yogurt
- 2 tsp vanilla extract
- 1 tsp ground cinnamon
- 220 g (1 3/4 cups) all-purpose flour, spooned and leveled
- 1.5 tsp baking soda
- 0.5 tsp fine salt
If you have neither sour cream nor yogurt, use 120 ml buttermilk with half a teaspoon of lemon juice stirred in, or 120 ml milk with half a teaspoon of white vinegar. Let it sit five minutes before you add it. Plain yogurt is slightly tangier and produces a tighter crumb than sour cream, but both work.
Useful tools: a 9-by-5-inch loaf pan with nonstick coating or a parchment liner, a wire whisk, a rubber spatula, and an instant-read thermometer if you have one. Weighing the flour on a kitchen scale is the single best accuracy upgrade you can make. Scooping flour straight from the bag is the most common reason a home loaf bakes dense, and it also throws off the liquid ratio that keeps it moist.
To ripen bananas quickly, put them in a paper bag with an apple and leave it on the counter overnight. The trapped ethylene from the apple speeds things along. Never microwave an unpeeled banana to ripen it; it softens unevenly and the sugars never develop.
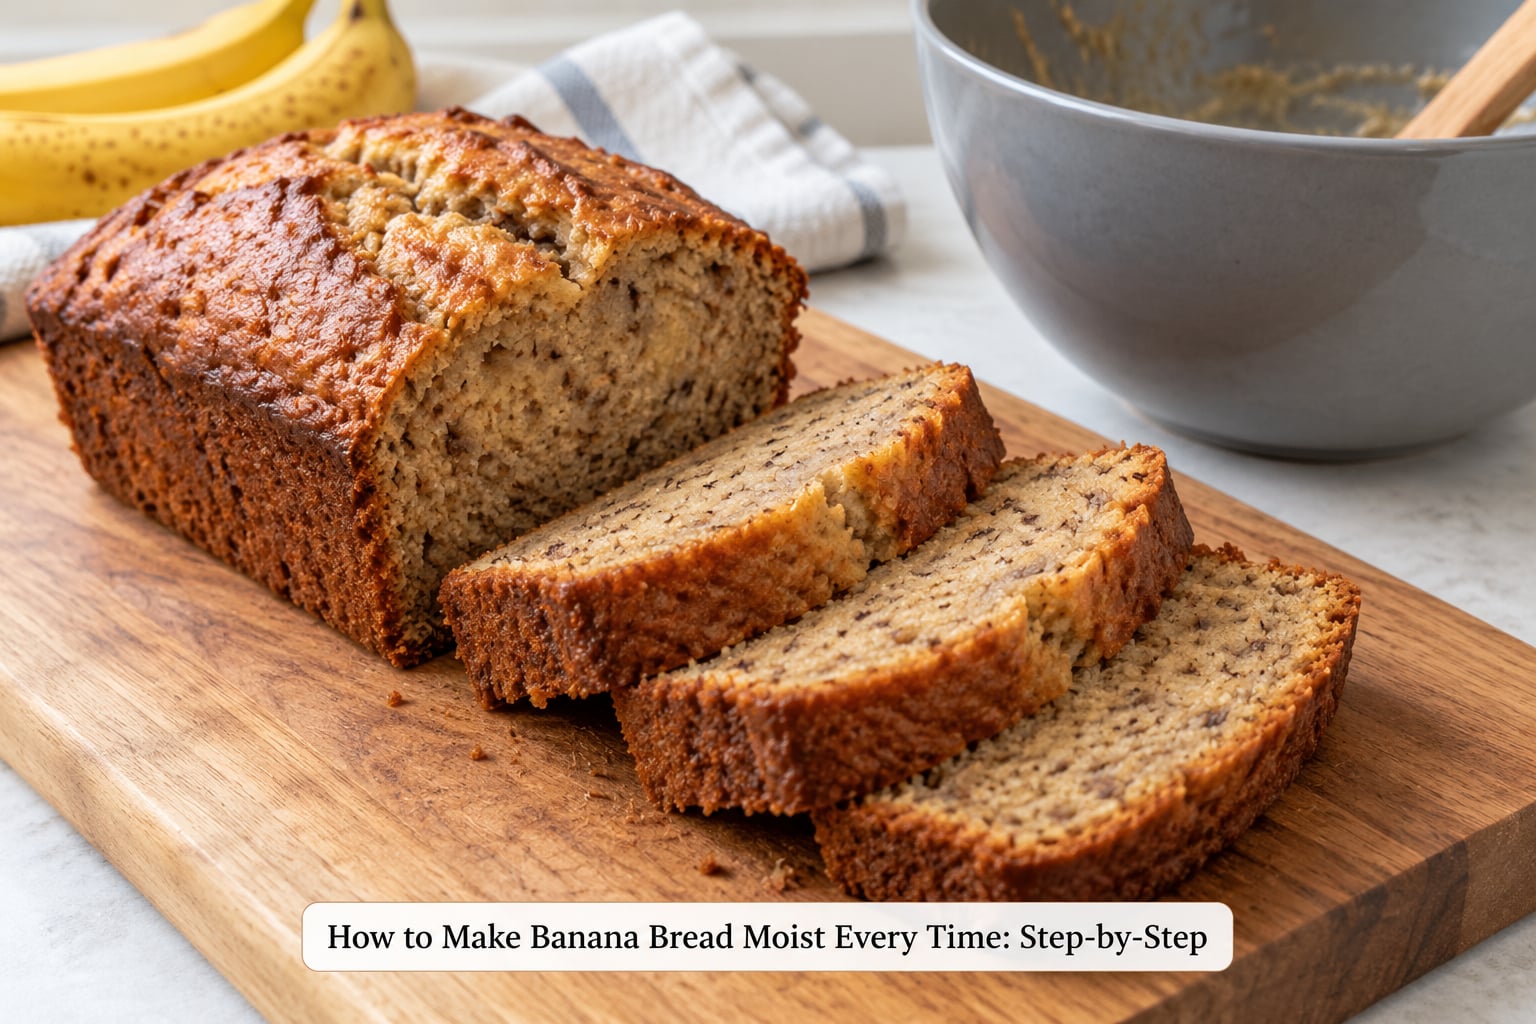
How to Make Banana Bread Moist Every Time: Step-by-Step
Step 1: Choose Ripe Bananas and Prepare the Pan
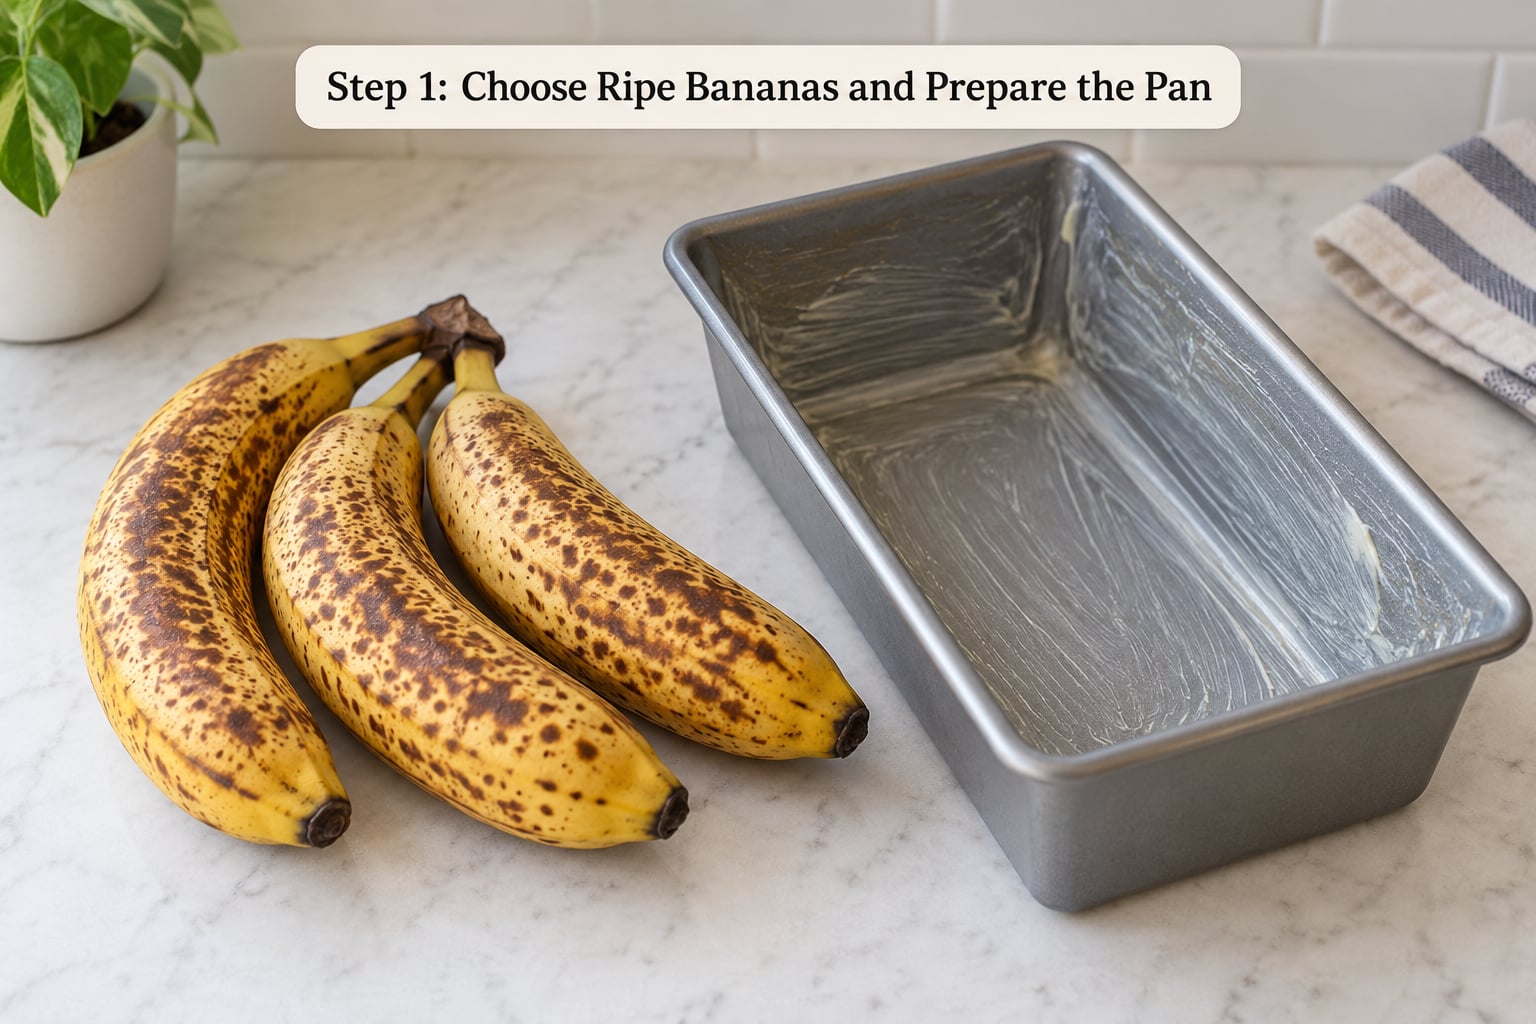
Ripeness is the biggest lever you control. Yellow bananas with green tips taste starchy and release very little sugar and moisture. You want peel that is mostly brown with black speckling and flesh that smears under a thumb. The darker the peel, the sweeter and wetter the mash, and wetter mash is the foundation of a moist loaf. Underripe fruit also leaves starch pockets that taste dry and set crumb that never softens properly.
Grease the loaf pan and line the long sides with parchment, leaving the parchment standing above the rim. The little overhang makes the loaf easy to lift out while it is still hot. Heat the oven to 350 F and give it ten full minutes before the batter goes in. A loaf that enters a cold oven spends its first minutes cooking from the outside in, which dries the crust before the center sets.
Step 2: Mash the Bananas and Mix the Wet Ingredients
Mash the bananas in a bowl with a fork until they are mostly smooth with a few small lumps. Lumps that size are fine; a purée is not. Some texture in the mash is part of what keeps the crumb moist and banana-flavored rather than cakey. If you froze the bananas ahead of time, thaw them in a bowl in the refrigerator and drain off the liquid that collects, then mash.
Whisk the melted butter, oil, both sugars, the eggs, sour cream, vanilla, and cinnamon together until the mixture is smooth and slightly thickened. It should look like a thick pancake batter and take about a minute. Sugar dissolves into the fat here, and that fat-and-sugar base is what gives the loaf its tender texture, so do not rush it.
Step 3: Combine the Dry Ingredients
Whisk the flour, baking soda, and salt in a separate bowl so the baking soda is evenly distributed. Baking soda does most of the lifting in a quick bread, and if it settles in one spot you get a bitter patch and a raw hole beside it. The salt is not optional; it tightens the crumb and brings out the banana flavor rather than making the loaf taste salty.
Spoon the flour in and level it rather than dipping the measuring cup straight into the bag. If you want to see the same kind of precision-baking discipline in a dough instead of a batter, our guide to how to make pizza dough at home goes into weighing and resting in more detail.
Step 4: Fold the Batter Without Overmixing
Add the dry ingredients to the wet in three additions. Pour roughly a third of the flour over the bowl, then draw a spatula down through the batter and sweep the bottom up and over. Rotate the bowl a quarter turn and repeat. Stop the moment no dry streaks of flour remain, usually after 15 to 20 strokes total.
This is where hand-mixer habits cause trouble. A stand mixer left on medium for a full minute develops gluten that no amount of oil will rescue, and the result is a loaf that eats like a dense, rubbery brick. A little lumps at this stage are correct. They disappear in the oven. Before the batter goes in the pan, rest it for ten minutes so the flour hydrates fully; a rested batter spreads into the corners more evenly and bakes with fewer wet pockets.
Step 5: Bake Until the Center Is Moist, Not Wet
Scrape the batter into the pan and smooth the top. Bake at 350 F for 60 to 70 minutes. If the top browns before the center sets, lay a sheet of foil loosely over the loaf, tent-style, so you stop the crust from darkening while the interior finishes.
Test with a toothpick in the deepest center, not near the edge. Moist crumbs clinging to the wood are the right signal; a completely clean toothpick means you went a few minutes long, and those extra minutes are the difference between tender and dry. An instant-read thermometer is more reliable: pull the loaf at 200 to 205 F in the middle. Above 205 F the starch has set fully and continues firming as the loaf cools, which is what makes overbaked banana bread crumbly on day two.
A crack along the top is normal for a quick bread. The top splits because the center sets and rises faster than the edges while the structure is still fluid. It is not a flaw, and the crack gives you a natural place to slice.
Step 6: Cool and Store the Banana Bread
Cool in the pan for 15 minutes, then turn out onto a wire rack and cool completely before cutting. The starch is still setting and releasing moisture as it cools, so a loaf that gets cut while warm loses that moisture as steam and bakes up dry by morning. This cooling step gets skipped more than any other, and it is a large part of why homemade banana bread disappoints.
Once cool, wrap the loaf tightly in plastic wrap or a sealed bag. Bread stored airtight at room temperature stays moist for about three days, and the wrap is what matters, not the container. Leave it out. The refrigerator makes banana bread stale in a day or two because the starch in the crumb retrogrades in the cold, so a refrigerated loaf dries out faster even though it never picks up moisture from the air.
For longer storage, slice the loaf, lay the slices flat so they do not bruise, and freeze them in layers with parchment between. They keep about two months. Thaw at room temperature in the closed bag, or warm a slice in a low oven for ten minutes. Do not thaw the whole wrapped loaf, since the condensation softens the crust while the crumb dries out around it.
Common Mistakes
Almost every dry loaf traces back to something in this list.
- The loaf is dry in the middle. Either it baked too long or the flour was packed too firmly. Check the center at 60 minutes and pull it around 200 F. Weigh the flour in grams rather than cups.
- The crumb is dense and chewy. This is overmixing, not a missing ingredient. Fold in no more than 20 strokes and accept some lumps. A stand mixer on medium speed is the usual culprit.
- The top is dark while the slices are underdone. The oven is running hot or the loaf is too close to the element. Verify with an oven thermometer and move the pan down a rack. Tent with foil after about 20 minutes.
- There is a bitter or raw hole in the middle. The baking soda clumped. Whisk the dry ingredients separately and use fresh baking soda, which loses strength once it sits open for months.
- The loaf is fine on day one and dry on day two. It was wrapped too loosely, sliced while warm, or refrigerated. Wrap airtight while completely cool and leave it on the counter.
- The flavor is bland. The bananas were underripe and cinnamon was too light. Use darker bananas and double the cinnamon to two teaspoons.
Two habits keep results consistent. Weight your flour and sugar rather than scooping, and treat your oven temperature as a setting to verify rather than a guarantee. Baking soda also loses its punch as it ages, so replace it if your loaf has been sinking instead of rising.
Banana slices laid on top before baking tend to scorch black before the loaf finishes. If you want that look, lay the slices on during the last ten minutes and brush them with a little lemon juice so they stay golden. Otherwise the natural crack does the same visual work without the risk. For a holiday table, moisture matters as much as looks, and the same care goes into a stuffing that stays crisp instead of soggy.
Frequently Asked Questions
What is the secret to a moist banana bread?
The secret is a fat and acid combination rather than extra sugar. Melted butter plus a neutral oil keeps the crumb tender because oil stays liquid and stops flour proteins from forming a tight network, while sour cream or yogurt adds moisture and its acid tenderizes the crumb. Four very ripe bananas supply the rest.
What is the one ingredient upgrade for banana bread?
Full-fat sour cream is the single biggest upgrade, and plain Greek yogurt works nearly as well. Its fat and protein keep the crumb moist for days, and its acidity reacts with the baking soda to give a better rise and a more tender texture. You can also use it to replace a portion of the butter.
What is the number one mistake when making banana bread?
Overmixing the batter is the number one mistake. Beating flour into wet ingredients for more than about 20 strokes develops gluten, and gluten makes the loaf dense, chewy, and dry in the mouth. Fold the dry ingredients in in three additions and stop as soon as no white streaks of flour remain.
Should banana bread be refrigerated after baking?
No. Refrigeration is the fastest way to make banana bread go stale, because the starch in the crumb firms up in the cold and the loaf dries out within a day or two. Wrap the cooled loaf tightly in plastic wrap and keep it at room temperature for up to three days. Freeze it for anything longer.
Can I use frozen bananas for banana bread?
Yes, and frozen bananas work well because freezing breaks the fruit down into a softer mash. Thaw them overnight in the refrigerator rather than on the counter, drain off the liquid that collects in the bowl, and mash before measuring. Expect to use slightly less than the thawed volume so the batter does not turn watery.
How do I ripen bananas faster for baking?
Put the bananas in a paper bag with an apple or a ripe pear, close the top loosely, and leave it on the counter overnight. The fruit gives off ethylene gas that speeds up ripening inside the bag. When the peel is mostly brown and the flesh smears under a thumb, the bananas are ready for bread.
Conclusion
To get a moist loaf on your next bake, do four things: buy bananas until the peel is mostly brown, keep both the butter and the oil in the batter, fold rather than beat so no gluten develops, and pull the loaf at about 200 F before it turns past done. Then cool it fully, wrap it tightly, and keep it on the counter. It slices well the next morning, which is the only real test that it worked. More bakes are waiting in our kitchen guides, including how to make coffee taste better at home for the plate beside the slice.