
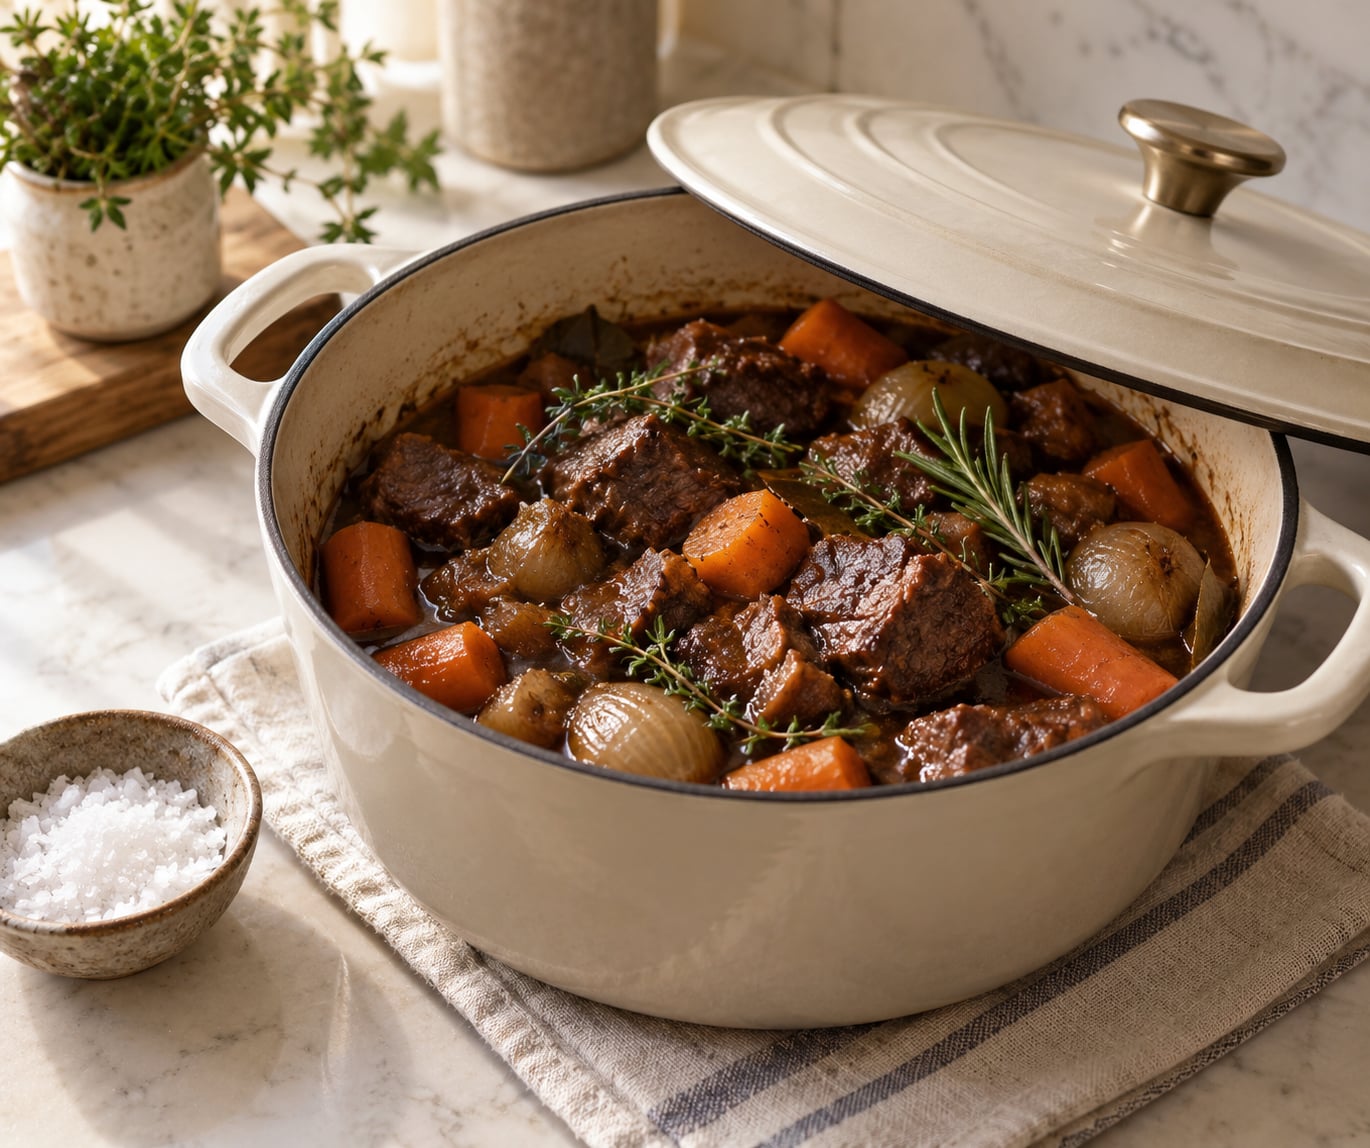
Tender oven beef stew comes down to three things: a cut loaded with collagen, a tight covered pot at 325°F, and enough time for that collagen to turn to gelatin. Most tough stews fail on one of those, usually the pot or the clock. Get those right and you can make beef stew tender in the oven with about 20 minutes of hands-on work and three hours of oven time.
I cook this roughly once a month in cold months, and the version below is the one that works without a thermometer probe or a timer panic. Budget 30 to 40 minutes of prep and 2.5 to 3.5 hours in the oven, most of it unattended.
Table of Contents
- What You Need
- Step-by-Step: How to Make Beef Stew Tender in the Oven
- Common Mistakes That Keep Beef Stew Tough
- Making Beef Stew Ahead and Reheating It Safely
- Frequently Asked Questions
- What is the best beef cut for tender stew?
- How long does beef stew take to become tender in the oven?
- Should I cover beef stew while it cooks in the oven?
- How do I know when beef stew is tender enough to eat?
- Can I use beef broth instead of red wine in beef stew?
- How should I store and reheat leftover beef stew?
What You Need
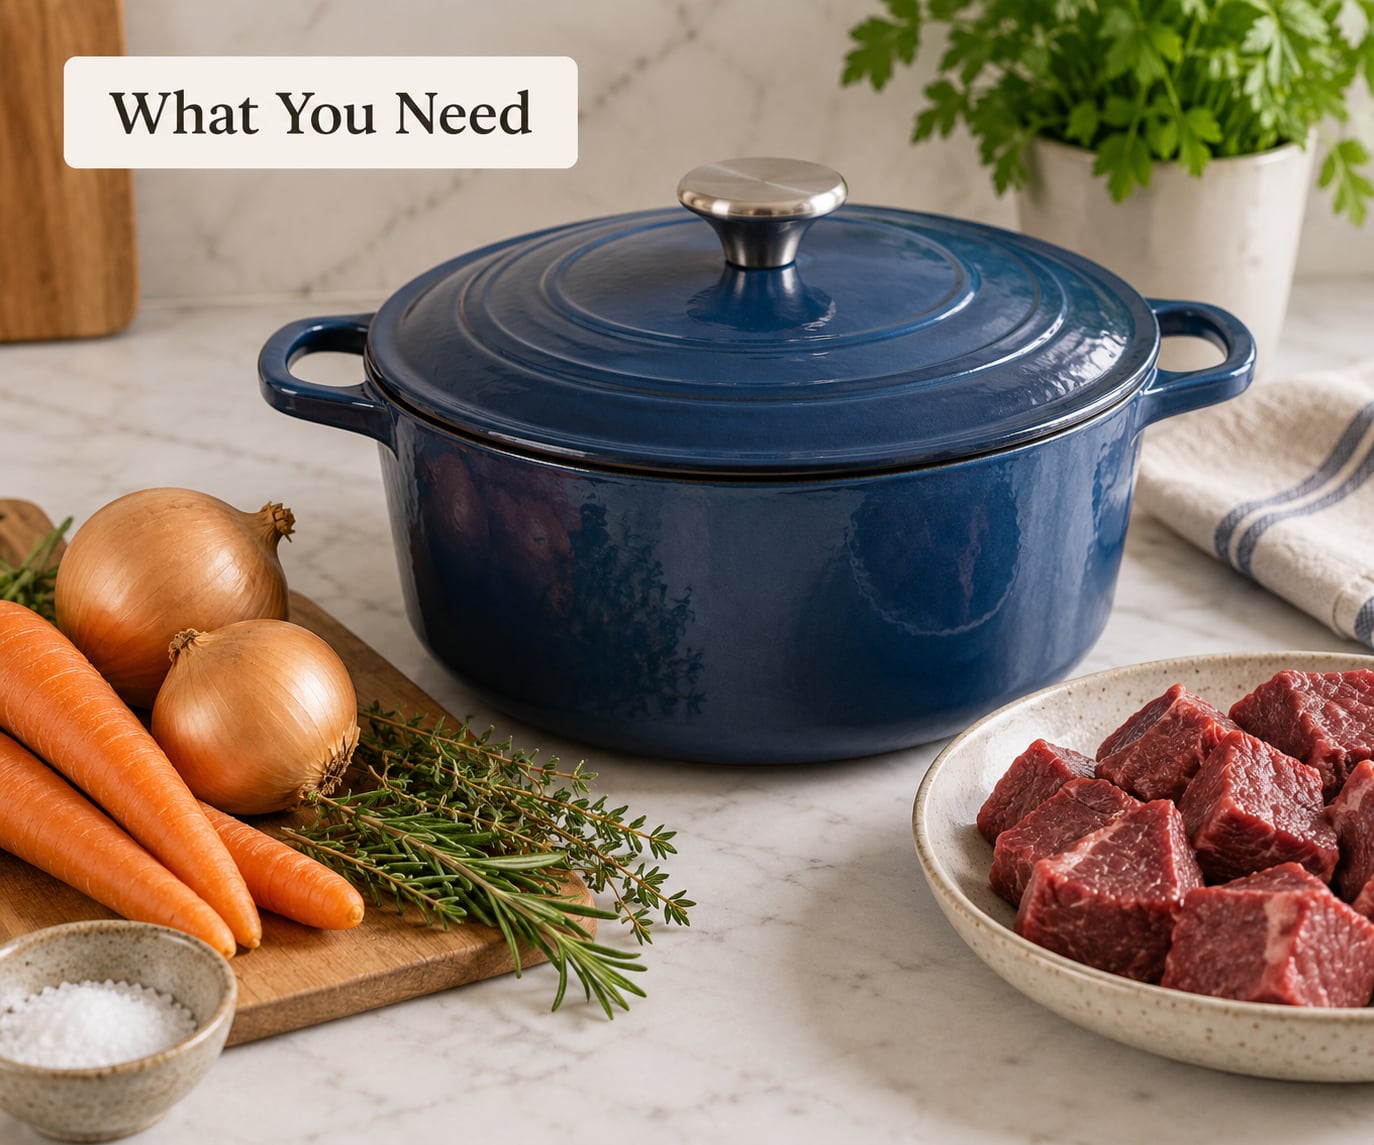
The pot matters more than the recipe
You need an oven-safe vessel with a lid that fits snugly, because the braise works by trapping steam so the meat sits in a moist 325°F environment. A 4 to 6 quart Dutch oven is the classic choice, and any heavy pot with a tight lid does the same job. A roasting pan covered with foil works, though you add liquid a little more generously since foil is a looser seal.
A thin-sided saucepan is the wrong tool. It lets moisture escape, so the temperature inside climbs toward a simmer and the surface dries out before the collagen converts.
The beef
Chuck roast is the default for a reason. It carries a lot of connective tissue, and collagen breaks down into gelatin somewhere around 160 to 180°F, which is what makes the meat give up its chew and the broth turn glossy and body-rich. Buy it in the meat case as a chuck roast and cut it yourself, or buy pre-cut beef stew meat, which is usually chuck and shoulder pieces.
Beef shank and beef shoulder work the same way and are often sold at a better price. Brisket is good too, though you trim more fat off it first. Round roast is leaner and more uniform, which makes it the least forgiving choice: it needs either a longer braise or a lower-and-slower temperature to avoid turning tough.
Vegetables, liquid, and seasoning
- Carrots and celery, cut into 1-inch pieces
- Yellow onion, cut into wedges or thick dice
- Yukon Gold or red potatoes, cut into 1.5-inch chunks
- Beef broth, about 2 to 3 cups
- Red wine or a dry lager, about 1 cup, optional
- Tomato paste, 2 tablespoons
- Garlic, 4 to 6 cloves, smashed
- Worcestershire sauce, 1 to 2 tablespoons
- Bay leaf, thyme, and rosemary, either loose or tied in a bundle
- Flour for dredging and optional thickening, plus olive oil or bacon fat
Tying herbs into a small bundle with kitchen twine lets you lift them out before serving. If you skip the wine, use the extra cup of broth and add a splash of red wine vinegar at the end.
Step-by-Step: How to Make Beef Stew Tender in the Oven
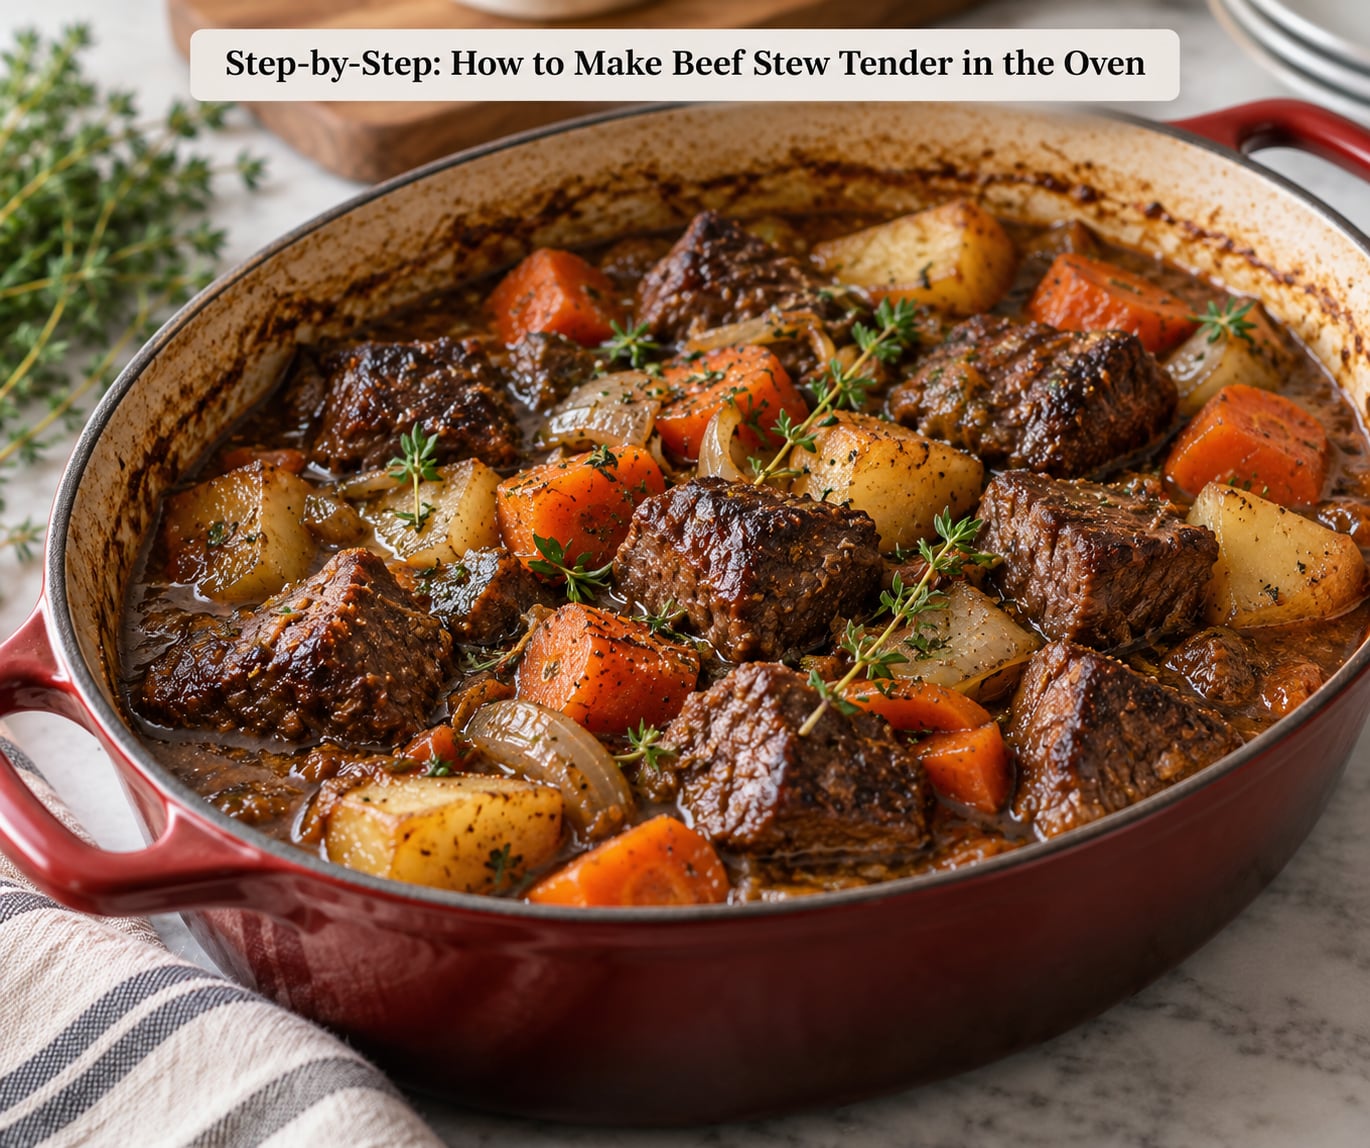
Step 1: Choose and Prepare the Beef
Cut the chuck into 1.5 to 2 inch pieces. That size gives the collagen enough time to break down while keeping the pieces from dissolving into nothing, and it is the size most cooks land on once they compare results. Uniform pieces matter more than exact size, because a chunky piece and a thin one in the same pot finish at wildly different times.
Trim off the large slabs of exterior fat, but leave some marbling and any silverskin you can see. Season the beef with salt and black pepper now, so the seasoning works into the surface during browning.
Step 2: Brown the Meat in Batches
Heat a tablespoon of oil or a strip of bacon in your Dutch oven over medium-high heat until it shimmers. Pat the beef dry and lay the pieces in without crowding. A crowded pot drops in temperature, the meat steams instead of sears, and you lose the browning entirely.
Let each side sit untouched for two to three minutes until deeply brown, then turn. When the pot is full of browned pieces, lift them out onto a plate. That layer of brown bits stuck to the bottom is fond, and it carries most of the deep flavor into the finished gravy, so don’t scrub it out.
Spoon a little wine or broth into the hot pot and scrape the fond loose. That thirty-second step is called deglazing, and it’s the difference between a stew that tastes braised and one that tastes like hot broth with beef in it.
Step 3: Build the Stew in the Dutch Oven
Layer in this order: aromatics and vegetables on the bottom, then the beef on top, then liquid. The bottom layer sits closest to the heat and browns slightly, which keeps carrots and onions from going soft and flavorless.
Drizzle the tomato paste and Worcestershire sauce over the meat, add the smashed garlic and herb bundle, then pour in enough broth or wine-broth mix to come about halfway up the beef chunks. You want roughly two-thirds of the meat submerged. Too little liquid and the pot runs dry before the collagen converts; too much and the broth never concentrates into a gravy.
Bring the whole thing to a simmer on the stovetop, stir once to combine, cover the pot, and move it to a 325°F oven.
Step 4: Braise Covered Until the Beef Is Fork-Tender
At 325°F you are looking at about 2 to 2.5 hours for 1-inch pieces of chuck, and 3 to 3.5 hours for 2-inch pieces, shank, or brisket. Most home cooks land on that same window once they compare results, which is a decent sanity check.
Add the potatoes and carrots at the 90-minute mark so they have time to cook through without collapsing into mush. Keep the lid on the whole time. Every peek lets steam escape, the liquid level drops, and the pace of collagen conversion slows.
How to make beef stew tender in the oven depends less on the clock than on the fork test. At two hours, press a fork into a piece and twist. If it slides in with strong resistance, give it another 30 minutes. When the fork goes in with almost no resistance and the meat shifts or begins to separate at the edges, it is done. Chuck at this stage sits well above 195°F internally, where the collagen has given way to gelatin.
Step 5: Rest, Skim, and Finish the Stew
Turn the oven off and let the pot sit covered for 15 to 20 minutes before serving. Resting lets the muscle fibers relax and reabsorb the juices they pushed out during cooking, which is why the meat tastes better and stays tender through the second reheating.
Lift out the herb bundle and skim the layer of rendered fat off the top with a spoon or small ladle. Taste the broth and season it with salt, more Worcestershire, or a splash of vinegar if it tastes flat.
If the stew is thinner than you want, mix 1 tablespoon of cornstarch with 2 tablespoons of cold water and stir it in, then simmer on the stovetop for two or three minutes. Cold water matters, because a slurry made with hot water clumps instantly.
Serve it with a crusty roll or spooned over mashed potatoes. If you’re building out a cold-weather table, our guide to stuffing that is not soggy takes the same oven and the same no-peeking rule, just at a higher heat.
Common Mistakes That Keep Beef Stew Tough
Using the wrong cut
Sirloin, ribeye, and other quick-cooking cuts have little connective tissue to break down, so long braising only dries them out. Round roast is the trap door: it looks like a stew cut and behaves like a roasting cut. Chuck, shank, and shoulder are the cuts with enough collagen to reward patience.
Cutting pieces too large
A 3-inch cube needs far longer than a 1.5-inch piece, and by the time the big one is tender the rest has gone past tender into dry. If your schedule only allows two hours, cut smaller, not larger.
Crowding the pan while browning
Stacked meat sweats, steams, and never browns. Brown in two or three batches for a pot that holds a full stew. It adds maybe 15 minutes and it’s the step people skip first.
Too little liquid
Braising is moist cooking. If the level drops below the meat halfway through, add a cup of hot broth and put the lid back on. The pot should look like it has roughly two-thirds of the beef under liquid when it goes in.
Lifting the lid too often
This is the most common self-inflicted problem. Every opening lets heat and moisture out, and the pot needs to return to 325°F before cooking resumes. Set the pot in and do not open it until your first fork check.
Adding vegetables too early
Carrots, potatoes, and celery go in for the last 45 to 60 minutes for that reason. Early on, they spend the whole cook turning to mush while the beef is still catching up. If your vegetables have already gone soft, pull them out, serve them on the side, and leave the meat to finish.
Browning at too high a heat
Flour-coated beef scorches before the meat cooks through, and scorched flour turns bitter. If you dredge, use a thin coat and medium-high heat rather than screaming hot, and shake off the excess.
Making Beef Stew Ahead and Reheating It Safely
Beef stew reheats better than almost anything else you can make ahead, and most cooks find day-two flavor is an upgrade rather than a compromise. Cool it in the pot on the counter for no more than two hours, then move it to the fridge. Store it covered at 40°F or below and eat it within three to four days.
Reheat on the stove over low heat with a splash of broth and the lid on, stirring now and then, until it steams throughout. Microwaving works in a pinch but dries the top layer, so give it a stir halfway through. For longer storage, freeze it in a freezer-safe container for up to three months and thaw it in the fridge overnight.
If you like planning a make-ahead menu around the same kind of prep, our guide to making potato salad ahead of time covers the same do-it-the-day-before logic with different food safety rules.
Frequently Asked Questions
What is the best beef cut for tender stew?
Chuck roast is the best all-around cut because it carries heavy connective tissue that converts to gelatin during a long braise. Beef shank and shoulder work the same way and often cost less. Avoid sirloin and ribeye, which have too little collagen to soften, and be cautious with round roast, which is lean and needs a longer, gentler cook. Cut any of them into uniform 1.5 to 2 inch pieces.
How long does beef stew take to become tender in the oven?
At 325°F in a covered Dutch oven, 1-inch pieces of chuck need roughly 2 to 2.5 hours, while 2-inch chunks, shank, or brisket need 3 to 3.5 hours. The clock is only a guide, so test with a fork rather than trusting the timer. If the fork meets strong resistance, give it another 30 minutes and check again.
Should I cover beef stew while it cooks in the oven?
Yes, cover it. The lid traps steam and keeps the meat sitting in a moist environment, which is exactly what collagen needs to turn into gelatin. Opening the lid lets heat and moisture escape, slows the cook, and can dry out the top layer. Use a tight-fitting lid, or a lid plus foil if your pot does not seal well.
How do I know when beef stew is tender enough to eat?
Press a fork into a chunk and twist gently. When it slides in with almost no resistance and the meat begins to separate at the edges, it is fork-tender and the collagen has converted. Tender chuck at this point sits well above 195°F internally. Rest the pot covered for 15 to 20 minutes before serving so the juices settle back into the meat.
Can I use beef broth instead of red wine in beef stew?
Yes, and the stew will still taste good. Swap the wine for an equal amount of beef broth, then add 1 to 2 tablespoons of red wine vinegar or a splash of Worcestershire at the end to restore the acidity wine provides. To keep some of the wine depth, deglaze the browned fond with half a cup of wine before adding the rest as broth.
How should I store and reheat leftover beef stew?
Cool it within two hours, cover it, and refrigerate at 40°F or below for up to three to four days. Reheat on the stove over low heat with a splash of broth and the lid on until it steams throughout, stirring occasionally. For longer storage, freeze it in a freezer-safe container for up to three months and thaw it in the refrigerator overnight.
Start with the pot and the cut, since those two decide everything else: a covered Dutch oven, chuck cut into even 1.5 to 2 inch pieces, and 325°F for two to three hours with the lid left alone. Brown in batches, add liquid up to two-thirds of the way up the meat, and trust the fork over the clock.