
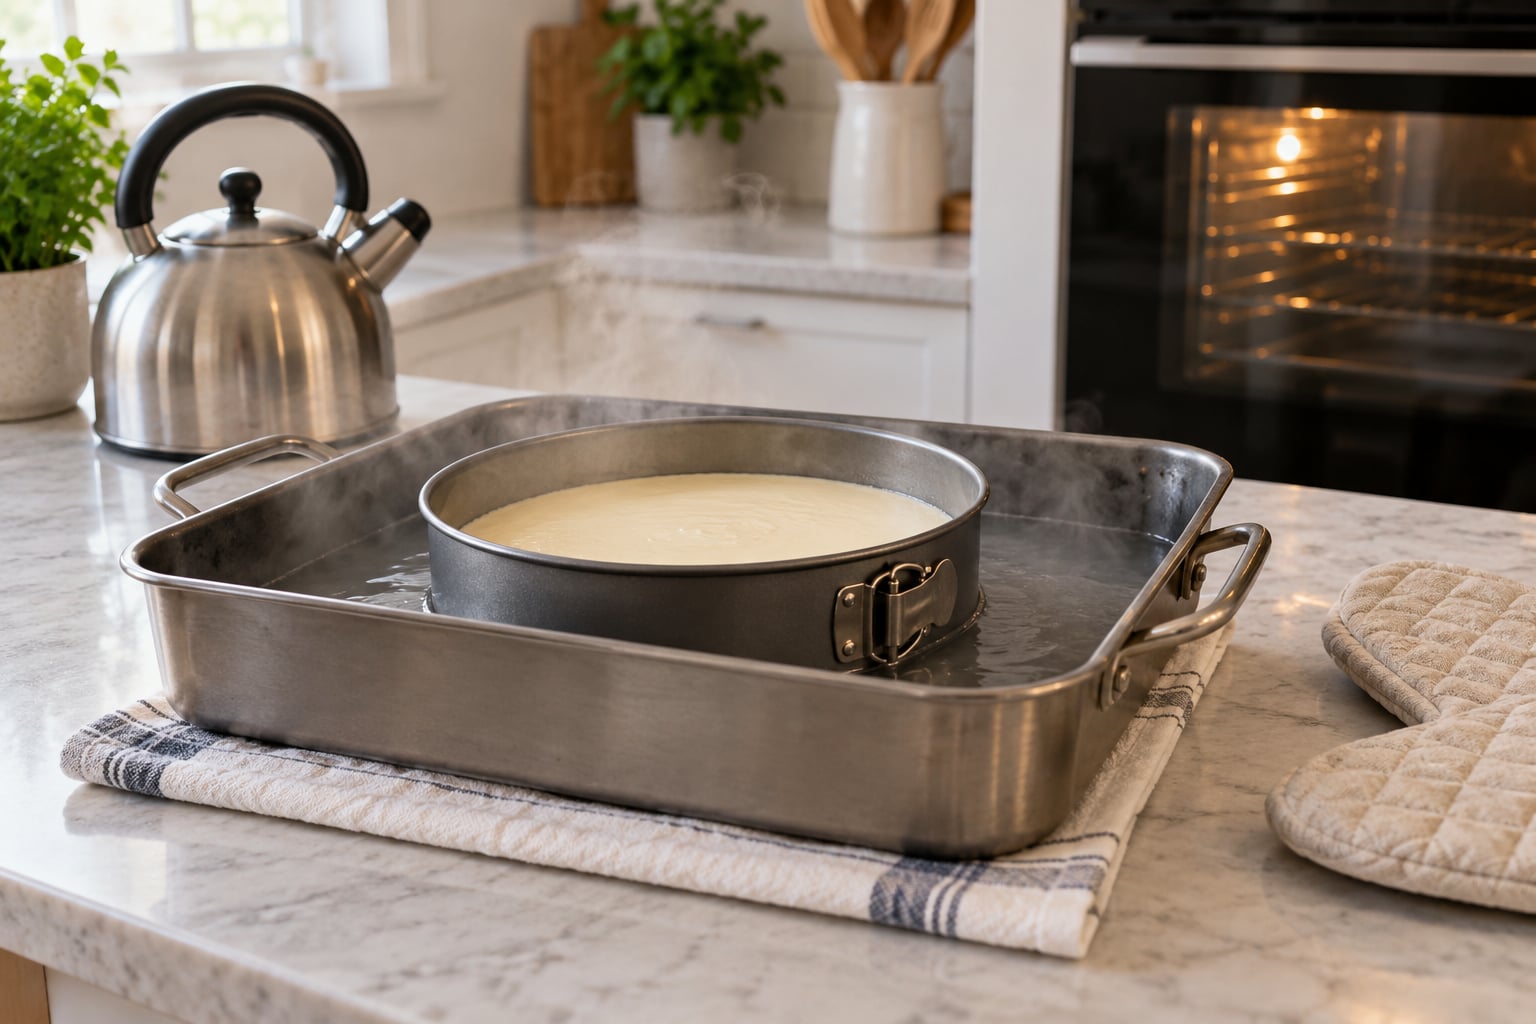
A water bath for cheesecake is simply this: put the filled springform pan inside a larger pan, then pour hot water into the outer pan until it reaches about halfway up the sides of the springform. That hot water surrounds your cake with gentle, even heat, so the egg-and-cream filling sets slowly instead of boiling. The setup takes about five minutes of active work, and doing it correctly is the difference between a cheesecake that bakes smooth and one that cracks, sinks, or dries out around the edges.
The catch is that a leaky water bath ruins the crust, and most people learn that the hard way. I’ve filled a roasting pan with boiling water, tilted it toward the oven rack, and watched water slosh over the crust of a cake I’d already spent an hour on. So the method below leans on the safer no-foil setup first, with the foil version as the backup for pans that leak.
What You Need
You need less than most people expect. Here’s the honest list.
- A 9-inch springform pan to bake the cheesecake in. A pan with a removable bottom and a latch that you tighten well matters more here than any brand name, because the whole setup depends on that seal.
- A larger oven-safe pan or dish to hold the water. Ideally it is a full inch or two wider than the springform on every side, deep enough to hold a couple of inches of water, and small enough that your oven rack still closes. A roasting pan works well. So does a sturdy round cake pan.
- Hot water from the kettle or tap, enough to reach halfway up the outer pan. Hot tap water usually takes a minute or two longer than boiling water and is much easier to handle, which is why I prefer it in most kitchens.
- Dry oven mitts and a folded towel for setting the outer pan down. You will be carrying a pan of hot water, and a wet towel under the roasting pan gives you somewhere stable to rest it on the counter.
- Heavy-duty aluminum foil, optional. Only needed if your springform has a seam or pinhole that lets water through. You want extra-wide foil, roughly 14 inches for a 9-inch pan, so you can wrap without stretching and tearing.
- Baking weights or dry beans, optional. These sit on top of the crust during the first stretch of baking and stop it puffing up into a dome.
One note on pans: if your outer pan is glass or ceramic, put it on a baking sheet rather than directly on the oven rack, so it can’t slip or crack from a direct heat blast. Metal roasting pans are the safest default.
Step-by-Step: How to Make a Water Bath for Cheesecake
Preheat the Oven and Prepare the Pan
Set the oven to 325°F and give it a full 15 minutes to come to temperature. Cheesecake is a baked custard, not a cake, and a slow oven is the whole point of the technique.
Mix your filling with the cream cheese, sugar, sour cream, and eggs at room temperature, then set the springform pan inside the outer pan before the water goes anywhere. That order matters. Filling the outer pan first means carrying a heavy, sloshing dish of hot water across the kitchen, which is how crusts get wet.
Wrap the springform in foil now if you need to. Crumple a large sheet, set the pan in the middle, and mold it up the sides so it looks like a pouch. The foil doesn’t have to be pretty; it only has to keep water on the outside of the metal where it belongs. You can skip this entirely with a good nested-pan setup.
Place the Cheesecake in the Water Bath
Center the springform in the outer pan with an inch or two of clear space all the way around. That gap is where the water circulates, and it’s also what keeps a little splash away from your crust.
If you’re working without foil, make sure the outer pan is wide enough that the springform isn’t touching the roasting pan’s walls. Pushed too tight, the water can’t move past it and you get uneven heat, which defeats the point.
Add the Water Gradually
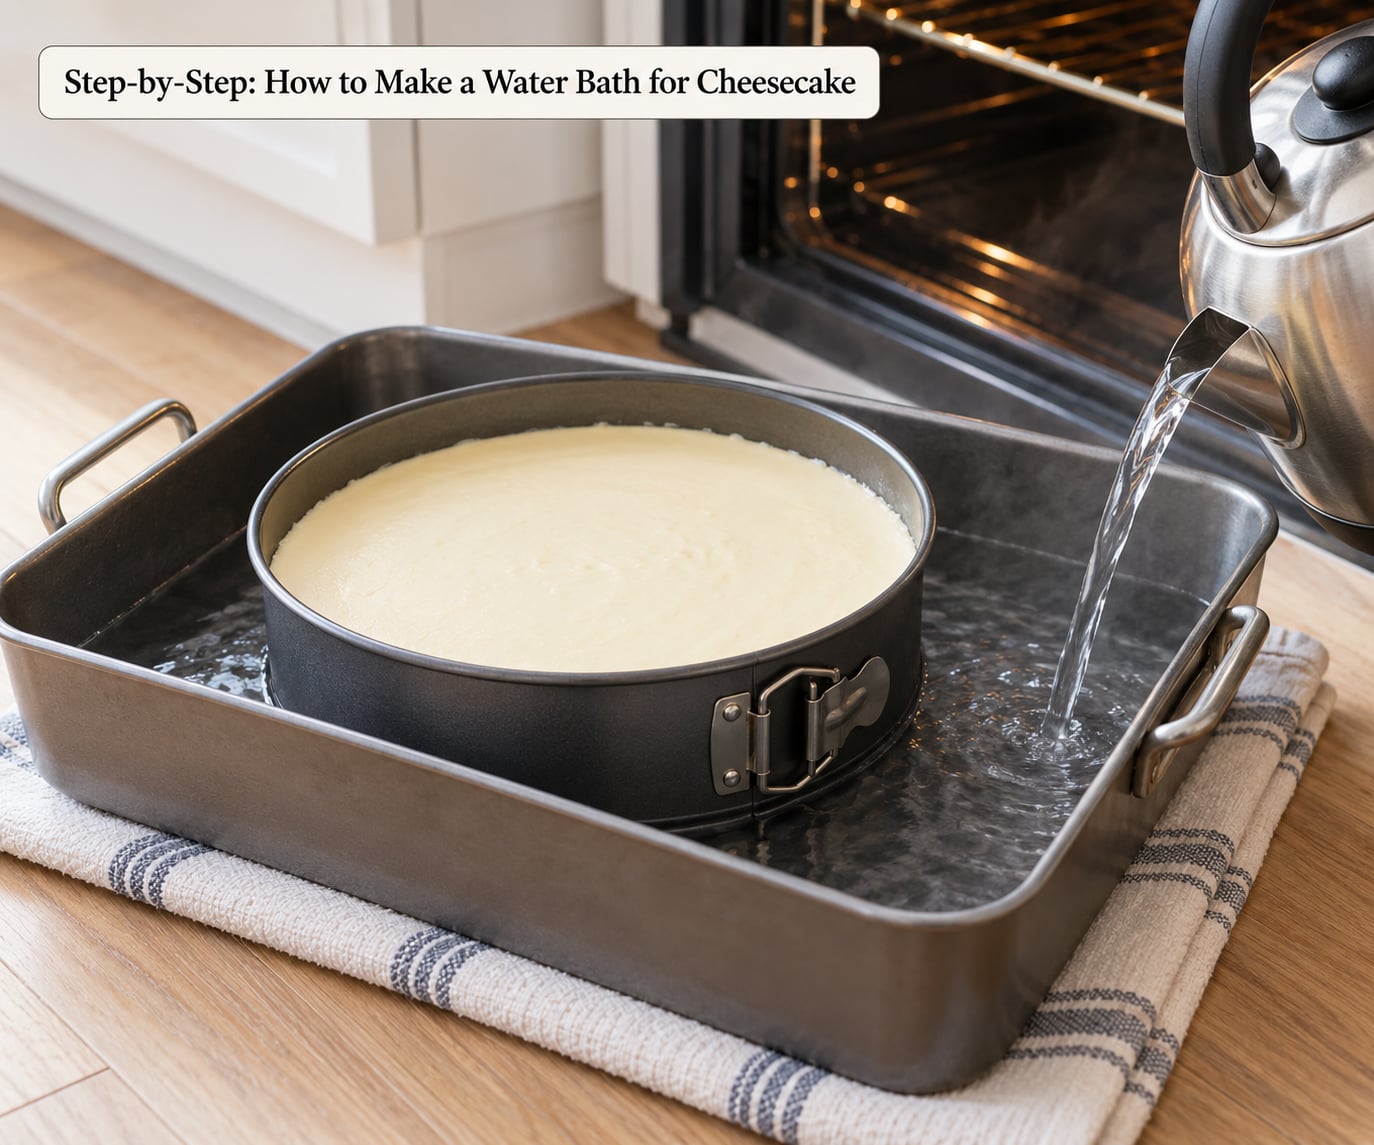
Pour hot water into the outer pan until it reaches about halfway up the side of the springform. Not the top of the pan, and never into the batter.
Pour slowly down the side of the outer pan rather than straight down in the middle, and pour at an angle so the stream runs along the metal instead of slamming the surface. Use a measuring cup if your kettle is too heavy one-handed. If the water hits the crust, you’ve gone too far up; let it go for a moment and check the level with a dry, clear cup.
Add ice cubes if you’re nervous about splashing. They knock the temperature down a little, which is a fair trade, and a few baking forums I read favor them for exactly that reason.
Bake Until the Cheesecake Is Properly Set
Bake at 325°F for 60 to 75 minutes for a 9-inch cake, depending on your recipe. A water bath keeps the temperature gentle and steamy, so the filling sets slowly rather than boiling.
You’re looking for three signals together: the edges look set, the center still wobbles when you shake the pan gently, and an instant-read thermometer inserted in the center reads 145°F. That last 2-inch-wide jiggle in the middle is normal and correct. It firms up as the cake cools.
Overbaking is what causes cracks even with a perfect water bath. The eggs tighten, the moisture escapes, and the surface pulls apart. Pull it a little early if you’re unsure; carryover cooking finishes the center while it cools.
Cool and Remove the Cheesecake Safely
Turn the oven off and leave the door cracked. Let the cake cool inside the water bath for 60 to 90 minutes, then another hour or two on the counter with the outer pan removed.
Once it’s room temperature, run a knife around the edge and release the springform latch. Lift the ring off slowly. If the bottom sticks, slide a thin spatula underneath rather than prying it.
Refrigerate for at least 4 hours, ideally overnight, before cutting. A cold cheesecake holds its shape; a warm one slumps onto the knife. Wipe the blade with a warm, damp cloth between every slice and the cut will come out clean.
Common Mistakes and How to Fix Them
Water leaked into the crust. This is the one bakers complain about most, and it’s usually a foil tear rather than a bad springform. If it happens, the cake is not ruined. Let it finish baking, then chill it fully and refrigerate it for a day; the soggy layer firms into something closer to a soft cheesecake crust. Next time, double-wrap with two sheets and press the foil tightly into the seam of the pan. The nested-pan method removes the risk altogether.
The bottom broke or leaked during baking. You probably filled the outer pan too high or placed the springform before checking the latch. Always tighten the springform latch with a rubber band or a strip of foil after filling, and keep the water at or below halfway.
Water splashed or boiled loudly. Pour more slowly, use hot tap water instead of boiling, and add a handful of ice cubes. The pan should simmer at most, never roil.
The surface cracked anyway. Almost always overbaking, or cooling too fast. Pull the cake at the thermometer reading rather than by the clock, and cool it gradually: cracked oven door, then counter, then fridge. Don’t put a hot pan on a cold marble slab.
The top browned heavily. Your oven runs hot, or the foil came loose and the steam escaped. Loosened foil means a drier, more direct bake. Check the pan seal before you start, and cover the foil edge snugly up the sides.
The middle stayed runny. Underbaked, which is less common in a water bath. If you are in the mountains, water boils below 212°F, so cakes take longer and water evaporates faster. Add 15 to 20 minutes to the bake, check the water level halfway through, and keep the pan covered. Some bakers at altitude drop the oven temperature by 25°F instead.
The cheesecake sank after cooling. The center was still liquid when it cooled. The jiggle test catches this: if it sloshes like batter rather than trembling like gelatin, give it another 10 to 15 minutes in the oven.
One more tip, since cheesecake usually shows up at the end of a hosting day: a chilled plain cheesecake is easy to plate ahead of guests, and a kettle on the table handles the coffee or tea side of things. I wrote up a simple guide to making tea properly for guests that pairs well with it, and my at-home brunch plan also uses cheesecake as the make-ahead dessert.
Frequently Asked Questions
How deep should the water be in a cheesecake water bath?
Fill the outer pan until the water reaches roughly halfway up the side of the springform pan. That is enough to create the humid, gentle heat that slows the bake and prevents cracking. Going higher is the most common mistake, because water can splash or wick into the crust. Leave the pan in the oven without adding more, unless you see the level dropping below a quarter of the way up.
Do you have to bake cheesecake in a water bath?
No, and plenty of good cheesecakes skip it. The water bath slows the bake and caps the temperature the filling reaches, which is why bakery cheesecakes come out smooth and crack-free. Without one, an oven set to 325°F still works, especially with a no-foil nested-pan setup that adds some insulation. Cheesecakes that crack most are usually overbaked, not under-bathed, so watch the thermometer either way.
What if I forgot the water bath for my cheesecake?
Keep baking. Set the cake on the lowest oven rack and put a pan of hot water on the rack above it so the steam reaches the cheesecake. This is less effective than a true bath, but it slows drying and reduces cracking. Avoid direct heat on the springform base, and pull the cake at 145°F in the center rather than trusting the timer.
Should the water in the bath be boiling?
No. Boiling water is harder to pour safely and splashes more, and the bath only needs to be hot. Hot tap water heated in a kettle works fine, and a few ice cubes bring the temperature down a notch if you are nervous. The pan should hold a gentle simmer at most, never a rolling boil, for the whole bake.
Can you freeze a cheesecake?
Yes, and a water bath cheesecake freezes especially well because of its high fat content. Cool it completely, wrap the whole pan tightly in plastic and foil, label it with the date, and freeze for up to two months. Thaw in the refrigerator overnight rather than on the counter, which keeps the texture creamy instead of grainy. Freeze it without toppings, since whipped cream does not survive the trip.
My cheesecake was soggy in the bottom. Is it ruined?
Usually not. Water that reached the crust turns the crumb into a dense, damp layer, but chilling firms it up considerably. Refrigerate the finished cake for a full day before judging it. To avoid it next time, tighten the springform latch, keep the water at or below halfway, and switch to the nested-pan method, which needs no foil and has nowhere for water to seep through.
Conclusion
Start with the setup, not the water: set the filled springform inside a pan that is wider on every side, confirm the latch is tight, and only then pour hot water into the outer pan up to halfway. Everything else follows from that order. Gentle, even heat from the bath is what gives you the smooth, creamy center and the crack-free top you were after, and the same simple setup has worked in bakery kitchens for longer than most of us have been baking.