
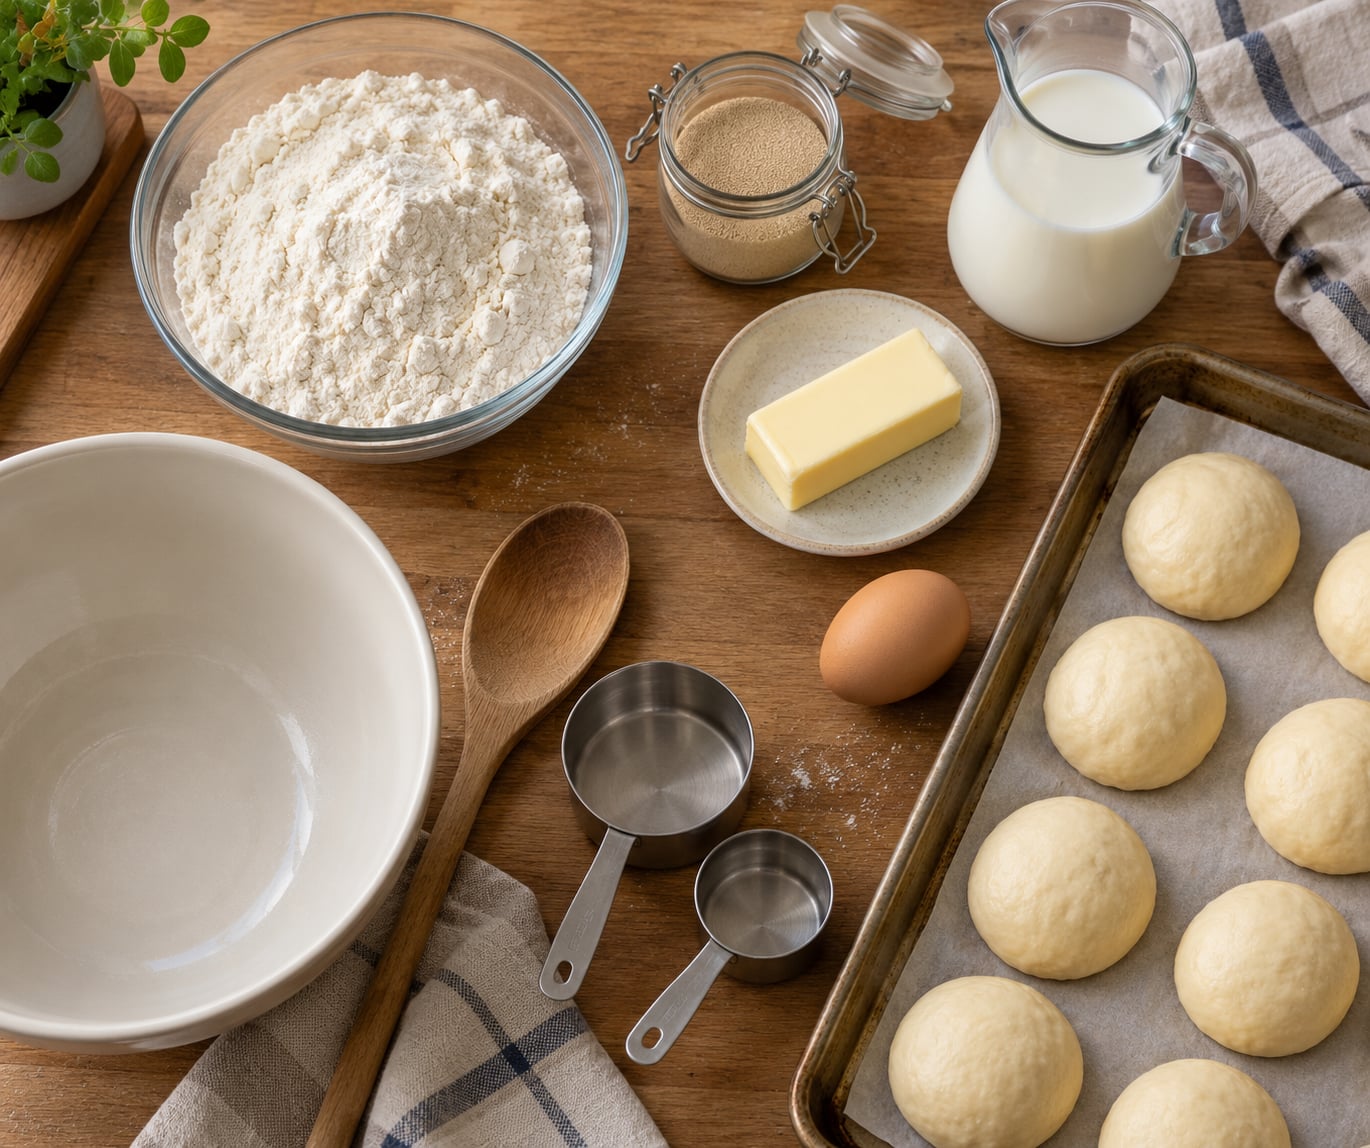
If you have ever pulled dinner rolls out of the oven wondering why they were dense, the fix is usually one of four things: enough kneading for gluten, warm enough temperatures for two full rises, gentle hands while shaping, and a bake that runs all the way through. Learning how to make dinner rolls soft and fluffy is mostly a matter of controlling those four variables.
From scratch this takes about 3 hours of active time with most of it spent waiting on the dough. A stand mixer helps, but a bowl and your hands work fine. Here is the method I use, with the exact temperatures that keep things predictable.
Five rules decide whether your rolls turn out pillowy or brick-like:
- Weigh the flour instead of scooping it. Extra flour is the single most common reason rolls come out heavy.
- Keep the dough warm, not hot. Somewhere around 75 to 85F for the first rise and 72 to 78F for the second works best.
- Give it two complete rises. The first builds the bubble structure, the second finishes it before the oven.
- Knead until the dough is smooth and elastic, then stop. Enriched dough with butter and egg needs less kneading than a lean baguette dough.
- Pull the rolls at 190F internal temperature, then cool them before you cut.
What You Need
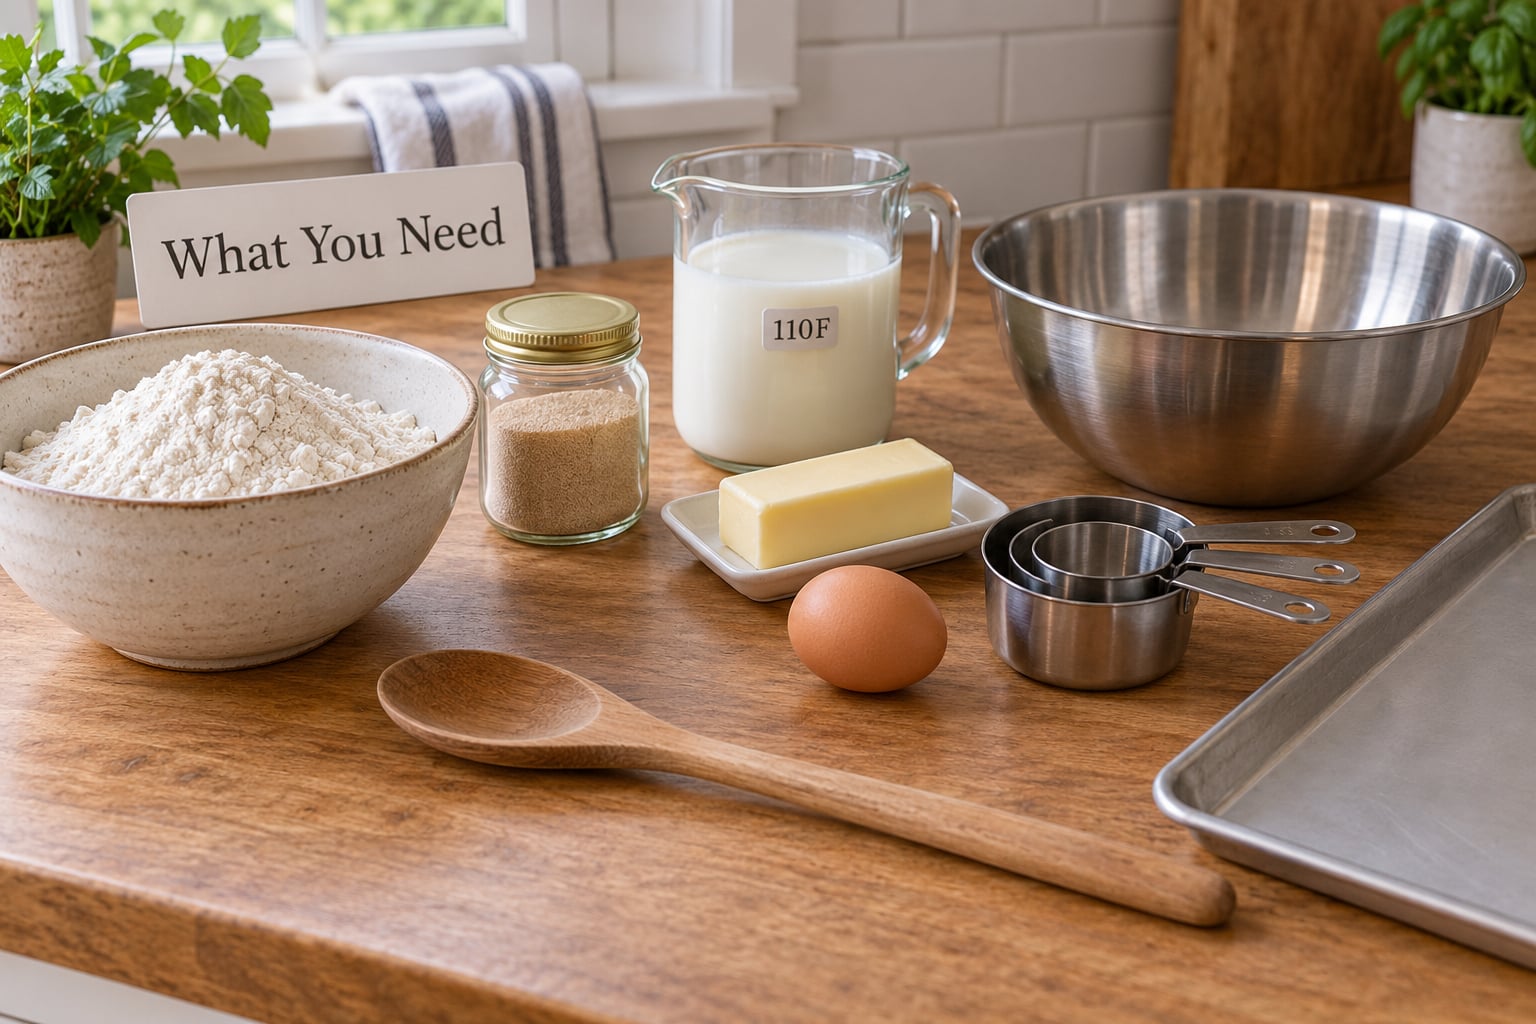
The ingredient list is short. What matters is which flour you reach for and how warm your liquids are.
- 4 cups (480g) bread flour or all-purpose flour, plus 2 to 3 tablespoons for dusting
- 2 and 1/4 teaspoons (7g) instant yeast, or 2 and 1/4 teaspoons active dry yeast
- 1/4 cup (50g) granulated sugar
- 1 teaspoon (6g) fine salt
- 3/4 cup (180ml) whole milk, warmed to 110 to 115F (43 to 46C)
- 1/4 cup (60ml) warm water at 110F (43C), for rehydrating active dry yeast
- 2 large eggs, one for the dough and one for the wash
- 5 tablespoons (70g) unsalted butter, softened, plus 2 tablespoons melted for brushing
Active dry yeast needs the warm water and sugar to wake up. Instant yeast is already live and can go straight into the flour, though mixing it with the dry ingredients still helps it disperse evenly.
On flour choice, protein is the number that predicts texture. Higher protein means stronger gluten, and stronger gluten traps more gas.
- Bread flour, 12 to 13 percent protein. Highest rise and the most open, airy crumb with the strongest structure. It runs drier, so it needs a longer first rise.
- All-purpose flour, 9 to 11 percent protein. Balanced and tender, and the easiest choice for beginners. Less lift than bread flour and a tighter crumb.
- Whole wheat flour, 12 to 14 percent protein. Nuttier, denser and heavier in the mouth, with a slower rise. Keep it under half the total flour if you want soft rolls.
Enriched dough gets its tenderness from three ingredients. Milk adds lactose and protein that tenderize the crumb, butter coats the flour proteins so the gluten matrix stays loose, and egg leavens while contributing fat. Sugar feeds the yeast and browns the crust, and salt is the only ingredient that tightens things, so measure it rather than pouring from a shaker.
A stand mixer with a dough hook saves time on the first five minutes of kneading. Without one, whisk the wet ingredients, make a well in the flour, and knead in the bowl before turning it out onto a floured surface for another five to eight minutes.
Step-by-Step
Step 1: Activate the yeast and combine the dry ingredients
Stir the sugar into the warm water, sprinkle the active dry yeast over the top, and wait 5 to 10 minutes. The surface should foam and smell like bread. If nothing happens, your yeast is dead or the water was too hot, and you should start over with cooler water.
Over 140F (60C) kills yeast on contact, and under 100F (38C) it wakes up slowly. Somewhere in the 105 to 115F (40 to 46C) band is the sweet spot. This is the step people skip, then wonder why their rolls never rose.
Whisk the flour, remaining sugar, salt and yeast together in a large bowl. Making sure the yeast is evenly distributed means every roll rises at the same rate instead of one lucky ball taking off while its neighbor sits flat.
Step 2: Mix and knead the dough
Pour in the milk, water, one egg and three tablespoons of the softened butter. Mix with a sturdy spoon or paddle until no dry flour remains, then knead.
By hand, knead for 8 to 10 minutes at a steady rhythm. In a mixer, use low speed for 4 to 5 minutes after the dough comes together. Enriched dough is sticky and gets softer, not tighter, the longer you work it, so the window for perfect texture is short here.
You know it is ready when the dough is smooth, elastic and slightly tacky. The classic test: pinch a small piece and pull. It should stretch thin without tearing. If it tears like a membrane, knead another two minutes. A fully developed gluten network is what later holds the gas from the yeast, and skipping this is why some rolls stay tight no matter how long they rise.
Step 3: Bulk ferment and shape the rolls
Transfer the dough to a lightly greased bowl, cover it, and leave it somewhere warm for 60 to 90 minutes. It should roughly double in size and feel full of air when you poke it.
If your kitchen sits near 70F (21C), that rise can stretch to two hours. Cold rooms are the quiet reason behind a lot of failed rolls, since the recipe says one hour and the dough needs three.
Turn it out onto a floured surface and press out the big bubbles gently. A hard punch deflates the dough more than people expect. Divide into 12 equal pieces, cup your hand over each piece and pull it into a tight ball, then let them rest for 10 minutes so the gluten relaxes before you shape them properly.
For spirals, roll each piece into a 8 by 12 inch rope, fold it in half lengthwise, then coil it and tuck the seam underneath. For pull-apart rolls, place the balls snugly in a greased baking dish so they bake into each other and tear apart in sheets. For cloverleafs, put three small balls in each greased muffin cup.
Step 4: Proof the shaped rolls
Cover the shaped rolls and let them proof until puffy and doubled, roughly 30 to 45 minutes at room temperature. Bakers using a proofing box run it around 78F (25.5C) for the first rise and 72F (22C) for the second.
The poke test beats any timer. Press a finger gently into the side of one roll. If the dent springs back fast, it needs more time. If it springs back partway and leaves a soft crease, bake it. If the dent stays and the dough feels fragile, it is over-proofed and will spread in the oven.
Skip this rise and your rolls bake dense no matter how good the dough was. Proofing is not about volume alone, it is about the gas being evenly distributed and ready to expand in the first minutes of heat.
Step 5: Add toppings, bake, and cool
Heat the oven to 350F (175C) for softer, more tender rolls, or 375F (190C) for a darker, crisper crust. Higher heat sets the crumb faster and can make the outside outrun the inside, which is how you end up with a crust that shatters and a crumb that is still gummy.
Brush the tops with egg wash, then add your topping: melted butter and a pinch of flaky salt, sesame seeds, everything bagel seasoning, or nothing at all. Bake for 18 to 22 minutes until deeply golden.
Use a thermometer rather than color. Enriched rolls are done at 190F (88C) internal temperature, and lean breads push toward 210F (99C). Under-baking is the most commonly reported cause of dense rolls, and a pale top fooled plenty of bakers.
Remove the pan and brush the hot rolls with the remaining melted butter. Wait 15 to 20 minutes before cutting. The crumb is still setting as steam escapes, and cutting early leaves you with a gummy tear instead of a clean slice. This cooling window is the step most people skip, and it does as much for the crumb as the kneading did. If you are planning a holiday dinner, [plan the dinner menu and timing at home step by step](https://5anddiamondrestaurant.com/how-to-plan-a-birthday-dinner-at-home/) so the rolls come out of the oven right as everything else is ready.
Common Mistakes
Almost every disappointing batch of rolls falls into one of these categories. Find the symptom, then work backward to the cause.
- Dense, brick-like rolls. Usually too much flour added during kneading. Weigh flour with a scale, and only add more if the dough is genuinely unworkable.
- Dense with a heavy, wet crumb. Baked before reaching 190F internal. Bake until a thermometer reads 190F even if the top looks pale.
- Flat rolls that spread in the oven. Over-proofed before baking. Cut proofing time and use the poke test instead of the clock.
- Tough, chewy rolls. Over-kneaded enriched dough, or not enough kneading. Aim for 4 to 5 minutes in a mixer or 8 to 10 by hand, then stop.
- Dough never rises. Water above 140F killed the yeast, or the yeast is old. Rehydrate yeast in 110F water and watch for foam in 10 minutes.
- Rise takes twice as long as the recipe says. The kitchen is too cold for the yeast. Proof at 78 to 85F, or find a warmer spot in the house.
- Gummy or soggy bottoms. The rolls sat in the pan too long before baking. Do the final proof briefly, not for the full rise.
- Rough, dull crust. A low oven or an overcrowded pan. Use a fully preheated oven and leave space between the rolls.
- Rolls dry out by morning. Stored uncovered. Cool fully, then store airtight at room temperature.
If you need a warm spot and have no proofer, bakers on baking forums use a few reliable tricks. Put a bowl of hot water in a roasting pan and set the dough bowl inside it. Run the dryer on a cool cycle, let it warm up, then use it as a closed warm box. Or heat the oven to 200F (95C), turn it off, and let the residual warmth do the work with the light on.
Dough temperature is worth thinking about too. If you mix a warm flour paste, let it cool before adding cold milk, because a paste straight off the heat plus warm milk can push the dough past the temperature that stalls the yeast.
For the night before, refrigerate the shaped rolls after the second rise and bake them straight from the cold pan, adding 3 to 5 minutes to the bake time. That is the same overnight logic behind [making cinnamon rolls the night before](https://5anddiamondrestaurant.com/how-to-make-cinnamon-rolls-the-night-before/), so the two skills travel together. Unbaked rolls also freeze well: freeze them after about 10 minutes of the final rise, thaw overnight in the refrigerator, then bake from cold.
Leftover rolls go stale quickly. Store them only after they are completely cool, in an airtight container or a sealed bag, at room temperature for 2 to 3 days. To bring them back, warm a whole roll at 350F (175C) for 5 minutes with a few drops of water splashed in the pan. For several at once, 5 minutes in a 300F (150C) oven with a damp towel over the tray softens the whole batch. A microwave makes them warm but tough, so use it only when a roll has to be ready in 60 seconds.
Homes with a bun warmer or a low slow cooker are useful on serving day. Warm the empty dish first, line it with a towel, add the baked rolls, and cover loosely. Keep checking so they do not dry out, and pull them out as soon as you are ready to eat.
Frequently Asked Questions
What makes dinner rolls soft and fluffy?
Softness comes from four things working together: milk, butter and egg tenderize the crumb, kneading builds the gluten network that traps gas, two full rises fill that network with air, and baking to 190F internal sets the crumb without drying it out. Under-proofed or under-baked dough is the usual culprit when rolls turn out dense.
Why are my dinner rolls dense?
Check these in order: too much flour weighed by volume instead of weight, not enough kneading, a first rise that was cut short, or a bake that stopped before 190F. Also watch the dough temperature, since water above 140F kills yeast and stops the rise before it starts.
Can I make dinner rolls without a stand mixer?
Yes, and many bakers prefer it. Mix the wet ingredients into the flour with a spoon, then knead on a floured surface for 8 to 10 minutes until the dough is smooth, elastic and slightly tacky. The window to stretch a small piece thin without tearing tells you the gluten is ready.
How do I know when dinner rolls have finished proofing?
Use the poke test. Press a finger gently into the side of a shaped roll. If it springs back quickly, keep waiting. If it springs back partway and leaves a soft crease, the rolls are ready for the oven. If the dent stays and the dough feels fragile, it is over-proofed and will spread while baking.
Can I use whole wheat flour for softer dinner rolls?
Whole wheat works, but keep it under half the total flour. It has more protein and bran, which means a heavier, denser crumb and a slower rise. Mix one part whole wheat with two parts bread flour for a softer result, and expect the first rise to run 30 to 60 minutes longer than with white flour.
How should I store and reheat dinner rolls?
Cool the rolls completely, then store them in an airtight container or sealed bag at room temperature for 2 to 3 days. To revive them, warm at 350F for about 5 minutes, or cover a whole tray with a damp towel in a 300F oven. Avoid the microwave unless you are in a hurry, since it dries the crumb out fast.
Conclusion
If your next batch turns out dense, work down this list. Weigh the flour on a scale instead of scooping it, knead until the dough passes the windowpane stretch, and let the dough roughly double twice in a warm spot rather than on a timer.
Handle the dough gently when you shape it, bake to 190F internal instead of trusting the color, and give the rolls 15 minutes to cool before cutting. Those five habits, done consistently, are how to make dinner rolls soft and fluffy every time. And if you are feeding a crowd, [a simple kids menu for a dinner party](https://5anddiamondrestaurant.com/how-to-make-a-kids-menu-for-a-dinner-party/) keeps the table easy while the bread does the comforting.