
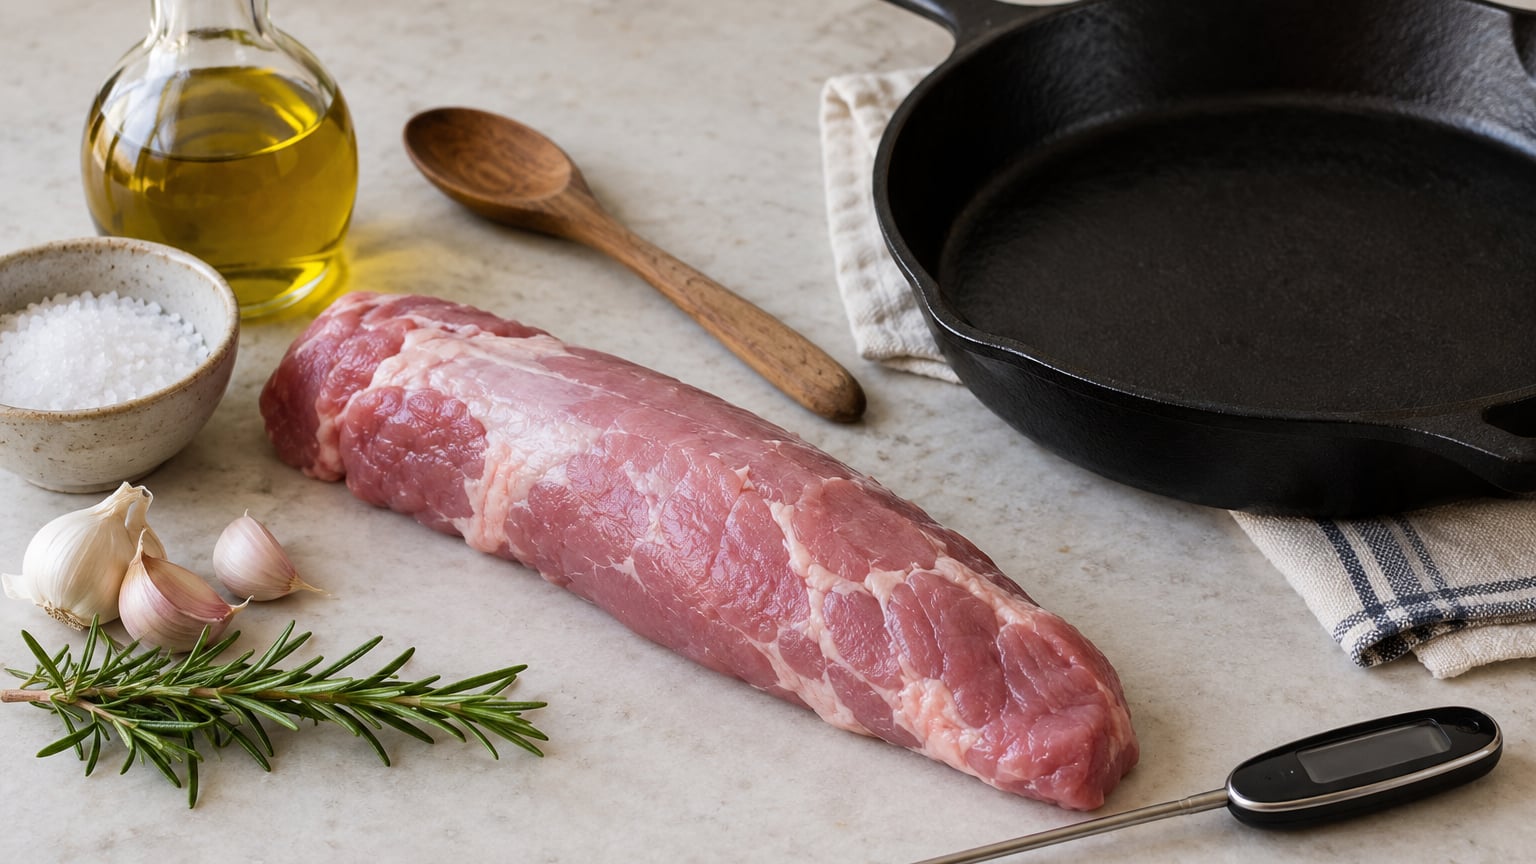
Pork tenderloin is the fastest-cooking cut of pork on the counter, which is exactly why it turns dry so often. Sear it hard on all sides, finish it in a 400°F oven, pull it at 140°F, and let it rest 10 minutes. That method takes about 30 minutes from pan to plate and works with nothing more than salt, a skillet, and an instant-read thermometer.
Almost every dry tenderloin I have eaten traced back to one of three things: cooking it past the safe temperature, slicing it the second it came out of the oven, or crowding a cold pan with the whole loin in one piece. Fix those three and the rest is seasoning.
The plan below walks through the whole process, including an optional brine and three flavor combinations, plus how to reheat leftovers without turning them into leather. If you want a broader look at keeping lean pork moist, my guide to how to cook a pork chop that is not dry covers the same temperature logic for a fatter cut.
What You Need
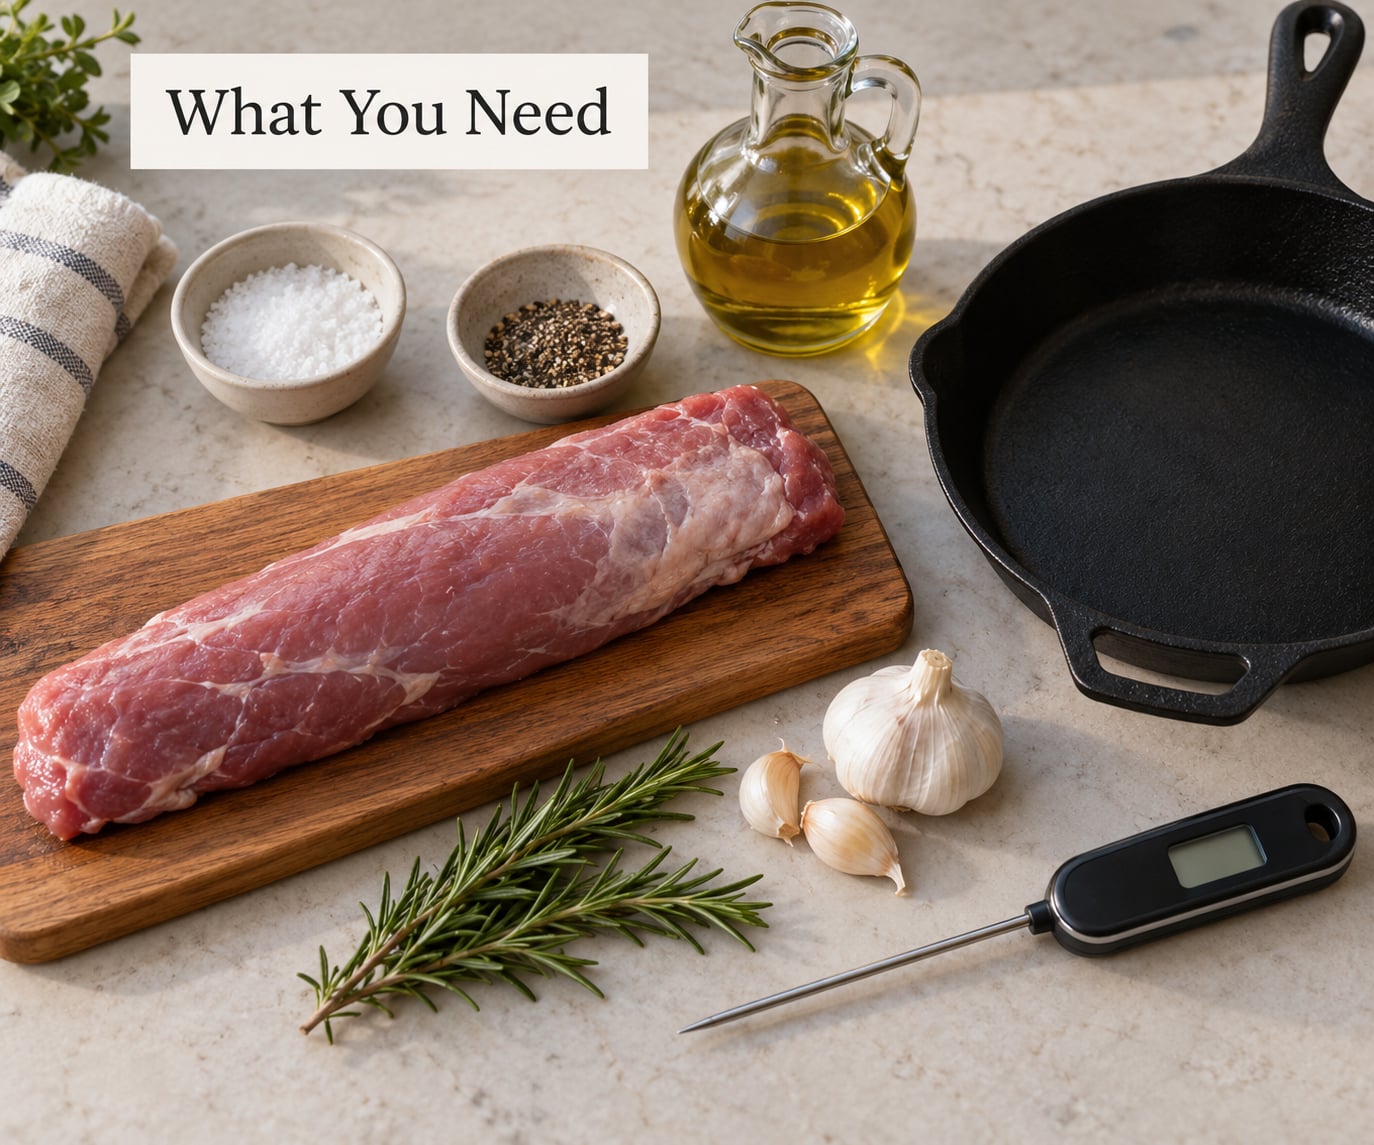
One whole tenderloin, roughly 1.5 to 2 pounds, is the ideal size for this method. It cooks evenly, and an even cook is what keeps the thickest part from drying out before the thin ends are ready.
- A whole pork tenderloin. Ask the butcher to leave the silver skin on. You remove it yourself at home, where you can see what you are cutting.
- Kosher or coarse salt. Enough for the brine (about a quarter cup) plus seasoning.
- A large oven-safe skillet or roasting pan. Cast iron and heavy stainless both hold heat well enough to sear.
- High smoke point oil. Avocado, canola, or grapeseed. Olive oil works too, just keep it away from smoking.
- An instant-read thermometer. This is the whole ballgame. A cheap one from the grocery store works as well as an expensive one.
- A sharp paring or boning knife. For the silver skin.
- Aromatics and salt for flavor. Garlic, pepper, rosemary, thyme, mustard, honey, or yogurt, depending on the profile you pick below.
Step-by-Step: How to Cook Pork Tenderloin So It Stays Juicy
1. Brine the Tenderloin for Extra Moisture
Brining is optional, and the meat will still be good without it. But if you want the juiciest results, this is the single highest-impact step you can add.
Dissolve a quarter cup of kosher salt in a gallon of cold water, submerge the tenderloin, and refrigerate for 30 minutes to an hour. Longer is not better here. Beyond two hours the surface starts to firm up and turn noticeably salty.
You will know it worked when the meat looks slightly firmer and a fraction lighter in color after a soak. That is salt drawing water into the muscle, which means some of that water stays in the meat during cooking instead of running out onto the board.
Dry the tenderloin thoroughly with paper towels before it goes anywhere near heat. Surface moisture is the enemy of a good crust, and a wet loin steams in the pan instead of browning.
2. Trim and Season the Pork
Lay the tenderloin on a board and slide your knife under the silvery membrane running along its length. Keep the blade angled slightly upward, almost parallel to the meat, and pull rather than saw.
You want to lift the silver skin away in one or two long strips, leaving the surface underneath bare. This membrane contracts hard under heat, which is why an untrimmed tenderloin curls into a bow and why slices from it feel chewy.
Then pat the surface dry again and trim only what is clearly loose. Tenderloin is lean, so scraping away every fleck of surface fat buys you nothing. A little exterior fat is insurance against drying out.
Season generously on all sides. If you brined, use a light hand on the salt and reach for pepper, garlic, and herbs instead. A useful mental model for building flavor in layers is to read about seasoning food as you cook before you start.
3. Sear the Tenderloin on All Sides
Put the oven on 400°F and let the empty skillet heat for a full five minutes. A cold pan is the single most common reason pork sticks and tears instead of browning.
Add a generous slick of oil, then the tenderloin. Lay it away from you. Sear without moving it for about 90 seconds, until the underside is deeply browned and releases on its own when you nudge it with tongs.
Turn it every 90 seconds or so. All four sides should get roughly six to eight minutes of total contact with the pan. Watch the color rather than the clock, since a thicker loin and a cold pan at sea level behave differently.
Stop short of a long sear. Ten minutes in a hot pan drives moisture out of the surface faster than the interior can catch up, and that is how you end up with a well-browned shell around a dry core.
4. Roast Until the Center Reaches the Right Temperature
Transfer the seared loin to the preheated oven. A 1.5 to 2 pound tenderloin needs roughly 18 to 25 minutes in this range, but treat that as a hint, not an instruction.
Start checking at 15 minutes. Push the thermometer into the thickest part of the loin, aiming for the center without touching bone or the pan, and read it.
Pull it at 140°F. Residual heat inside the meat keeps pushing the center up as it rests, so a loin pulled at 140°F lands right at the USDA safe minimum of 145°F (63°C) with a three-minute rest. Pulling at 145°F means the center arrives at the table somewhere around 152°F, which is the dry zone.
If your tenderloin is unusually fatty or you prefer a firmer texture, cook to the full 145°F in the oven rather than pulling early. Just know you are giving up some of the juiciness.
5. Rest, Slice, and Serve
Move the loin to a board or a shallow dish and wait a full 10 minutes. Resting is not a formality here, it is the step that decides whether the juices end up on your cutting board or in the meat.
While it rests, you can build a quick pan sauce from the drippings. Set the skillet over medium heat, add a splash of stock or water to loosen the browned bits, stir in a spoonful of mustard or a drizzle of honey, and reduce for two or three minutes.
Identify the grain before you cut. It runs lengthwise down the loin, and you will see it as faint parallel fibers on the cut end. Slice across those fibers in thick coins, about three-quarter inch pieces.
Cutting against the grain shortens the muscle fibers, so each slice feels tender instead of springy. Then spoon the pan juices back over the top right before serving. If you want the skillet-sear technique explained in more detail for a different cut, how to cook a steak in a cast iron skillet goes deeper on the heat control.
Three Flavor Profiles That Add Moisture Instead of Taking It Away
Wet marinades and salt both help, but acid-heavy marinades can do the opposite. Vinegar and citrus tenderize by cutting into protein, and a full acidic soak leaves the surface chalky and dry.
- Honey-Dijon. Two tablespoons Dijon, one tablespoon honey, two tablespoons olive oil, one teaspoon salt. Marinate 2 to 4 hours, no longer, since the mustard and honey are already doing flavor work.
- Garlic-Herb. Four crushed garlic cloves, a tablespoon of rosemary, a teaspoon of thyme, olive oil, and black pepper, for 4 hours or overnight.
- Yogurt. Plain whole-milk yogurt coating the loin, 4 to 12 hours in the fridge. The lactic acid is gentle enough to season the surface without making it grainy, and the protein in the yogurt helps the crust stick.
Other Cooking Methods for Pork Tenderloin
The sear-and-roast is the most flexible, but two other methods handle it well. Sous vide cooks it to an exact 145°F (63°C), the USDA safe minimum, and gives the most consistent result, then you sear the bagged meat for a minute per side in a hot pan for crust. On a grill, keep it over indirect heat and treat the two zones as a two-stage oven: sear hard on one side, then move it away from the coals and let it finish gently until the thermometer reads 140°F.
Slow cookers are the wrong tool for this cut. Hours at a low, steady temperature squeeze moisture out of lean muscle, and the result is the stringy texture people often report when they try to fix a dry roast with more sauce.
Common Mistakes That Dry Out Pork Tenderloin
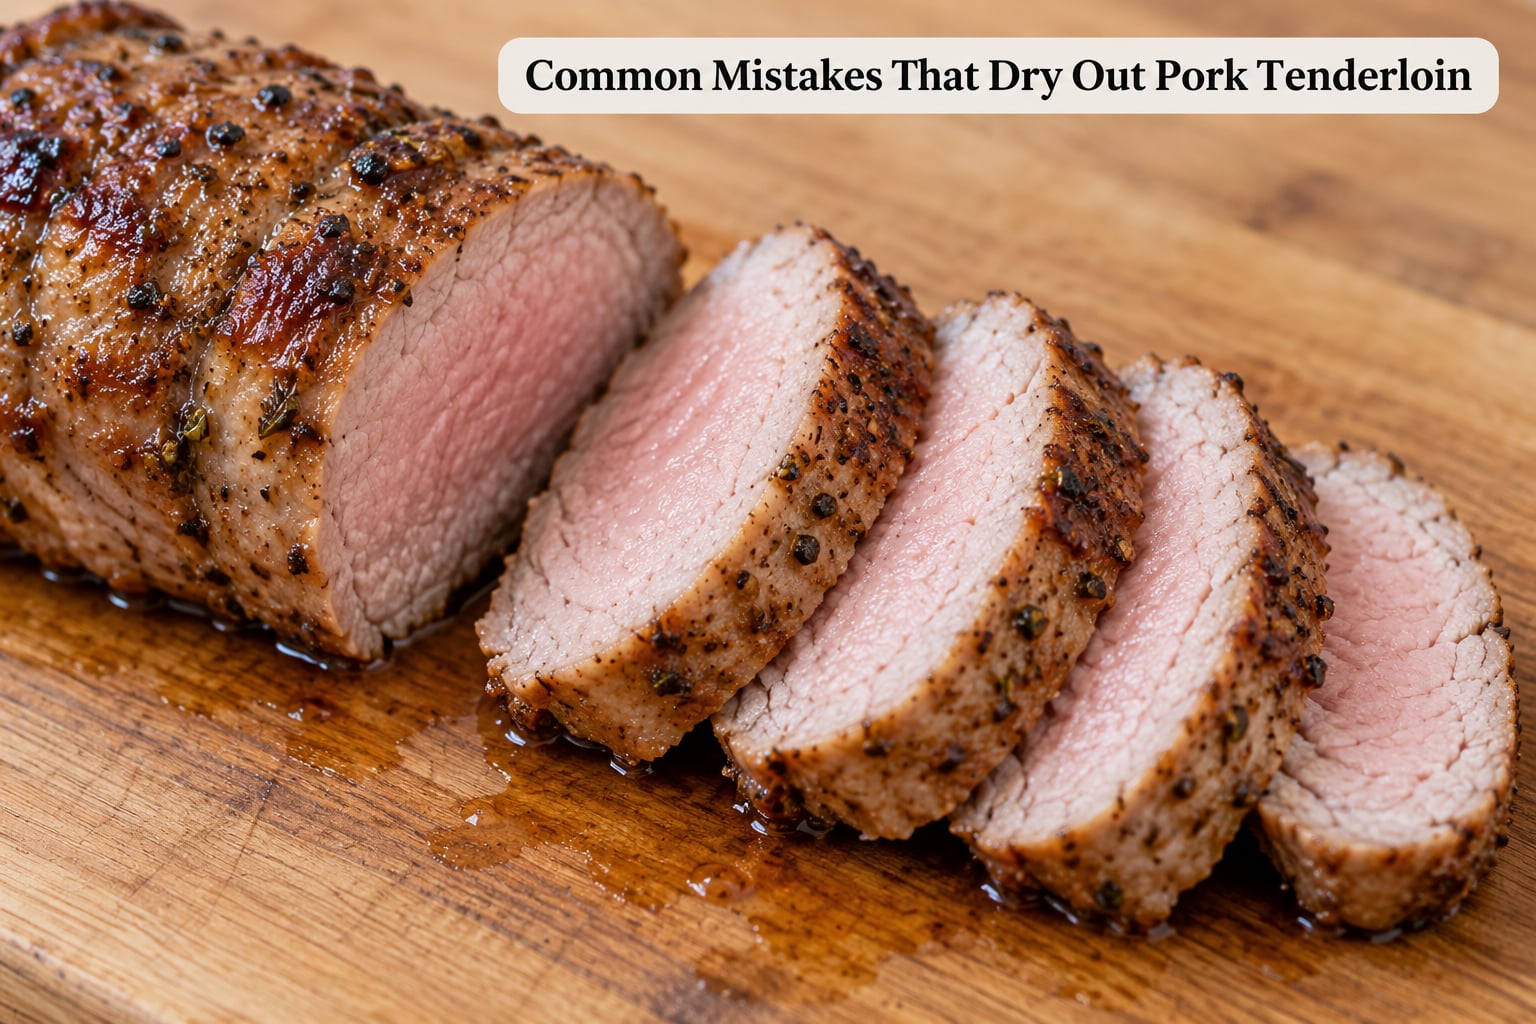
Almost every disappointing tenderloin comes down to one of these.
- Cooking to 145°F in the oven. Add carryover cooking and the center passes 150°F before you carve it. Pull at 140°F instead.
- Slicing straight from the oven. The juices have not moved back into the muscle yet, so they run out onto the board within seconds. Wait 10 minutes.
- Cutting with the grain. The fibers stay long and intact, and the meat reads as chewy even when it is perfectly cooked.
- Crowding the pan. Dropping a cold, wet loin into a pan that cannot hold heat drops the temperature enough to gray the outside. Brown it in batches and oil the pork rather than crowding it.
- Salting too late. A coat of salt applied right before searing seasons the surface. A brine applied an hour ahead seasons all the way through.
- Uneven thickness. A tapered end hits 145°F long before the thick middle does. Ask your butcher to even it out, or plan to check both ends.
- A soaking marinade. Vinegar and heavy citrus marinades leave the surface dry and pasty after a long soak. Keep those under two hours.
For leftovers, reheat gently in a covered skillet over low heat with a splash of broth or a spoonful of the pan sauce. Ninety seconds is usually plenty. The microwave is the fast way to turn tenderloin into sawdust.
Frequently Asked Questions
What temperature should pork tenderloin reach?
Pull the tenderloin from the oven at 140°F and let carryover cooking bring the center to the USDA safe minimum of 145°F with a three-minute rest. If you want to hit 145°F in the oven instead, expect the center to land closer to 152°F and the meat to be noticeably firmer and drier.
How long does it take to cook a whole pork tenderloin?
A 1.5 to 2 pound tenderloin takes about 6 to 8 minutes of searing on all sides plus 18 to 25 minutes in a 400°F oven. Start checking with a thermometer at 15 minutes. Cooking time varies with pan thickness and how far above sea level you are, so treat those numbers as a starting point rather than a schedule.
Should I brine pork tenderloin before cooking it?
It helps, and it is optional. A quarter cup of kosher salt dissolved in a gallon of cold water, with the loin submerged for 30 minutes to an hour, seasons the meat deeply and helps it hold moisture. Go longer than two hours and the surface turns firmer and salty. Dry the loin thoroughly afterward so it sears instead of steams.
Can pork tenderloin be cooked from frozen?
You can, but thaw it first if you can. A frozen loin sears unevenly, the outside overcooks before the center softens, and you lose the crust entirely. If you must cook it frozen, use the oven bag or low-and-slow approach and add 50 to 75 percent to the cooking time. Thawing overnight in the fridge is far easier.
Is it better to roast or pan-sear pork tenderloin?
The two work best together. The sear builds a crust that a plain oven roast never gives you, and the oven finishes the loin gently and evenly, which is what keeps the interior juicy. Cooking the entire loin in a skillet over direct heat burns the outside before the middle catches up. Grilling works the same way, with two zones for sear and finish.
How do I reheat pork tenderloin without drying it out?
Reheat gently in a covered skillet over low heat with a splash of broth, a spoonful of pan sauce, or a pat of butter. Ninety seconds to two minutes is usually enough for slices. Loosely cover the meat so steam softens the cut without trapping a crust. Avoid the microwave at full power, which heats the outside of the slice before the middle.
Conclusion
Start with the thermometer, not the clock. Pull the tenderloin at 140°F, let it rest 10 minutes before slicing, and cut across the grain. Everything else in the method is seasoning, and seasoning cannot rescue a loin that spent ten extra minutes in a hot oven.