
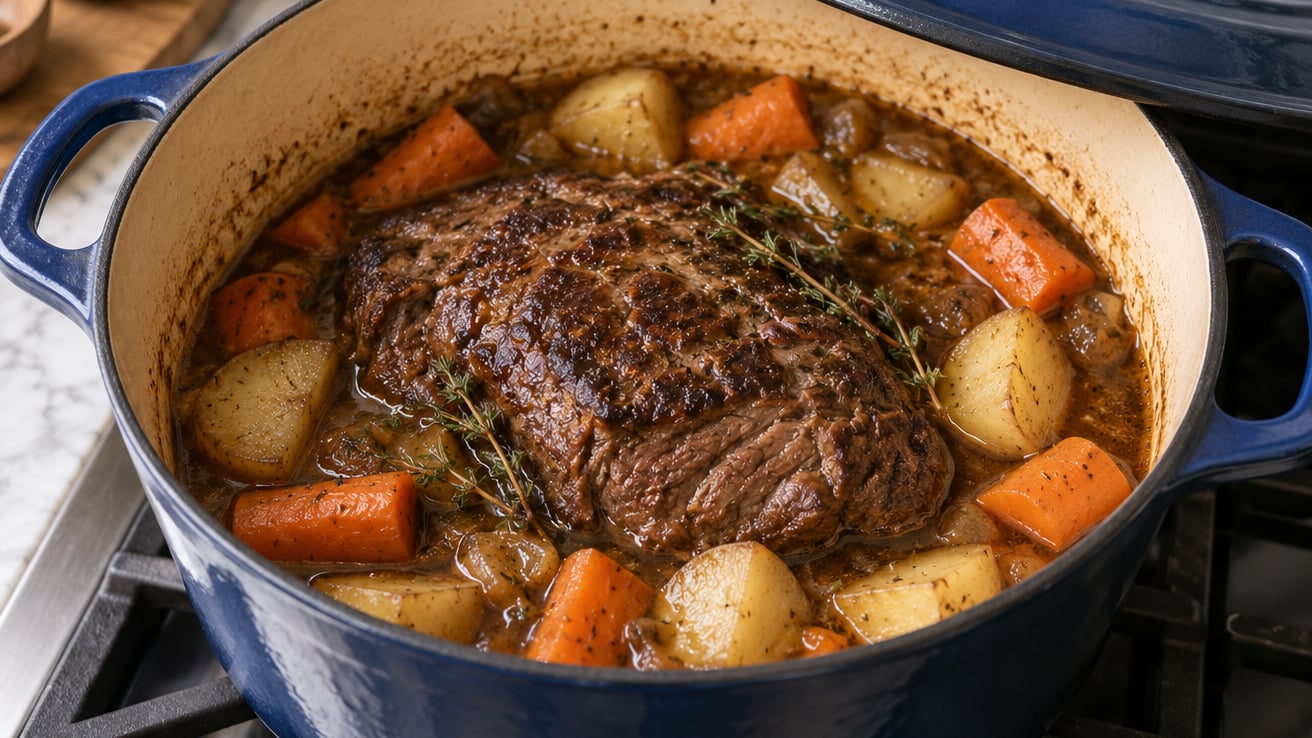
Pot roast in a Dutch oven is a chuck roast seared hard in a heavy pot, then braised covered at 300°F for about an hour per pound until a fork slides into it without resistance. The pot does the work: it holds steady heat, keeps the steam trapped so the meat never dries out, and gives you a built-in gravy from the same pot. Most of the work is ten minutes at the stove before the oven takes over for a few hours.
The whole thing is forgiving as long as you get three things right: a real sear, roughly half the roast sitting in liquid, and enough time. This is how to make pot roast in a Dutch oven without drama, with the timings and the doneness checks that tell you what to do when the clock and the texture disagree.
Total time is about 20 minutes of active work plus 3 to 4 hours of oven time. Difficulty: easy, and the only real risk is walking away too soon.
What You Need
A Dutch oven is not the same thing as a roasting pan. A roasting pan is open and shallow, meant for dry heat, and it will not hold steam. A Dutch oven is a heavy, lidded, oven-safe pot that braises. That tight lid is the whole trick, and it is why pot roast made in one stays juicy while the same roast in a slow cooker often comes out dry.
For size, aim for a 5-quart pot as an absolute floor and a 7- or 7.5-quart pot as the sweet spot for a 3- to 5-pound chuck roast. The roast should sit in the middle of the pot with room for liquid to come partway up the sides and for vegetables to fit around it without crowding.
A 4-quart pot is where recipes fail. Cram the roast in and the meat touches the walls, browns unevenly, and drains badly, and you end up with boiled beef instead of braised beef. If a boneless roast is longer than your pot, tie it into a compact cylinder with kitchen twine rather than folding it. Home cooks on cooking forums call this the single fix that turns a cramped pot into a workable one.
Material matters less than people think. Enameled cast iron is the easiest: no seasoning to maintain, and you can use tomato paste or wine without worrying. Bare cast iron works identically and gives you a better crust, at the cost of drying and oiling it afterward. Stainless steel is fine for this recipe too, though it holds heat a little less evenly. Avoid a Dutch oven with a thin or loose lid; a lid that does not seal is the same as no lid.
What to put in it:
- The beef. A 3- to 5-pound chuck roast or chuck shoulder roast, bone-in or boneless. Bottom round with a fat cap works in a pinch, and brisket is good but denser and takes longer.
- Fat. Two tablespoons of neutral oil such as canola or avocado, or bacon drippings if you have them.
- Aromatics. One large onion, two or three carrots, two stalks of celery, four or five garlic cloves, a bay leaf, and a few sprigs of fresh thyme or rosemary.
- Liquid. Two cups of low-sodium beef broth, plus a half cup of dry red wine if you like. Tomato paste, Worcestershire sauce, and a tablespoon of chopped tomato are the usual boosters.
- Seasoning. Kosher salt and coarse black pepper, plus optional smoked paprika, garlic powder, and a pinch of red pepper flakes.
- Root vegetables. Yukon gold or baby gold potatoes, plus more carrots and onion, if you want the full classic plate.
Tools are minimal: a large wooden spoon that can survive cast iron, a Dutch oven, a carving board, and an instant-read thermometer if you have one.
Step-by-Step: How to Make Pot Roast in a Dutch Oven
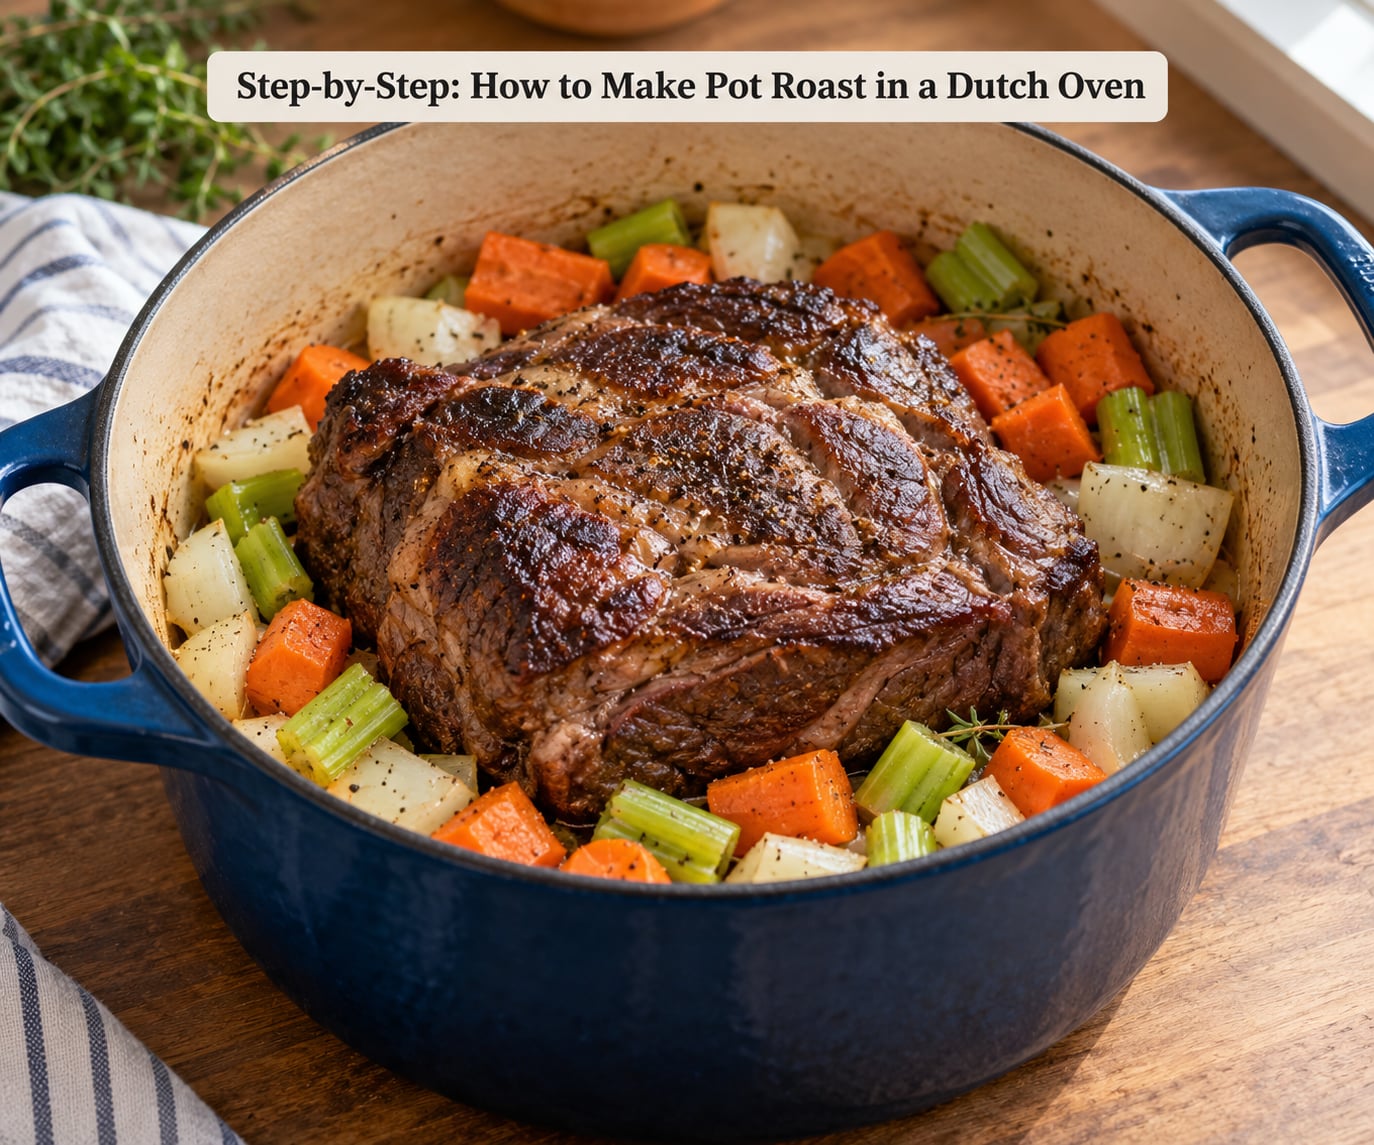
Total time: about 4 hours. Prep: 20 minutes. Cook: 3 to 4 hours at 300°F. Yield: 6 to 8 servings.
1. Season the Roast and Dutch Oven
Take the roast out of the fridge 30 minutes before cooking so it is not refrigerator-cold when it hits the pan. A cold roast sears badly and takes longer to cook through.
Pat it very dry with paper towels, then salt it generously on every side and grind black pepper over it. Some cooks dredge the roast in flour first; it gives the braised liquid body and thickens the gravy without any extra work later.
Preheat the oven to 300°F. Set the empty Dutch oven on the stove with the lid beside it, and heat it over medium-high heat. A cold pot plus cold beef plus cold oil means the sear stalls and you get a grey, steamed exterior instead of a brown crust. A light coating of oil in the hot pot keeps the meat from sticking while it browns.
2. Sear the Beef for Deep Flavor
Add two tablespoons of oil to the hot pot, then lay the roast in. Leave it alone for 3 to 4 minutes per side. Do not move it, do not flip it early, and do not crowd the pot. Moving the meat repeatedly tears the crust you spent four minutes building.
You are looking for a deep brown, almost mahogany crust. Pale grey or patchy tan means the pot was not hot enough or the meat was wet. If the pot smokes heavily, turn the heat down a notch rather than reaching for smoke; the oil should shimmer, not billow.
Rendered fat collects in the pot as the beef cooks, and it is hot. When you move the roast out, tip off all but about a tablespoon of it. That fat is what you sear the vegetables in, and it carries more flavor than fresh oil.
3. Build the Braising Liquid
Dump the excess fat. Chop one large onion, two carrots, and two stalks of celery into rough 1-inch pieces and drop them into the pot. Cook them in the reserved beef fat for 5 to 7 minutes, stirring, until they soften and pick up brown color on the bottom of the pot.
Add 4 or 5 crushed garlic cloves and a tablespoon of tomato paste and cook for 60 seconds more. The tomato paste is optional, but it adds body and a little sweetness that balances the wine or broth.
Pour in the broth and wine, scraping the bottom of the pot with a wooden spoon as you go to lift up every browned bit stuck to the cast iron. That fond is not waste; it is the flavor of the dish. If the liquid does not visibly scrape up, add a splash more broth.
Returns the roast to the pot. Nestle it in so roughly half the meat sits below the liquid line. Submerging it completely is a common mistake: the top half then steams in a sealed pot instead of braising, and the crust you built softens. You want it roughly half-immersed, with the liquid coming partway up the roast.
Tuck a bay leaf and a few thyme or rosemary sprigs around the edges. Season the liquid with a half teaspoon of salt, a tablespoon of Worcestershire sauce, and a splash of wine if you skipped it.
Why the covered braise keeps the meat juicy
The lid is doing something specific here. Steam rises, hits the cold lid, condenses, and runs back down onto the meat, so the roast sits in a moist oven instead of drying out over three hours of steady heat. That is why a lidded pot at 300°F outperforms an uncovered one at the same temperature, and why a slow cooker on Low so often produces dry meat.
Chuck also needs the time. The connective tissue in a chuck roast is mostly collagen, and collagen only converts to gelatin when it is held around 180-205°F for a long stretch. Sear it as long as you like; no amount of browning will shortcut that. If the meat still resists the fork, it needs more time, not a higher oven.
4. Braise the Roast Covered
Cover the Dutch oven, put it in the 300°F oven, and check it at the two-hour mark. For a 3-pound roast at 300°F, plan on roughly 3 hours total; at 275°F, add 30 to 45 minutes; at 325°F, subtract about 30 minutes. Very large roasts take proportionally longer, but you do not need to double the recipe to scale up, only the liquid and some extra time.
Food-safety guidance for whole cuts of beef is an internal temperature of 145°F with a three-minute rest. That is the floor, not the finish line for pot roast. The texture that matters for a good braise is a range of about 195 to 205°F, where the collagen has turned to gelatin and the meat shreds under light pressure. Probe the thickest part with an instant-read thermometer, then test with a fork.
Add root vegetables late so they do not dissolve. If you want potatoes and more carrots, push them into the liquid around the roast at the two-hour point, nestled against the meat so they pick up flavor. Baby gold potatoes need about an hour; large chunks need closer to 90 minutes.
If the liquid drops below a quarter of the pot and starts to smell concentrated, add hot broth in a cup at a time. Long braises reduce, and a dry pot is the one thing that turns a good roast into a chewy one.
5. Rest, Slice, and Serve
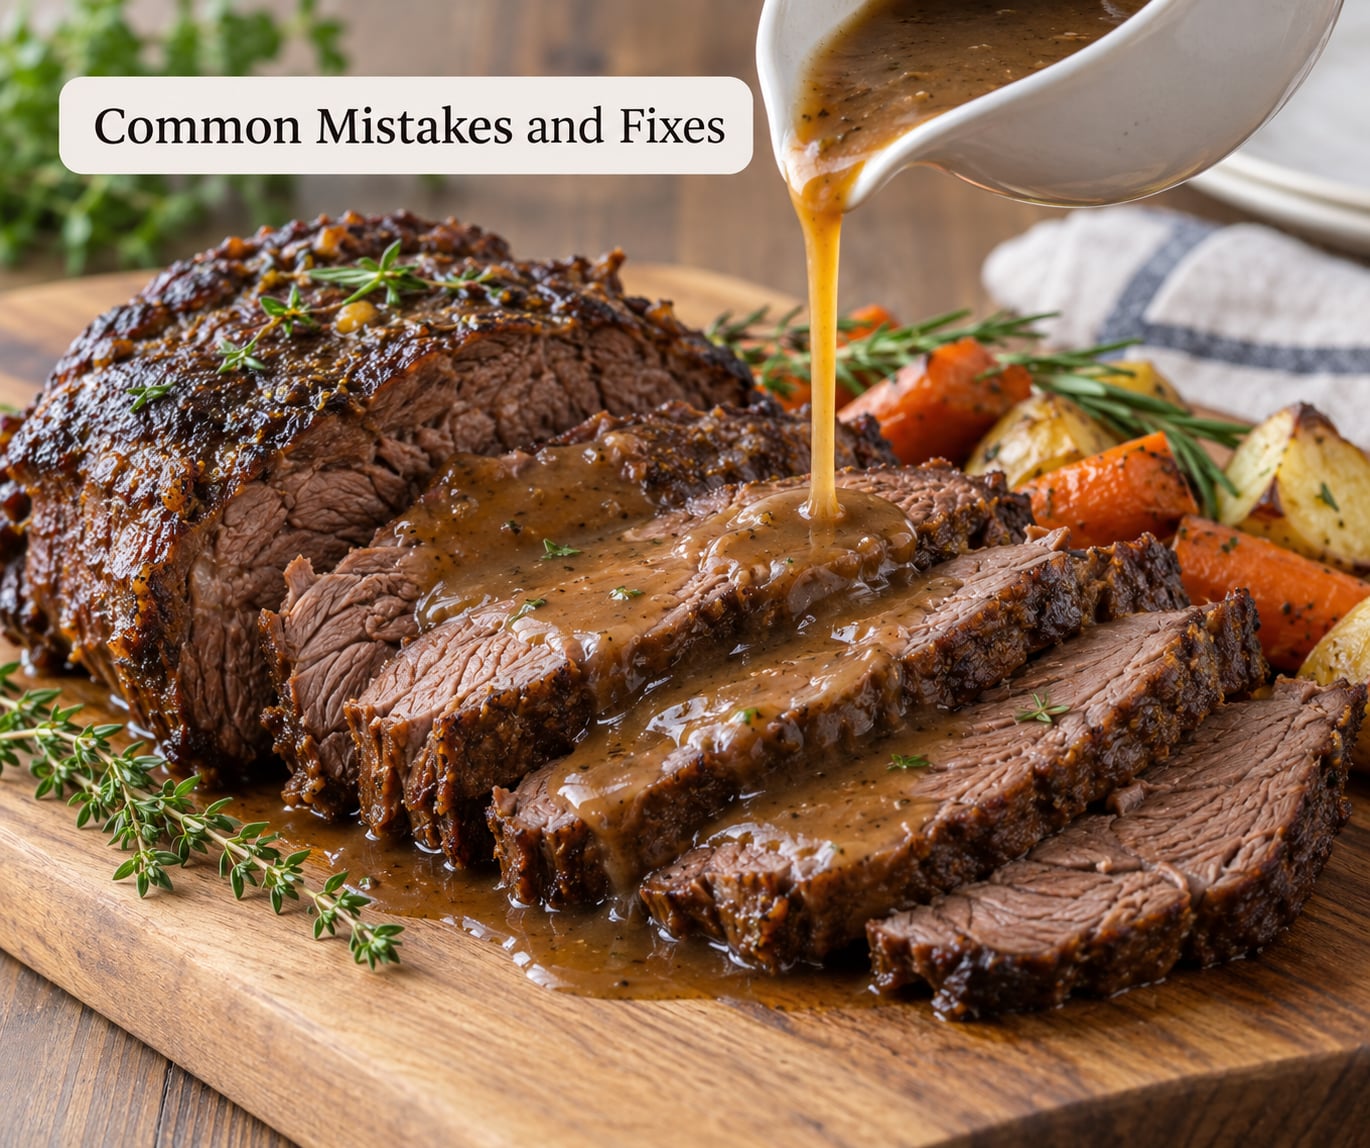
Set the roast on a board and let it rest 20 to 30 minutes. Slice it against the grain with a sharp knife, thin, and pour the pan juices and vegetables over the top. Those juices thicken as they cool and are the best part of the dish.
For richer gravy, skim the fat off the top of the braising liquid, strain out the vegetable bits if you want a smooth sauce, and reduce it on the stove by a third. A slurry of cornstarch mixed with cold water, added a spoonful at a time, thickens it fast. Season with salt, pepper, and a dash of Worcestershire.
Serve it with crusty bread to mop up the juices, or alongside crispy roasted potatoes. If the meal needs a side, something sharp cuts the richness well, and stuffing done right works alongside it.
Refrigerate leftovers within two hours. Let the pot cool on the stove before you ladle food into shallow containers, and keep it three to four days in the fridge. Reheat with a splash of broth or water in a covered pot over low heat, which keeps the meat from drying out. Freeze only the meat and sauce, not the potatoes, which turn watery when thawed.
Common Mistakes and Fixes
Almost every disappointing pot roast traces back to one of these six things.
1. Moving the roast while it sears
The fix: leave it for a full 3 to 4 minutes per side and resist turning it early. A crust that is never allowed to set will never brown, and a pale roast means a thin layer of flavor on a lot of meat.
2. Using a pot that is too small
The fix: tie a long boneless roast into a compact roll instead of bending it to fit. When the meat touches the walls it sears unevenly and the liquid cannot circulate around it. If your pot is 4 quarts, cook the roast in two batches or borrow a bigger pot.
3. Not enough liquid
The fix: aim for roughly half-immersion and check the level at the two-hour mark. Braising for three hours at 300°F reduces a surprising amount of liquid. Have hot broth ready in a measuring cup and top it up whenever the level gets low.
4. Peeking under the lid
The fix: trust the clock and test with a fork. Every time you lift the lid you release steam and extend the cook. If you must check liquid level, lift the lid quickly and away from your face, since the condensation that falls back in is scalding.
5. Slicing too early
The fix: rest the roast 20 to 30 minutes. The juices redistribute into the muscle instead of running out onto the board, which is the difference between slices that stay moist and slices that dry out in five minutes.
6. Using the wrong cut
The fix: choose something with connective tissue and some marbling, and plan the time around it. Chuck shoulder and chuck eye are the forgiving choices. Bottom round and eye of round are leaner and tighter, so give them 30 to 45 extra minutes and keep more liquid in the pot. Cutting pot roast thin while it is still hot makes a lean cut seem dry; cutting it thick makes a chuck cut seem chewy.
Two more that come up constantly: adding potatoes at the start, which turns them to mush by the third hour, and putting a hot cast iron pot straight into cold water or the fridge. Let it cool naturally on the burner or a trivet first.
Frequently Asked Questions
How long does pot roast take to cook in a Dutch oven?
A 3- to 4-pound chuck roast takes about 3 hours at 300 degrees F in a covered Dutch oven. Add 30 to 45 minutes if you drop the oven to 275, and subtract about 30 minutes at 325. Budget roughly one hour per pound, and start checking for fork-tenderness at two hours. The clock is only a guide: the roast is ready when a fork slides in with no resistance.
Is 325 degrees too high for chuck roast?
325 is fine and is what most traditional recipes use. It cooks faster, and the sealed lid is what protects the meat from drying out, not the temperature. The tradeoff is a slightly less even result and a thinner layer of crust, since moisture escapes faster. If you like, run 275 for a gentler braise and add half an hour; both land on the same texture.
What is the best liquid for pot roast?
Low-sodium beef broth is the most reliable choice, because the roast is salted before it ever hits the pot. A half cup of dry red wine added with the broth adds depth without overpowering the beef. Tomato paste, Worcestershire sauce, and a splash of red wine vinegar round it out. Whatever you use, the rule is the same: half-immersed, and topped back up whenever the level drops.
What size Dutch oven do I need for pot roast?
Five quarts is the minimum for a roast up to 3 pounds. For a 4- to 5-pound chuck roast, use a 7- or 7.5-quart pot so the meat sits in the center with liquid coming partway up the sides and vegetables fitting around it. A 4-quart pot forces a long roast to be folded or tied, which browns it unevenly and drains poorly.
Should the pot roast be submerged in the liquid?
No. Roughly half-immersed is right. Submerging it completely traps steam against the top of the roast and softens the crust you worked to build. You also lose the reduction that makes the pan gravy good. If you find yourself wanting more liquid, add it during the cook rather than pouring it all in at the start.
How long should I cook a roast that is still tough?
Put the lid back on and give it another 30 to 45 minutes, then test again with a fork. Tough almost always means undercooked connective tissue, not overcooking. Only if the meat is falling apart but dry has it gone too long, and the fix next time is more liquid and a lower temperature. Also check your oven with a separate thermometer; ovens commonly run 25 degrees off.
Conclusion
Pot roast in a Dutch oven comes down to three things: brown the beef properly, keep it about half-immersed in broth, and leave the covered pot alone until a fork slides in easily. Start the oven at 300°F, tie the roast if it does not fit comfortably, and give a 4-pound chuck about three hours.
Once you have the method down, the same pot earns its keep for no knead bread baked right on the coals.