
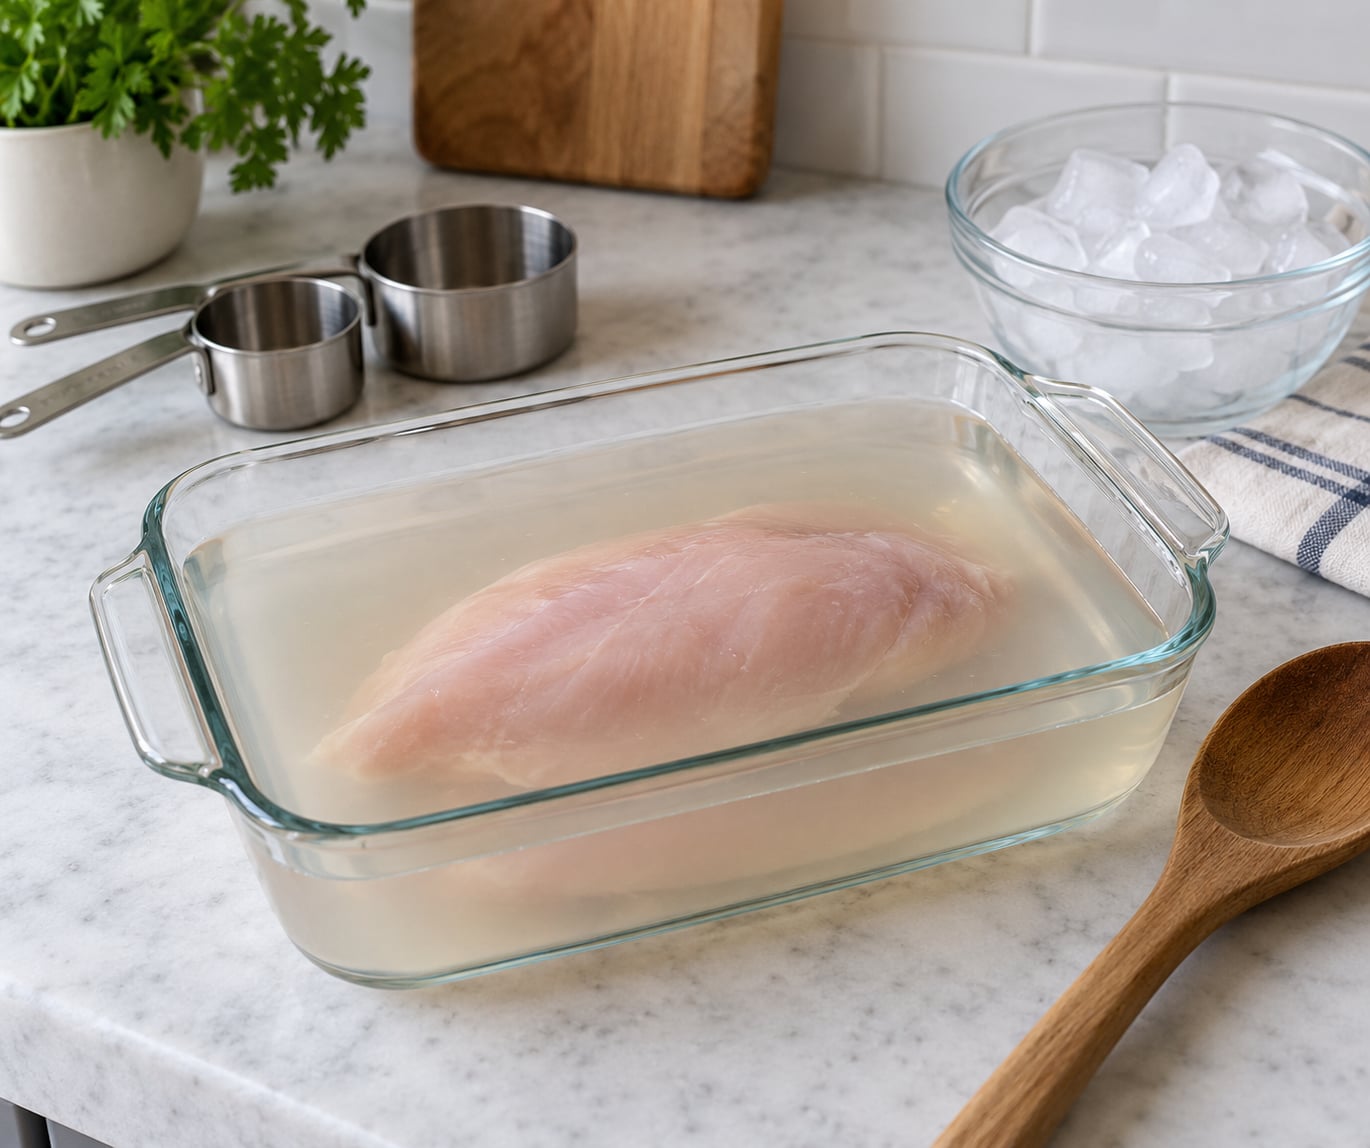
Brining chicken breast is simple: soak it in a saltwater solution before cooking so the lean meat holds water and stays juicy. The standard ratio is 4 cups of cold water to 3 tablespoons of table salt (about 4 to 4.5 tablespoons of kosher salt), and a boneless skinless breast needs 30 to 60 minutes.
The honest part is that brining is a change in method, not magic. It costs you fridge space, planning time, and a container, and it works best on chicken you have to cook hard and fast — grilled, seared or air-fried — where an unprotected breast usually dries out. If you are simmering a breast slowly in sauce, brining matters much less.
One warning before you start. Most supermarket chicken breast is already injected or pre-soaked with a salt solution. Check the label for words like “enhanced,” “pre-brined,” “contains added solution,” or a weight that looks higher than the raw product it started as. Brining that chicken a second time is how people end up with a piece they cannot eat.
What You Need Before You Brine Chicken Breast
There are two completely different things people mean when they say brine. A standard saltwater brine is water plus salt, nothing else, and it seasons the meat from the inside out. A seasoned brine adds sugar, aromatics and sometimes a different liquid base, and it does more than salt the chicken — it flavors it and encourages browning.
Start with the plain version. Once you can tell how the meat reacts to it, the extras are easy to add. A basic brine for four chicken breasts:
- 4 cups (about 950 ml) cold water
- 3 tablespoons table salt, or 4 to 4.5 tablespoons kosher salt
- 1 tablespoon garlic granules, optional, only if you brine past 45 minutes
- 2 bay leaves, 1 tablespoon whole peppercorns, optional
- A zip-top bag, a narrow container, or a glass dish deep enough to submerge the chicken
The one table worth memorizing is the salt conversion. Recipes lean on kosher salt, and most kitchens have table salt, which is the source of a surprising number of over-salted brines.
| Water | Table salt | Kosher salt | Approximate salt by weight |
|---|---|---|---|
| 2 cups (475 ml) | 1.5 Tbsp | 2 to 2.25 Tbsp | 22 g |
| 4 cups (950 ml) | 3 Tbsp | 4 to 4.5 Tbsp | 45 g |
| 6 cups (1.4 L) | 4.5 Tbsp | 6 to 7 Tbsp | 68 g |
| 1 gallon (3.8 L) | 6 to 8 Tbsp | 9 to 12 Tbsp | 90 to 120 g |
Kosher salt flakes are lighter and less densely packed, so you need more volume for the same weight. As a rule of thumb, one tablespoon of table salt equals about 1.5 tablespoons of kosher salt.
How to Calculate the Salt Percentage by Weight
If you want the math instead of the recipe, here it is. Salt equal to about 2 percent of the water weight gives a strong brine; 1 percent gives a mild one. For 950 ml of cold water weighing roughly 950 g, 2 percent is about 19 g of salt, which lands near 1.25 tablespoons of table salt.
That number will look lower than most published recipes, and that is worth knowing. Household brine recipes commonly run heavier — closer to 4 to 5 percent — because nobody measures by weight. Knowing that gap is the difference between a brine you season to taste later and one you can only rinse off.
The percentage is calculated against the water alone, not the water plus the chicken. If you want to reason about the finished meat instead, a separate and easier method is the dry brine, where salt is a percentage of the chicken weight.
Equipment is the least glamorous part, and it is where most attempts fail. Use a zip-top bag for one to four breasts, or a dish that holds the chicken flat under the surface. A bag is less wasteful than a big pot for a small amount of chicken, and it makes it harder for the meat to float above the line.
Step-by-Step
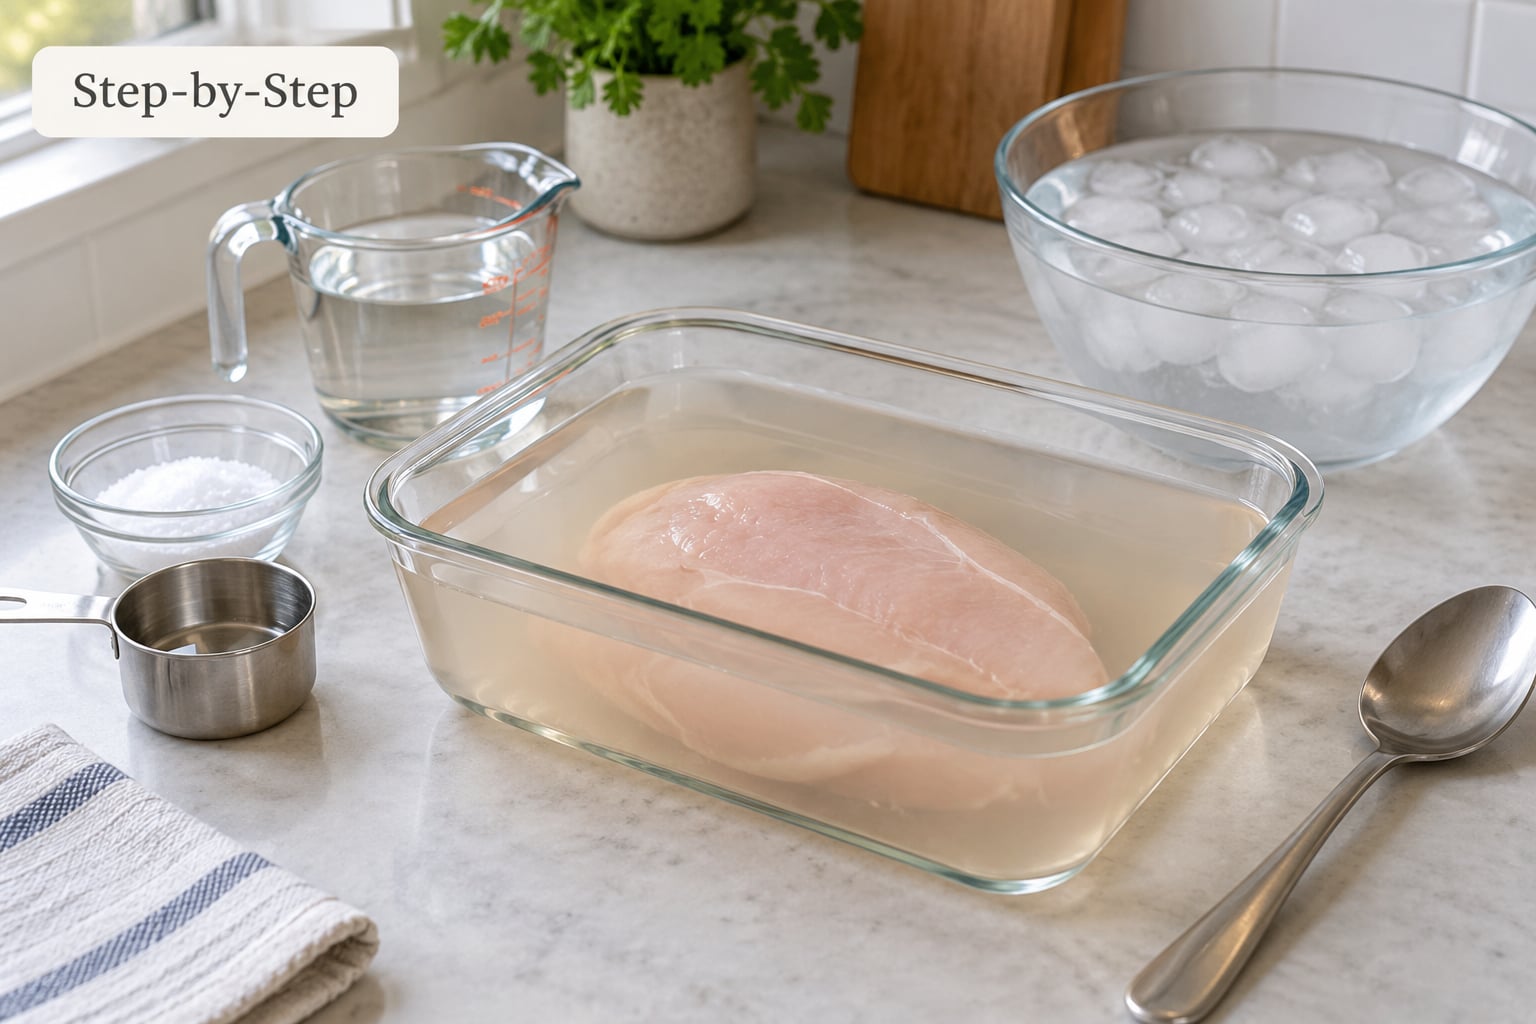
How to Brine Chicken Breast Before Cooking: Mix the Brine
Pour the cold water into your container and add the salt. Stir until it is completely dissolved, which takes about a minute with table salt and closer to three with kosher salt. If crystals are still sitting on the bottom, the brine is not finished and the chicken will not brine evenly.
If you are using sugar, dissolve that in too, then cool the brine before the chicken goes in. Warm brine cooks the outside of the meat and pushes surface moisture out, which is the opposite of what you are after. Cold brine, straight from the tap, is the right temperature for a breast.
Season the brine lightly. Garlic granules, peppercorns and a bay leaf are fine, but the salt is already doing the real work, and heavily seasoned brines are the second most common reason people quit brining.
Submerge the chicken completely. Press it down, weight it with a small plate if it floats, or use a bag and squeeze out the air before sealing. Any part of the breast sitting above the water line gets seasoned while the submerged part gets brined, and the mismatch is worse than not brining at all.
Refrigerate immediately. Use a covered container or a sealed bag so nothing from the raw chicken touches shelves or other food.
How Long Should You Brine Chicken Breast?
Time by thickness, not by calendar. A thin breast takes on salt in 30 minutes and turns spongy past two, while a thick one barely changes in half an hour.
| Cut and thickness | Minimum | Maximum | Notes |
|---|---|---|---|
| Butterflied or split thin, about 1/2 inch | 20 min | 30 min | Already two pieces, so salt twice as fast |
| Boneless skinless, about 1/2 inch | 30 min | 60 min | The everyday case |
| Boneless skinless, about 3/4 inch | 45 min | 90 min | Most supermarket breasts |
| Boneless skinless, 1 inch or thicker | 60 min | 2 hours | Consider cutting it in half instead |
| Bone-in breast | 60 min | 2 hours | Bone slows the salt penetration |
| Chicken tenders | 20 min | 30 min | They brine faster than anything else |
Do not use whole-bird times on a single breast. Recipes calling for 8 to 24 hours are written for a turkey or a whole chicken, and applying them to a boneless breast is the fastest route to a rubbery, salty piece. If you want an overnight result on breast, use a dry brine instead.
Salt and sugar brines with aromatics tolerate longer times because sugar slows salt penetration, but the same ceiling applies for a plain brine on breast.
How to Remove the Chicken and Cook It
Lift the chicken out and let it sit on a plate or rack for 10 to 15 minutes. This rest lets the surface moisture settle and the meat firm up slightly, and it reduces the juice that runs out the moment you cut.
Pat it dry with paper towels, thoroughly. This is the step people skip, and it is the single reason brined chicken refuses to brown. A damp surface steams instead of searing, no matter how hot your pan is.
Rinse only if you used a seasoned brine or brined for close to the full two-hour limit, and even then a quick rinse is enough. A short brine on a small breast does not need rinsing, and rinsing pushes surface flavor off along with the salt.
Discard the brine. Never reuse it, never pour it over cooked food, and wash the container with hot soapy water before it goes back in the fridge.
Then cook it. A brined breast likes heat and a fast finish: hot pan for a sear, medium heat for the rest of the cooking, and a pull at 160 to 162°F so the carryover finishes the job. If you want the temperature and timing for a specific cut, the internal temperature guide for cooking meat covers poultry and the other common cuts side by side.
Rest it after cooking for 5 to 10 minutes before slicing. Resting is where a lot of the brining payoff shows up, since the juices redistribute instead of running across the cutting board. Our guide to resting meat after cooking has the timing for different sizes.
How to Tell When Brined Chicken Breast Is Cooked
The reliable method is temperature, not appearance. Cook until the thickest part reads 165°F (74°C), measured between the breast and the bone, or in the thickest part of a boneless piece. That is the USDA safe minimum internal temperature for poultry, and brined chicken follows the same rule as any other.
For a brined breast, pull the heat a little earlier than instinct suggests. Breasts carryover well, so many cooks remove the meat around 160 to 162°F and let it finish on the plate, which buys a few minutes of real tenderness.
Texture is the backup signal: the juices run clear, the meat springs back when pressed, and the interior is opaque all the way through. Color alone is unreliable, and a pale spot in the middle of a thick breast usually means it needs a few more minutes, not that it is undercooked everywhere.
For small pieces, the method for baking chicken tenders in the oven uses the same temperature logic on meat that cooks in about 20 minutes.
Common Mistakes
Most brining problems come from one of a handful of fixable behaviors.
Using kosher quantities with table salt. This is the number one cause of salty chicken. If a recipe says 4 tablespoons of kosher salt and you use table salt, you are adding about 50 percent more salt than intended. Measure by weight if you have a scale, and pick one type of salt for every brine you make.
Skipping the dissolve step. Salt crystals at the bottom of the container mean uneven brining. Stir until the liquid is clear, and give kosher salt longer because the flakes dissolve slowly.
Leaving the brine on the counter. Anything past 30 minutes goes in the refrigerator. Room temperature is in the danger zone, and raw chicken in a warm bath grows bacteria fast.
Poor coverage. If part of the breast breaks the surface, that part only gets salted by touch while the rest brines. Use a bag, a narrower dish, or a weight on top of the meat.
Brining far past the recommended time. Over-salted or spongy chicken is almost always over-brined, not under-brined. Muscle fibers that soak up too much water and salt lose their springiness. Set a timer.
Cooking the chicken straight from the brine. A wet surface will not brown. Pat it dry and give it 10 minutes on a rack first.
Uneven thickness. A breast that is 1 inch thick at one end and half an inch at the other cannot brine or cook evenly. Slice it horizontally into two thinner pieces before it goes in, and both problems disappear.
Brining in warm brine. Warm or hot liquid starts cooking the outside of the meat and pushes moisture out. Use cold water, and if you must warm a brine with sugar in it, cool it fully before adding the chicken.
How to Adapt the Brine for Different Cooking Methods
Grilling. Brine for the shorter end of the window, 30 to 45 minutes, and use the milder end of the salt range. Direct heat is unforgiving of surface salt, and the skin or cut surface browns and chars before the center finishes. Give it a short rest before grilling so the surface dries further.
Pan-searing. A 45 to 60 minute brine works well here, followed by a very thorough dry. The searing step needs a dry surface more than any other method, and this is also where brined chicken shows the biggest difference, since the meat cooks hot and fast and does not dry out while it waits.
Baking and roasting. This is the easiest method for brined chicken because gentle, even oven heat forgives a lot. You can use the full time window and a slightly stronger brine, and you can add brown sugar, garlic and herbs without worrying about burning. Aim for 375 to 400°F and check the temperature early rather than cooking on the clock.
Breading. Brine for only 30 minutes. Salt draws water to the surface, and a wet chicken will not hold onto breading or crisp up properly. Longer brines also make breaded coatings taste salty once the seasoning in the bread adds on top.
Sous vide and smoker. Sous vide at a steady temperature already protects against drying out, so brining is optional and most cooks skip it. For a smoker holding around 250 to 275°F, a 45 to 60 minute brine with a little brown sugar gives you a seasoned surface with better bark.
The dry brine alternative. Salt the chicken directly at 0.5 to 1 percent of its weight, put it uncovered on a rack in the refrigerator for 4 to 24 hours, and skip the water entirely. Many experienced cooks use this as their default because it uses no container, wastes nothing, seasons the surface evenly, and cannot be over-salted by a mistake in the water. A 6-ounce breast needs about 1 teaspoon of kosher salt at 1 percent, or about 1.5 teaspoons of table salt.
Other cuts are far more forgiving than breast. Thighs, drumsticks and wings can take 4 to 12 hours in brine or overnight, and a whole bird or turkey can take 12 to 24 hours with sugar in the brine, since the cavity holds a much larger volume and the bone slows things down.
For flavor, a couple of tablespoons of brown sugar or honey in the brine balances the salt and promotes browning, and cooks regularly report it makes the breast noticeably juicier, not just browner. Garlic granules, peppercorns, bay leaves and a strip of lemon skin add background flavor without crowding. If you want the brine itself to do more, buttermilk, pickle juice or apple juice all work as the liquid base, though each adds its own character: pickle juice for sharp seasoning, buttermilk for tang and tenderness, apple juice for sweetness that caramelizes.
Frequently Asked Questions
Can I brine chicken breast for too long?
Yes, and it is the most common way brined chicken goes wrong. A boneless skinless breast that is about 3/4 inch thick is fine from 45 to 90 minutes and should not pass two hours in a plain saltwater brine. Longer soaking pushes so much water and salt into the muscle fibers that the meat turns spongy, rubbery and clearly salty. That two-hour ceiling is specific to breast, since thighs, wings and a whole bird handle 8 to 24 hours easily.
Can I brine frozen chicken breast?
You can, but thaw it first if you can. A frozen breast dropped into brine still has ice in the center, so the outside salts before the inside thaws and the result is uneven. Let it thaw in the refrigerator, brine it in its fresh state, then cook from there. If you must brine from frozen, use a much longer window, keep the brine cold, and expect the outside to be noticeably saltier than the middle.
Should I rinse chicken breast after brining?
Usually no. After a short brine of 30 to 60 minutes, the seasoning has only just reached the surface layer, and rinsing washes away flavor you worked for. Give the chicken a 10 to 15 minute rest on a rack, then pat it thoroughly dry with paper towels. Rinse only when you brined close to the full two-hour limit or used a heavily seasoned brine, and even then a quick rinse under cold water is enough.
Can I brine chicken breast with sugar?
Yes, and most people find it improves the result. Add 1 to 2 tablespoons of brown sugar, honey or maple syrup per 4 cups of water. Sugar slows the speed at which salt moves into the meat, which means you can brine a little longer without over-salting, and it gives the surface more to caramelize when you grill or sear. Dissolve it fully and cool the brine to refrigerator temperature before adding the raw chicken.
How much brine should I use for one chicken breast?
You need enough to submerge the chicken completely, and one large breast usually only needs about 1 cup of brine. Use a zip-top bag, or a container just wide enough to hold the meat flat, and the liquid will cover it easily. Scaling the standard ratio down, 1 cup of water takes about 3/4 tablespoon of table salt or 1 to 1.25 tablespoons of kosher salt. Covering the meat matters far more than using a large volume of liquid.
Is it better to brine chicken breast before grilling or baking?
Baking forgives a brine more than grilling does. Gentle, even oven heat lets you use the full 45 to 90 minute window and even a slightly stronger brine with aromatics, with no risk of the surface burning. On a grill, high direct heat punishes surface salt, so brine for the shorter 30 to 45 minute window, use the milder end of the salt range, and dry the surface very well before it hits the grates.
Conclusion
Mix your brine first: 4 cups of cold water and 3 tablespoons of table salt, or 4 to 4.5 tablespoons of kosher salt, stirred until the salt is gone. Check that your chicken is not already injected, submerge it completely, refrigerate it for 30 to 60 minutes, rest it briefly, pat it dry and cook it to 165°F.
That is the whole method, and once the ratio and the timer are second nature, brining stops being fussy. If you prefer to skip the water and the container, a dry brine with 0.5 to 1 percent of the chicken weight in salt is the same idea with less to clean up.