
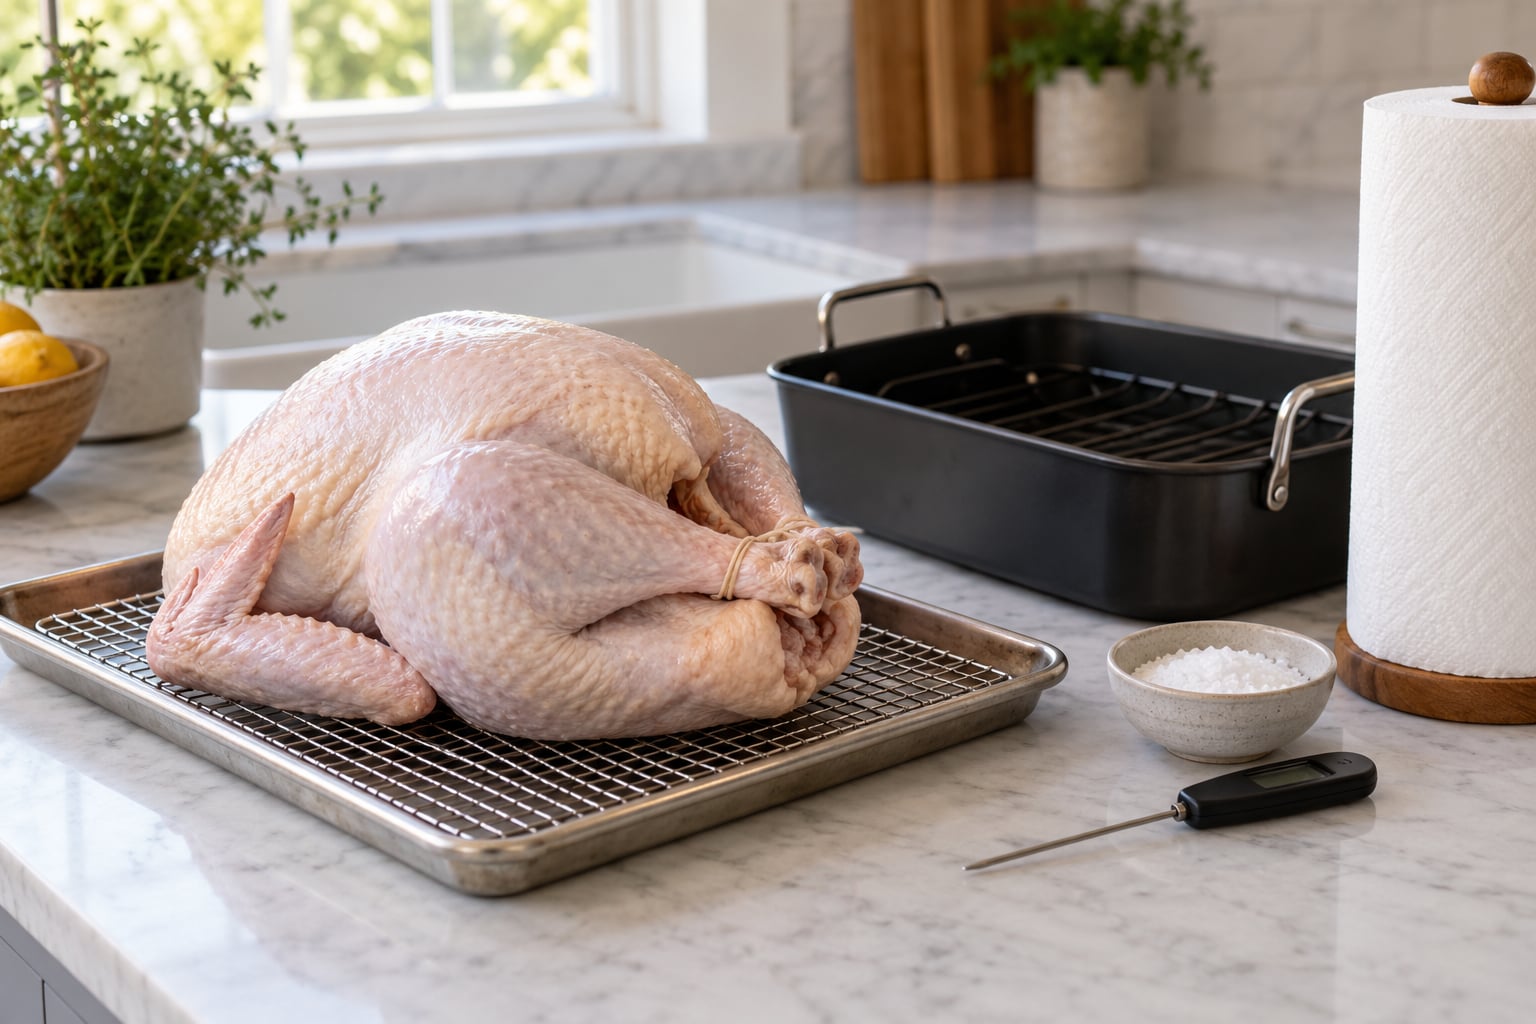
To dry brine a turkey, work out roughly one tablespoon of kosher salt for every five pounds of bird, rub it over the skin and under the skin, then refrigerate the turkey uncovered on a rack for 24 to 72 hours before roasting. No soaking tub, no brine liquid, no oven spillover, and the skin comes out properly crisp. Most of the work happens in the fridge the day or two before you cook.
You need a scale, a wire rack, and a turkey that is already thawed. If your bird is still frozen, thaw it first, or at minimum let it sit until it is pliable rather than rock hard. If you have never roasted a whole bird, how to cook a turkey for the first time covers the basics of picking a size and setting up the oven.
What You Need
A dry brine is salt, plus whatever spices you like, applied straight to the bird. There is no water and no soaking step, and nothing gets rinsed off before roasting. That is the whole difference between a dry brine and a wet brine.
- A fully thawed turkey sitting on a rimmed sheet pan or in a roasting pan
- A wire cooling rack to set the pan on, so air moves under the bird and the underside dries too
- Kosher salt — a scale is better than measuring spoons, but a volume guide works too
- Paper towels for the drying step that decides how crispy your skin gets
- Neutral oil such as vegetable, canola or grapeseed, plus black pepper if you like
- Optional: baking powder, garlic powder, smoked paprika, onion powder, fresh thyme and sage, halved lemons and onions for the cavity
- An instant-read thermometer, the only reliable way to know when the bird is done
Kosher salt is the standard for dry brining because its coarse flakes dissolve slowly into the skin and season gradually over a long rest. If you only have table salt, it will still work, but it is roughly twice as salty by volume, so measure by weight.
Step-by-Step: How to Dry Brine a Turkey
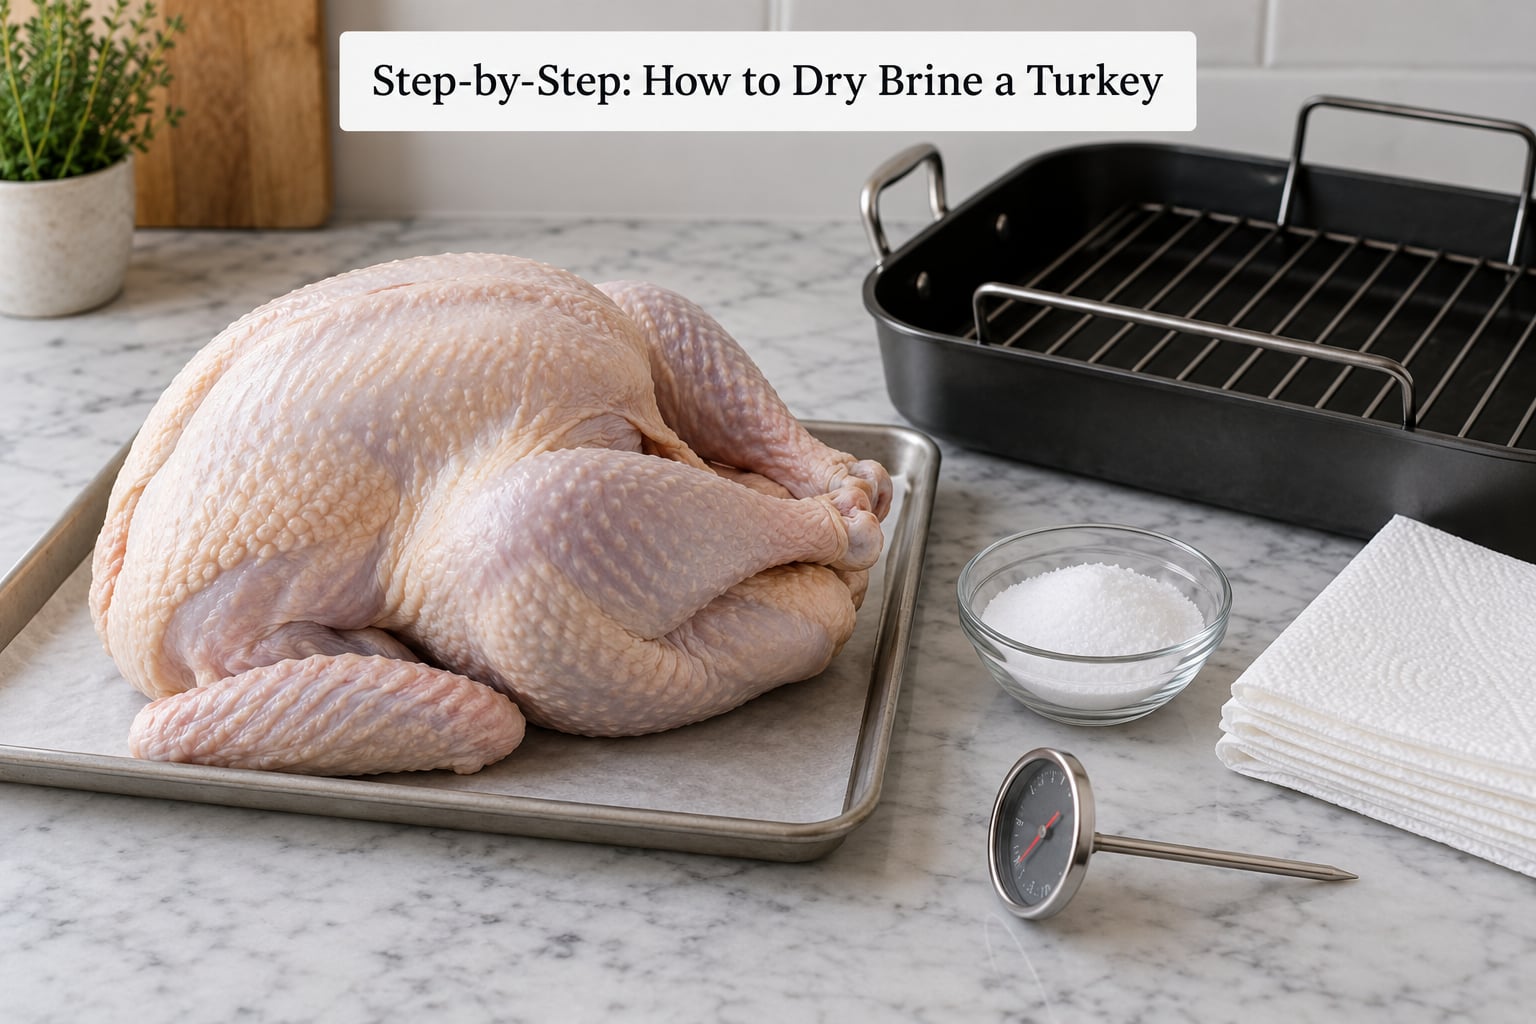
- Pat the turkey dry all over. Blot the skin and the cavity with paper towels until the surface feels dry to the touch. Moisture is the enemy of crisp skin, and this step takes five minutes.
- Measure your salt. Use the table below to work out how much you need for your bird and your brand of salt.
- Break up any clumps. If your salt has hardened in the box, run it through a rolling pin or a food processor for a few seconds until it is loose and pourable. Clumps leave bald spots and salt hotspots.
- Season under the skin. Lift the breast skin gently with your fingers, slide the spoon underneath to break the seal between skin and breast, and lay down an even layer of salt. Push a little salt down each thigh and drumstick too. Do not tear a hole.
- Season the cavity and the outside. Rub salt inside the cavity and all over the skin, including the back and the wing tips, which are the first parts to dry out.
- Add seasoning if you want it. Black pepper, garlic powder, paprika or herbs mixed into the salt cost nothing and make the skin more interesting. Keep the total salt the same, not higher.
- Refrigerate uncovered. Set the rack in the sheet pan, put the turkey on top, and put the whole thing in the coldest part of your fridge. Do not wrap it, do not bag it, do not cover it.
- Wait 24 to 72 hours. Forty-eight hours is the sweet spot for most home cooks. When the time is up, take the bird out, blot the skin again if it feels damp, and heat the oven.
- Roast hot first, then lower. 450°F for 30 minutes to set the skin and start the browning, then drop the oven to 325°F and cook until the thickest part of the breast and the innermost thigh reach temperature.
- Rest before carving. Give it at least 30 minutes. The juices need time to settle back into the meat instead of running out onto the board.
How Much Salt Does a Turkey Need?
The rule cooks quote most often is about one tablespoon of kosher salt per five pounds of turkey. Divide the bird’s weight in pounds by five, and that number is your tablespoons. From there, adjust for the brand, because a tablespoon of Diamond Crystal flakes is much lighter than a tablespoon of Morton kosher, and table salt is heavier than both.
| Turkey weight | Salt by weight | Diamond Crystal (about 8g per tbsp) | Morton kosher (about 12g per tbsp) | Table salt (about 15g per tbsp) |
|---|---|---|---|---|
| 8 lb | 22g | 2.75 tbsp | 1.9 tbsp | 1.5 tbsp |
| 10 lb | 28g | 3.5 tbsp | 2.3 tbsp | 1.9 tbsp |
| 12 lb | 34g | 4.2 tbsp | 2.8 tbsp | 2.3 tbsp |
| 14 lb | 39g | 4.9 tbsp | 3.3 tbsp | 2.6 tbsp |
| 16 lb | 45g | 5.6 tbsp | 3.8 tbsp | 3 tbsp |
| 18 lb | 50g | 6.3 tbsp | 4.2 tbsp | 3.3 tbsp |
| 20 lb | 56g | 7 tbsp | 4.7 tbsp | 3.7 tbsp |
For a 12 lb turkey, that lands at a little over 4 tablespoons of Diamond Crystal or about 3 tablespoons of Morton kosher salt. Spread it over the whole bird rather than piling it on the breast, since the breast is the part that will taste salty first. Extra salt under the thigh skin and in the cavity seasons the darker meat, which handles salt more gracefully than the breast.
Birds under about 12 lb dry out faster because there is less mass and more surface area to lose, so many cooks scale the salt back by roughly a quarter on a small turkey.
How Long Should You Dry Brine a Turkey?
Twenty-four to seventy-two hours in the refrigerator is the working range, and the turkey must stay cold and uncovered the whole time. Pick the window based on what you want from the skin and how much planning you have.
| Time in the fridge | What you get | Best for |
|---|---|---|
| Under 12 hours | Surface seasoning only | A last-minute cook who wants some seasoning |
| 24 hours | Seasoned through the breast, drier skin | Thursday-night brining for a Saturday roast |
| 48 hours | The best balance of flavor and crisp skin | Most home cooks |
| 72 hours | Deepest seasoning, very dry skin | Large birds, or brining before smoking |
Do not go past three days. Past that the outside can turn saltier than you want while the centre of the breast is still seasoning.
How to Season and Crisp the Turkey Skin
Even coverage matters more than heavy coverage. If you see a thick white line of salt in a crease, spread it out with your fingers so it thins to a visible, even layer.
When the rest is done, blot the skin once more and leave it out on the rack for 20 minutes if you have time. A dry surface browns; a damp one steams and goes pale.
Rubbing a little neutral oil into the skin just before it goes in the oven helps it brown evenly. Butter has water and milk solids in it, so it burns before the skin has a chance to crisp. If you want flavor, add dry pepper, garlic powder, paprika, onion powder or chopped fresh herbs to the salt at brining time, and put lemon halves, onion wedges and a few herb sprigs in the cavity before roasting.
One tablespoon of double-acting baking powder mixed into the salt is optional. It raises the surface pH slightly, which helps the skin brown and crackle. Salt on its own is enough for crisp skin.
How to Roast a Dry-Brined Turkey
Heat the oven to 450°F and put the turkey in on its rack. Thirty minutes at that temperature sets the skin and starts the Maillard browning, which is the chemical reaction that gives roasted poultry its color and flavor. Then drop the oven to 325°F and finish the cook more gently so the breast does not dry out before the thighs catch up.
A rough guide is 20 minutes per pound for an unstuffed bird at 325°F, but treat that as a plan, not a promise. Check with a thermometer instead: aim for about 155°F in the thickest part of the breast and 165°F in the innermost thigh, close to the bone but not touching it. If you prefer a firmer, fully well-done bird, take it to 165°F everywhere.
The USDA minimum safe internal temperature for poultry is 165°F. Many cooks pull the turkey at 155°F in the breast because carryover cooking adds roughly 5°F while the bird rests, which keeps the breast from going dry.
Rest the turkey at least 30 minutes before carving, loosely covered so it does not steam in its own juices. Then carve the breast off the bone and slice it across the grain. Use the drippings from the pan to make a quick gravy.
Leftovers keep three to four days in the refrigerator. Reheat slices in a low oven with a splash of broth rather than a microwave, so the breast does not turn rubbery.
Common Mistakes
Measuring salt by volume and getting it wrong. Tablespoons of different salts do not weigh the same, and a heaping vs level spoon can be a 30 percent difference. Weigh the salt if you have a scale; if you do not, use the brand column that matches your box and a level spoon.
Salting a small bird too heavily. An 8 to 10 lb turkey loses moisture faster and has proportionally more surface, so cut the salt by about a quarter. Salt also collects in the cavity and under the skin in low spots, which is where an over-salted bird usually bites back.
Covering the turkey in the fridge. A wrapped or bagged bird traps moisture and never dries. The uncovered rack rest is the step that produces restaurant-style skin, and skipping it is the most common reason a properly brined turkey still has disappointing skin.
Rinsing the turkey before roasting. Water washes seasoning off the skin and re-wets the surface you spent two days drying. Pat away any moisture with towels instead, but do not rinse.
Roasting in a bag or under foil. Both trap steam, and steamed skin will not crisp. If you tent with foil to stop the breast from browning too fast, tent it loosely and remove it for the final stretch.
Pulling the turkey too early or carving it too soon. Taking it out of the oven before the thickest breast reaches at least 155°F leaves it undercooked, and carving without a rest dumps the juices onto the cutting board. Wait, and check the temperature.
Brining a turkey that is already salted. Many supermarket turkeys are pre-brined or self-basting with a saltwater solution, and kosher birds often come with a heavy salt solution too. Check the label and the giblet packet. If it says pre-brined, self-basting, or enhanced with a solution, skip the salt and season with pepper, herbs and aromatics only.
How to Dry Brine a Turkey When You Have Less Than 24 Hours
Short on time, you can still do better than nothing. Season the turkey as soon as it is fully thawed, even at midnight, and put it in the fridge immediately. Every hour in there counts.
For a compressed timeline, use the upper end of the table and concentrate more salt under the skin and in the cavity rather than only on the outside, since there is less time for it to travel inward. You will get seasoning that is close to the surface rather than reaching the centre of the breast, so keep the total salt slightly under the table’s number to avoid a salty exterior.
You can also start the salt while the turkey finishes thawing, as long as the bird is not frozen solid when you apply it. Some cooks bag the frozen bird with salt in the brine water for that reason, which speeds thawing and seasoning at once. Do not season a rock-hard bird; the salt just falls off.
Symptom guide, in case you are reading this after a disappointing bird. Rubbery or leathery skin points to too little uncovered drying time or too low an oven temperature. A salty breast with bland meat underneath means too much surface salt for the time it rested. Pale, uneven browning points to a wet surface, a crowded pan or foil left on too long. A dry breast usually means it was taken past 165°F or carved without resting.
Frequently Asked Questions
Is a dry brine better than a wet brine for turkey?
A dry brine gives a turkey more concentrated surface seasoning and crisper skin, and it needs no tub, no water and no refrigerator space. A wet brine seasons the meat more evenly through a soaking bath but leaves skin damp, which browns less well. Dry brining is the better choice for small kitchens and anyone who wants a crisp skin without oven overflow.
Should I rinse a turkey after dry brining?
No. Rinsing removes the salt that has formed on the surface and re-wets the skin you spent days drying, so it works against both seasoning and crisping. If there is surface moisture or packing liquid, blot it away with paper towels and pat the cavity dry, but never rinse the brine off.
Is 2 hours enough for a dry brine?
No. Two hours only seasons the surface. The useful window is 24 to 72 hours in the refrigerator, with 48 hours the sweet spot for most home cooks. Under roughly 12 hours the salt has barely moved past the skin, so you are seasoning a turkey rather than brining it.
Can I dry brine a turkey overnight?
Yes, and it is the most practical option for most people. Twenty-four hours covers a turkey up to about 16 lb and is a good starting point. Leave the bird uncovered on a rack in the refrigerator, and if it was brined earlier, check that the surface seasoning still looks even before roasting.
What are common mistakes when dry brining a turkey?
The usual errors are brining for only a few hours, covering or bagging the bird instead of refrigerating it uncovered, measuring salt by volume without accounting for the brand, rinsing before roasting, using a roasting bag or foil that traps steam, brining a pre-brined or self-basting turkey, and carving without a rest. Each one has an easy fix.
What happens if I put too much salt on a turkey?
The breast, thighs and skin can end up noticeably salty before the meat is fully cooked, especially on a bird under 12 lb where surface area is high. Use the amount in the table for your bird’s weight, spread it evenly instead of rubbing it in hard, and skip extra salt in the cavity. You cannot salt a turkey less later, so measure before you start.
Conclusion
Start by thawing the turkey safely in the fridge, calculating your salt from the weight and the brand on your box, and patting the bird dry. Season under the skin and all over, set it uncovered on a rack in the coldest part of the fridge for 24 to 72 hours, and do not rinse it.
When it comes out of the oven, the thermometer decides, not the appearance or the timer. Check the thickest breast and the innermost thigh, take the bird to at least 165°F for a well-done result or 155°F in the breast and let carryover cooking finish the job, then give it a full 30 minutes before you carve.