
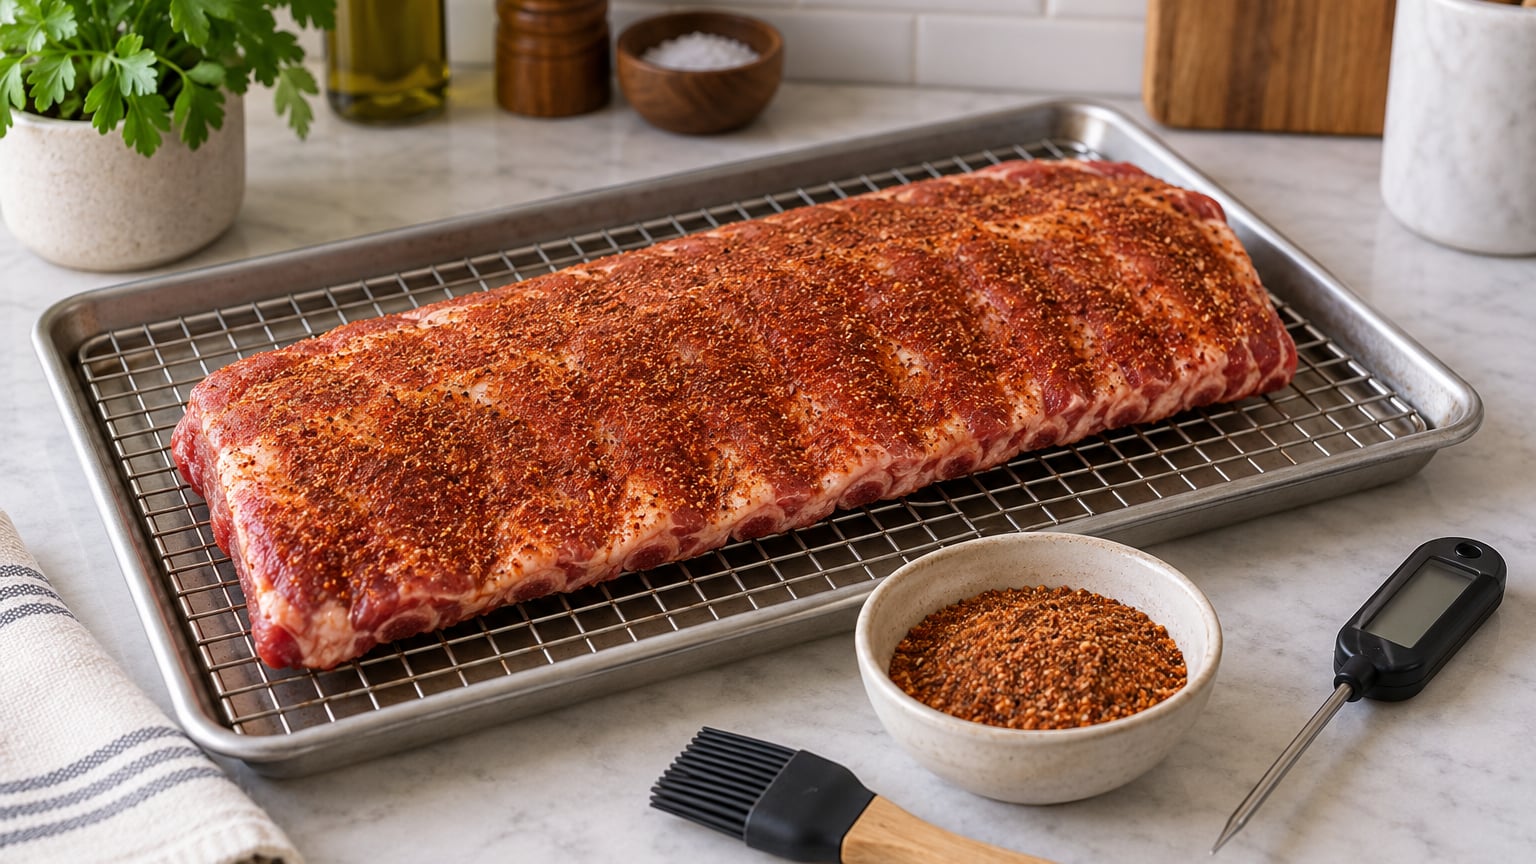
To cook baby back ribs in the oven, wrap them tightly in heavy duty foil and roast at 275 degrees Fahrenheit for about 2.5 to 3 hours, then unwrap and broil for 3 to 5 minutes so the sauce caramelizes. That low, steady heat is what breaks collagen into gelatin, which is where tenderness comes from. Most of the work happens in one covered stage, so the hands-on time is closer to 20 minutes than two hours.
The part people get wrong is not the temperature. It is skipping the membrane, saucing too early, or cutting into the ribs before the collagen has had time to break down. Fix those three things and an ordinary home oven produces ribs that bend without snapping and pull clean from the bone.
Baby back ribs come from the loin side of the pig, so they are smaller and leaner than spare ribs and need less cooking than most people assume. Plan on 2.5 to 3 hours covered for a full rack, and add about 30 minutes if you are working with St. Louis cut ribs. The USDA safe minimum internal temperature for pork is 145 degrees, but tenderness here means pushing to 195 to 205 degrees and letting the connective tissue go soft.
Ribs are not the only oven cook worth learning, either. If you want the fast version of the idea, how to cook dinner in under thirty minutes covers the weeknight side of the same kitchen.
Table of Contents
- What You Need to Cook Baby Back Ribs in the Oven
- Step-by-Step: How to Cook Baby Back Ribs in the Oven
- Common Mistakes When Cooking Baby Back Ribs in the Oven
- Frequently Asked Questions
- How many hours does it take to cook baby back ribs in the oven?
- Should I cook baby back ribs covered or uncovered in the oven?
- Should I bake ribs at 275 or 300?
- How do I know when oven baked ribs are done?
- Can you cook baby back ribs in the oven without foil?
- What is the best dry rub for oven baked baby back ribs?
- Conclusion
What You Need to Cook Baby Back Ribs in the Oven
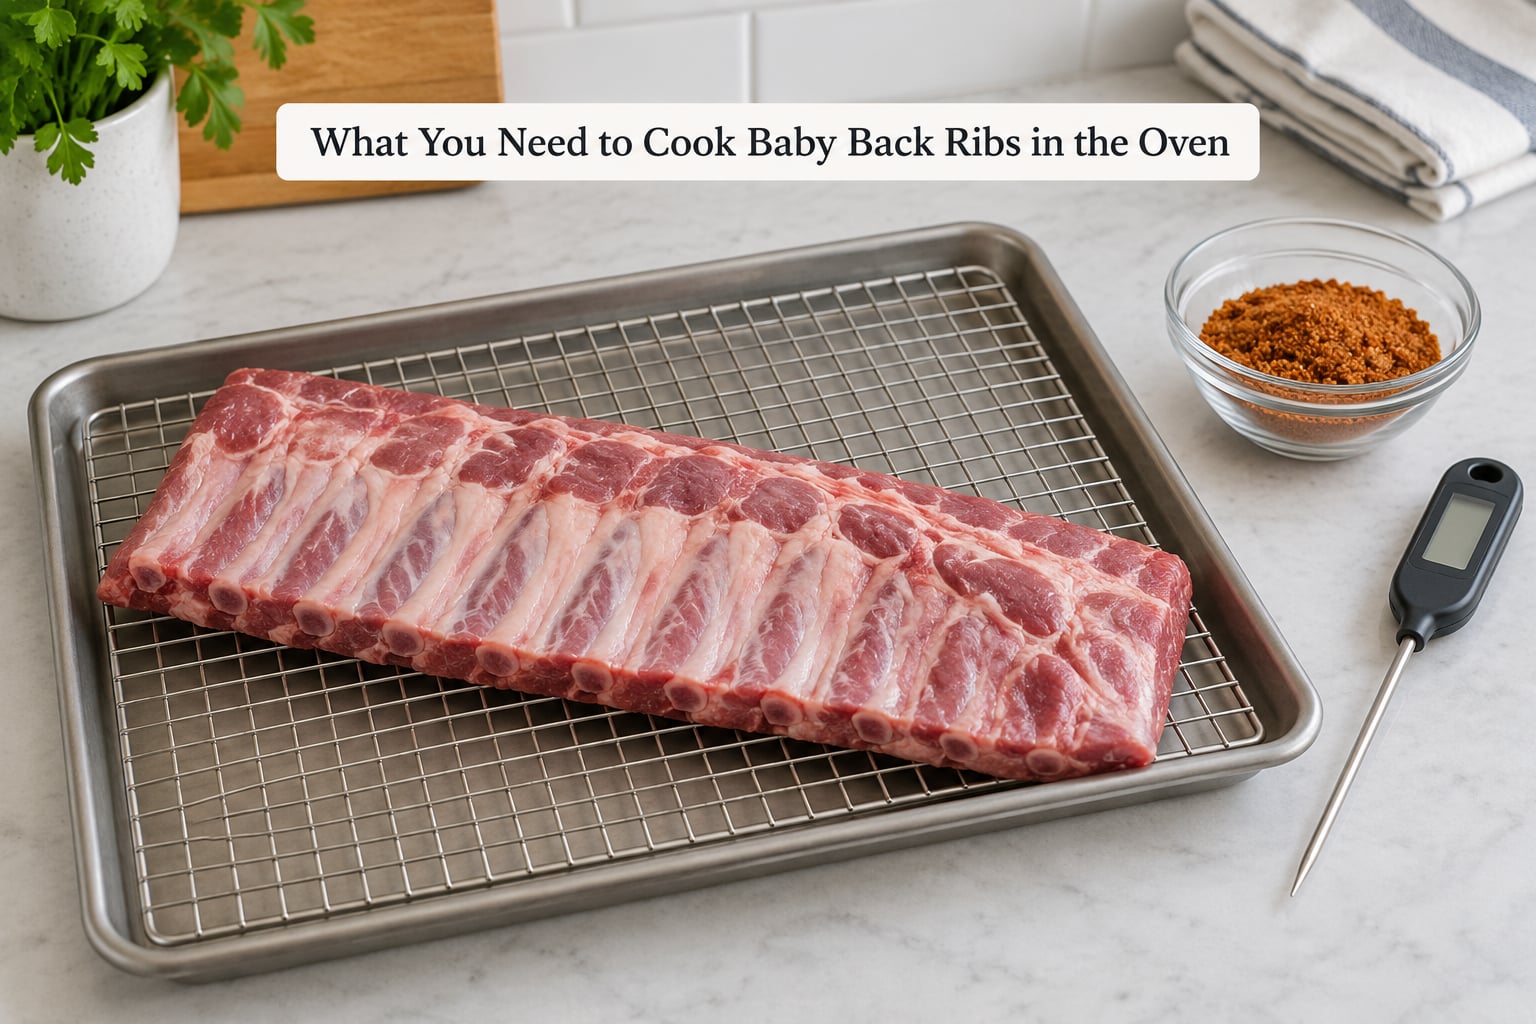
A full rack of baby back ribs, a dry rub, a rimmed baking sheet with a wire rack, heavy duty aluminum foil, an instant-read thermometer, a sharp paring knife, and paper towels. A bottle of barbecue sauce is optional but most people want one. That is the whole list, and every item earns its place.
The pan matters more than people expect. A rimmed baking sheet with a wire rack lifts the ribs so hot air moves underneath them and drippings fall away from the meat. Without the rack the ribs sit in their own rendered fat and the underside steams instead of browning. A shallow roasting pan works too, just leave the rack in place.
Buy heavy duty foil, not the cheap standard kind. Standard foil tears when you fold it tight around a bone rack, and the ribs dry out where the steam escapes. If you only have thin foil, double the sheet and crimp the seam with an extra fold on top.
An instant-read thermometer is the one tool that separates good ribs from lucky ribs. Rib racks vary in size, and ovens vary by 20 degrees or more from the dial, so a printed time is a guess. Push the probe into the thickest part of the meat between two bones without touching bone, and you will know. Leave it in the fridge or in the hot water running from your probe so you can check the ribs at any point during the cook.
For the rub, keep a simple ratio: 2 parts brown sugar, 2 parts kosher salt, 1 part paprika, 1 part black pepper, and smaller amounts of garlic powder, onion powder, and cayenne. Sugar builds the crust, salt seasons the meat rather than sitting on it, and paprika carries a little smoke even in a gas oven.
Paper towels are on the list for a reason. Blotting the ribs dry before seasoning gives the rub something to grip instead of a slick of surface moisture.
Step-by-Step: How to Cook Baby Back Ribs in the Oven
Preheat the oven to 275 degrees Fahrenheit and set the rack in the lower third of the oven. Position matters more than most cooks expect: the drippings fall straight down from the ribs, and if the sheet sits on the bottom element the sugar in the sauce can scorch before the meat is tender.
There is a real argument between 250, 275, and 300 degrees, and it comes down to how much texture you want to trade for how long you are willing to wait.
| Oven temperature | Covered time | Result | Best for |
|---|---|---|---|
| 250 degrees F | 3 to 3.5 hours | Softest meat, very little crust, needs a longer uncovered finish | Maximum tenderness and very lean racks |
| 275 degrees F | 2.5 to 3 hours | Best balance of tender meat and a formed crust | Most home cooks and first attempts |
| 300 degrees F | 2 to 2.5 hours | Faster cook, deeper bark, slightly tighter texture | Thick racks and tighter schedules |
Pick 275 for the widest margin of error. The difference between 275 and 300 rarely shows up in tenderness, but at 300 degrees the sauce and rub start coloring an hour sooner, so you have to watch it more closely.
Step 1: Prepare the Ribs
Turn the rack bone side down and slide a paring knife under the thin membrane on the meat side of the bones. Work the blade back and forth to loosen a corner, then grab the membrane with a paper towel for grip and pull it off in one sheet.
You will know it released properly when the piece comes away whole and leaves the bone ends looking clean and pale. If it tears into strips, keep going with the knife and peel the remaining pieces. That membrane is silver skin, and it holds tight against the meat no matter how long you cook.
Trim any thick patches of fat you do not want, but leave most of it. Fat renders down and bastes the meat during the long covered stage. Then blot the ribs thoroughly with paper towels on both sides.
Drying looks like overkill and it is the step that decides whether the rub clings or slides off in the foil. Wet meat repels salt, so the seasoning ends up in a puddle on the rack instead of on the ribs.
Step 2: Season the Ribs
Mix your dry rub in a bowl, then rub it over both sides of the ribs until the surface looks evenly dusted and no bare patches remain. A light, consistent coat is what you want, not a thick shell.
Be deliberate with the salt. Seasoning the meat two to four hours ahead gives the salt time to travel inward, which means the ribs taste seasoned all the way through instead of only on the outside. A full rack takes roughly 2 tablespoons of a rub that is roughly one part salt by volume. Much more than that and the meat gets salty before it gets tender.
On rub timing, an overnight rest in the refrigerator gives noticeably better flavor because the salt and the paprika have all night to penetrate. Thirty minutes ahead is fine on a weeknight and the ribs will still be good, just seasoning concentrated closer to the surface.
If you want a smokier result without a smoker, a teaspoon of liquid smoke in the rub or in the baste liquid does more than an hour of trying to brown the surface. It is an addition, not a substitute for real smoke, so use it lightly.
Step 3: Roast the Ribs Covered
Lay the ribs on the rack, meat side up, leaving a little space between the pieces if you split the rack into sections. Pour a cup of water, apple cider vinegar, or a mix of the two into the bottom of the sheet. The liquid catches drippings and keeps the ribs from sitting in grease, and the steam inside the foil does the rest.
Bring the foil up over the ribs and seal it snugly on all sides, crimping the top seam twice. The packet should feel like a sealed pouch. Some cooks lay a sheet of parchment under the ribs inside the wrap, which helps keep the sauce from bonding to the foil, but tight heavy duty foil on its own works fine.
Roast at 275 degrees until the meat gives way. For a full rack of baby backs, check the thermometer starting at 2 hours 15 minutes. When the probe slides into the meat between two bones with almost no resistance and the internal temperature reads between 195 and 205 degrees, the collagen has converted and the ribs are done.
Timing shifts with the size of the rack. A half rack of small baby backs can be ready in under two hours, while a full rack of meatier St. Louis cut ribs takes closer to three and a half. Oven hot spots are real, so rotate the sheet once at the halfway mark if your oven runs unevenly.
Keeping moisture in while preserving the rub comes down to the wrap. A tight foil packet steams the ribs gently and the dry rub stays put. If you leave them uncovered from the start, the sugar burns long before the connective tissue gives up, and the result is a rack that is dark on top and chewy in the middle.
The covered-then-finished pattern is not unique to ribs. How to cook bacon in the oven for a crowd runs on the same logic at a much shorter cook time, so the same rack-and-sheet setup gets you both.
Step 4: Finish the Ribs Uncovered
Open the foil carefully, away from your face, since the trapped steam will escape in a hot cloud. Drain and discard the liquid in the bottom of the sheet, then move the ribs back into the hot oven uncovered.
Brush on a thin layer of barbecue sauce now, not before. Sugar in the sauce burns quickly, and a coat applied at the start of the cook turns bitter long before the ribs are tender. A light coat applied in the last stretch caramelizes without scorching.
Two finish methods work. Broil for 3 to 5 minutes with the rack in the top position, watching the whole time, or return the ribs to a 400 degree oven for 8 to 10 minutes if your oven runs cool enough at the top that broiling does nothing. Broiling gets you a fast, lacquered crust; the hot oven gives you more even color with less risk.
You are looking for darkened edges, a sauce that looks set rather than wet, and a faint charring on the raised parts of the rub. Pull the ribs the moment the glaze looks dull rather than shiny. If the sugar is dark brown but the meat still feels firm, keep going in short one minute checks rather than piling on more sauce.
Step 5: Rest, Check, and Slice the Ribs
Rest the ribs on the rack for 10 to 15 minutes before slicing. Resting is not optional tenderness, it is moisture. The juices that are loose right out of the oven need time to settle back into the meat, and slicing immediately dumps them on the cutting board.
Confirm doneness with two checks together. The thermometer should read 195 to 205 degrees in the thickest meat, and a spatula slid under the rack should lift the ribs with no bite at all. If the thermometer is there but the spatula meets resistance, give it another 10 to 15 minutes wrapped back up in foil.
These are the temperature cues that match the texture you want:
| Internal temperature | Texture | Best for |
|---|---|---|
| 145 to 160 degrees F | Safe but firm and chewy, needs more time | Nothing worth serving in this range |
| 180 to 195 degrees F | Bite tender, holds together cleanly when sliced | People who prefer ribs that stay on the bone |
| 195 to 205 degrees F | Fork tender, meat slides toward the bone | The classic fall off the bone result |
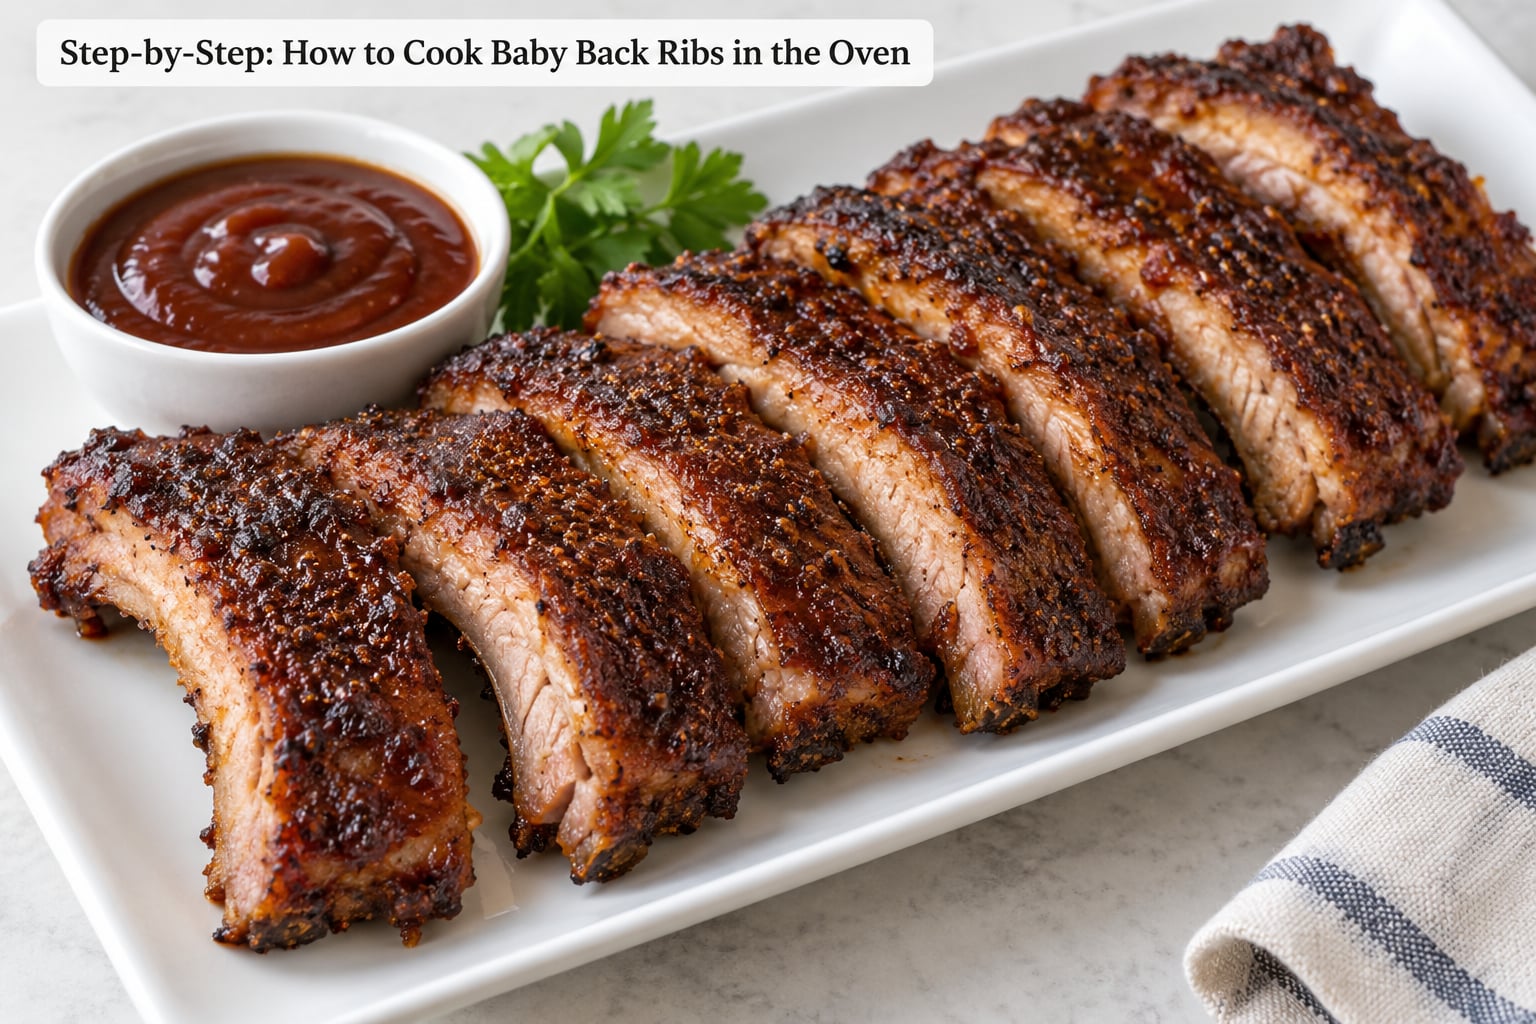
Slice between the bones from the flat side of the rack, working from one end to the other. A sharp chef’s knife or a small offset spatula both work, and a dull knife is what crushes the meat into the bone. Serve the ribs with the sauce you brushed on and extra sauce on the side for people who like more.
For leftovers, refrigerate cooked ribs in a sealed container for up to three or four days and use them within three months if you freeze them. Reheat in the oven at 250 degrees with a splash of apple juice or broth in the pan, covered, for about 20 minutes, then finish uncovered for 5 minutes to bring back the crust. The microwave makes ribs rubbery, so skip it if you can.
When ribs are one part of a bigger plan rather than the whole meal, they slot neatly into a weekly shop. How to cook seasonally on a tight budget shows where a rack like this fits in a month of low-cost cooking.
Common Mistakes When Cooking Baby Back Ribs in the Oven
The membrane stayed on. It grips the meat so tightly that no amount of cooking makes it peel away, and most of the chewy complaints trace back to this one step. Slide a paring knife under it and pull with a paper towel for grip.
Crowding the pan. Ribs packed edge to edge touch each other and the sides of the sheet, so air cannot circulate and the outer pieces cook differently from the middle ones. Give each piece a finger’s width of space, or cut the rack into sections before cooking so everything sits flat.
Saucing too early. Sugar burns at 275 degrees well before the collagen breaks down. Keep the ribs dry and unsauced through the entire covered stage, then apply a thin coat in the final 10 minutes.
Running the oven too low. Anything under 250 degrees stretches the cook past four hours and dries the outer edges. If you want softer meat, add time rather than dropping heat, and check the thermometer rather than the clock.
Cutting in too soon. A rack that just came out of the foil looks done but usually needs another 15 minutes, and the juices you spill are the ones you wanted in the meat. Rest first, then test with a spatula.
Reading the rendered fat as raw meat. Foil traps steam, so a lot of pale yellow liquid collects in the packet. That is fat and juice, not undercooked pork, and draining it is exactly what you should do before the uncovered finish.
A few habits move the result noticeably. Cutting the rack into two or three sections before it goes in the oven makes it far easier to handle and lets you rotate pieces for even cooking. Broil with the door cracked open so you can watch the sauce instead of guessing. And taste your rub before it goes on: if it is sweet enough on a fingertip, it will be right on the meat.
Frequently Asked Questions
How many hours does it take to cook baby back ribs in the oven?
At 275 degrees Fahrenheit, a full rack of baby back ribs takes about 2.5 to 3 hours while wrapped in foil. Start checking with an instant-read thermometer at 2 hours 15 minutes, looking for 195 to 205 degrees in the thickest meat between two bones. Add 20 to 30 minutes for St. Louis cut ribs, which carry more meat, and expect a smaller half rack to finish closer to two hours.
Should I cook baby back ribs covered or uncovered in the oven?
Covered for the first stage, uncovered for the last. The foil wrap holds steam around the meat and lets collagen soften without drying the surface, while the uncovered finish is what gives you browned edges and a set glaze. Uncovered from the start burns the sugar in the rub and sauce long before the ribs turn tender.
Should I bake ribs at 275 or 300?
Use 275 degrees for the most forgiving result. It needs roughly 2.5 to 3 hours covered and gives the best balance of tender meat and a formed crust. At 300 degrees the ribs cook in about 2 to 2.5 hours, but the sauce and rub start coloring an hour sooner, so you have to watch them more closely. At 250 degrees you get the softest meat but almost no crust.
How do I know when oven baked ribs are done?
Use two checks together. An instant-read thermometer pushed into the thickest meat between two bones, without touching bone, should read 195 to 205 degrees. Then slide a spatula under the ribs. If they lift with no resistance at all, they are finished. If the temperature is there but the spatula still catches, wrap them back in foil and give them another 10 to 15 minutes.
Can you cook baby back ribs in the oven without foil?
You can, and the ribs will brown more evenly, but you need to add moisture another way. Put a cup of water or apple cider vinegar in the bottom of the baking sheet, set the ribs on a rack above it, and baste with the liquid every 30 minutes. Cooking them dry without foil is the fastest route to tough, shrunken ribs because nothing replaces the steam the wrap normally creates.
What is the best dry rub for oven baked baby back ribs?
Mix 2 parts brown sugar, 2 parts kosher salt, 1 part paprika, and 1 part black pepper, then add smaller amounts of garlic powder, onion powder, and cayenne. The sugar builds the crust, the salt seasons the meat from the inside when you apply it a few hours ahead, and the paprika gives you some smoky character. A teaspoon of liquid smoke in the mix adds barbecue flavor in a gas or electric oven.
Conclusion
To cook baby back ribs in the oven well, the first job is preparation: pull off the membrane, pat the meat dry, and coat it evenly with a dry rub you seasoned a few hours ahead. Roast at 275 degrees wrapped tightly in heavy duty foil for 2.5 to 3 hours, then unwrap, sauce lightly, and broil for 3 to 5 minutes until the edges darken.
When the timer goes off, ignore it and check instead. Take the temperature between the bones and test with a spatula, then rest the ribs for 10 to 15 minutes before slicing. That is how you learn to cook baby back ribs in the oven without a smoker and get the same result every time.