
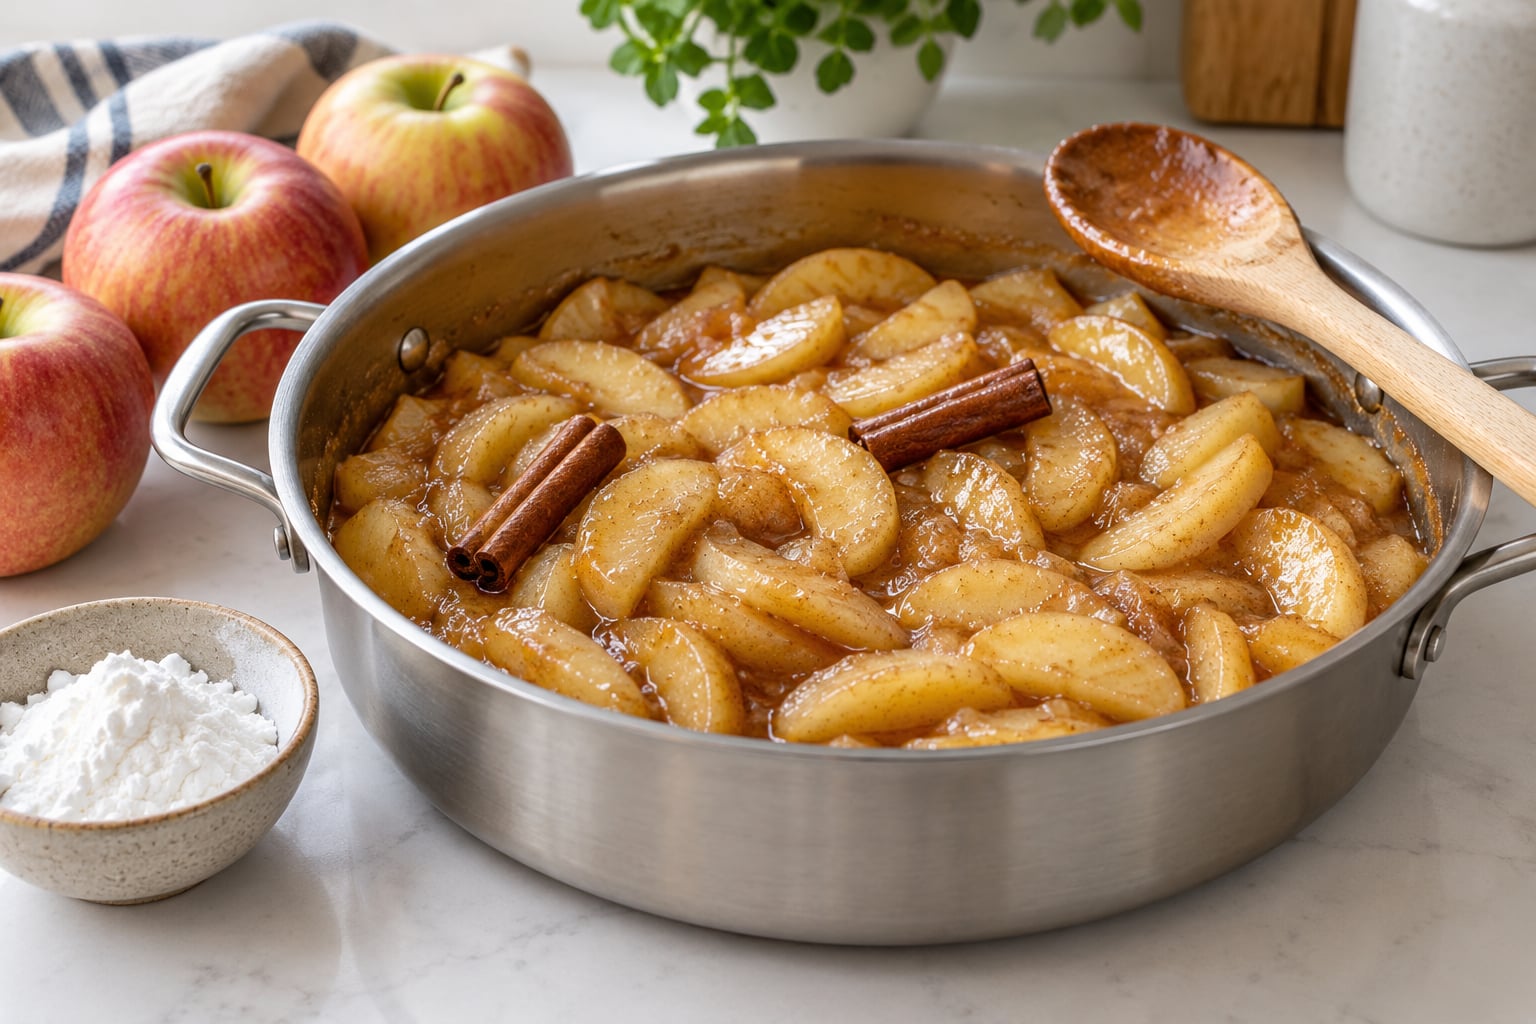
To make apple pie filling from scratch, cook sliced apples in a saucepan with sugar, butter, lemon juice and warm spices until they soften, then stir in a cornstarch slurry and simmer until glossy and thick enough to coat a spoon. It takes about 30 minutes and no special equipment.
The whole thing hinges on one moment: how thick the filling is when it goes into the crust. Get that right and the pie slices clean. Get it wrong and you get a lake at the bottom of the dish, no matter how good the apples were.
Store-bought filling is thin, very sweet, and mostly syrup, so making your own is the easiest way to taste actual fruit. If you’re also building the pie from the ground up, our home pizza dough guide covers the same kind of from-scratch dough logic for a much less forgiving crust.
What You Need
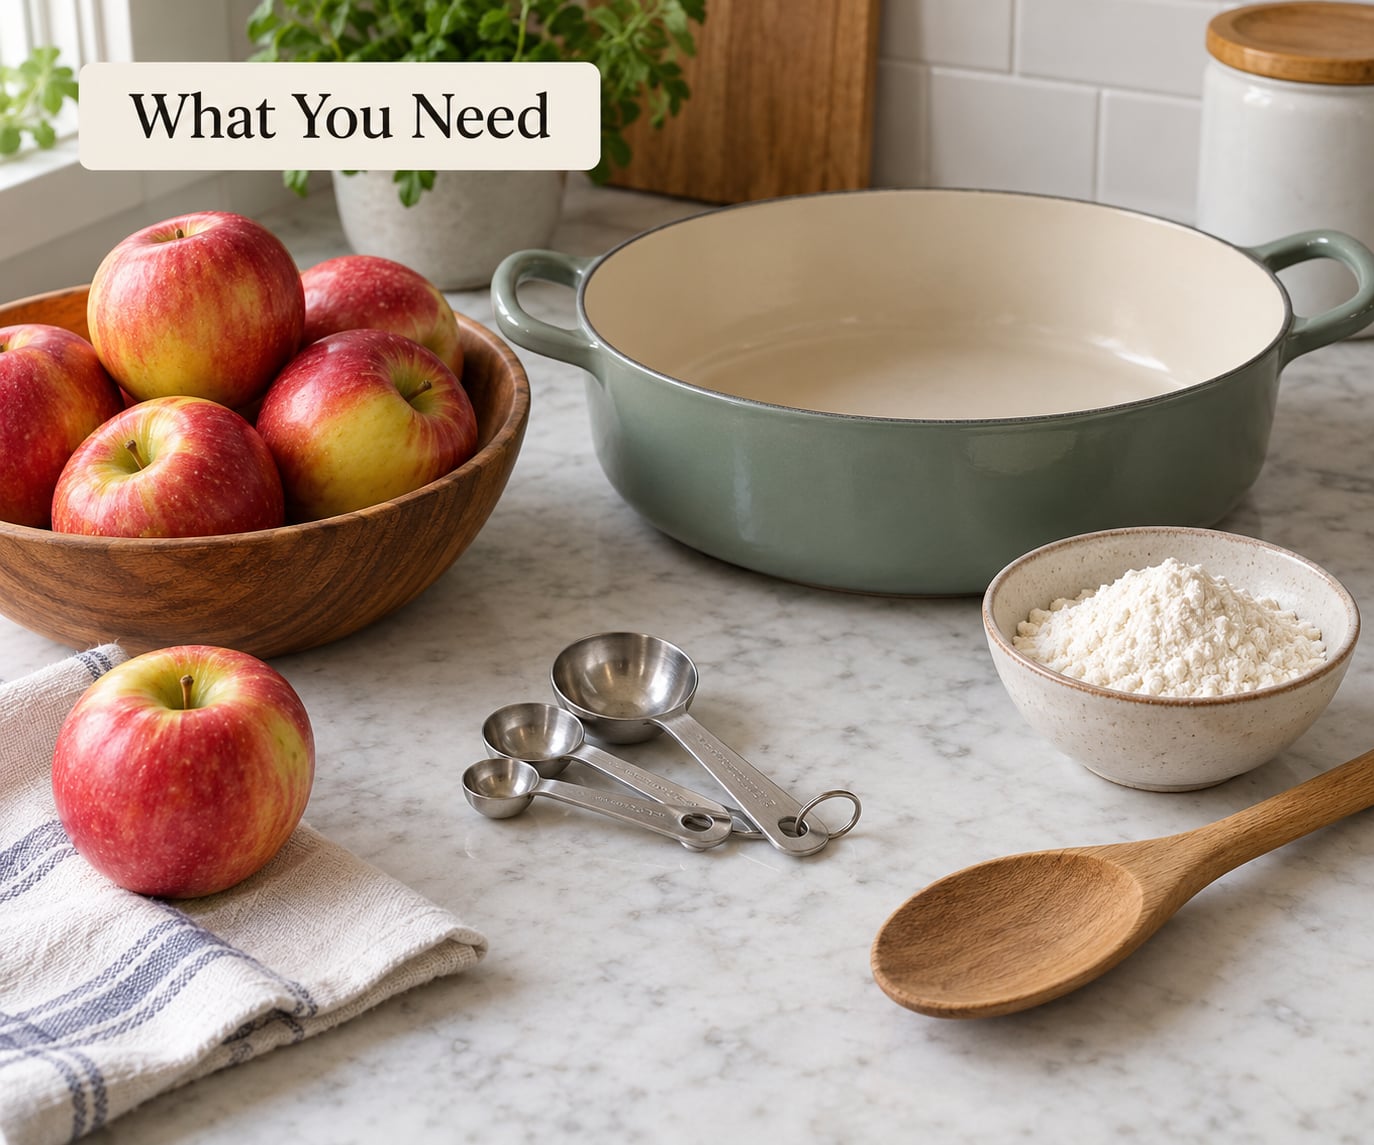
For one standard 9-inch double-crust pie, this makes roughly 6 cups of filling. Prep takes 15 minutes, cooking takes 15, so you’re done before the crust dough needs to chill.
Ingredients
- 6 cups sliced apples, about 3 medium apples (roughly 1.5 pounds)
- 3/4 cup granulated sugar (about 150 grams)
- 1/4 cup light brown sugar (about 50 grams)
- 1 tablespoon lemon juice
- 1 tablespoon unsalted butter
- 1 teaspoon ground cinnamon
- 1/2 teaspoon ground nutmeg
- 1/4 teaspoon ground allspice or apple pie spice, optional
- 1 tablespoon vanilla extract
- 1/4 cup water or apple cider
- 2 tablespoons cornstarch plus 4 tablespoons cold water, for the slurry
- 1/4 teaspoon salt
Equipment
A wide, heavy-bottomed saucepan is the only tool that really matters, because wide means the liquid reduces faster and the apples cook evenly instead of steaming in a pile. A wooden spoon and a small whisk handle the slurry. A mandoline makes the slicing job go faster, but a knife and a steady hand work fine.
Which apples to use
Use these apples: Granny Smith, Honeycrisp, Braeburn, Cortland, Jonagold, or Golden Delicious if you want a softer, sweeter pie. Mixing two varieties is my usual move, one tart and one sweet, and it gives you balance without adjusting anything else.
Avoid these apples: McIntosh, Red Delicious, and very ripe Fuji. They turn to mush in a hot pan and leave you with apple-flavored paste. That’s not a safety problem, it’s a texture problem, and no amount of thickener brings the slices back.
How much sugar for your apples
Sugar is a seasoning here as much as a sweetener. Start at 1 cup total for a full cup of combined sugars. If your apples are sharp, Granny Smith or a small heirloom, add another 2 tablespoons and a squeeze of lemon. If they’re sweet, Honeycrisp or Fuji, drop to 3/4 cup total and lean on the spices instead.
How to Make Apple Pie Filling From Scratch
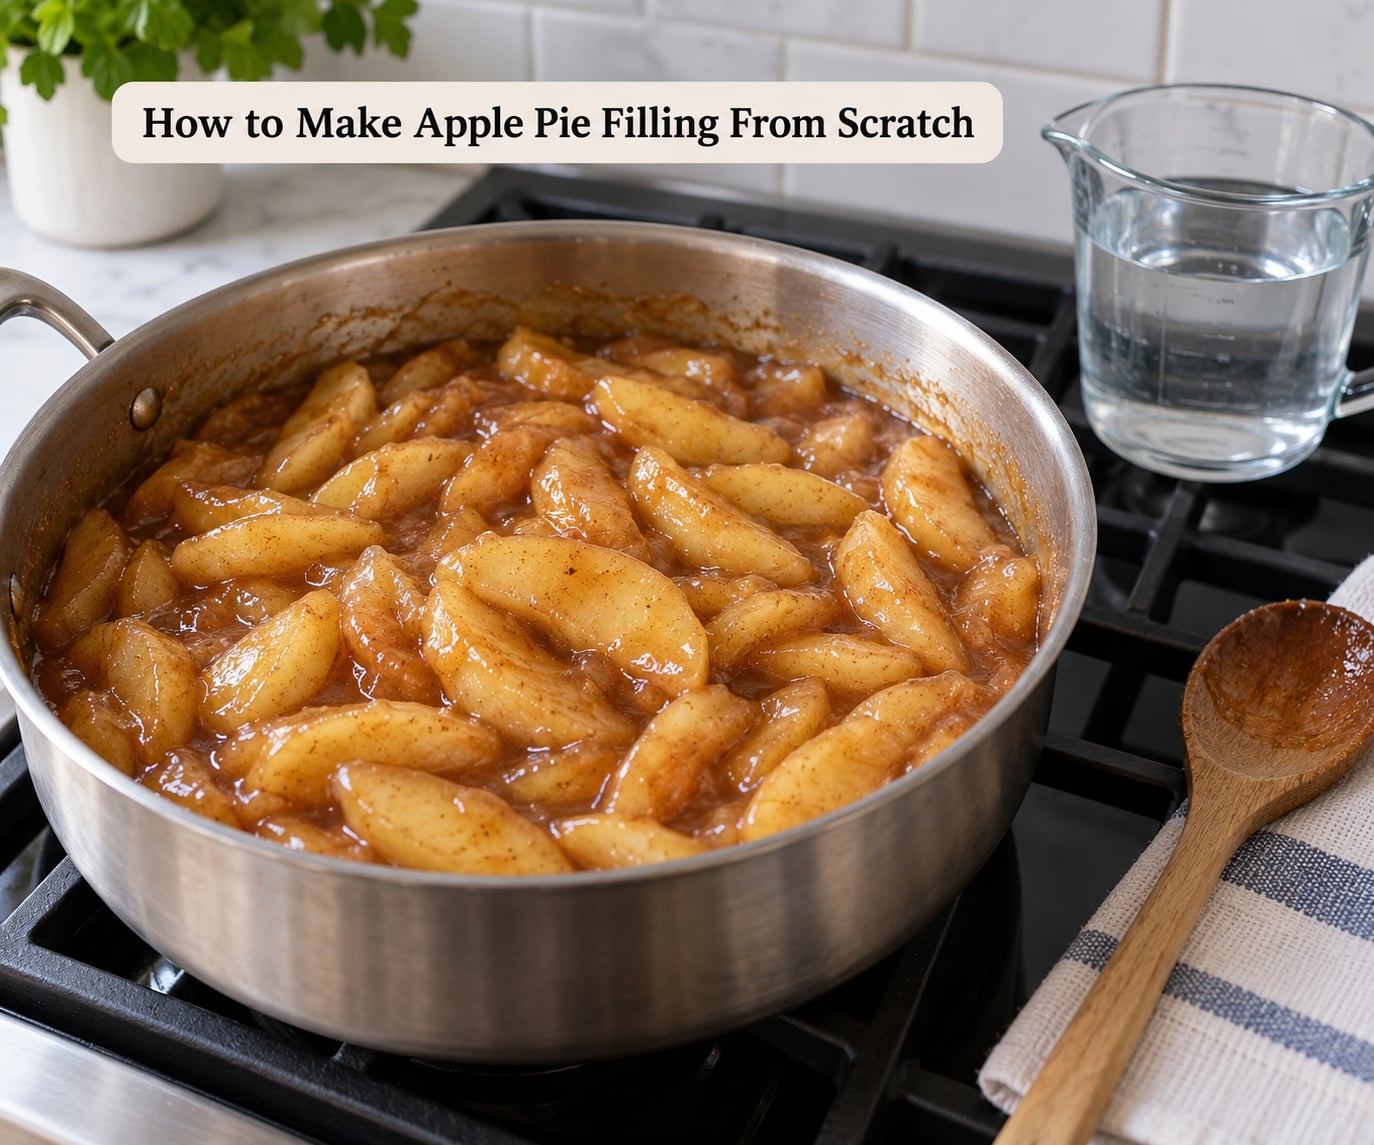
The method is four steps: prepare the apples, cook them with sugar and spices, thicken with a slurry, then cool. Total time is about 30 minutes, and the filling makes roughly one 9-inch pie plus a dish for the kids.
Step 1: Choose and Prepare the Apples
Peel, core, and slice the apples into even 1/4-inch pieces. Even thickness matters more than anything else here, since thin slices cook before thick ones and you end up with a mix of mush and rawness. Cut width, not fan shape; wedges are fine, inconsistent thickness is not.
Leave the skins on if you like, and for most pies I do. Skins soften, they hold their shape better through the bake, and the color stays richer. Peel them only if you’re serving kids or a picky eater, or if your apples are very ripe.
Toss the slices with the lemon juice right away to slow browning. If you’re not cooking for several minutes, drop them into a bowl of cold water with a little lemon in it. This is the same acid trick used for cranberry sauce from scratch, where holding the fruit in liquid keeps the color bright.
Step 2: Cook the Apples with Sugar and Spices
Melt the butter in the wide saucepan over medium heat. Add the apples, both sugars, the spices, the salt, and the water or cider. Stir once to coat everything.
Bring it to a simmer, which means a steady lazy bubble, not a rolling boil. Then drop the heat to medium-low and cook for 8 to 10 minutes, stirring every couple of minutes so the bottom doesn’t catch. You’re watching for the slices to go from opaque to partly translucent and to bend without snapping.
If you see brown patches on the pan or smell something scorched, turn the heat down immediately and scrape the bottom. That’s the fastest route to bitter filling, which I’ll cover below.
Step 3: Thicken the Filling
Mix 2 tablespoons of cornstarch with 4 tablespoons of cold water in a small cup until smooth. That’s your slurry. Whisking the cornstarch with cold water first is the whole trick, because cornstarch dumped straight onto hot apples clumps into starchy lumps you can never stir out.
Pour the slurry over the apples and stir it in right away. Keep the heat at a low simmer and cook for another 2 to 3 minutes, stirring constantly, until the liquid turns glossy and clear-ish and coats the back of a wooden spoon. Lift the spoon and drag a line with your finger; the filling should hold that line for a second or two before closing up.
Stir in the vanilla extract at the very end, off the heat. Boiling vanilla for a few minutes flattens it into background noise.
You’ll also want to know what thickening is worth using. Cornstarch gives the clearest, glossiest finish and no cloudy flavor, and it’s what I’d reach for every time. Tapioca starch is the gluten-free pick and gives a slightly gummy, more spoon-stable texture. All-purpose flour works, but it clouds the filling and adds a faint raw-wheat taste, so use a third more of it and cook it out longer. Clear Jel is the canner’s thickener; it dissolves invisibly, so it keeps fruit jars clear and works well if you want to process the filling, though it’s hard to find and unnecessary for a single pie. Regular pectin needs a lot of sugar and a hard boil, so skip it in a stovetop filling.
Step 4: Cool and Use the Filling
Let the filling cool to room temperature before it goes into a crust, roughly 30 to 45 minutes, stirring once in a while. The filling thickens noticeably as it cools, so what looks perfect in the pot can set up firmer than you expect. Cold filling also cooks more evenly in the oven than a hot one, which means less chance of the crust going pale before the center heats through.
Leave the filling slightly warmer than cold if you’re in a hurry, but never pour a screaming-hot filling into raw dough. It melts butter, weakens the crust, and can push the bottom out of the dish.
Venting is what people skip and then blame the filling. Cut small slits in the top crust or make a hole in the center, and the steam from the filling has somewhere to go instead of pushing the crust up like a dome. Then add 10 to 15 minutes to the bake time a recipe calls for, since the filling is already cooked and just needs to heat through.
For storage, cool the filling completely, press the air out of a freezer bag or airtight container, and refrigerate it for up to 3 or 4 days. Freeze it flat for up to 3 months, in portions sized to one pie. Thaw it in the fridge overnight, stir well, and use it straight from cold.
One pound of apples gives you about 4 cups of cooked filling, which is a little short of what a 9-inch pie needs. Two pies means 12 cups of raw slices, which is closer to 6 large apples.
If you want to go bigger, the same recipe doubles and triples cleanly. Just cook it in two pans rather than one, so the apples soften at the same rate. For a side dish instead of a pie, apple crisp from 4 cups of filling is a ten-minute job, and it’s the same argument as making stuffing that is not soggy: control the moisture before it hits the oven, and the oven can’t ruin it.
Common Mistakes
Why is my pie filling still watery after baking?
Because filling that looked fine in the saucepan releases more liquid as the sugar dissolves and the apples finish softening in the oven. Two fixes: cool the filling fully before assembly so you can judge the final consistency, and vent the top crust. If you’re still short, add 1 more tablespoon of cornstarch slurry and simmer 2 minutes before it goes in.
Why did my filling turn gummy or starchy?
Too much thickener, or thickener that sat too long at a hard boil. Cornstarch also thickens more in the fridge and as it cools, so a filling that’s fine in the pot can be glue at room temperature. Next time, use 1.5 tablespoons instead of 2 and start checking early.
Why did my filling have lumps?
Dry cornstarch hit hot liquid and immediately seized into lumps. Always whisk the cornstarch with cold water first, then pour the slurry in while stirring. If lumps are already in the pot, strain the filling through a fine sieve and return it to the pan to thicken again.
Why is my filling dry instead of juicy?
You cooked it too long or too hot, which burns off the liquid and concentrates the sugar into candy. Watch for the point where the sauce stops looking wet and starts looking matte. Also check your thickener ratio: 2 tablespoons of cornstarch per 6 cups of apples is the ceiling for a standard 9-inch pie.
Why does my filling taste bitter?
Either the sugar burned on the bottom of the pan, or the spices got doubled. Cinnamon and nutmeg both turn sharp and dusty past a teaspoon and a half respectively. Scrape the bottom of the pan more often, keep the heat at a lazy simmer, and measure the spices rather than eyeballing them.
Why did my apples turn to mush?
Soft varieties and slices that were too thin. If the pieces are collapsing as you stir, stop, because nothing thickens them back into shape. Use firmer apples and hold that 1/4-inch thickness. This is the one problem no ratio or technique can fix after the fact.
Can I add thickener before canning the filling?
Skip it. Starch-thickened fruit doesn’t process safely in a water-bath canner, so can the apples, sugar, spice and liquid only, and stir the thickener in when you assemble a pie. Follow tested recipes from Ball Brand or the CDC for any shelf-stable jar work.
Frequently Asked Questions
How many apples do I need for one apple pie?
About three medium apples, roughly 1.5 pounds, give you 6 cups of sliced fruit and enough filling for a standard 9-inch double-crust pie. One pound of apples yields about 4 cups of cooked filling, so two pies means 12 cups of raw slices, closer to 6 large apples. Slicing loses some volume, which is why raw counts look bigger than the finished amount.
Should you cook apples before putting them in a pie?
Yes, if you want reliable texture. Pre-cooking softens the apples, concentrates the flavor, thickens the juice with a slurry, and lets you see the true consistency before it hits the oven. Raw filling is faster but riskier: it releases liquid during the bake, which is the most common cause of a runny bottom and a domed top crust.
Is flour or cornstarch better for apple pie filling?
Cornstarch, most of the time. It makes a clearer, glossier filling with no flavor of its own, which is why bakers reach for it by default. Flour works, but it clouds the mixture and leaves a faint raw-wheat note, so use a third more than cornstarch and simmer longer to cook it out.
How do I know the filling is thick enough?
Lift a wooden spoon and drag a line through the filling with your finger. If the line stays open for a second or two, it’s ready, and it will set up firmer as it cools. A glossy, translucent sauce that coats the back of the spoon is the target, and remember the filling thickens more in the fridge than it does in the pan.
Can I freeze apple pie filling before baking the pie?
Yes, and it’s the easiest way to bake a pie in February. Cool the filling completely, press the air out of a freezer bag or airtight container, and freeze it flat for up to 3 months. Thaw in the refrigerator overnight, stir it well, then use it cold, or assemble the pie straight from frozen and bake 10 to 15 minutes longer.
What can I do with leftover apple pie filling?
Four cups makes an apple crisp, since the filling goes under an oat topping and bakes like a casserole. Smaller amounts are good over vanilla ice cream, spooned onto yogurt or oatmeal, or folded into a cheesecake. Thinned slightly with cider, it turns into a glaze for a cake, and a few spoonfuls make cinnamon rolls taste like autumn.
Start with firm apples, the full cup of sugar, and a slurry whisked with cold water. Get those three right and the filling will be glossy, thick and sliceable in about half an hour.