
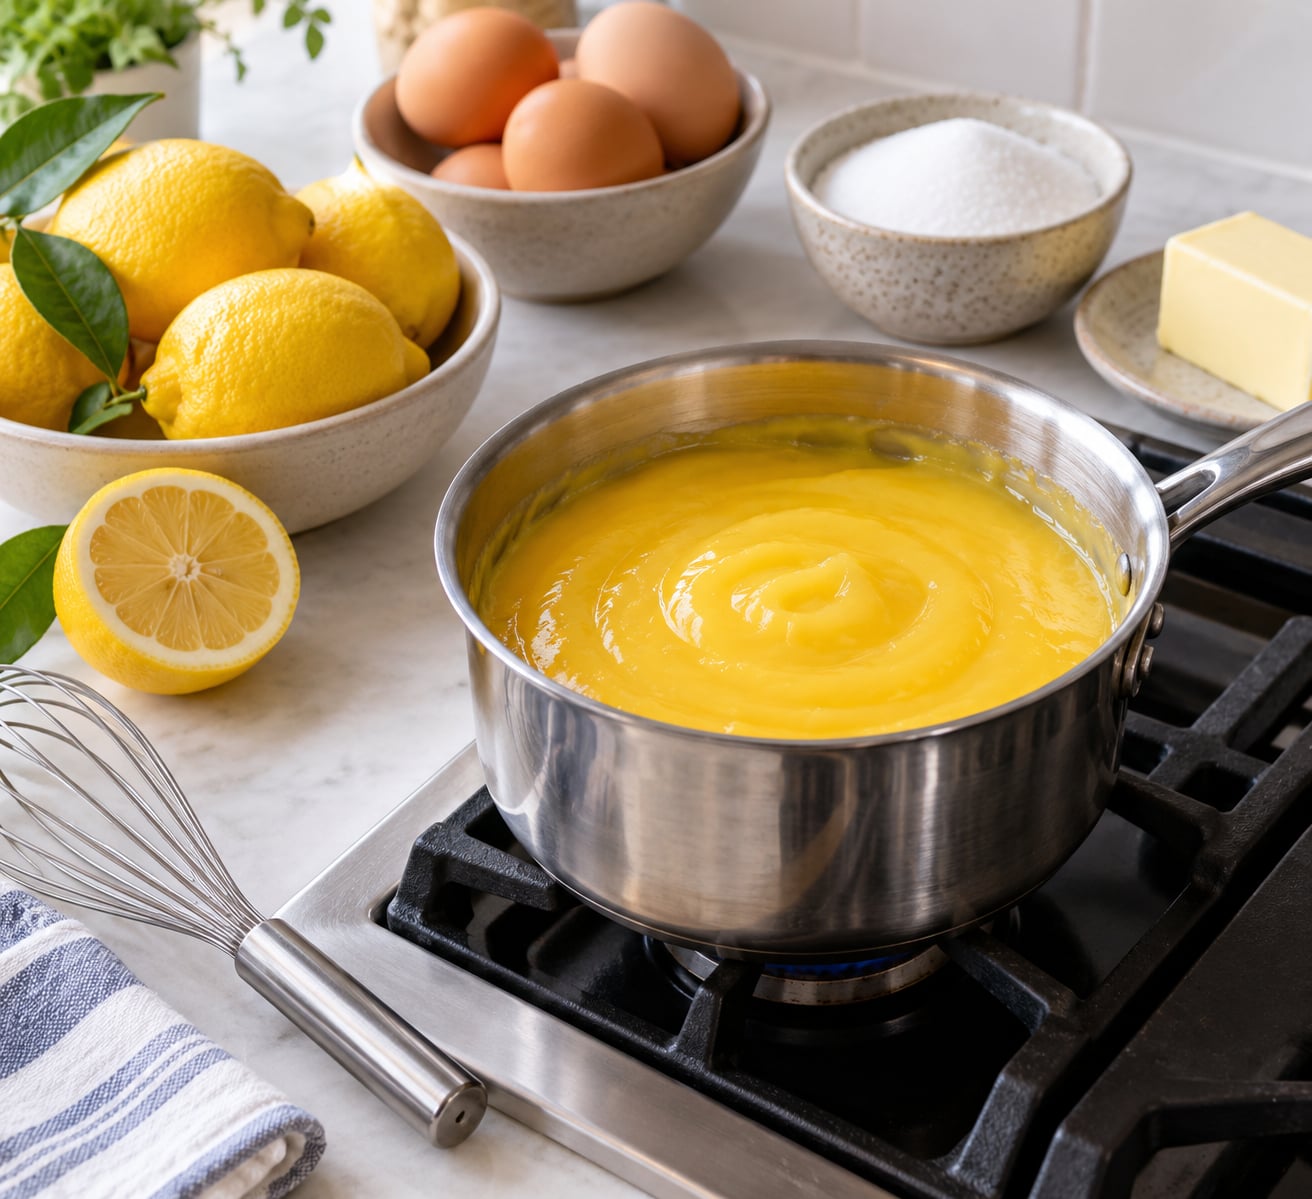
Lemon curd from scratch is five ingredients, one saucepan, and about 10 minutes of gentle heat: eggs, granulated sugar, fresh lemon juice, lemon zest, and unsalted butter. Whisk the eggs and sugar, warm the mixture while you whisk, melt in the butter a piece at a time, and cook to 160°F (71°C) for safety or 170–180°F (77–82°C) for the best set. Strain it, chill it, and it thickens into something glossy and spoonable.
It is not a hard recipe, but it is a fussy one. The eggs need gentle heat, the pan needs to be non-reactive, and you need to stand there and whisk rather than walk away. Ten minutes of attention buys you a jar that beats anything from the grocery shelf, and most of the failures people complain about are temperature and cookware problems, not recipe problems.
Here is the method I come back to, followed by the fixes for every way it can go sideways.
What You Need
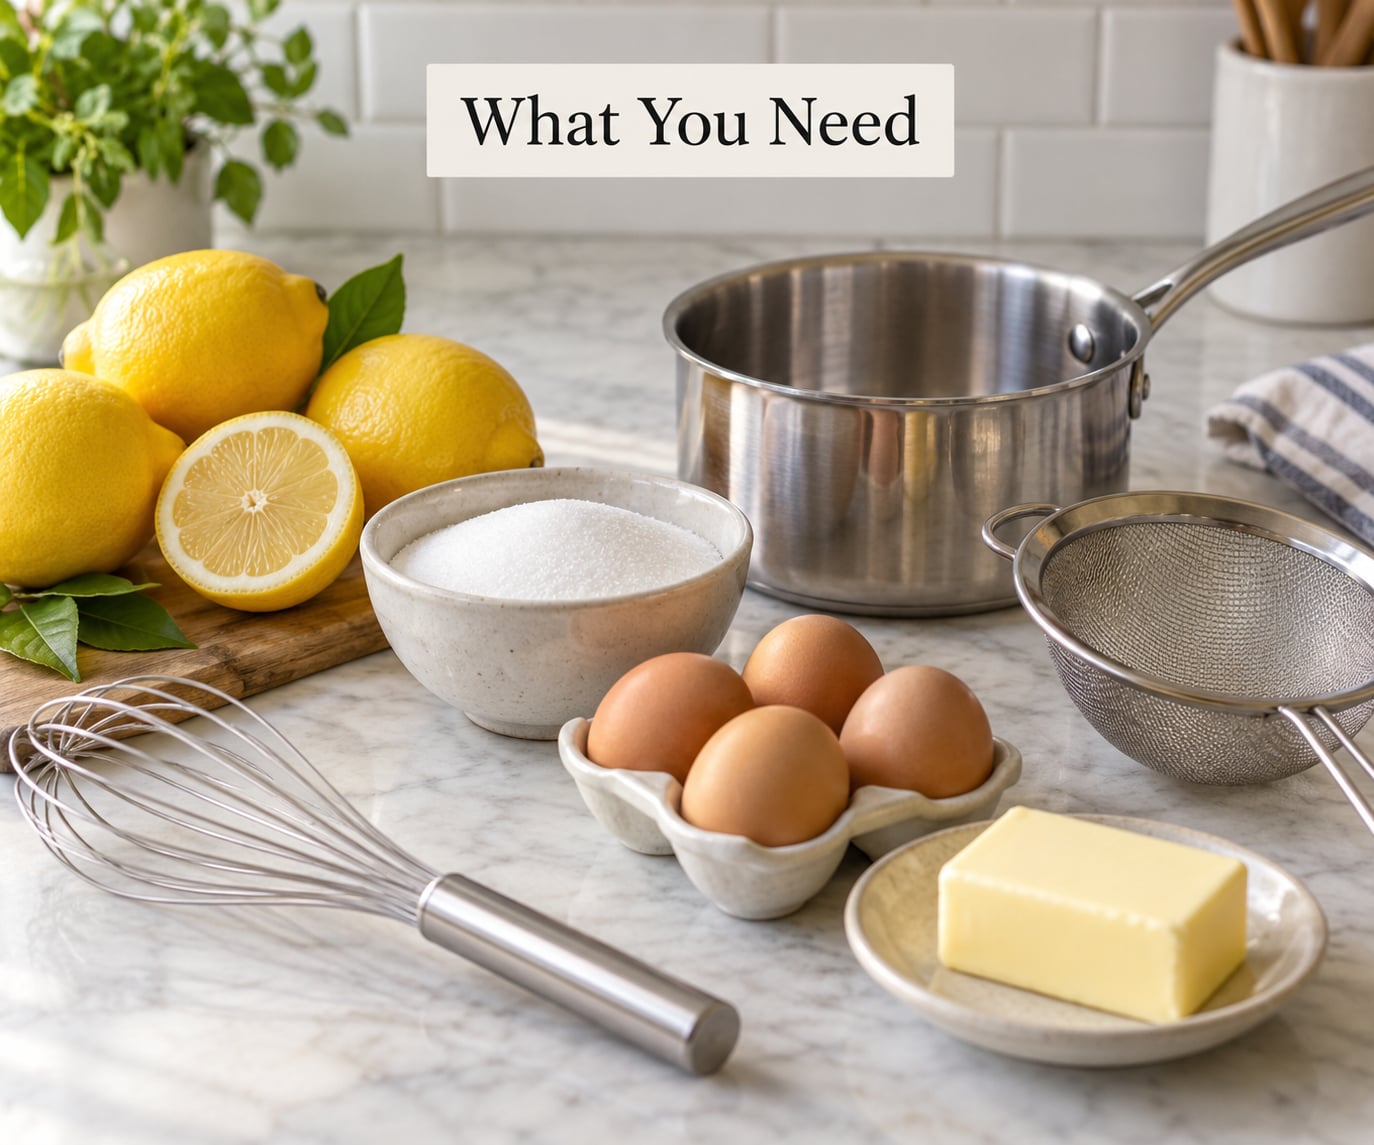
This makes roughly 2 cups (about 480 ml) of finished curd, which fills a 9-inch tart shell with room for a meringue, or fills roughly a dozen cupcakes.
Ingredients
- 3 large eggs (150 g total without shells)
- 1 cup (200 g) granulated sugar
- 3/4 cup (180 ml) fresh lemon juice, about 4 lemons
- 1 tablespoon (6 g) lemon zest, finely grated
- 5 tablespoons (70 g) unsalted butter, cut into 1-inch cubes
- 1 teaspoon vanilla extract (optional)
- Pinch of fine salt
Whole eggs give a lighter color and a softer set than an all-yolk version, and they are easier to whisk smooth. Extra yolks will get you a firmer, more pastry-cream consistency if you are filling a shell that has to hold its own weight.
Zest the lemons before you juice them, and zest the pale yellow skin only. The white pith underneath tastes bitter.
Equipment
Use a stainless steel or glass saucepan, or any non-reactive pan. Skip aluminum, cast iron, copper, and nonstick, since the acidic lemon juice reacts with those surfaces and can give the finished curd a flat, metallic aftertaste. That tinny note in a finished batch is the giveaway that the pan was the problem, not the recipe.
A wire whisk is what you actually need. A fine-mesh strainer is next, for catching any cooked egg solids and bits of zest. A silicone spatula, an instant-read thermometer, and a couple of clean jars with lids round out the setup.
Step-by-Step: How to Make Lemon Curd From Scratch
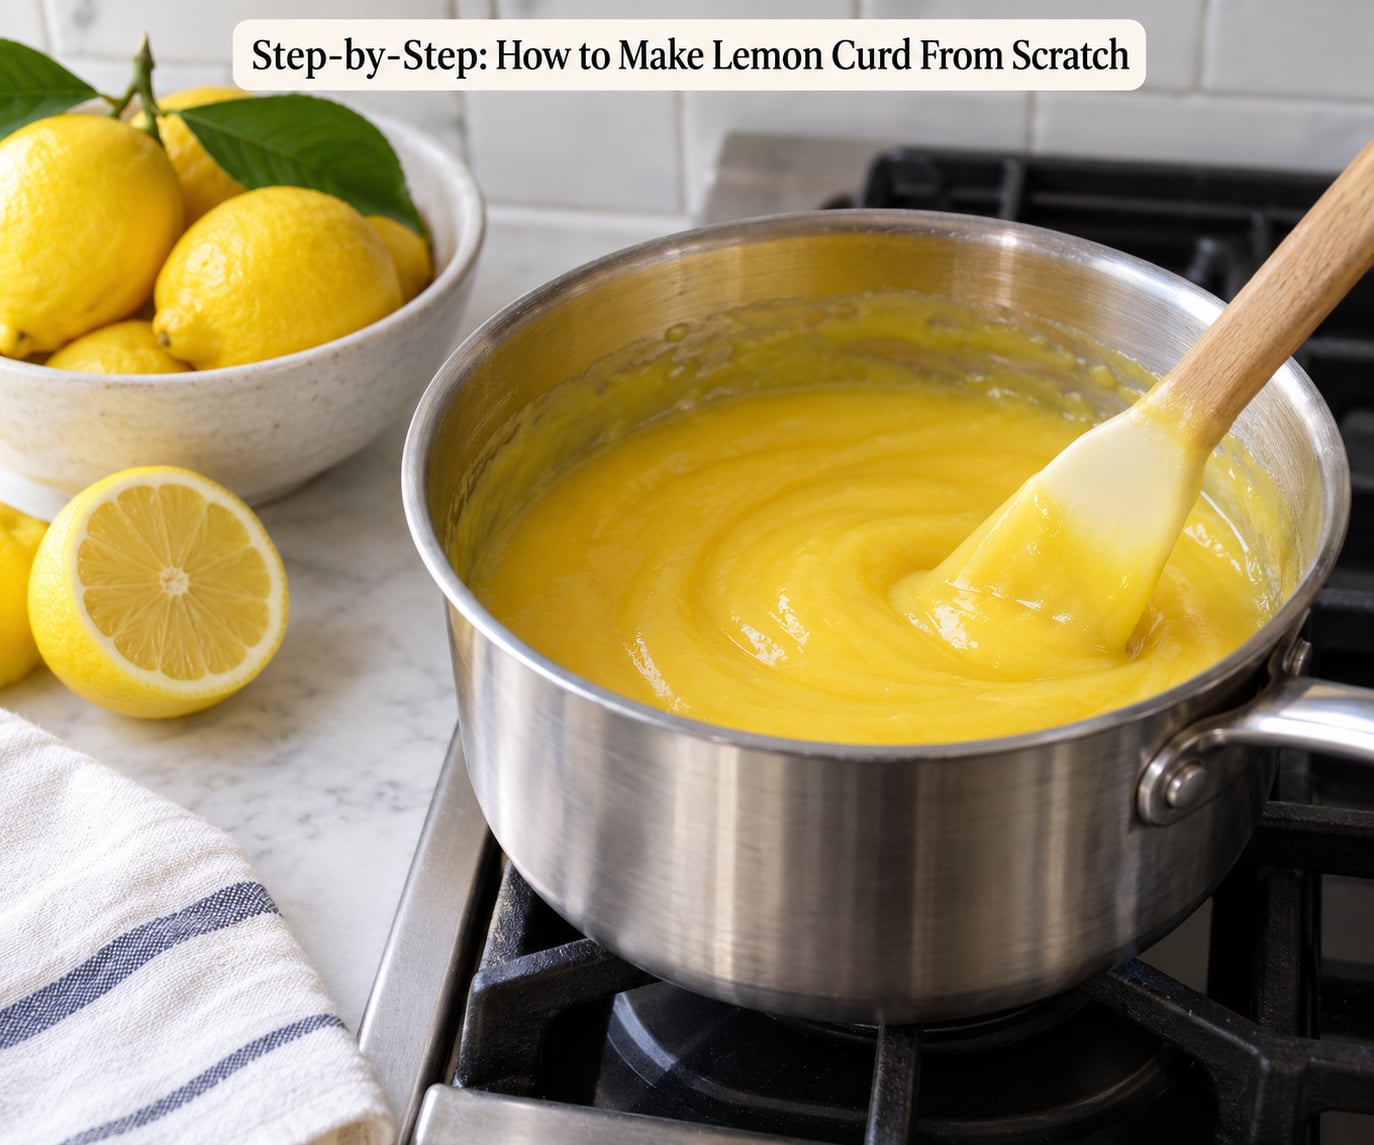
Step 1: Whisk the Eggs and Sugar
Whisk the 3 eggs and the sugar in a cold saucepan until the mixture turns pale yellow and slightly foamy, about 2 minutes. You are looking for a ribbon that leaves a trail on the surface for a second before disappearing, not stiff peaks.
Whisking breaks up the eggs and lets the sugar dissolve before any heat arrives, which is what keeps the final texture silky instead of grainy. Scrape the bottom and the corners of the pan as you go.
Add the lemon juice, zest, vanilla, and salt now if you like a classic whole-zest curd. Some cooks add the zest at the very end instead, which gives finer flecks of citrus. Either works.
Step 2: Warm the Mixture Gently
Set the pan over medium-low heat and whisk constantly, moving in long circles so the eggs at the bottom stay in motion. The mixture will thin and look watery at first. Keep the heat low enough that you never see a rolling boil or a burst of large bubbles.
Below about 140°F (60°C) the eggs stay liquid, which is fine. The thickening happens quietly as you approach the mid-170s, and if you push past that the proteins tighten, release water, and the whole batch turns into scrambled egg.
The technique here is the same one that makes a stable vinaigrette emulsify: slow motion and steady agitation keep the fat and liquid from separating while the mixture is vulnerable. It is the one step where you cannot multitask.
Step 3: Add the Butter in Small Pieces
Drop in two or three butter cubes and keep whisking until they melt completely before adding the next round. The heat should still be low. A whole batch of cold butter at once will drop the temperature sharply and stall the thickening.
What you are looking for is a single glossy, cohesive sauce with no visible streaks of butter. If you see pale swirls, whisk a little longer or nudge the heat up a notch. The butter and lemon juice eventually form an emulsion, and the egg proteins are what hold that emulsion in place.
Step 4: Cook Until Silky and Thick
Keep whisking and watch the temperature. The curd is properly cooked at 160°F (71°C), which is the safe minimum for an egg mixture, and it reaches its best texture between 170 and 180°F (77–82°C). Stirring in bubbles that pop and do not run back together is a good sign you are in that range.
The other doneness test is the spoon-coat. Drag a clean finger across the back of a spoon dipped into the curd. If it leaves a clear line that stays put, the curd is ready. Take the pan off the heat at that point, because the mixture firms up noticeably as it cools and no more as it sits on the stove.
If the curd is still loose and translucent at 180°F, give it another minute or two. Thin streaks that later pool at the bottom of the jar are the most common complaint, and they are almost always undercooked rather than wrong.
Step 5: Strain, Cool, and Store
Pour the curd through a fine-mesh strainer set over a clean bowl or jar. Press on the solids with a spatula or the back of a spoon to get the last of it out, but stop short of forcing so hard that you squeeze out all the flavor. The strained pulp is not wasted: mix it into granola, oatmeal, or a vinaigrette.
Pour into a heatproof container, press plastic wrap directly onto the surface so no skin forms, and let it cool on the counter before it goes in the refrigerator. Cover tightly and keep it cold for up to 5 days, which is the conservative window for an uncooked egg mixture.
One last thing on timing: the set is not instant. The curd looks loose when it is still warm, firms up noticeably in the first 2 hours, and reaches full spoonable thickness after 4 hours in the fridge. Judge it chilled, not warm.
Which Method Should You Use?
Several methods exist, and they are not equal. This comparison helps you pick the one that fits your kitchen and your patience, whether you are making one jar for a tart or working through leftovers from a batch of lemons.
Method comparison at a glance
- Stovetop, custard-style: 10 to 12 minutes of continuous whisking, one saucepan, and the widest control over the final texture. The most reliable option for a first batch.
- Double boiler: 20 to 30 minutes of gentler heat and a similar result, with almost no risk of scorching the bottom. Best if you are nervous about direct heat.
- High-speed blender: 30 to 60 seconds, and the texture comes out very smooth, but the volume doubles and you must work in batches so the jug does not blow the lid off.
- Microwave: 90 seconds in bursts, stirring between each. The fastest option and the hardest to control, which makes uneven texture likely.
- Slow cooker or pressure cooker: 30 minutes to an hour of hands-off cooking, but the gentlest heat can leave the curd loose. Good for large batches, poor for a pie filling.
For a first batch, the stovetop is the shortest path. The blender is the best choice when you want the smoothest possible result and are willing to double the batch.
Common Mistakes and Helpful Tips
Almost every bad lemon curd traces back to heat, pan material, or impatience. Here is the symptom-to-fix pairing, problem by problem.
Grainy or scrambled curd
The eggs cooked too fast, or the mixture sat still. Whisk constantly over medium-low heat and take the pan off the heat the moment the spoon line holds. If the damage is already done, strain the warm curd through a fine-mesh sieve; the broken bits stay behind and the sauce reads much smoother.
Curd that stayed thin
Two common reasons. Either it never got hot enough, so the egg proteins never linked into a network, or the butter was added all at once and cooled the pan before the eggs could set. Cook to 170 to 180°F (77 to 82°C) and feed the butter in gradually.
If you need something that will hold up in a pie shell, whisk a cornstarch slurry into the finished curd while it is still warm: one teaspoon of cornstarch with a tablespoon of water per cup of curd, simmered for a minute. That gives you a sliceable set without eggs.
Greasy separation or a dull film
The emulsion broke, usually because the pan boiled or because the curd sat uncovered. Whisk briskly over low heat to bring it back together, and press plastic wrap onto the surface the moment it reaches the bowl.
Metallic aftertaste
The pan was reactive. Citrus acid leaches flavor from aluminum, cast iron, and copper, and a nonstick coating can leave a flat, tinny note as well. Make the next batch in stainless steel or glass and use wooden or silicone utensils.
Pale color or a pronounced egg flavor
Overcooking cooks the egg flavor forward and dulls the yellow. Pull the pan earlier rather than later, and strain through a fine sieve. Expect a store-bought jar to be brighter, since it carries coloring and preservatives you do not need at home.
Flavor variations that actually work
Swap in lime, grapefruit, or Meyer lemon juice one for one, adjusting the sugar down a tablespoon for grapefruit since it is more bitter. A spoonful of raspberry or blueberry stirred in after cooking gives a swirled curd that looks like a gift. Vegan butter sticks work in place of dairy butter, and the curd still sets. Save the whites from the eggs for meringue or macarons rather than letting them go.
One batch, used well, covers a lot: lemon tart filling, cake layers, cupcakes, macarons, lemon bars, a cheesecake topping, yogurt bowls, pancakes, toast, and a sharp contrast next to rich duck or goat cheese. A citrus spread like cranberry sauce made from scratch, if you are already making one, uses the same keep-it-cold, use-it-fast rhythm.
Frequently Asked Questions
What makes a good lemon curd?
A good lemon curd is glossy, thick enough to coat a spoon, and tastes bright rather than eggy. The signs of a well-made batch: the color is vivid yellow, the texture is silky with no graininess or visible zest flecks, and it holds a clean line when you drag a finger across the back of a spoon. Freshly squeezed juice, a pinch of salt, and cooking only to about 180°F (82°C) get you there.
How long will homemade lemon curd last?
Kept covered in the refrigerator, homemade lemon curd stays good for about 5 days, and up to 7 days if you made it in a spotlessly clean jar. Press wrap directly onto the surface before chilling so no skin forms. For longer storage, freeze it in a freezer-safe container with a centimeter of headspace for expansion; thaw it in the refrigerator and whisk it smooth before using.
Can lemon curd be made without lemon zest?
Yes, and the curd is still excellent. Zest contributes aroma and a slight bitterness that balances the sugar, not the structure, so leaving it out simply makes the flavor rounder and more purely sour. If you skip it, add a teaspoon of lemon extract near the end of cooking for a stronger citrus note. The texture and set are unchanged either way.
Are lemon filling and lemon curd the same?
Not quite. Lemon curd is a British-style emulsion of eggs, sugar, lemon juice, zest, and butter, cooked gently into a thick, spoonable spread. Lemon filling sold in a jar is thinner, often made with starch or pectin instead of eggs, and is meant to be baked or poured. Homemade curd is richer and holds a soft set, which makes it better for spreading and tart shells.
Does lemon curd set when baked, and how long does it take to thicken?
Egg-based curd does not set as firmly when baked as a starch-thickened pie filling, and the eggs can turn slightly grainy from oven heat. For tarts and pies that need to hold a slice, whisk a cornstarch slurry into the finished curd: one teaspoon of cornstarch plus a tablespoon of water per cup, simmered for a minute. Otherwise, the curd firms up in about 2 hours and reaches full thickness after 4 hours in the refrigerator.
Conclusion
Start with the eggs and the sugar: whisk them together in a non-reactive pan until pale and foamy, before any heat touches them. Keep the flame low and the whisk moving the whole time, feed the butter in a few pieces at a time, and cook to 160°F (71°C) for safety or 170 to 180°F (77 to 82°C) for the set you want.
Strain it, press wrap onto the surface, and refrigerate. Four hours later you have about 2 cups of lemon curd made from scratch, and the whole process took less time than most people spend picking a recipe.