
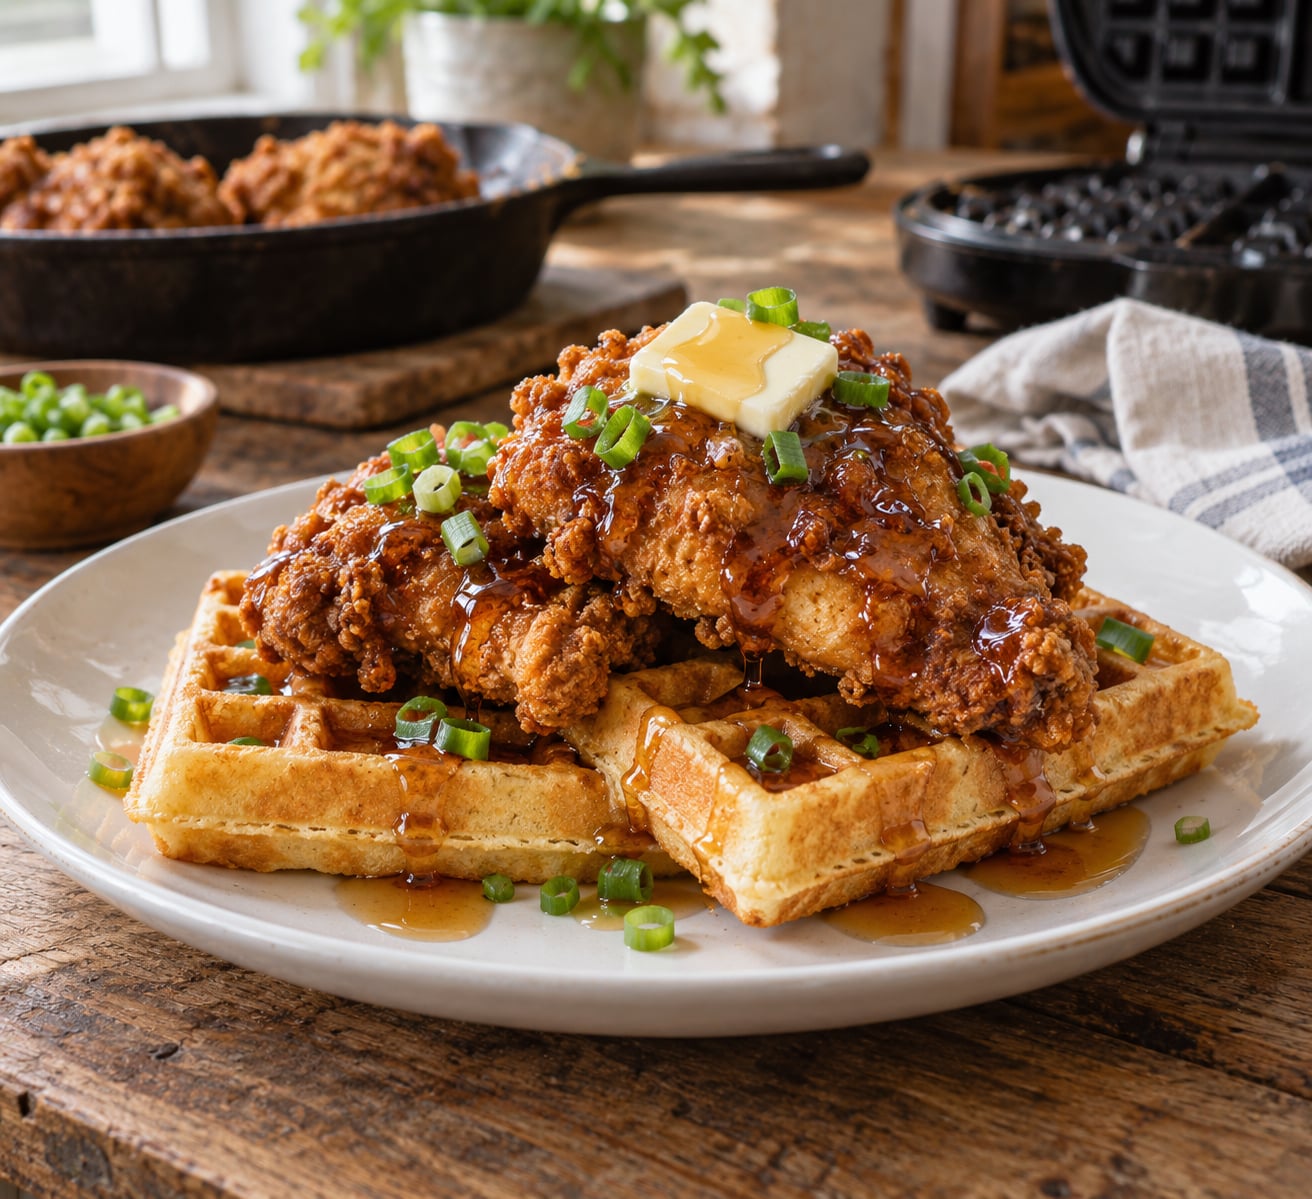
How to make chicken and waffles at home comes down to two components that are cooked separately and meet on one plate: chicken fried until the crust is craggy and the meat is fully cooked, and waffles cooked on an iron until golden. The whole thing takes about 50 minutes from the first pound of chicken to the table, and the order you cook them in matters more than anything else in the recipe.
The part most home cooks get wrong is timing. Fry the chicken first, drain it on a rack, and let it rest while the waffle iron heats up. The chicken actually holds its crunch better than the waffles do, so the last thing you should do is cook the waffles.
This is a Southern-style version, which means buttermilk-brined chicken under a seasoned flour crust. A Pennsylvania Dutch version exists too, where the chicken is stewed and served under gravy, but the fried version is what most people picture when they search for this dish.
What You Need
Everything below feeds four people generously, or six if you are serving small brunch portions. Read the whole list before you start, because the chicken needs to brine for at least 2 hours and often benefits from a full overnight rest.
Equipment
- A heavy-bottomed skillet or Dutch oven with 2 to 3 inches of oil in it. Cast iron holds heat most evenly, but any pot with a heavy base works. A wire rack set over a sheet pan, for draining. A waffle iron, preferably a Belgian-style maker with deep wells. A deep skillet or a second pot for the oil, so you are not crowding. A wire skimmer, a pair of tongs, and paper towels. An instant-read thermometer. This is the one tool that turns guesswork into a fact, and it is worth keeping in your kitchen permanently.
For the Fried Chicken
- 8 boneless, skinless chicken thighs, or 4 thighs plus 4 tenderloins.
- 2 cups buttermilk, plus extra for the double dredge.
- 1 tablespoon hot sauce (any vinegar-based brand is fine).
- 2 cups all-purpose flour.
- 1 tablespoon kosher salt.
- 2 teaspoons smoked paprika.
- 1 teaspoon garlic powder.
- 1 teaspoon black pepper, plus a pinch of cayenne if you like heat.
- 1 tablespoon cornstarch, which is the single easiest upgrade for a crunchier crust.
No buttermilk on hand? Stir 1 cup of milk with 1 tablespoon of lemon juice or vinegar, let it sit for 5 minutes until it thickens slightly, and use that. The acid is what tenderizes the meat, and any mild acid will do the same job.
For the Waffles
- 2 cups all-purpose flour.
- 1 tablespoon baking powder.
- 1 tablespoon sugar.
- 1 teaspoon kosher salt.
- 2 eggs, separated.
- 1 and 3/4 cups buttermilk or whole milk.
- 4 tablespoons melted butter, cooled slightly.
- Nonstick cooking spray, for the iron.
Fold in 1/2 cup of chopped scallions or a handful of sharp cheddar if you want the waffles to stand on their own next to the chicken. Most people assume the chicken is doing all the work on the savory side. It isn’t.
For the Maple-Chicken Syrup
- 1/2 cup maple syrup.
- 3 tablespoons butter.
- 1 tablespoon cider vinegar or a squeeze of lemon.
- Pinch of salt and a dash of hot sauce.
The vinegar is not optional. Without it, the syrup is pure sweetness sitting on top of a rich, fatty crust and it reads as too much. With it, the maple reads as a savory-sweet glaze instead of candy.
Step-by-Step
How to Make Chicken and Waffles at Home: Prepare the Chicken
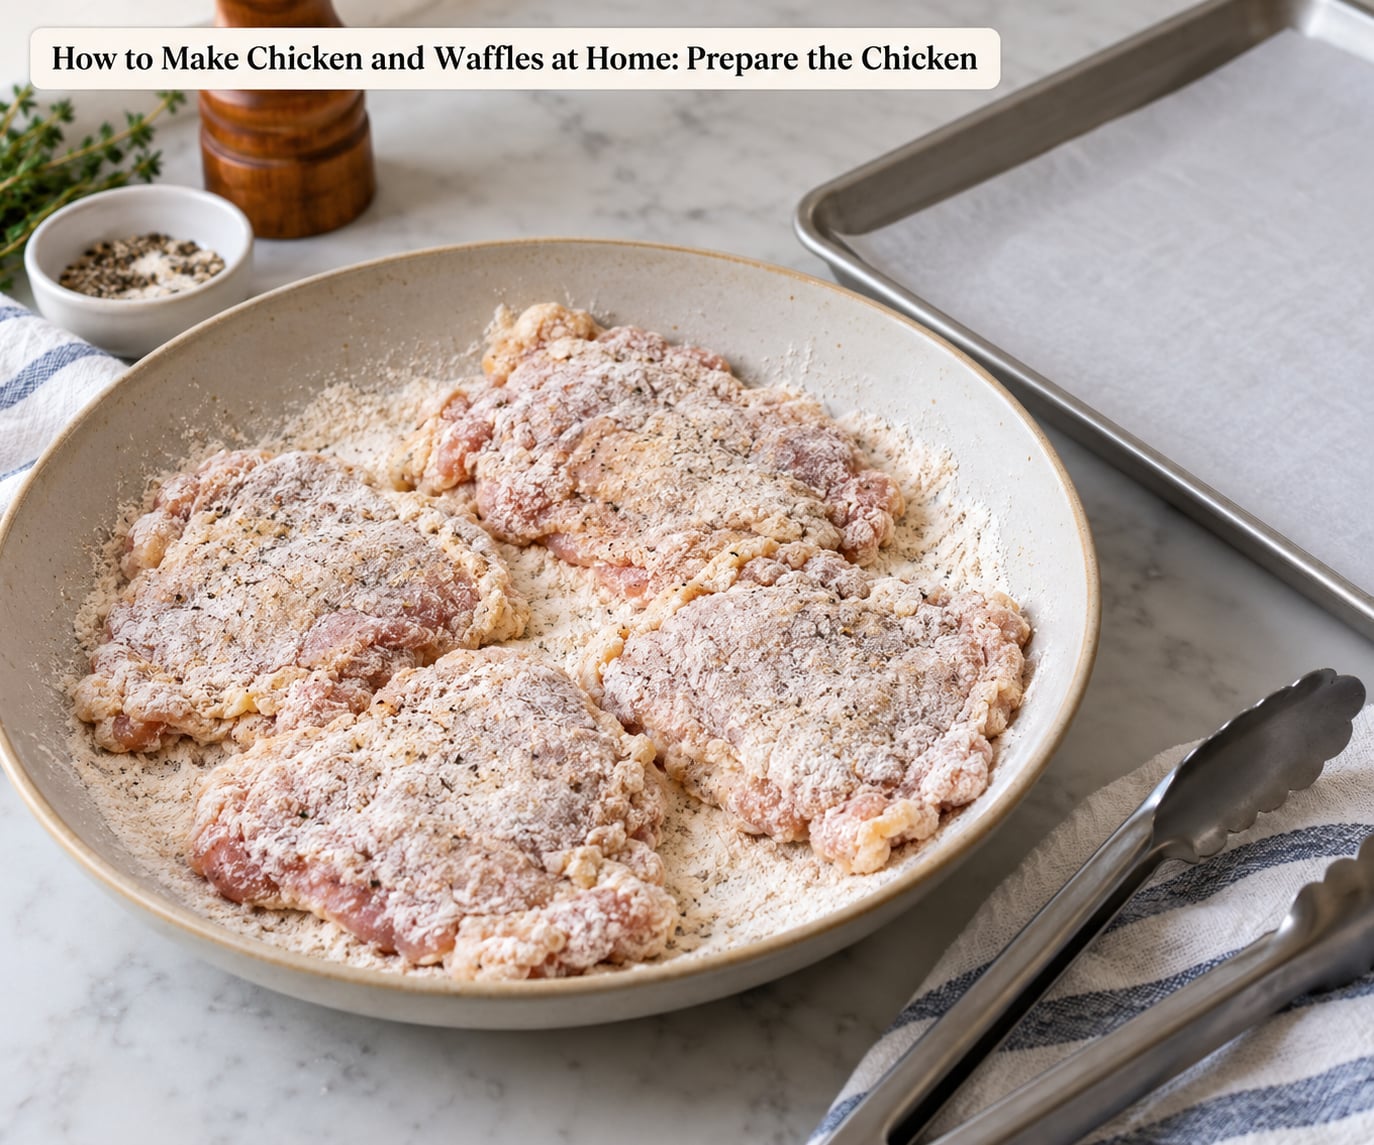
Start by making the brine. Stir the hot sauce into 2 cups of buttermilk, add the chicken, and turn each piece so it is wet all over. Cover and refrigerate for 2 hours minimum, or up to 24 hours. That overnight window is the difference between chicken that stays juicy and chicken that is merely coated.
While it brines, build your dredge. In a wide shallow bowl, combine the flour, salt, paprika, garlic powder, pepper, cayenne, and cornstarch. Whisk it with a fork until the color is even throughout and there are no streaks of white flour left.
Take the chicken out and pat each piece dry with paper towels. Wet chicken plus dry flour equals a crumb coat that peels off in the fryer, and this is the mistake that produces sad, bare patches on the finished crust.
Place each piece between two sheets of plastic wrap or between two sheets of parchment and pound it with a mallet or the bottom of a heavy pan until the thickness is the same across the entire piece. Thighs are naturally uneven, and a fat edge that stays thick will be chewy while the thin part overcooks. Aim for about three-quarter inch even thickness.
Season the flattened chicken lightly with salt on both sides, then work through the dredge. Press the flour on firmly with your fingertips so it adheres in a thick layer. Dip the piece back into the leftover buttermilk, then back into the flour for a second coat. This double dredge is what gives you the craggy, shaggy crust restaurant chicken has. A home cook who does this once rarely goes back to a single coat.
Set the coated pieces on a clean tray, not on top of each other, and refrigerate for 10 to 15 minutes. Letting the coating rest and hydrate slightly is a small step that prevents it from sloughing off in the hot oil.
Fry the Chicken Until Golden and Fully Cooked
Fill your heavy pot with 2 to 3 inches of neutral oil such as canola, peanut, or vegetable. More than two-thirds full is a real safety problem, because oil expands when food goes in and a full pot will spit over the side of the stove.
Heat the oil to 350°F and hold it there. If you do not have a thermometer, drop a small pinch of flour into the oil; it should sizzle immediately and turn golden within 5 seconds, which is roughly 350 to 360°F. Heat the oil first, before you bring the chicken out of the fridge, so the first pieces do not drop the temperature and absorb oil.
Lower one or two pieces at a time into the oil, away from you, and let them fry without being moved for 2 to 3 minutes. Then turn and cook another 2 to 3 minutes. Flattened, three-quarter inch pieces take about 5 to 6 minutes total. Whole, unflattened thighs or breasts need 10 to 12 minutes and more turned pieces. This is the step that sets the schedule for everything else when you make chicken and waffles at home, so start it before you touch the waffle batter.
The crust is done when it is deep golden brown all over, not pale gold, and when you press the thickest part and the meat feels rock solid rather than springy. The only check that tells you for certain is the thermometer: insert it into the thickest part without touching bone and read the temperature. Every piece needs to hit 165°F (74°C) before it comes out of the oil, including the ones that look done.
Let the oil come back to 350°F between batches. Adding cold chicken to oil that has dropped to 320°F is the single most common reason for pale, greasy crust, and it is also what makes oil splatter. Lower the drained chicken onto a wire rack rather than onto paper towels, because a rack lets steam escape instead of sealing into the crust. Line the underneath pan with paper towels to catch the drips, and use a spoon to blot the tops of the pieces.
When the oil is still hot, lower the heat and turn it off. Let the pan cool completely on the back burner before you handle it or pour it down the drain. Hot oil going down a drain is the fastest way to a burned kitchen and a call to the fire department.
Make Fluffy Belgian Waffles
Wheat the flour, baking powder, sugar, and salt together in a large bowl. In a second bowl, whisk the egg yolks into the buttermilk or milk, then stream in the melted butter while you whisk.
Beat the egg whites to soft peaks with an electric mixer, or with a very clean whisk and about 4 to 5 minutes of vigorous work by hand. Fold a third of them into the yolk mixture to loosen it, then fold in the rest with a spatula using a cutting and turning motion. Stop as soon as the streaks of white disappear. Over-folding deflates the batter and you get dense, bready waffles instead of a light crumb.
If your waffle iron has deep Belgian wells, use about three-quarter cup of batter per waffle. Standard square irons take about a half cup, and rotary irons take a little less than a half cup. Pouring too much is the most common waffle complaint, so start at the lower amount for your machine and adjust after the first one.
Spray the iron lightly with nonstick cooking spray, fill it, close the lid, and cook for 3 to 4 minutes on a typical setting. The waffle is ready when it stops steaming, which is the honest test, and when the color is golden. Pale waffles taste doughy no matter how long the timer says. If your iron runs hot and browns the outside first, lower the temperature setting by one notch; if they come out pale, raise it.
Move finished waffles to a wire rack in a single layer, never stacked, and set the rack in a 200°F oven. Air circulation is what keeps them crisp. A waffle sitting on a plate inside a closed oven traps its own steam and goes soft within about 15 minutes.
Make the Maple-Chicken Syrup
By this point the chicken is fried and resting, so you have about ten minutes before everything is ready at once. Pour off all but about a quarter cup of the oil from the chicken pan, scraping nothing off the bottom.
Set the pan over medium-low heat. Add the butter and let it melt, then stir in the maple syrup, the vinegar, the salt, and a dash of hot sauce. Swirl the pan as it heats, and bring it to a bare simmer.
Let it bubble for 2 to 3 minutes until it thickens enough to coat the back of a spoon, then take it off the heat. Watch this closely: the sugar in maple syrup goes from perfect to burnt in about 20 seconds once it starts darkening, and burnt maple has a bitterness that no amount of hot sauce fixes. If the drippings have already gone dark brown or smoky, pour the pan out and start the syrup fresh in a clean pan with a spoon of butter. Burnt bits will not dissolve.
Assemble and Serve the Chicken and Waffles
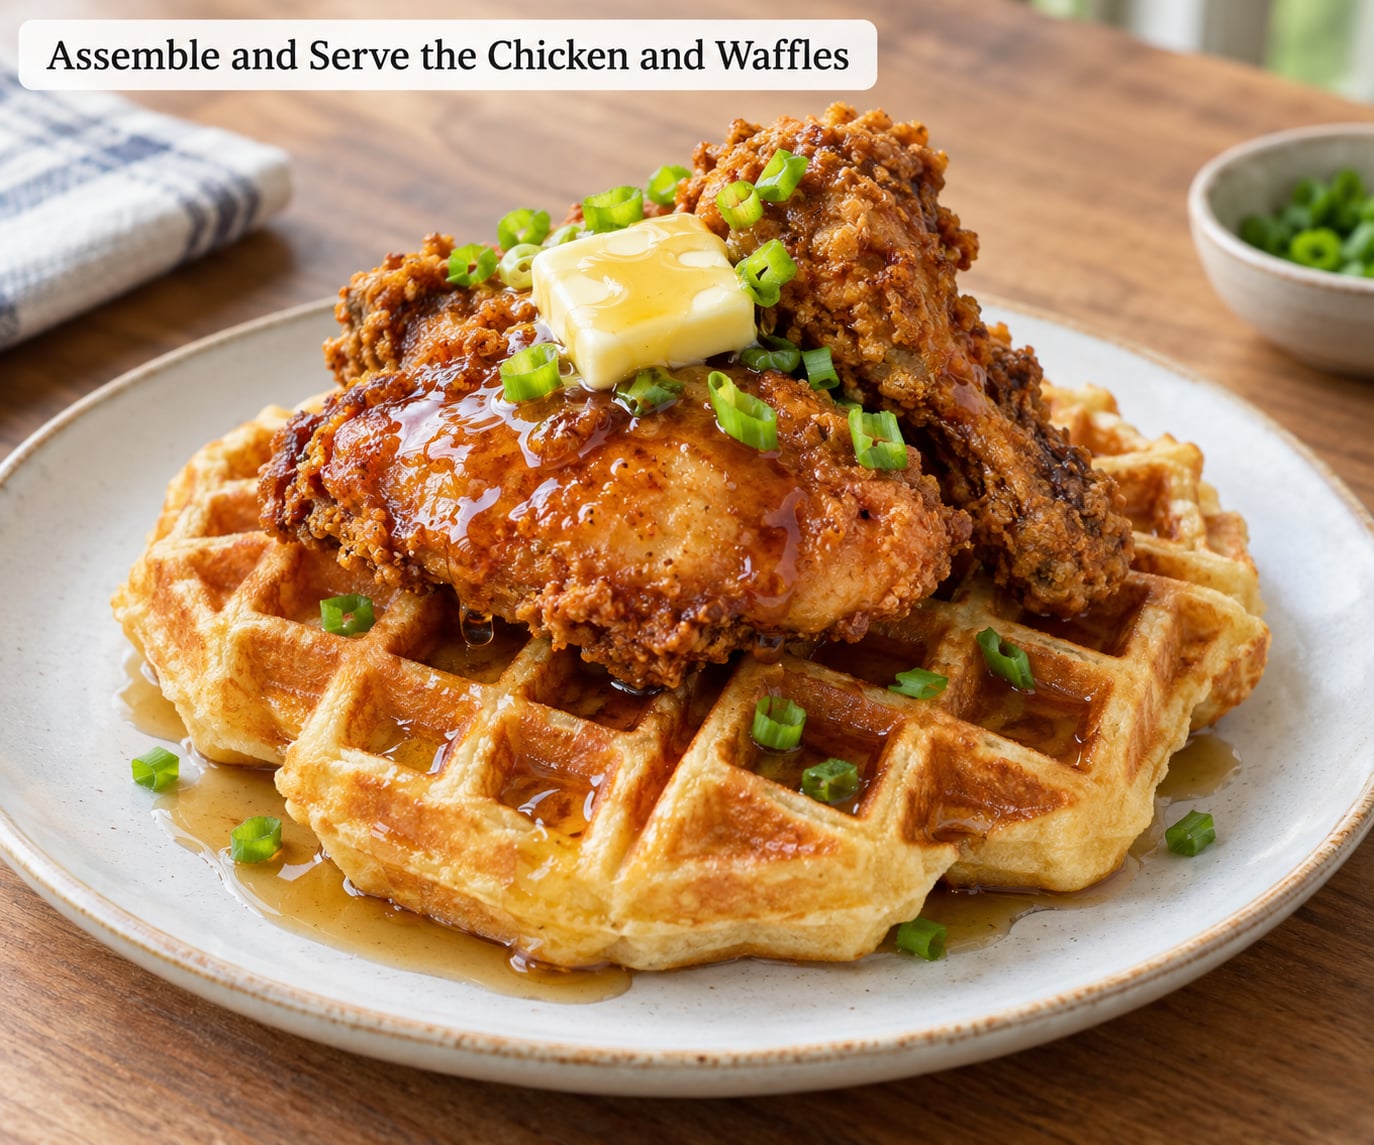
Plate one or two waffles per person, lay the fried chicken on top, and spoon the warm maple-chicken syrup over both. Syrup on the chicken is a matter of regional stubbornness, and the practical answer is to put some on the waffle so it soaks into the crumb, and drizzle a little over the chicken so the crust keeps its crunch. Drowning the whole plate in syrup is what turns chicken and waffles into a dessert.
Set out softened butter in a small dish, sliced scallions, and a bottle of hot sauce on the table. A small plate of fried pickles or a bowl of dressed greens on the side balances the richness, and coffee or a cold brew is the natural pairing for a brunch this heavy.
Serve within a few minutes of the waffles leaving the oven, and serve the two components on separate plates if the group is large. Chicken that sits stacked under waffles and syrup will steam itself soft, and no amount of careful frying prevents that. Rushing this handoff is where most attempts at how to make chicken and waffles at home fall short. If you are hosting eight or more, cook the last batch of waffles after the first plates are already served, which takes two minutes and keeps every plate as crisp as the first one.
Common Mistakes
The chicken cooks unevenly or comes out chewy in spots
Almost always an uneven thickness, not a bad fry. Pound the chicken to a consistent three-quarter inch, and check the thickest piece with a thermometer rather than judging by color. Undercooked center on a piece that looks done is the most serious mistake in this recipe, and it is entirely preventable with an instant-read thermometer.
The breading falls off in the fryer
Three causes. The chicken was too wet going into the flour, the coating was too thin, or the oil was too cool. Pat the chicken dry, double dredge it, and let the coated pieces chill 10 to 15 minutes before they go near the oil. The rest step is what glues the coating on; skipping it is the most common shortcut and the most common reason the crust flakes away.
My waffles come out soggy or limp
Three fixes, in order of how often they are the problem. First, cook the waffles last so they spend minimal time sitting. Second, hold them on a wire rack in a 200°F oven rather than on a plate or in a towel, because trapped steam softens the crust. Third, cook them until they stop steaming, and add another 30 seconds if they are pale. How to make waffles crispy on the outside covers the iron temperature settings in more detail.
Oil splatters everywhere and the crust goes greasy
Two things are usually wrong. Your oil is below 350°F when the chicken goes in, so the food sweats before it cooks, and wet chicken plus a full pot means the moisture has nowhere to go but out. Heat the oil first, add dry chicken in small batches, and keep the pot no more than two-thirds full. A splatter screen is genuinely effective and worth owning.
The syrup is too sweet or greasy
Too sweet means you skipped the vinegar or used too much maple syrup relative to butter. Too greasy means you left too much oil in the pan, or added cold butter and it seized onto the burnt fond. Reduce to a quarter cup of drippings, add the vinegar, and keep the simmer short. For a lighter version, whisk the maple syrup with a spoonful of the warm waffle batter thinned with milk.
Tips for Crispy Chicken and Waffles
Buy one more piece of chicken than you think you need. Thighs shrink by roughly a quarter of their size as they fry, and a plate that looks underfilled before cooking looks correctly portioned after.
Cornstarch is the shortcut to a better crust. One tablespoon mixed into the flour gives you a noticeably cracklier, crunchier texture and costs nothing extra.
Scale for a brunch crowd at one waffle and one thigh per guest, plus two extra waffles because someone always wants a second one. A dozen people needs three batches of chicken, and the pan can only fry what it can fry without crowding.
Marinate the chicken the night before. Overnight brining is free work: the bowl goes in the fridge and does nothing. A two-hour marinade is acceptable; overnight is better.
Freeze surplus waffles flat on a tray, then bag them. They reheat in a toaster or a 350°F oven for about 4 minutes, and freezing them separately prevents them from steaming each other into softness.
Refrigerate leftovers separately. Store the chicken and the waffles in different containers, and expect the waffles to soften overnight. A short blast in a hot oven brings most of the texture back.
For an oven or air fryer version, how to make chicken tenders in the oven gives you a method that skips the fryer entirely, and how to break down a whole chicken at home is worth reading if you are cooking for a group and want to use the whole bird, breast meat on the waffles and thighs fried separately.
Frequently Asked Questions
What is the best chicken to use for chicken and waffles?
Boneless skinless chicken thighs are the best choice. Their higher fat content keeps them juicy through the fry, and the meat stays tender even if you push the timing a minute too far. Tenderloins work well and cook faster, and breasts are fine if you pound them to an even thickness first, since an unflattened breast dries out long before it browns. Many cooks also use leftover fried chicken from a previous meal.
Can I use chicken breasts instead of thighs?
Yes, but pound them to an even three-quarter inch thickness first. A whole breast is thick on one end and thin on the other, so the thin part burns before the thick part is safely cooked. Flattened pieces fry in about 5 to 6 minutes at 350°F. Check the thickest part with a thermometer and confirm it reaches 165°F (74°C) before you drain it, because a white-looking breast is not a reliable sign on its own.
Why are my fried chicken and waffles soggy?
Steam is almost always the cause. Stacking waffles traps steam, and so does sitting fried chicken under a warm waffle with syrup on it. Hold waffles on a wire rack in a 200°F oven where air circulates around them, keep fried chicken on a rack rather than a plate, and serve the two components together only at the moment of eating. Cook the waffles last, and save the last batch until after the first plates are served.
Can I make chicken and waffles without a waffle iron?
You can, though the dish changes shape. Cook the batter in a lightly buttered skillet like thick pancakes, or use Belgian waffle pans inside a regular skillet if you own a set. Frozen or store-bought waffles reheated in a toaster also work in a pinch. The crisp-on-the-outside texture does depend on a proper iron, so if you are buying one for this recipe, a Belgian maker with deep wells gives the most restaurant-like result.
How long should cooked chicken and waffles be stored?
Refrigerate leftovers within two hours of cooking and use them within three to four days. Keep the chicken and the waffles in separate containers so the waffle does not absorb the chicken’s moisture and go soft. Re-crisp the waffles in a 350°F oven for about 4 minutes, and rewarm the chicken on a rack in the same oven for 8 to 10 minutes. Freezing is safe for cooked chicken and waffles for two to three months.
Conclusion
Start by brining the chicken, and give yourself the overnight window when you can. Fry it in 2 to 3 inches of oil held at 350°F, drain it on a wire rack, and verify the thickest piece reads 165°F (74°C). Mix the waffle batter only after the chicken is resting, cook the waffles until they stop steaming, and hold them on a rack in a 200°F oven.
Serve the chicken and the waffles as close to separate as you can. That is the whole secret of how to make chicken and waffles at home: each component is at its best on its own, and the plate is where they meet, not where they sit marinating in each other’s steam.