
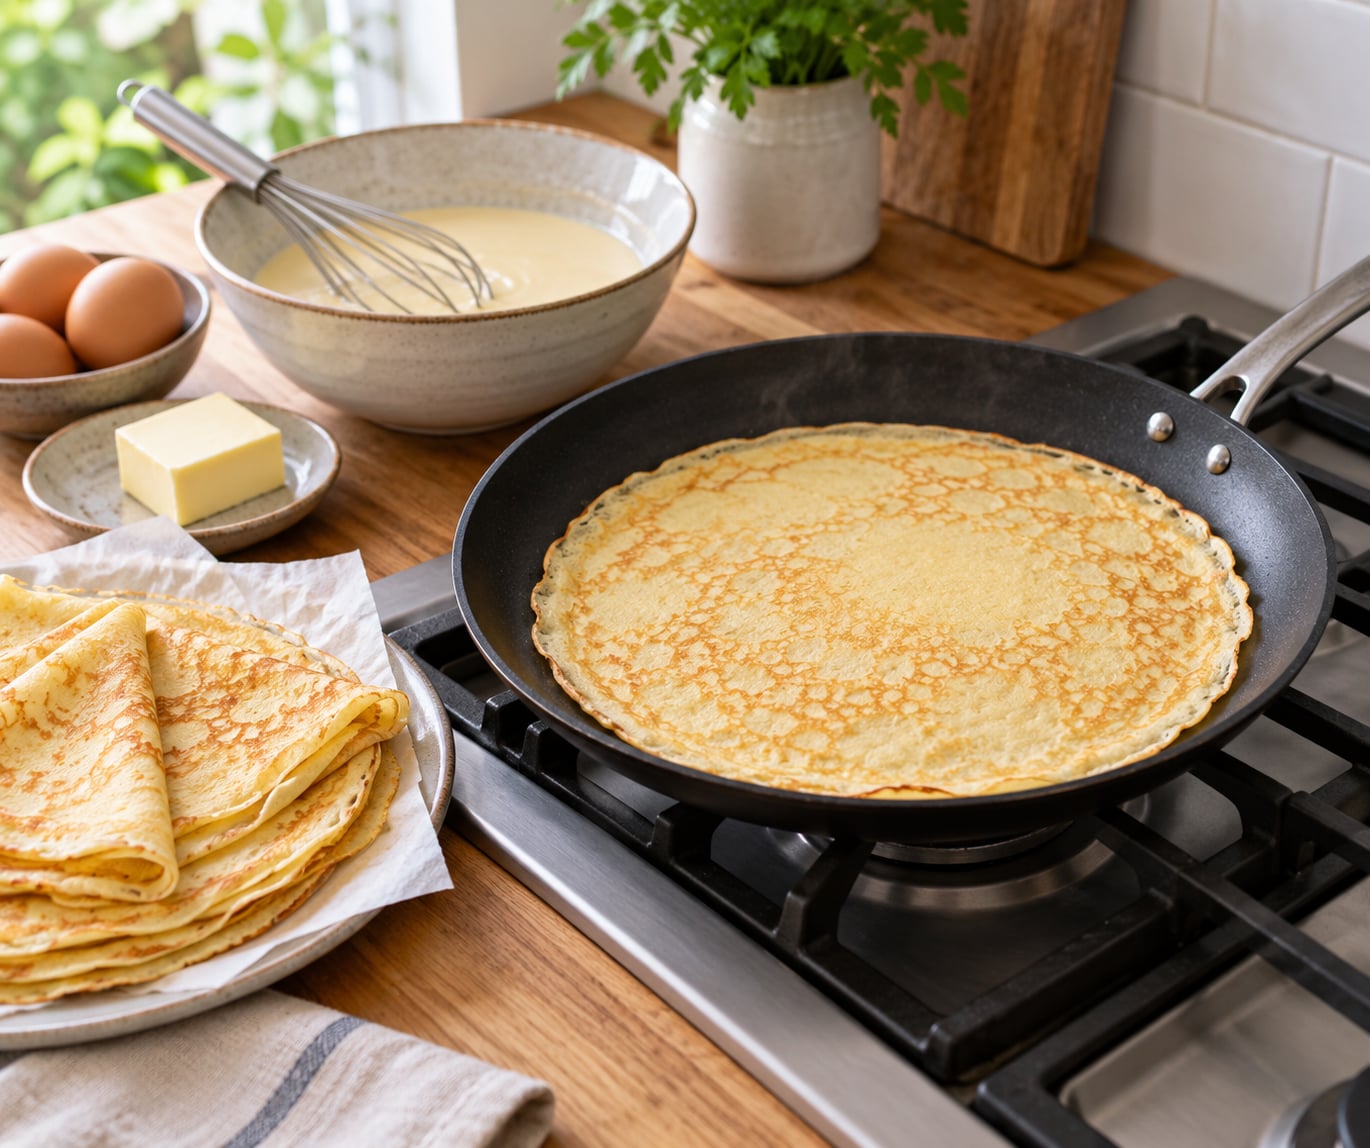
You can make excellent crepes without a crepe pan. A crepe pan is really just a shallow skillet with a flat base, so any flat-bottomed, evenly heating pan you already own will do the job. The whole process takes about 30 minutes, and the hard part is not the cooking, it’s learning how thin to spread the batter.
I’ve been making crepes in an ordinary nonstick skillet for years, and the results are the same thin, lacy-edged crepes you’d get from a restaurant. The trick is a runny rested batter, medium heat, and confidence with the spatula.
What You Need
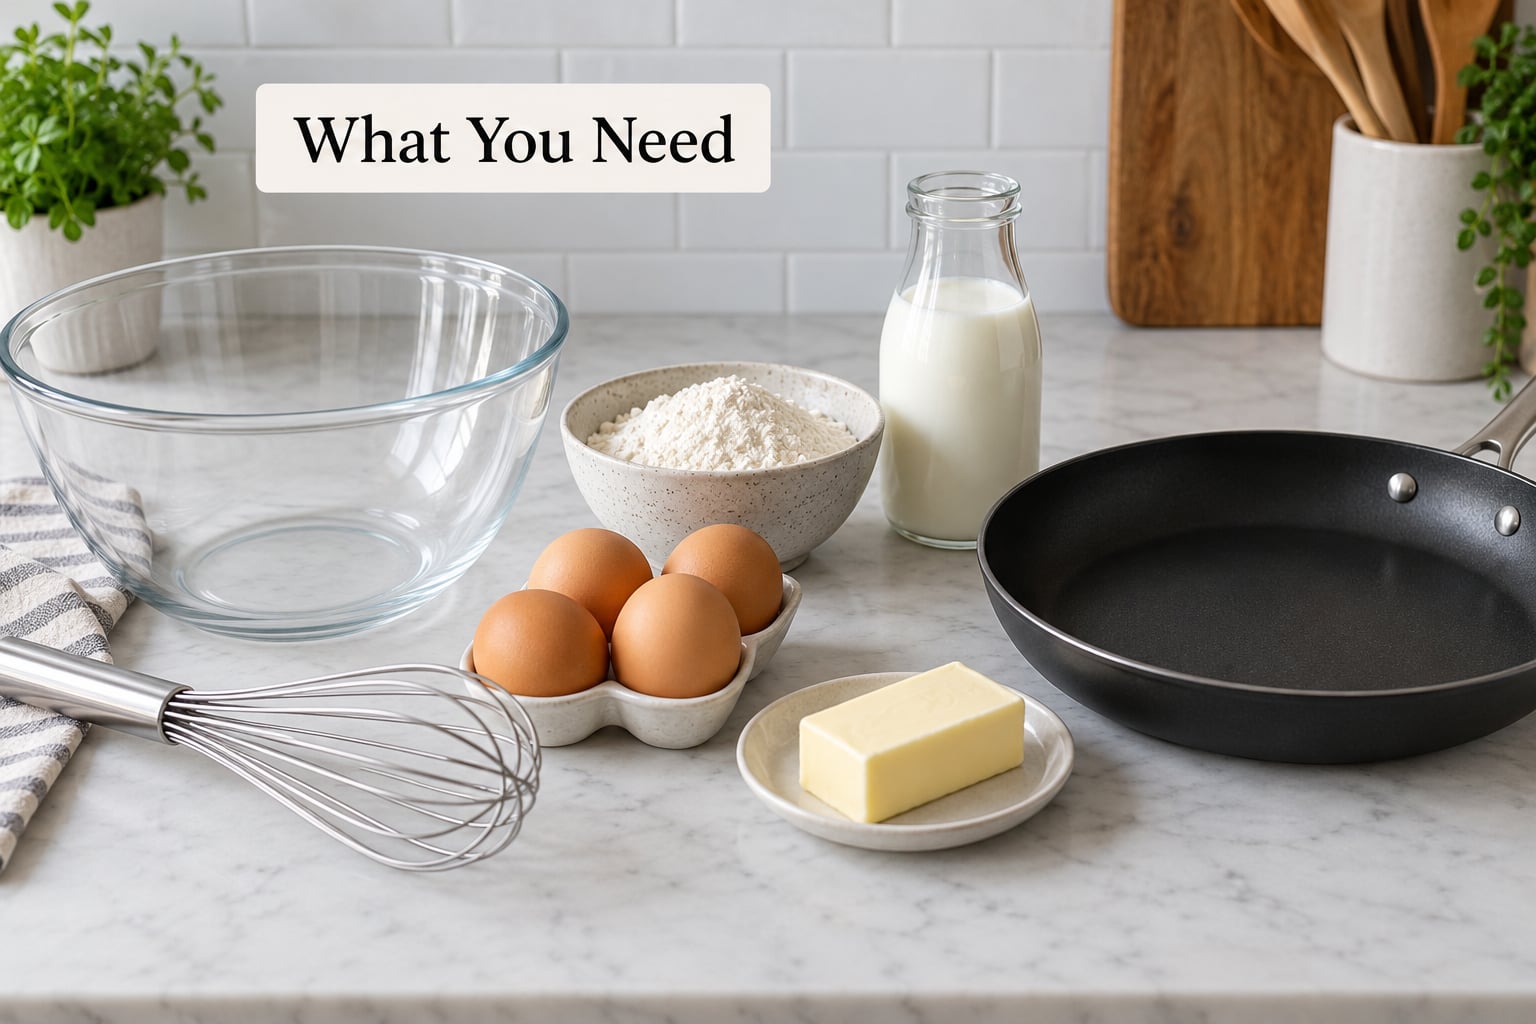
You need very little. If you have a flat skillet, a bowl, a whisk and four pantry staples, you’re set.
For the tools:
- A flat-bottomed skillet, 10 to 12 inches across. An unwarped base matters more than the material.
- A medium mixing bowl and a whisk or fork.
- A thin spatula or offset spatula for spreading and flipping. A thin silicone spatula bends under the edge and works better than a stiff wooden one.
- A ladle, a measuring cup, or a small pitcher to pour the batter.
- A stack of parchment paper or a clean kitchen towel for resting finished crepes.
For the batter, use this simple ratio of 2 parts flour, 1 part egg, 2 parts milk:
- 1 cup all-purpose flour (or a 1:1 blend with buckwheat flour for a deeper, earthier taste)
- 2 large eggs
- 1 cup whole milk, plus a splash more if the batter feels thick
- 2 tablespoons melted butter or neutral oil
- 1 tablespoon sugar for sweet crepes, optional and easily left out for savory ones
- A pinch of salt
Skip the baking powder. Crepes are a thin pancake with no leavening agent, and baking powder turns them spongy and stiff, which is the opposite of what you want.
Which pans work, and at what heat
| Pan | Heat | Sticking risk | Result |
|---|---|---|---|
| Nonstick skillet | Medium | Lowest | Soft, pale, tender |
| Stainless steel | Medium-high | Medium, needs oil | Crisper edges, better browning |
| Cast iron | Medium | Low once seasoned | Lacy edges, slight sweetness |
| Carbon steel | Medium-high | Medium, needs oil | Fast, even, crisp |
Cast iron surprises people, but it works well once it’s hot and seasoned. The main thing to know is that stainless and carbon steel need more heat than nonstick, since they have no coating doing the work for them. If crepes are sticking, check the heat before anything else.
Step-by-Step: How to Make Crepes Without a Crepe Pan
1. Make a Smooth Crepe Batter
Whisk the flour and salt together first, then add the eggs and about half the milk. Whisk until the flour disappears into a thick paste, then pour in the rest of the milk a little at a time along with the melted butter. The batter should be smooth and pourable, closer to thin paint than pancake batter.
Let it rest for 10 minutes. This step is easy to skip and it’s the difference between lumpy and glassy. The flour hydrates and the gluten relaxes, so a rested batter spreads with far less effort.
How do you know it’s the right consistency? Lift a spoon and let the batter drip back into the bowl. It should fall in a continuous thin ribbon and coat the back of the spoon as it runs. If it plops in thick blobs, add milk a tablespoon at a time. If it runs like water, add a tablespoon of flour.
2. Choose the Right Pan and Heat
Set the pan on medium heat for nonstick, or a notch higher for stainless steel or carbon steel. Let it heat while you mix, and don’t rush it. A cold pan gives you a pale, greasy crepe that sticks halfway through.
Rather than trusting a number, use your hand. Hold a few inches above the pan surface. If you feel steady warmth, it’s about right. If the heat feels faint, give it another minute. Too hot shows up as smoke or a faint haze above the surface, and a drop of water will skitter and evaporate almost instantly.
Rub a small knob of butter or a spoon of neutral oil across the surface, then wipe it with a paper towel. You want a sheen, not a puddle. A pool of oil is what turns crepes greasy.
3. Spread the Batter Thinly
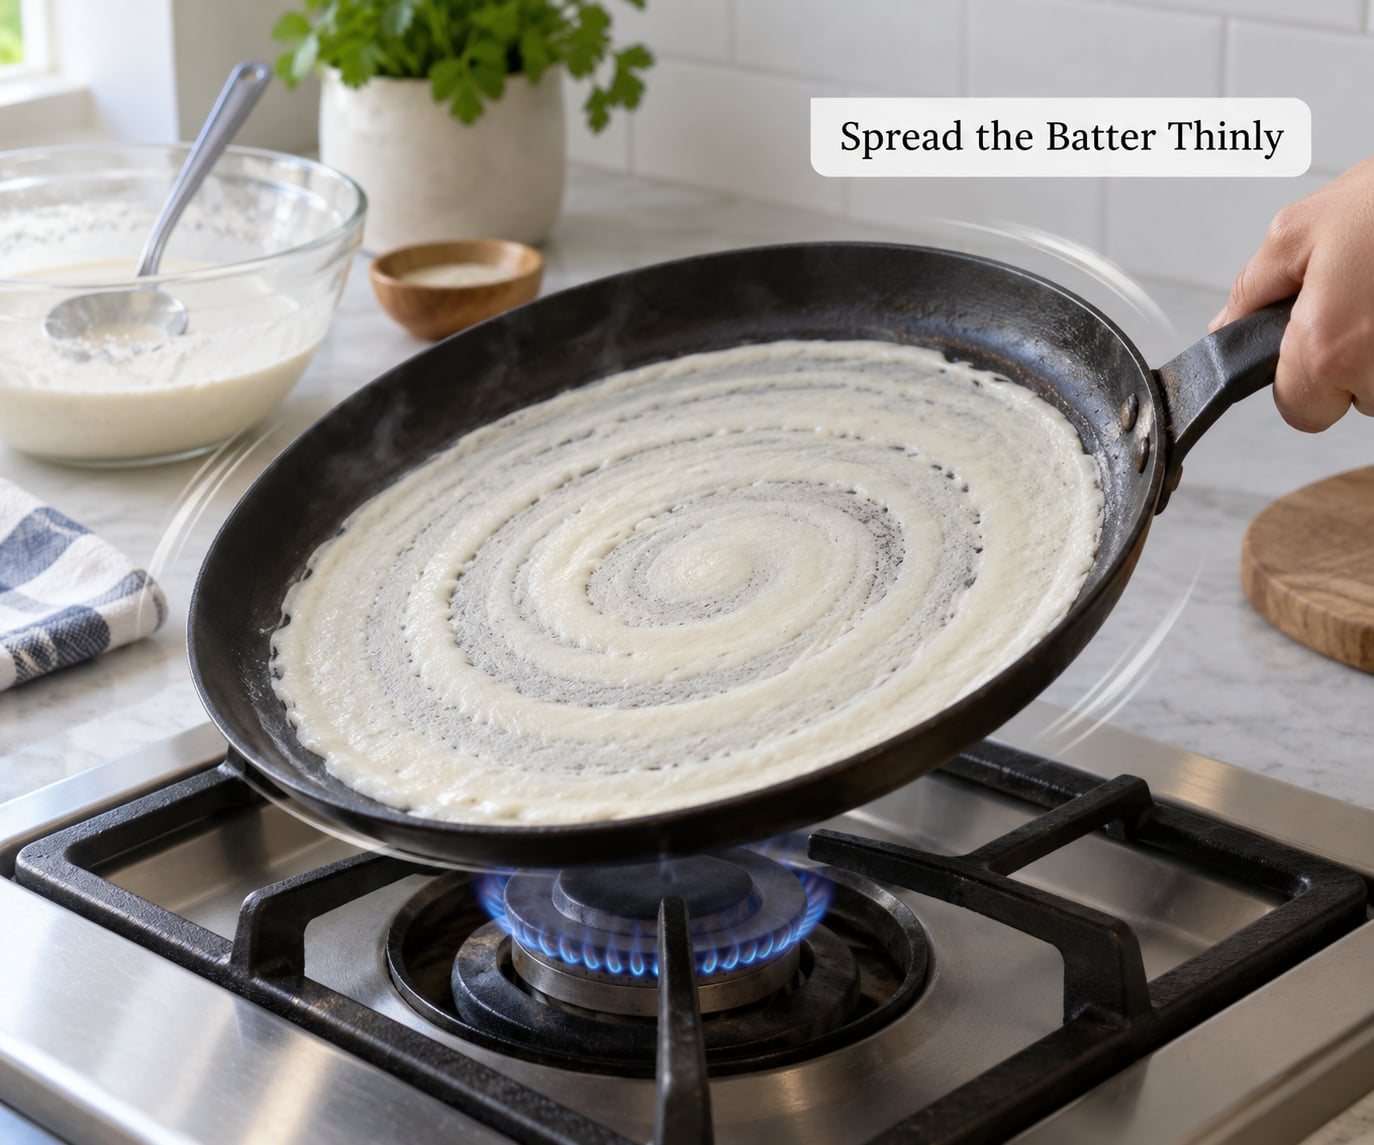
Pour about a quarter cup of batter into the center of the pan for a 10-inch skillet, and less for a smaller one. Immediately pick up the handle and swirl the pan in fast circles, then sweep out toward the edges and back.
Move fast. The spreading has to happen while the batter is still liquid, and if it stops moving the batter sets in a thick center ring. One or two passes is all you need. You should be able to see the faint outline of your hand through the crepe when it lifts.
To fix a thick center, tilt the pan and pour off a little excess batter back into the bowl while the crepe is still wet. To fix a bare patch, dab a tiny drop of batter onto it and spread it with the tilt of the pan.
4. Cook Until the Edges Look Dry
This is the step where beginners overcook. A crepe needs about 30 to 45 seconds on the first side. Watch for three cues: small bubbles appear across the surface, the edges look dry and matte instead of glossy, and the outer ring lifts slightly from the pan on its own.
If you wait longer than that, a thin crepe has almost nowhere to go before it browns and glues itself down. The pale lacy edge is a feature, not a mistake, so don’t cook until everything is golden.
5. Flip and Finish the Crepe
Slide the thin spatula under the nearest edge and walk it toward the center, scooping as much of the crepe as you can. Get it under the whole surface before you commit. Then lift and turn in one quick motion, using your wrist rather than your arm.
If the crepe folds over onto itself as it lifts, that’s fine. Keep it folded, let the top side cook for another 20 to 30 seconds, then pull it off the heat and lay it flat. A confident flip beats a careful one. Perfection here comes from doing it fast, not gently.
The finished crepe should be flexible and pale gold with a soft, tender bite. If it browns heavily or goes stiff and rubbery, it cooked too long on one side.
6. Keep Warm and Fill or Serve
Stack the finished crepes between sheets of parchment paper, or fold them in a clean kitchen towel. The paper keeps them from sticking to each other, which is otherwise the next problem people hit. Eat them within a few hours, or refrigerate them in a sealed container for up to three days.
Fill while the crepe is still warm and pliable. Nutella with sliced banana, lemon curd with powdered sugar, or cream cheese with berries are the easy sweet options. For savory, go with cheese and spinach, ham and Swiss, or mushrooms with goat cheese.
Crepes also earn a place on a holiday table. We covered the timing and menu side in how to make a brunch for Mother’s Day at home, and the savory filling options here slot straight into that spread.
If you’re cooking for a group, keep the stack warm in a low oven while you make the rest. Serving a brunch for a crowd takes a bit more planning, and we wrote about how to make brunch for a crowd without stress to cover the timing side. Coffee on the side is worth doing properly too, and how to make coffee taste better at home is a good short read.
If you’re using meat, poultry or seafood in a filling, cook it to a safe internal temperature first: 165°F or 74°C for poultry, 160°F or 71°C for ground meat, and 145°F or 63°C for whole cuts and fish. A hot crepe sears the outside of a filling but doesn’t heat the center through.
Common Mistakes and Easy Fixes
Almost every crepe problem comes down to heat, fat or batter thickness. Here are the ones people hit most often.
The crepe sticks to the pan. Most often the pan was too cool when the batter hit it, or the pan was dry. Turn the heat up a half notch, add a little more fat, and give the pan another minute before the next pour. On stainless or carbon steel, re-grease every third or fourth crepe rather than every one, and wipe the pan with a paper towel between batches so no burnt bits build up.
The crepe tears when you flip it. Usually it was undercooked, so the surface was still wet and gooey and grabbed the spatula. Wait for the bubbles and the matte edges. If it still tears, the spatula is probably too thick. A thin, flexible silicone spatula or an offset spatula slides under a delicate crepe far better.
The crepes come out thick and pancake-like. Too much batter, or too little spreading. Use a quarter cup in a 10-inch pan and less in anything smaller. Check that the batter runs in a ribbon from a spoon. If it doesn’t, thin it with milk.
There are lumps in the crepe. The flour went in too fast or the batter wasn’t rested. Whisk the dry ingredients first, pour the milk in gradually, and give it the full 10 minutes. Sifting the flour helps break up stubborn pockets before they form.
The crepe is pale and floppy with no flavor. Either the pan wasn’t hot enough or you left it too early. Crepes need a properly preheated pan and a full 30 to 45 seconds per side even though they look barely cooked.
The edges brown while the middle stays wet. Your heat is too high. Drop it a notch and remember that a lacy browned edge is normal, but a browned middle means something is off.
Three habits will fix most of this in one session. Make a single test crepe before you start the batch, so you can adjust heat and thickness without wasting food. Measure the batter with a cup instead of pouring freehand. And rest the batter longer than feels necessary.
Frequently Asked Questions
What type of pan works best for making crepes at home?
A flat-bottomed nonstick skillet around 10 to 12 inches is the easiest option for beginners. Stainless steel, carbon steel and cast iron all work too, but they need more heat and a little more fat, and the first crepe is usually sacrificed while you dial the heat in. What matters most is that the base is flat and unwarped, since a warped bottom gives you a thick, uneven crepe.
Can you make crepes in a regular frying pan?
Yes. A crepe pan is a shallow skillet with a flat base, so a deeper frying pan produces the same crepe. The only difference is that the taller sides make flipping a little trickier, and some thin crepes will stand up against the wall of the pan before the edges set. Slide the spatula fully underneath and flip quickly to avoid that.
How thin should crepe batter be before cooking?
Thin enough to coat the back of a spoon and drip off in a continuous ribbon. It should look like thin paint or slightly thicker than heavy cream, and noticeably runnier than pancake batter. If it drips in thick blobs, add milk a tablespoon at a time until the ribbon breaks up as it falls.
How do I stop crepes from sticking to the pan?
Heat the pan properly, add a thin even layer of oil or butter before each crepe, and let the crepe cook long enough before flipping. On stainless steel or carbon steel, re-grease every third or fourth crepe and wipe the pan between batches so burnt crumbs don’t glue down the next one. Pulling a crepe while the surface is still wet will tear it and leave patches behind.
Can I make crepes ahead of time?
Yes. Cooked crepes stack well with parchment or wax paper between each layer and keep in the fridge for up to three days. Freeze them in a sealed bag or container for up to a month, and separate the layers so they don’t freeze into one solid block. Warm a crepe in a dry skillet for a few seconds on each side rather than in the microwave.
What is the easiest crepe filling for beginners?
Nutella and sliced banana needs almost no skill and no cooking, which makes it the safest first choice. A simple lemon curd with a dusting of powdered sugar is close behind. Both spread easily on a warm crepe without tearing it, and neither needs to be heated first. Savory options like cheese and spinach are forgiving too, as long as the filling is chopped small and well drained.
Conclusion: Start With a Small Test Crepe
How to make crepes without a crepe pan comes down to four habits: rest the batter so it runs thin, heat the pan evenly, spread it immediately while it’s still liquid, and cook each side for well under a minute. Do those four things and the crepe takes care of itself.
Make one test crepe before you commit to a full batch. Adjust the heat up or down and thin the batter until that one comes off the pan pale, flexible and whole, then make the rest. You’ll lose one crepe and save the whole plate.