
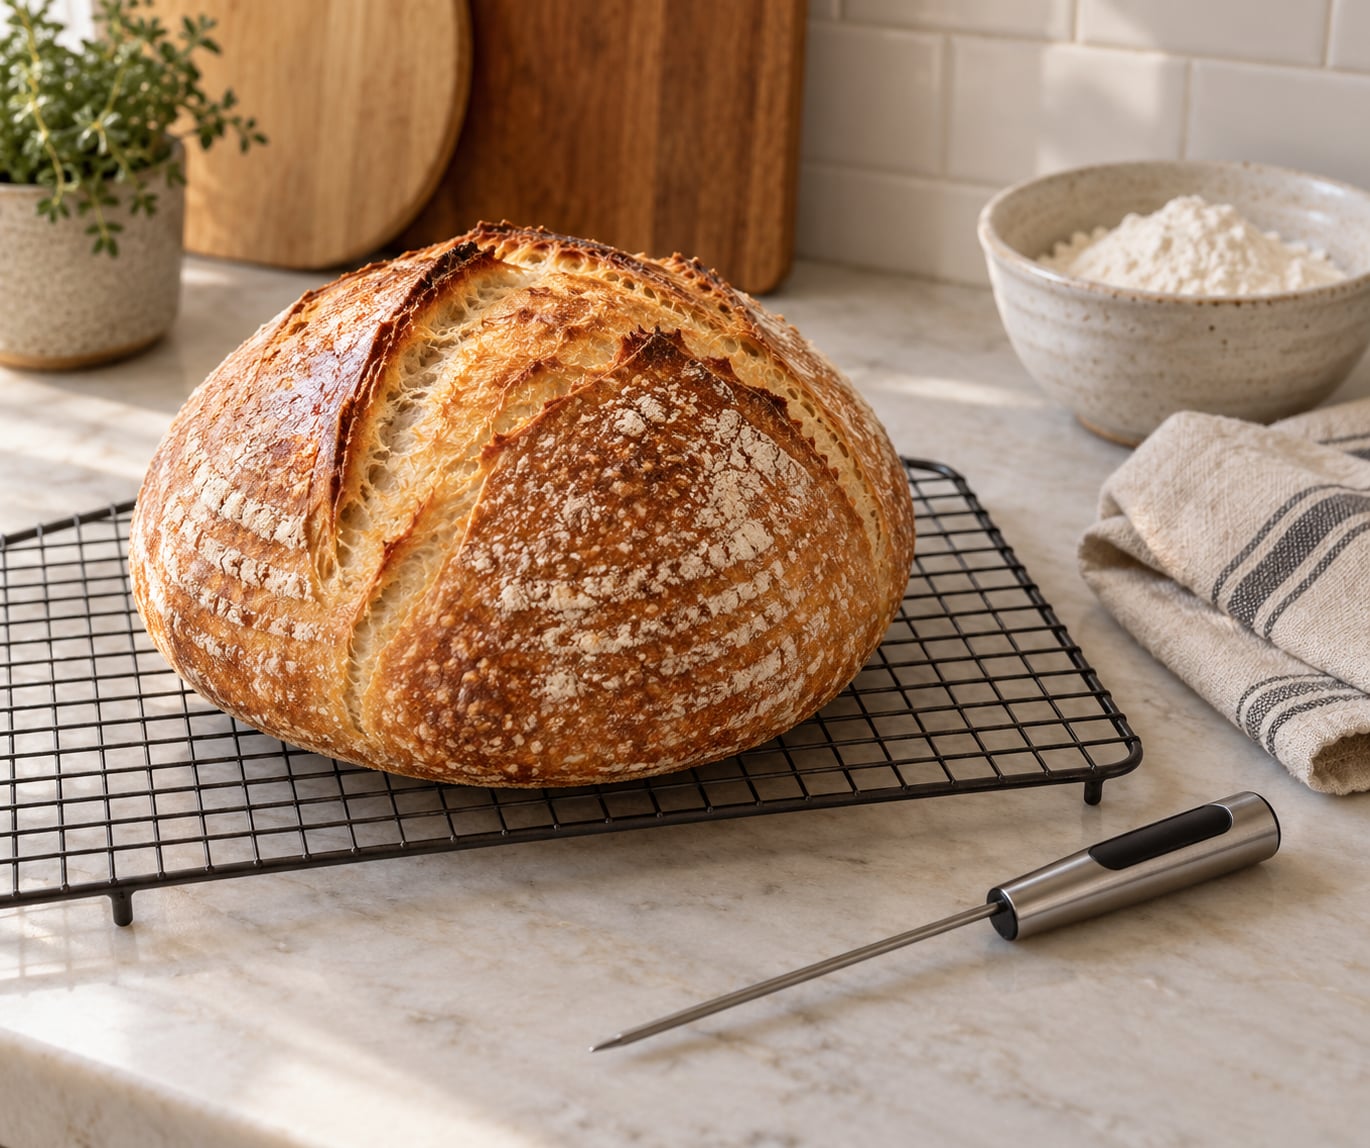
How to tell when bread is done baking comes down to one number: take the internal temperature with an instant-read thermometer. Lean and sourdough loaves are done between 190 and 210 degrees F, enriched doughs like brioche and challah finish a little lower at 185 to 200. Crust color and the tap test confirm that reading. They cannot replace it.
I have pulled more loaves early than I care to admit, and the reason is always the same. A timer says 30 minutes, the crust looks the color of the photo I was aiming for, and I want to eat. The center was still raw and gummy. Five minutes of probing would have caught it.
So here is the order I actually use, and it takes about a minute once you own a probe thermometer. Check the clock as a starting point, not as a test. Look at the crust. Probe the center. Thump the bottom. Skewer the thickest part. Then let the loaf cool before you decide anything at all.
One thing worth knowing up front: bread is not finished when it comes out of the oven. Starch gelatinization happens during the bake, but the crumb structure keeps setting as the loaf cools through roughly 140 degrees F. Slicing hot bread is the most common reason a perfectly baked loaf tastes underdone.
Table of Contents
- What You Need
- Step-by-Step: How to Tell When Bread Is Done Baking
- Common Mistakes and How to Fix Them
- Cooling: The Step Most People Skip
- Frequently Asked Questions
- How do I tell if my bread is done without a thermometer?
- What should the internal temperature of sourdough bread be to know it’s done?
- Is bread done at 190 degrees?
- Can you use a meat thermometer to check the temperature of bread?
- How do I know if my bread is underbaked?
- How to tell when brioche is done?
- Conclusion
What You Need
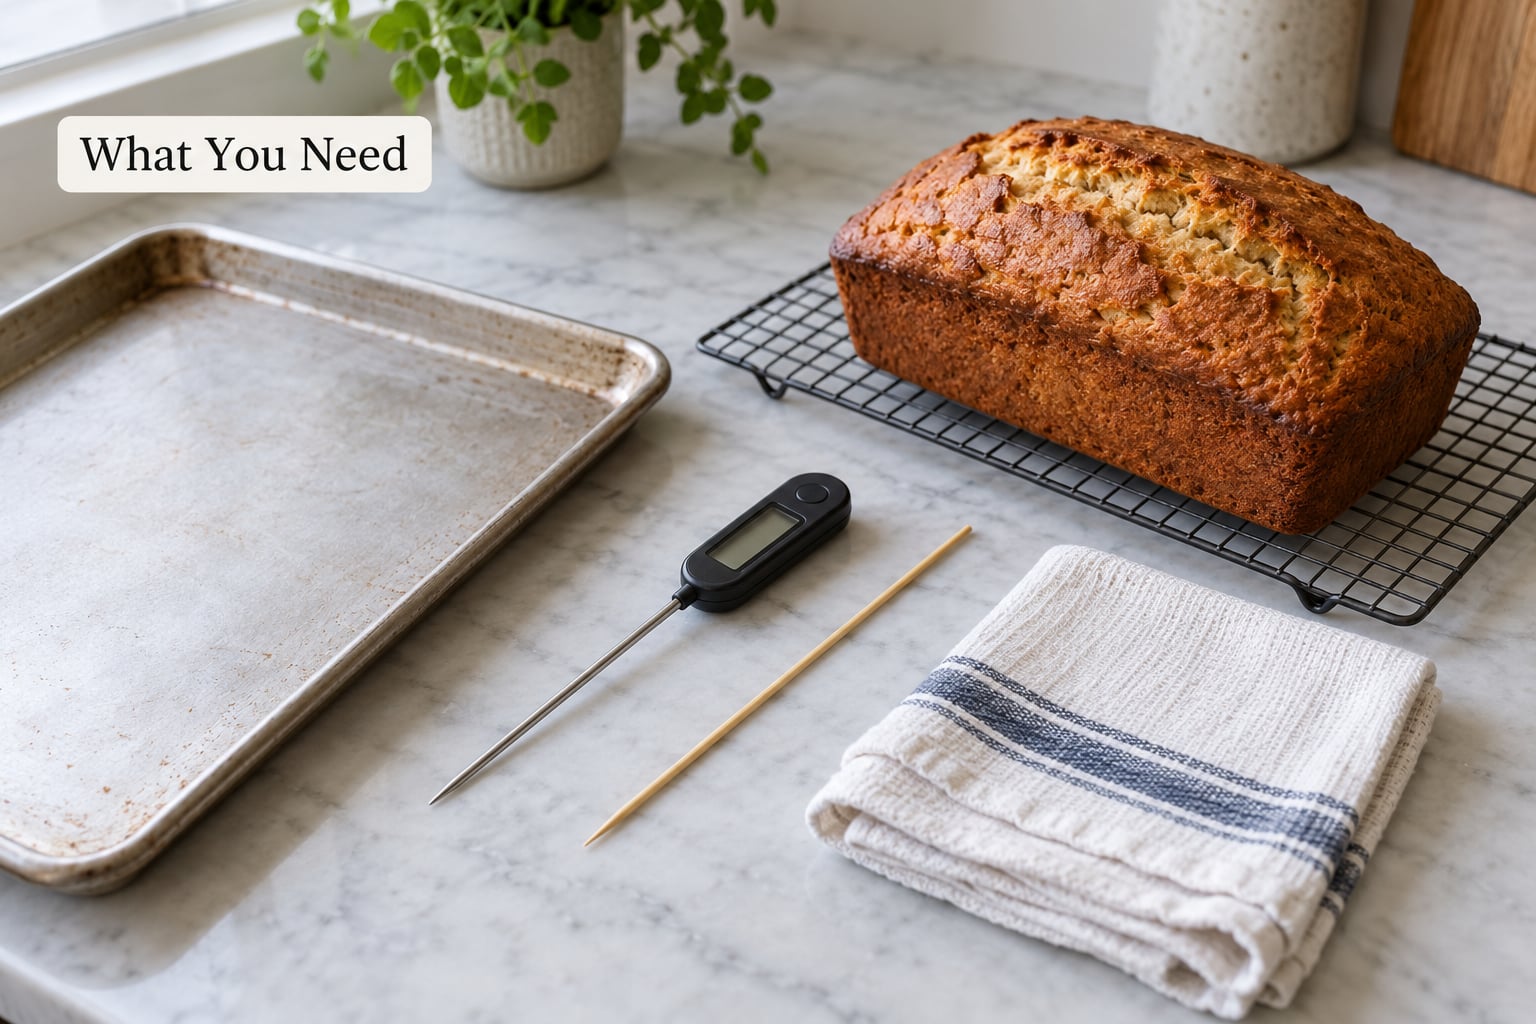
None of this is specialized equipment. If you own these four things, you can judge any loaf, roll or quick bread without cutting into it.
- An instant-read probe thermometer. A digital model with a thin probe gives you the cleanest read. Leave it in the dough during the bake if your oven has an external readout, or open the door quickly in the final quarter of the bake and probe through the side.
- An oven thermometer. Home ovens commonly run 20 to 30 degrees F cooler than the dial says, and some run hotter. A cheap oven thermometer is the first thing that fixes a loaf that browns too fast or bakes pale.
- Dry oven mitts and a clean towel. You need both hands free and something to set the hot pan or Dutch oven on.
- A wire cooling rack. Bread set on a board or baking sheet steams in its own moisture and goes soft on the bottom.
- A skewer or cake tester. This is the fallback when the loaf is small, the pan is deep, or you have no thermometer at all.
A kitchen scale is optional, but if you have one it turns the weight check from a guess into a measurement. Weigh the raw dough before it goes in, weigh the loaf after it cools, and you are looking for 10 to 15 percent weight loss. That single number tells you more than color ever will. Getting the dough weight right in the first place starts with how to measure flour correctly, since volume measures swing the dough weight by a few hundred grams and change both the bake time and the target.
From the recipe itself, you need three pieces of information before the loaf goes in: the stated bake time, the stated oven temperature, and the dough type. Lean, enriched or quick bread. That single classification sets your target temperature, and the bake time is your starting clock, not your finish line.
Step-by-Step: How to Tell When Bread Is Done Baking
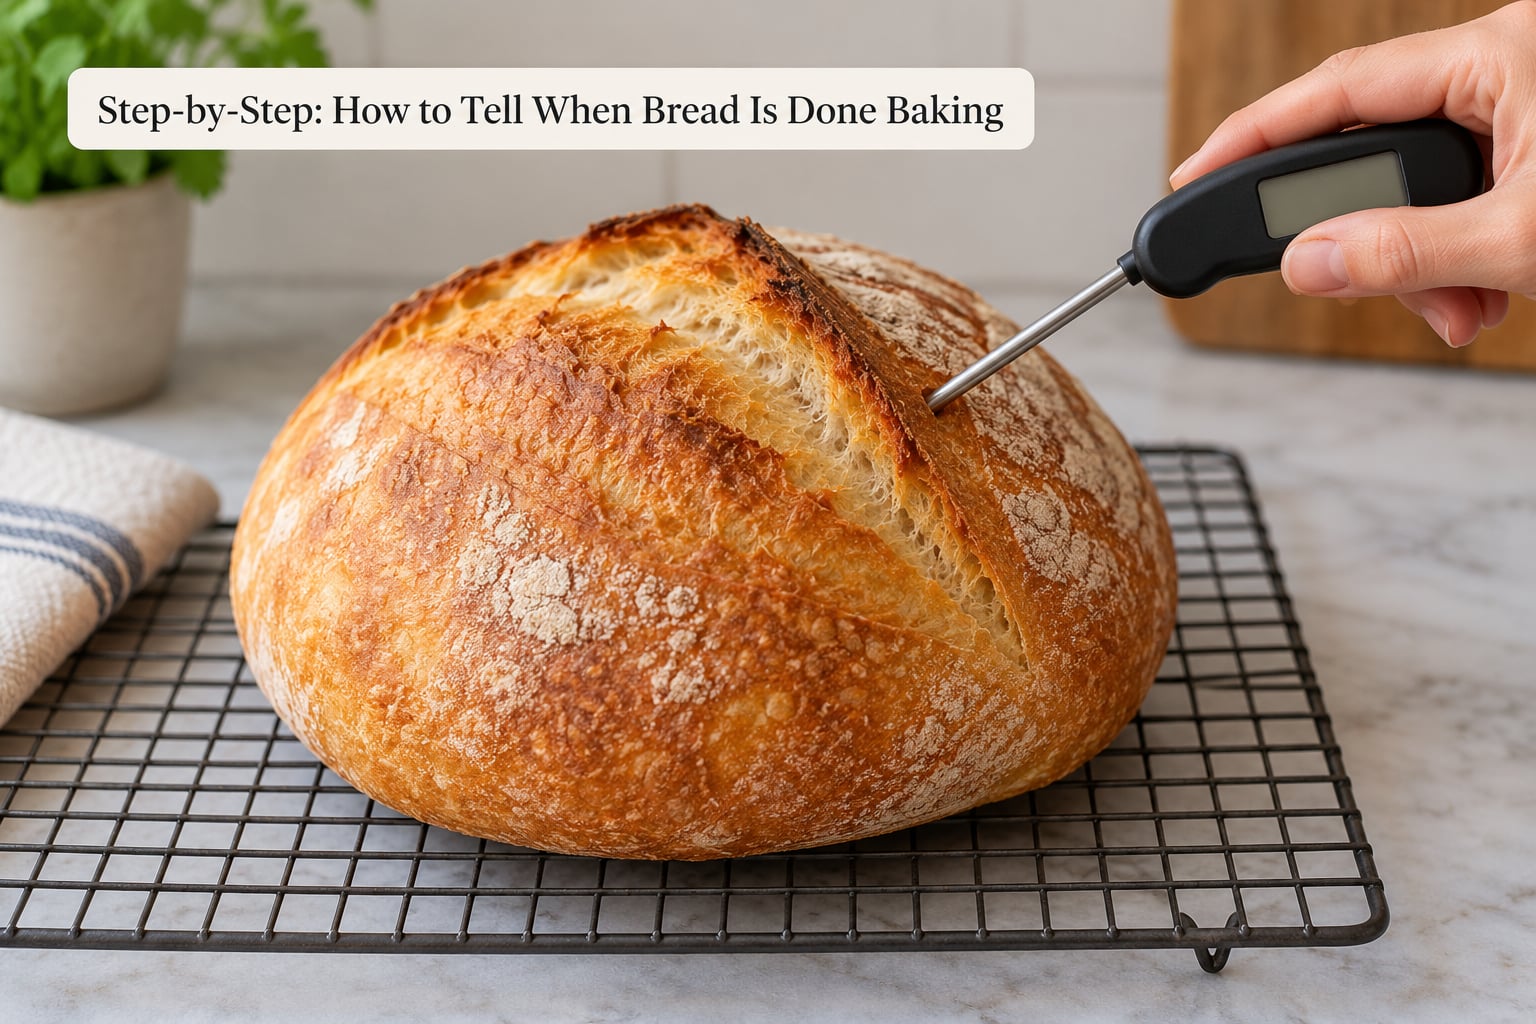
Before the steps, here is how the tests rank. Knowing the order saves you from arguing with a beautiful crust that is lying to you.
- Instant-read thermometer. The only test that measures the thing you actually care about. Airtight, repeatable, and it works on every bread type.
- The tap test. Genuinely useful on lean hearth loaves and sandwich bread. Fails on high-hydration sourdough, enriched doughs and large dense loaves.
- Skewer or tester. Good for rolls, quick breads and any loaf too small to probe. Weak on a big high-hydration center.
- Sides pulling away from the pan. A decent early signal on sandwich and pan loaves. Meaningless for free-form loaves with no pan.
- Weight. Reliable but slow, and it only works if you weighed the dough before baking.
- Crust color. A confirmation cue, never a decision. Enriched doughs go mahogany long before the center sets.
- The clock. A starting point, not a test. Oven temperature, dough weight and humidity all move the finish line by 10 minutes or more.
Now the sequence.
1. Check the Recipe and Start Your Clock
Read the bake time before the loaf goes in and note it. When the timer goes off, you start checking, not pulling. Recipe times assume a preheated oven at the stated temperature and a loaf of the stated size, and home ovens miss both assumptions routinely.
Adjust your expectations based on what you are baking. A larger dough takes longer, so a boule weighing 800 grams will run well past the time given for a 450 gram roll. High hydration slows the set because there is more water to turn to steam. Enriched doughs carry extra sugar and fat, which sets the crumb faster but browns the crust sooner. And if your oven runs cool and you know it, add 5 to 10 percent to the stated time as a buffer. If you have also been opening the door to check, you have added minutes on top of that, because opening a hot oven drops the temperature 25 to 50 degrees F and the loaf feels it.
2. Look for a Deep Golden Crust
Color is a supporting cue, and the target is deeper than most recipes imply. A finished lean artisan loaf is deep golden-brown to amber, not the pale tan most people call done. If the crust is still light and matte, the center is almost certainly not set.
The target shifts by bread type, and this is where color-based checking breaks down:
- Lean white hearth bread goes deep golden to amber.
- Whole wheat and rye darken less because the bran and germ sugars brown the loaf faster, so watch for a firm, well-set crust rather than a specific shade.
- Sourdough gets the darkest crust of all, often with a pale “eyeliner” line where the ear meets the loaf. The dark ear is a good sign; it is not proof.
- Enriched breads like brioche, challah and babka brown early and unevenly. Pull them at deep gold, not brown, and let the temperature do the rest.
- Milk bread and quick breads go golden at the edges first. The center of the top staying pale is normal.
Press the crust lightly with a fingertip. When it is set, it resists and springs back slowly rather than denting like putty. That resistance matters more than the shade.
3. Check the Internal Temperature
This is the test. Probe the thickest part of the loaf, which for a boule is the center and for a pan loaf is a few inches in from the end, and read the number.
| Bread type | Target internal temperature | What to watch |
|---|---|---|
| Lean artisan, ciabatta, baguette | 190-200 degrees F, up to 210 for rustic or whole grain | Deep amber crust, firm to the touch |
| Sourdough boule, high hydration | 205-210 degrees F | Many bakers pull at 200-205 and let carryover finish the job |
| Lean sandwich or pan loaf | 190-200 degrees F | Sides should pull from the pan |
| Brioche, challah, babka | 185-200 degrees F | Stop at deep gold, tent with foil if it darkens first |
| Milk bread, pan loaf with milk | 185-200 degrees F | Color runs fast, trust the number |
| Lean dinner rolls | 190-200 degrees F | Golden tops, bottoms just set |
| Enriched buns and rolls | 185-200 degrees F | Pull at the first sign of gold |
| Quick breads, banana and zucchini | 185-200 degrees F as a starting point | Skewer must come out clean, center springs back |
| Focaccia | At least 190 degrees F through the middle | Edges deep gold, dimples no longer wet-looking |
| Bagels | Cooked through, no fixed number | Boiled skin darkens fast, so color misreads; taste one |
| Monkey bread | Enriched range, 185-200 degrees F | Top uniformly golden and pulling from the tin |
| Rye and dense whole grain | Enriched range, 185-200 degrees F | Expect 12 to 24 hours of cooling before slicing |
| Dutch oven no-knead loaf | 200-210 degrees F | Steam inside the pot slows browning, so start checking about 10 minutes early |
Take the reading in the last quarter of the bake, not at the halfway point. Probing early gives you a cold number that tells you nothing and tempts you to close the door and reset the clock.
If you have no way to probe without opening the door, leave the probe in the dough from the start if your thermometer supports it. A probe sitting in a boule for the whole bake gives you a continuous picture, and you will notice the rate of climb flattening out well before the timer says so. That flat stretch is the loaf telling you it is close.
4. Listen for the Hollow Tap
Pull the loaf and turn it upside down, then tap the bottom firmly with your knuckles. A fully baked lean loaf answers with a clear hollow resonance. The physics are simple. Set crumb is full of air cells that ring; wet crumb absorbs the sound and gives back a dull thud.
The tap test is the one most bakers over-trust, so here is where it fails:
- High-hydration sourdough. A loose, wet crumb can sound hollow before the starch has fully set. This is the single most common false positive.
- Enriched doughs. Brioche and challah carry enough fat and sugar that they can read hollow at 165 degrees F and still compress under a finger.
- Large dense loaves. A big rye or a heavily seeded whole wheat loaf has too much mass to ring properly even when it is finished.
- Thin crusts. Baguettes and ciabatta flex when you tap them, so the sound has nowhere to travel.
Use the tap as confirmation after the temperature, never instead of it.
5. Use a Skewer as a Final Clue
Insert a skewer or cake tester into the thickest part of the loaf, the same spot you would probe.
- Comes out clean or with a light tacky crumb clinging to it means the center is set.
- Comes out with wet, sticky dough means more baking time.
- Comes out with loose wet crumbs means the middle collapsed structurally, which is usually over-proofed dough rather than a short bake.
On quick breads, the skewer is the primary test and the thermometer is the backup. Insert it near the center, away from any fruit or chocolate, and treat a clean withdrawal as the finish line.
Common Mistakes and How to Fix Them
These are the errors I see most often, in the order that damage the loaf.
Relying on the recipe time alone
Recipe times are averages written for a specific oven and a specific dough weight. Your oven is not that oven, and that is fine, because the time was never the test. Use it to decide when to start probing, then probe.
Probing through a hot metal pan
Metal runs 30 to 60 degrees F hotter than the bread around it. A reading taken through a dark steel pan wall is not the loaf’s temperature, it is the pan’s. Enter from the side of the loaf, from the bottom, or from the top at an angle, and make sure the probe is not touching the pan at all.
Missing an air pocket
A high-hydration dough has irregular tunnels, and a probe can land in one and read 20 degrees low. Take two readings from slightly different spots and trust the higher number.
Treating a brown crust as proof of a set crumb
The Maillard reaction starts at the crust surface somewhere around 280 to 330 degrees F, and it runs long before the interior finishes. Enriched doughs are the worst offenders because sugar and dairy accelerate browning. A mahogany brioche crust tells you the surface is well past done and says almost nothing about the middle.
Using a thermometer you have never checked
Drop the probe into a well-stirred ice-water slurry. It should read 32 degrees F. If it is off by more than a couple of degrees, note the correction or replace it. An uncalibrated probe is worse than no probe, because it makes you confident.
Cutting the bread too early
This one causes more complaints than underbaking, and it looks identical in the first minute. Here is how to tell them apart.
| Sign | Underbaked | Cut too early |
|---|---|---|
| Where the gumminess sits | Dead center, raw dough texture | Throughout, slightly compressed and tacky |
| Crust | Pale, thin, or soft under the surface | Firm, fully colored, crisp |
| Bottom of the loaf | Doughy, no crust | Normal, dry, crisp |
| Smell at the cut face | Starchy, yeasty, unfinished | Fully baked, toasty |
| Squeeze test on the slice | Compresses hard and stays compressed | Compresses then springs back slowly |
| Next-day slice | Still gummy and dense | Slightly firmer, close to normal |
The definitive test is the overnight re-slice. Put the loaf in a bag or wrap it and look again the next morning. If the crumb firms up overnight, the bake was fine and you cut hot. If it is still tacky, the center was underbaked. Bakers on r/Baking describe this as the check that finally ends the argument with themselves.
Pulling too late
Overbaking costs you moisture. Past roughly 200 degrees F, lean doughs start losing water faster than they can hold it, and you get a dry, tight crumb and a hard crust. A loaf sitting in a switched-off oven for an hour is a common way to turn a good bake into a brick.
Opening the oven door repeatedly
Every opening drops the oven 25 to 50 degrees F and adds real time to the bake. Two or three deliberate checks in the last third of the bake are fine. Constant peeking is why some loaves take 50 minutes instead of 40.
Baking in a pan you doubt
Dark steel, blackened cast iron and glass all change how a loaf browns on the surface. If your crust is coloring at the recipe time while the center lags, tent with foil and let the middle catch up.
Cooling: The Step Most People Skip
Bread is not done when it leaves the oven. That is not a figure of speech. The crumb structure continues to set as the loaf cools, and cutting through it hot gives you a gummy slice from a perfectly good loaf.
How long depends on the loaf.
| Bread type | Minimum time before slicing |
|---|---|
| Rolls and small breads | 15 to 20 minutes |
| Lean sandwich or pan loaf | 1 hour |
| Quick bread | 1 to 1.5 hours |
| Lean artisan or sourdough boule | 2 to 3 hours, ideally overnight |
| Baguette or ciabatta | 2 hours, or it will be gummy |
| Brioche, challah, babka | At least 1 hour, better 2 |
| Rye and dense whole grain | 12 to 24 hours |
Cool uncovered on a wire rack. Air needs to move around the loaf or the crust softens, and wrapping bread while it is still warm traps the steam that does it. Once it is fully cool, wrap it or store it as you normally would, and how to store homemade bread so it stays fresh takes over. If a loaf sits a few days and goes stiff, how to revive stale bread covers the recovery.
Two specific problems worth naming
Sourdough that probes at 210 and is still gummy. This is the most common complaint in the bread communities, and the answer is usually not the bake. When a loaf reaches temperature and the crumb is still wet and tight, the dough was over-proofed. The structure collapsed in the oven and there was never enough gas left for a set crumb to form. Longer baking dries it out without fixing it. Watch your dough handling, not your thermometer.
Humid weather. Above roughly 70 percent relative humidity, flour absorbs moisture from the air, browning slows, and the window between “looks pale” and “center is set” narrows. Add 5 to 8 minutes to the bake, check 2 minutes earlier than usual, and on humid days put weight, temperature and touch above color in your decision. Color is the first thing to lie and the first thing to go.
If the loaf is underbaked, put it back
You are not stuck with it. Set the oven to 350 degrees F, return the loaf to the pan or a baking sheet, and give it 10 to 15 minutes. Probe again at the end. This second bake is a drying-out bake rather than a setting bake, so it helps a lot when the center is slightly raw and less when the structure already failed.
Frequently Asked Questions
How do I tell if my bread is done without a thermometer?
Combine four cues. Turn the loaf upside down and tap the bottom for a hollow sound, press the crust to confirm it resists and springs back, check for a deep golden to amber color, and weigh it against the raw dough weight for 10 to 15 percent loss. Lift the loaf and notice whether it feels light for its size. The tap test is least reliable on high-hydration sourdough and enriched doughs, so lean toward color and the cooking time as backups.
What should the internal temperature of sourdough bread be to know it’s done?
Aim for 205 to 210 degrees F at the thickest point. Many bakers on r/Breadit treat 205 to 208 as their personal standard. Plenty of others pull at 200 to 205 and let carryover cooking carry the loaf the rest of the way on the rack. If you hit 210 and the crumb is still gummy, the problem is almost always over-proofed dough rather than bake time, and more oven heat will not fix it.
Is bread done at 190 degrees?
For a lean sandwich or pan loaf, yes. 190 degrees F sits at the bottom of the lean band of 190 to 200, and it means the starch has gelatinized and the crumb will hold its shape. For a rustic or whole grain loaf, keep going toward 205 to 210. For enriched doughs like brioche and challah, 190 is already in range and you may be closer to overbaking than underbaking.
Can you use a meat thermometer to check the temperature of bread?
Yes, and it is the standard tool for the job. A digital instant-read probe is better than a dial gauge for this, because it responds fast and reads in a narrow spot. Enter from the side or the bottom, take two readings in case you hit an air pocket, and trust the higher number. Calibrate it in ice-water slurry first, which should read 32 degrees F. Never let the probe touch the pan wall.
How do I know if my bread is underbaked?
A gummy or dense crumb in the dead center points to underbaking. A pale, soft crust and a doughy bottom support it. So does a raw, starchy smell at the cut face. The opposite pattern, gumminess spread throughout a fully colored firm crust, means you cut it while it was hot. Wrap the loaf and check it the next morning: if the crumb firms up overnight, the bake was fine.
How to tell when brioche is done?
Brioche browns faster than any other common loaf because of its sugar, milk, eggs and butter, so color is nearly useless here. Probe the center and pull at 185 to 200 degrees F, stopping at deep gold rather than brown. If the top is coloring too quickly, tent it with foil and let the middle finish. A brioche loaf can sound hollow at 165 degrees F and still compress under your finger, so trust the thermometer.
Conclusion
Here is the sequence to run the next time a loaf goes in. Start the timer, then ignore it.
At the stated bake time, look at the crust and press it. Probe the thickest point and read the number: 190 to 200 for lean sandwich bread, 200 to 210 for a rustic or sourdough loaf, 185 to 200 for anything enriched. Turn the loaf over and tap the bottom for a hollow answer, then skewer the center if you want a second opinion.
Finish by putting the loaf on a wire rack and giving it the full cooling time before you cut. That is when the crumb actually finishes setting, and it is the step that turns a good bake into a good slice.