
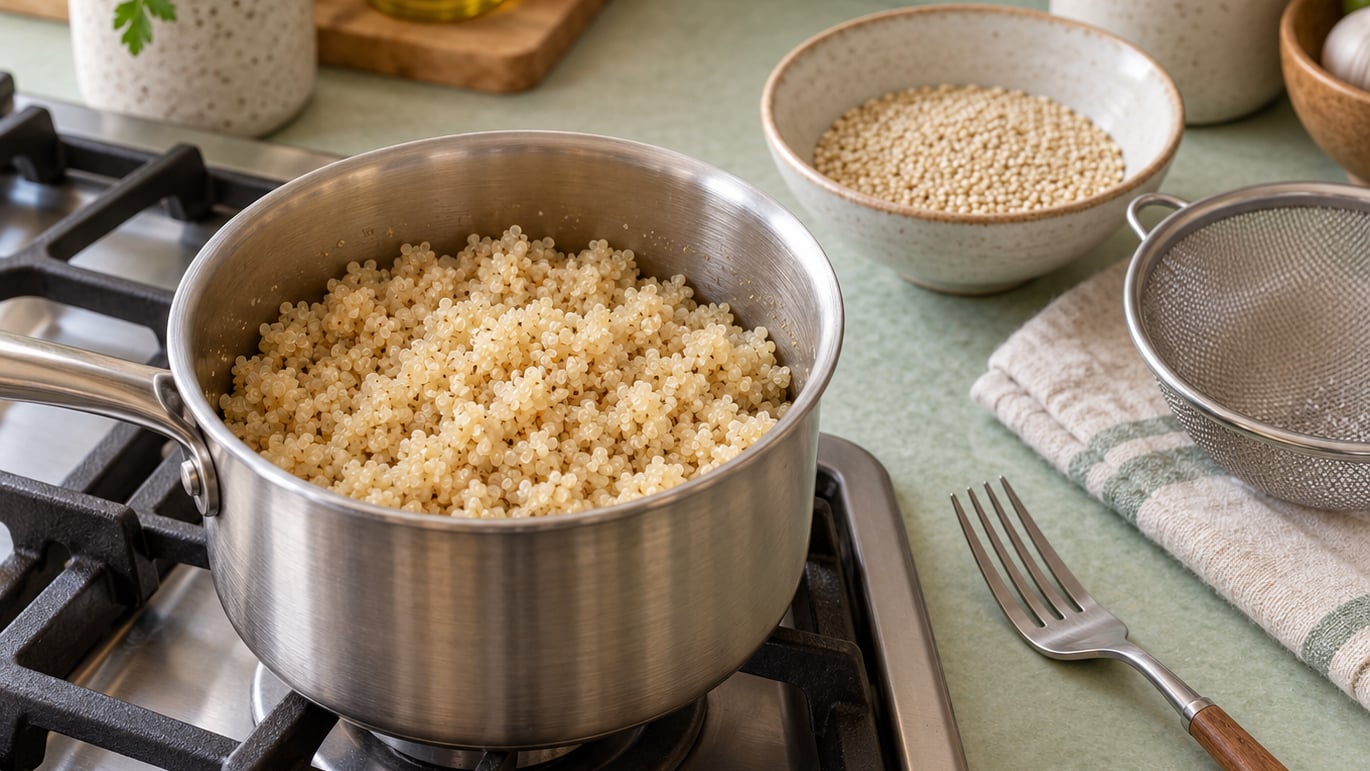
To cook quinoa so it is fluffy, rinse it well, use about 2 cups of liquid per 1 cup of dry quinoa, bring it to a simmer, cover, and cook gently for 12 to 15 minutes. Then let it sit covered, untouched, for 5 to 10 minutes before fluffing with a fork.
The rest is the part most people skip, and it is the part that matters. Cooked quinoa needs that quiet pause to steam dry; fluff it straight from a boil and you get a sticky, gummy pile. Ten minutes of patience fixes most of what goes wrong.
Quinoa is one of the quickest grains to cook and one of the easiest to ruin. A few details make the difference, and none of them are complicated.
What You Need
- 1 cup dry quinoa (about 170 grams) — white, red, black, or tri-color all work
- 2 cups liquid — water, vegetable broth, chicken broth, or half broth and half water
- A fine-mesh strainer — a regular slotted spoon lets small grains escape
- A fork — a wooden spoon crushes grains into paste
- Salt and aromatics — fine sea salt, plus garlic, onion, or a bay leaf if you have them
One cup of dry quinoa gives you roughly 3 to 3.5 cups cooked, so it swells about three times its size.
A small saucepan with a tight-fitting lid matters more than a heavy one. If you have a method for cooking rice on the stove without a rice cooker, the same gentle simmer and covered rest apply here.
Step-by-Step
Step 1: Rinse the Quinoa Thoroughly
Quinoa carries a thin natural coating called saponins, which taste bitter and soapy. A quick rinse scrubs most of it off and removes loose starch that would otherwise glue the grains together.
Put the dry quinoa in a fine mesh strainer and run cold water over it for 30 to 60 seconds. Move it around with your hand while the water runs, then drain for a minute. The water may run cloudy the first time; keep going until it clears.
Rinse even when the bag says pre-rinsed. Cooks who post in home kitchens say they rinse anyway, and they are right.
Soaking is a different thing. An overnight soak softens the outer hull and speeds up cooking by a few minutes, but it is not necessary for fluffy texture. Skip it unless you like the crunchier, slightly nuttier result.
Step 2: Use the Right Quinoa-to-Liquid Ratio
Two cups of liquid per cup of quinoa is the reliable stovetop starting point. It looks high next to some recipes, but quinoa drinks more than most people expect and gives off steam under the lid rather than evaporating.
You will see 1.5:1 and even 1.25:1 in trustworthy places. Those lower ratios work on a true gentle simmer where the grain barely bubbles and the pan stays covered the whole time. They also come out firmer and more separate.
Here is where I settle it: use 2:1 for your first few batches, then drop to 1.75:1 once you trust your own heat control.
| Variety | Liquid per 1 cup dry | Cook time | Texture |
|---|---|---|---|
| White | 2 cups | 12-15 minutes | Softest, most tender |
| Tri-color | 2 cups | 14-17 minutes | Mix of soft and chewy |
| Red | 2.25 cups | 16-20 minutes | Firm, keeps shape |
| Black | 2.25 cups | 18-22 minutes | Crunchiest bite |
Darker varieties hold onto their bite longer, so they need both extra liquid and extra minutes.
Step 3: Bring the Quinoa to a Simmer
Toast is optional but worth it. Put the rinsed quinoa in a dry saucepan over medium heat and stir for 3 to 4 minutes until it smells nutty and a few grains start to pop and jump. It will look slightly darker and drier.
Add 2 cups of liquid and a pinch of salt. Bring to a full boil uncovered, which takes about 3 minutes, then turn the heat down to the lowest simmer that still shows movement in the pan.
Cover tightly and keep it there. If your lid is loose, put a plate over the pot. The steam trapped under that lid is what cooks the grain evenly instead of scorching the bottom.
Step 4: Cook Until the Liquid Is Absorbed
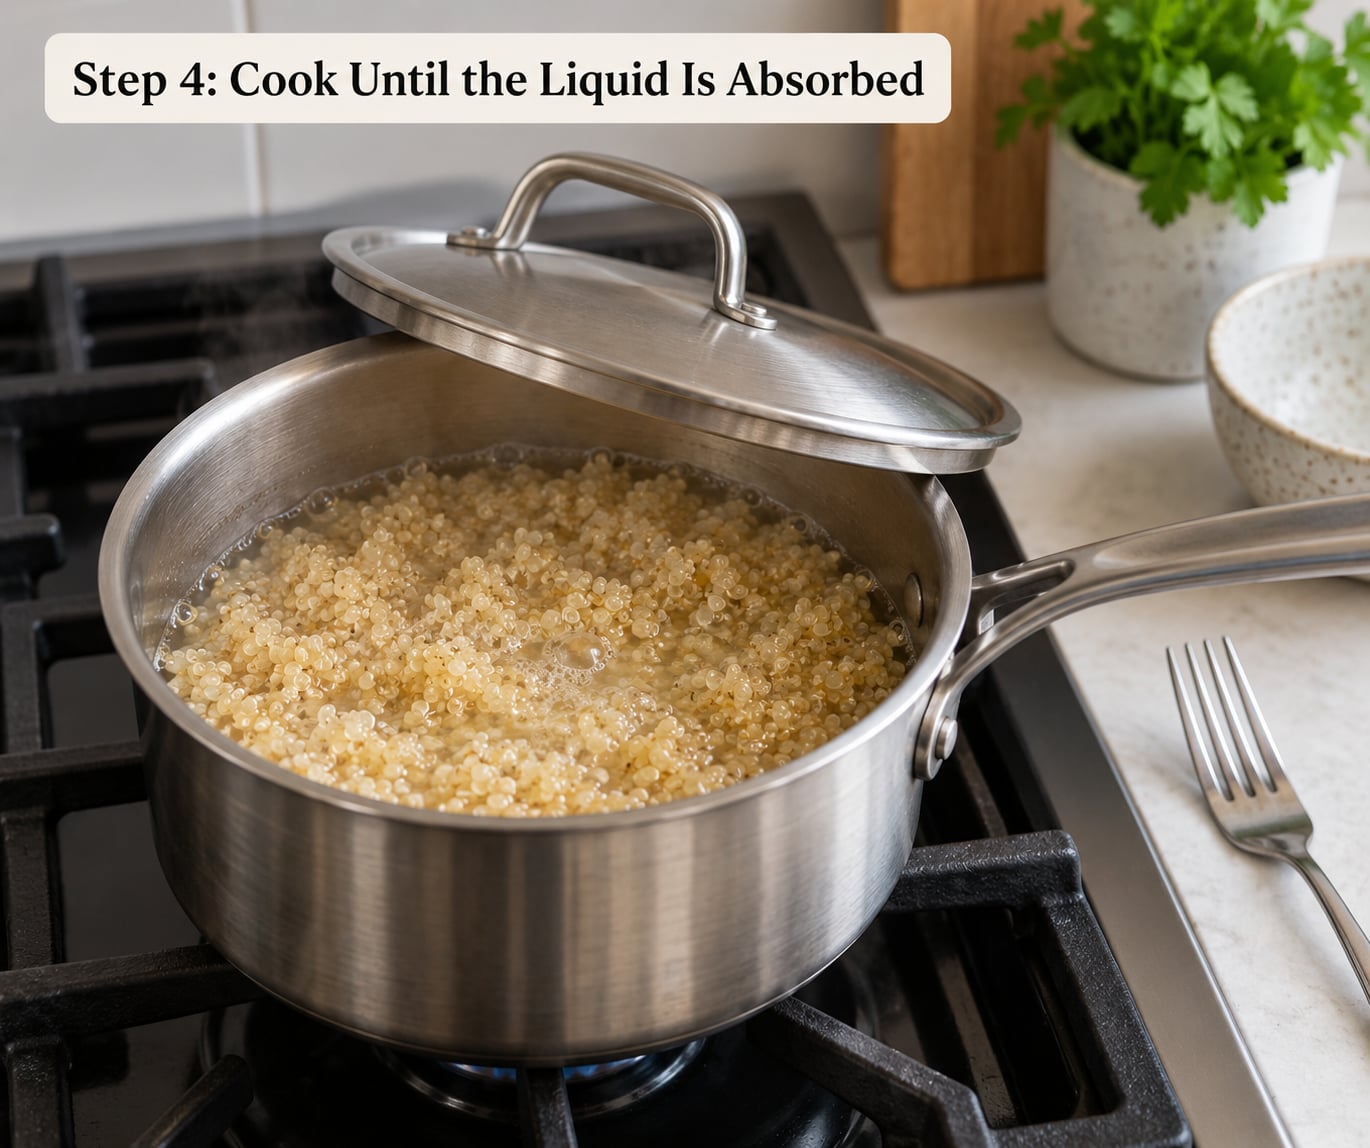
Set a timer for 12 minutes and stop looking at it. Quinoa cooks faster than the pot suggests, and the constant lid-lifting everyone does out of habit slows it down.
At 12 minutes, lift the lid briefly. If the liquid has been absorbed and the grains look translucent with the little white germ curl visible on each one, it is done. If liquid still pools, give it 3 more minutes and check again.
That germ curl is the real doneness test. Cooks who have done this a thousand times all reach for the same thing: translucent grain, visible white spiral, slight bite when you press it with a fingertip.
Step 5: Let It Steam, Then Fluff
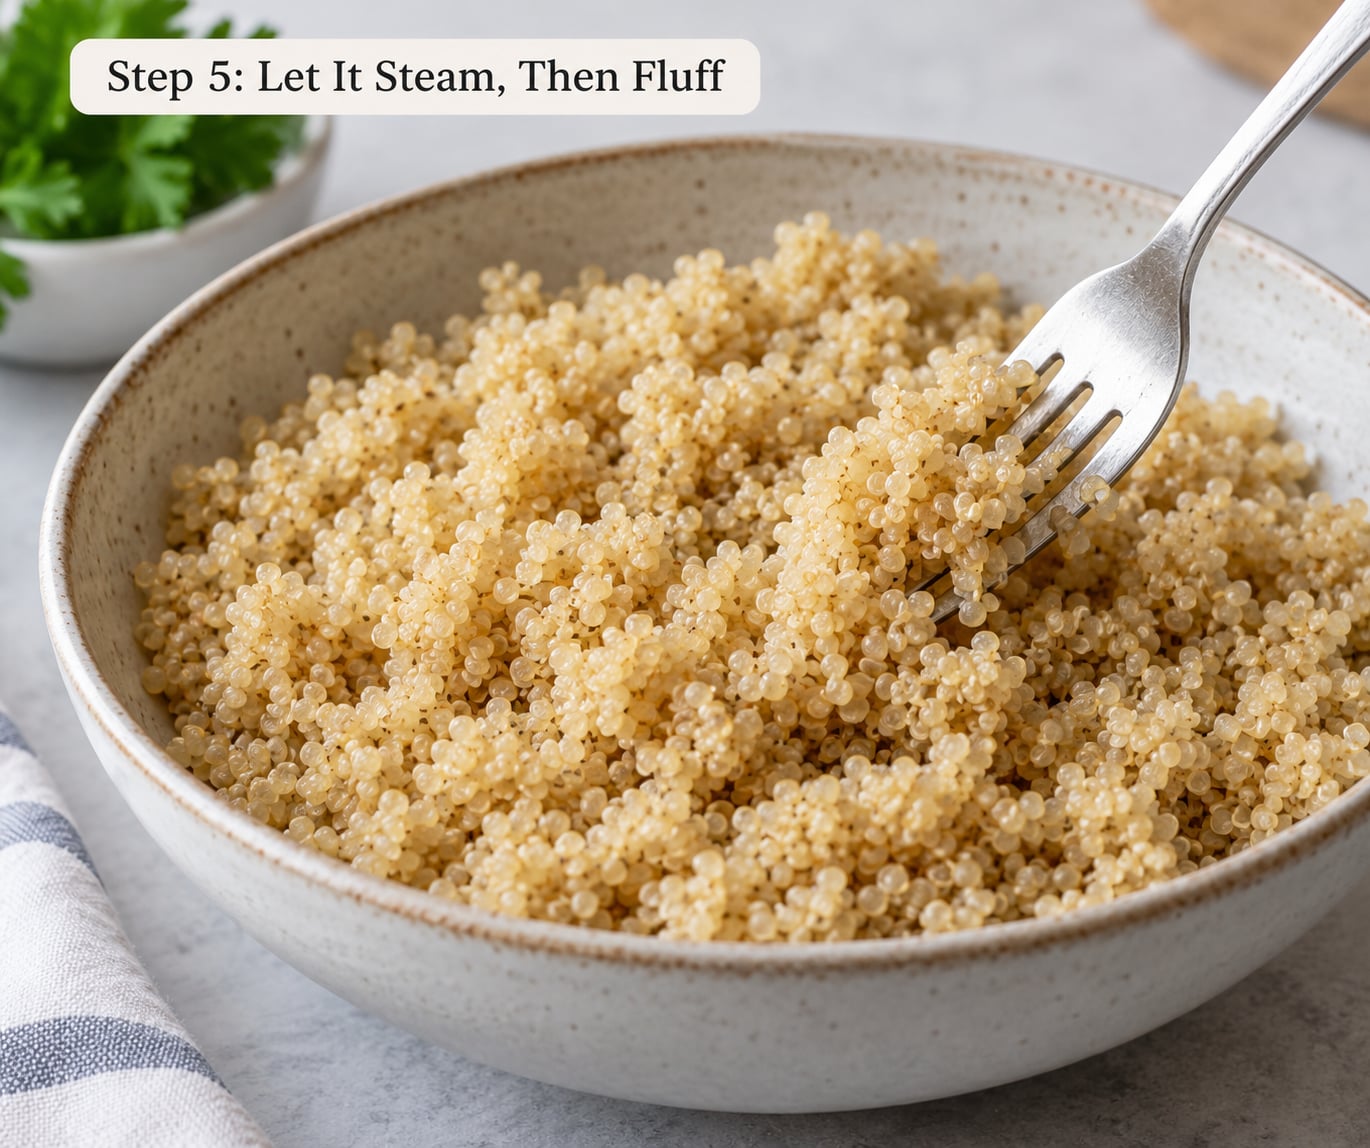
Take the pot off the heat with the lid still on and wait 5 to 10 minutes. The grain keeps cooking in its own steam during this pause, and the moisture finishes moving outward instead of sitting on the surface.
Then put the lid aside and fluff. Slide a fork through the quinoa in long strokes, lifting from the bottom, until the grains move freely. You should see distinct seeds, not a mat.
Season at this stage, not before. A pinch of fine sea salt, a squeeze of lemon, or a few drops of olive oil go on while the grains are still warm so they absorb instead of sitting on top.
Toast is not a requirement. It adds a nuttier flavor and a tiny bit of crunch, but skipping it changes nothing about the texture.
How to Cook Quinoa in a Rice Cooker or Instant Pot
The same three principles carry over: rinse, correct liquid, gentle heat, and a rest. The quantities shift because rice cookers and pressure cookers work with steam under pressure instead of an open simmer.
| Method | Quinoa | Liquid | Cook time | Rest time |
|---|---|---|---|---|
| Stovetop | 1 cup | 2 cups | 12-15 minutes | 5-10 minutes |
| Rice cooker | 1 cup | 1.75 cups | White rice setting, 20-25 minutes | 10 minutes |
| Instant Pot | 1 cup | 1.25 cups | High pressure, 4 minutes | Natural release, 8 minutes, then 5 minutes covered |
| Microwave | 1/2 cup | 1 cup | 80% power, 5-6 minutes | 5 minutes |
Rice cooker. Rinse as usual, add quinoa and 1.75 cups water to the pot, and close it. Run the white rice setting. When it switches to warm, keep the lid on for 10 full minutes before opening.
Do not leave the pot sitting on warm for an hour. Home cooks report that this dries the grains out until they turn stiff and hard, because the warm setting keeps drawing moisture off. Ten minutes of rest is the whole job.
If you want vegetables, put them in the steamer basket rather than the bottom pot. Quinoa foams as it cooks, and foaming grains spilling into the basket cook unevenly, which is a common reason a rice cooker batch comes out half soggy.
Instant Pot. Rinse the quinoa, add it with 1.25 cups water, and lock the lid. Cook on high pressure for 4 minutes, then let the pot release naturally. That release has no signal, so give it 8 minutes on the timer rather than guessing.
When the float valve drops, open the lid carefully away from your face, fluff, and rest another 5 minutes. Pressing to quick release is fine, but the grains will be wetter and need that extra drying time.
Microwave. Use a bowl at least twice the size of the grain, since quinoa expands fast. Combine 1/2 cup rinsed quinoa with 1 cup water, cover loosely, and cook at 80% power for 5 to 6 minutes. Stir at the halfway mark, then rest 5 minutes before fluffing.
If you want the same flavor as the stovetop version, see how to season food as you cook and apply the same principle of building flavor in layers.
Common Mistakes and How to Fix Them
The quinoa is mushy or gummy. Almost always one of two things: too much liquid, or too much heat. Next time use 1.75 cups instead of 2 and hold it at the lowest simmer. To rescue a batch already cooked, spread it on a baking sheet and put it in a 300°F oven for 10 minutes, then fluff.
The grains are crunchy in the middle. Undercooked quinoa needs liquid and time, not more heat. Add 1/4 cup hot water, cover, and give it 4 more minutes on low. Then rest and fluff as normal.
It tastes bitter or soapy. You either skipped the rinse or the rinse was too quick. That bitterness is saponin, and it rinses off in under a minute. Some cooks simmer the grain in the cooking liquid and drain at the end instead, but pre-rinsing is faster.
It clumps into one solid mat. Cover too loose plus too much stirring. Once liquid hits the pan, stop moving the quinoa and keep the lid sealed.
It stuck to the bottom. You used more than 2 cups, or you skipped the toast. The dry-toast step gives the grains a head start and keeps the sugar on the surface from binding to the pan.
Seasoning and serving
Plain quinoa tastes like what you add to it, so build flavor in layers. Salt the cooking liquid, cook with a bay leaf or a few garlic cloves, then finish with lemon and olive oil.
Other easy directions: fold in chopped herbs and a squeeze of lime for a salad, toss with roasted vegetables and a yogurt dressing for a grain bowl, or cook it in broth and serve alongside curries and stews. Quinoa works as a rice substitute in pilafs and fried rice, and it thickens soups on its own.
Storing and reheating
Spread cooked quinoa in a single layer on a tray and cool it fast before refrigerating. Keeping it in the warm pot too long steams it into mush.
Store it covered in the refrigerator for up to 3 to 4 days, or freeze it flat in a freezer bag for 2 to 3 months. Thaw in the refrigerator overnight.
Reheat with a small splash of water so the steam softens the grains again. A microwave bowl with a damp paper towel over the top, 60 to 90 seconds on medium power, brings it back close to fresh. Fluff it with a fork before serving, since reheated grains pack together more than fresh ones.
Meal-prepped quinoa also makes a decent weekly budget meal plan staple since it keeps three to four days and eats hot or cold.
Frequently Asked Questions
Why is my quinoa gummy?
Three things cause gummy quinoa: too much liquid, heat that is too high, or skipping the covered rest. Quinoa absorbs liquid fast and gives off very little steam, so on a hard boil the surface stays wet and the grains collapse into each other. Next batch, use 1.75 cups of liquid per cup of quinoa, hold the lowest simmer, and rest the pot covered for 10 minutes before fluffing.
Is quinoa 2 to 1 ratio?
Two to one is the safe stovetop answer: 1 cup of dry quinoa to 2 cups of liquid. Lower ratios such as 1.5 to 1 appear in many recipes because they work on a true gentle simmer with the lid sealed from the start. Rice cookers and Instant Pots use less liquid again, roughly 1.75 and 1.25 cups, since they cook with trapped steam.
Do you have to rinse quinoa before cooking?
Rinsing is not technically required, but it is the difference between nutty quinoa and something that tastes soapy. The bitter coating called saponins rinses away in 30 to 60 seconds under cold water, and the rinse also carries off surface starch that makes grains stick together. Soaking overnight is optional and only affects texture and cooking time.
How can you make quinoa taste good?
Salt the cooking liquid, cook with aromatics, and finish the grains while they are still warm. A bay leaf or two garlic cloves in the pot adds background flavor, and a squeeze of lemon plus a drizzle of olive oil after fluffing brings the whole thing forward. Other options: broth instead of water, lime and cilantro for a salad, or cinnamon and vanilla for breakfast oats.
How much water for 1 cup of quinoa in a rice cooker?
Use 1.75 cups of water per 1 cup of rinsed quinoa and run the white rice setting. When the cooker switches to warm, keep the lid on for a full 10 minutes before opening. Do not leave it on warm much longer than that, since the setting draws moisture out of the grains and turns them stiff rather than keeping them warm.
How do I save stodgy quinoa?
Spread the overcooked quinoa in a thin layer on a baking sheet and warm it at 300°F for 10 minutes, fluffing twice. That drives off surface moisture and firms the grains back up. For a stodgy batch meant for a side dish, mash it with a little butter, olive oil, or broth and use it as a pilaf or a spread. It will not return to fluffy, but it works.
Conclusion
Start here next time: 1 cup rinsed quinoa, 2 cups liquid, a low simmer, lid on for 12 to 15 minutes, then 5 to 10 minutes of rest before you touch it with a fork. That sequence is the whole difference between fluffy and stodgy.
Once it works, adjust from that baseline. Firm and separate is a ratio drop to 1.75:1; softer grains are a ratio lift or a few extra minutes. Get the first batch right and every batch after it takes two minutes less guessing.