
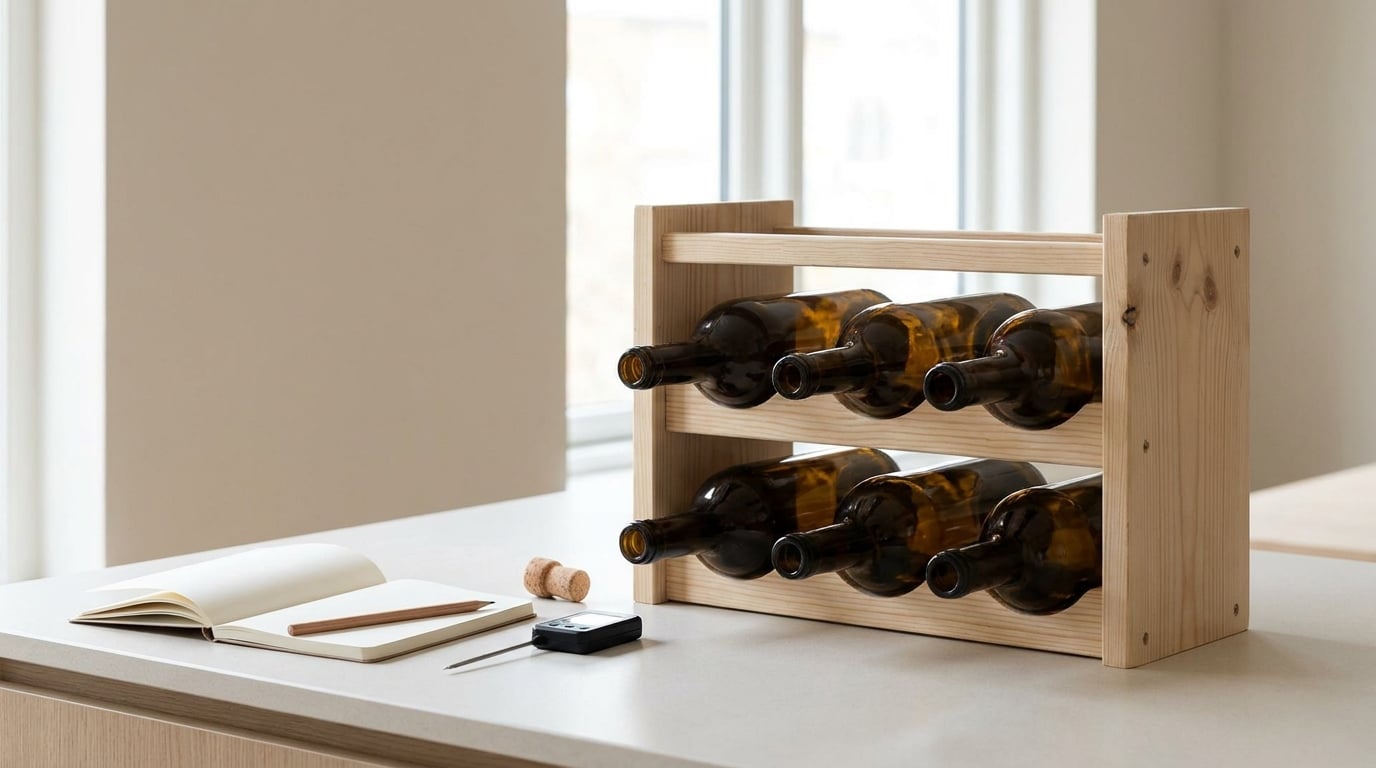
To build a small home wine rack collection you need three things: a rack sized to the bottles you already own, a spot in the house with steady cool temperatures, and a simple way to keep track of what is left. Most beginners finish a freestanding rack in one afternoon with a drill, a few boards, and an hour of measuring. The building is the easy half. Storing the bottles so they taste the way you bought them is the half worth planning.
I have rebuilt the same rack twice in a kitchen that is too small for a proper cellar, and the version that worked was the least impressive one on paper: a simple grid, sized to the bottles I actually drink, screwed to a stud. Everything else, the fancier joinery and the bigger capacity, was work I did not need.
What You Need
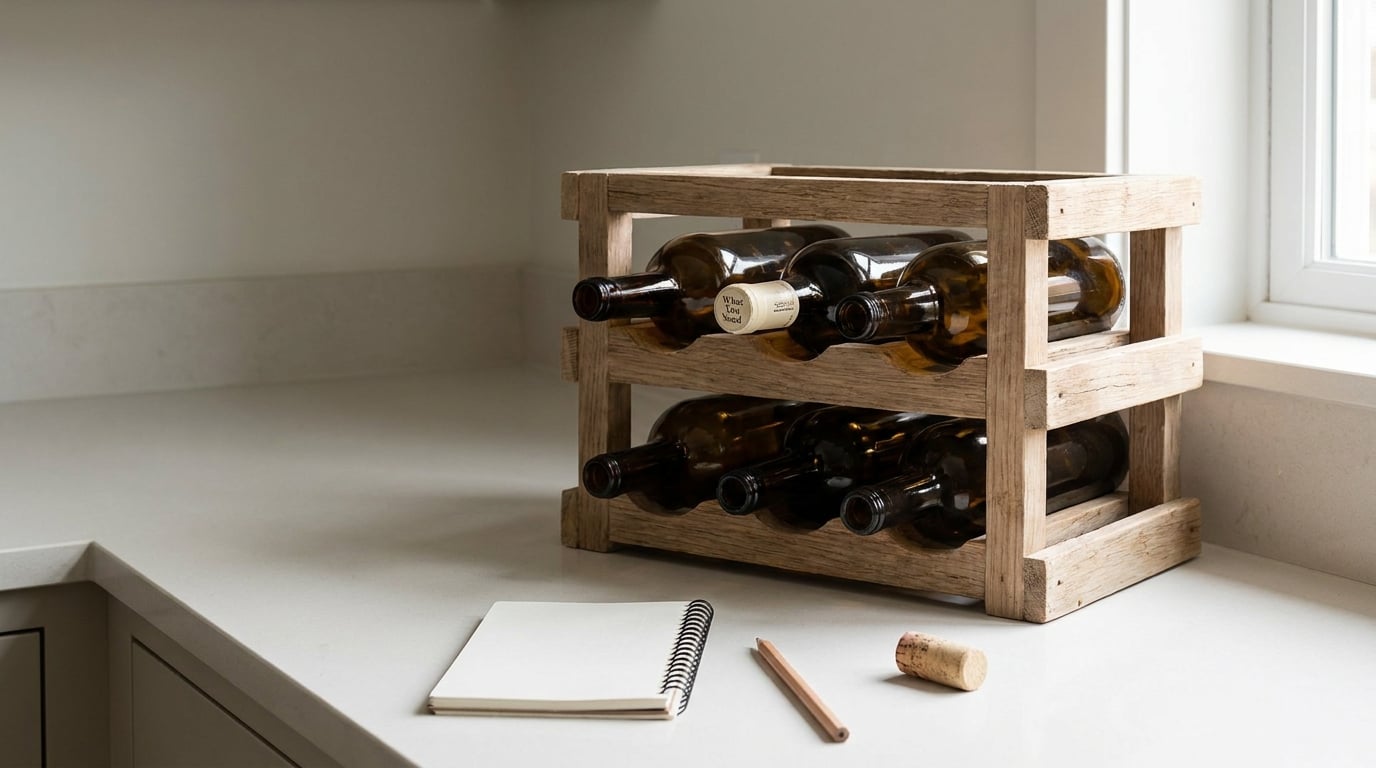
Start with the bottles, not the rack. Count what you own right now, including the loose bottles on the counter and the ones you keep in the door of the fridge. That number is your real capacity, and a rack built around it will look intentional instead of empty.
A standard 750ml bottle is roughly 3 inches across the body and about 12 inches tall including the neck. Every spacing decision follows from that one number.
- The rack. Three routes cover almost every home. A crate-and-dowel build uses two old wine crates, four lengths of dowel and glue, and holds 6 to 12 bottles. A countertop grid cut from pine or plywood holds 12 to 24 bottles and needs a drill, a square and an hour. A wall-mounted rack with a French cleat on the back holds 12 to 36 bottles in the space above a counter and leaves the floor alone.
- Wood. Pine and poplar are cheap and easy to cut. Oak and walnut look better and take stain more evenly. Plywood works if you seal the edges. Material changes the look, not the storage quality, and for wine you plan to drink within a year or two the species genuinely does not matter.
- Hardware and supplies. Wood glue, a 1/4 inch drill bit or Forstner bit, 3/4 inch dowels if you are not cutting notches, pocket screws or countersunk screws, sandpaper, and one coat of stain, oil or paint. Skip MDF and particle board. They swell at the edges when a humid room gets to them.
- Placement tools. A small digital thermometer and hygrometer, your phone for a photo of the finished rack, and a notebook. The notebook is not optional. It is the difference between a collection and a stack of bottles.
On a tight budget, the crate route is genuinely near free if anyone in your life is finishing cases of wine, and a pine board build costs a fraction of a prefab rack of the same size. A hardwood build buys you a nicer object in your kitchen, not better wine in the bottle.
Step-by-Step: How to Build a Small Home Wine Rack Collection
Step 1: Choose a Collection Size That Fits Your Space
Pick your bottle count before you pick a design, and pick it based on drinking, not on how impressive the wall looks empty.
Twelve bottles is a real collection for one or two people. Eighteen gives you a red, a white and a sparkling on hand without anything aging past its window. Twenty-four is the point where a small rack starts to look like furniture and you need a real plan for where it goes. Beyond 48, a home rack becomes a commitment with a climate problem attached, and that is a different project than this one.
Work backward from your habits. If you open a bottle most weeks, a dozen bottles is about two months of supply. Count how many you finish in a normal month, multiply by three, and round up to the nearest rack size. You can check the result against a dinner plan later, when you are working out a three course menu that actually matches the bottles you own.
Step 2: Pick a Wine Rack for Your Home
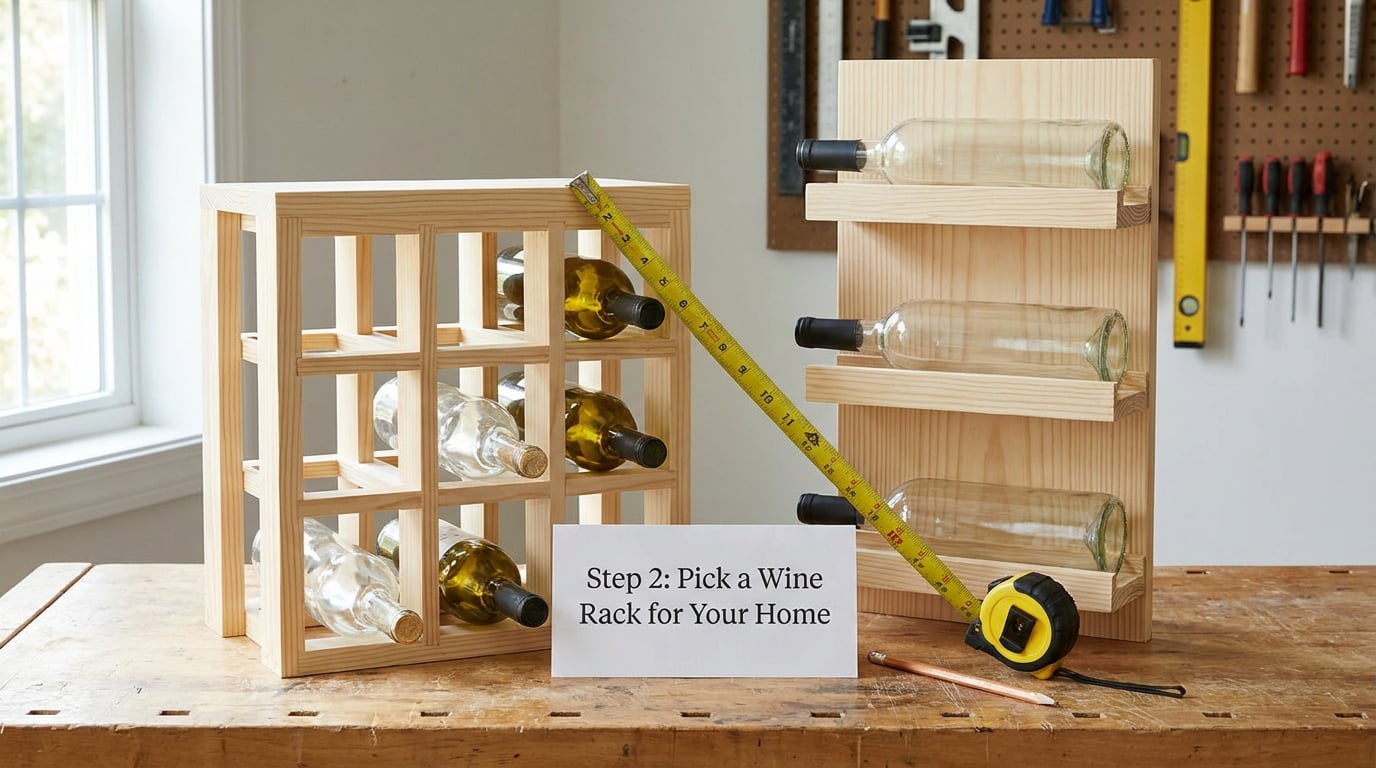
Measure the spot first, then the rack. The two mistakes beginners make are building a 12 inch wide rack for a 10 inch alcove, and mounting a wall rack where a door swings into it.
- Crate and dowel. Fastest path to a finished rack. Stand two crates on end, drill pilot holes, and drive dowels through the side slats so the necks rest in the gaps. No cuts, no finish, and it looks intentional in a kitchen. Hold it to 6 to 12 bottles.
- Countertop grid. A panel with a row of notches or holes, lying flat. Cut a strip of pine, drill or saw evenly spaced holes at 3 inch centers, and mount it on two small feet. Twelve to 24 bottles in roughly the footprint of a sheet of paper and a few inches deep.
- Wall-mounted panel. A vertical board with notches, hung by a French cleat. This is the one that reclaims dead space above a counter or a doorway. The notch depth needs to catch the bottle shoulder, not the body, so the neck tilts down a few degrees and the cork stays wet.
- Modular grid. Several identical cube units you bolt together later. The only style here that grows with the collection, and the only one that needs planning before the first screw goes in.
Mount any wall version into a stud wherever you can, and add a small anti-tip bracket regardless. A loaded twelve-bottle rack is heavier than it looks. If you rent and there are no studs, use toggle bolts in the drywall and keep the load under a dozen bottles.
Step 3: Choose a Balanced Starter Set
A working small collection is boring in a good way. You want a few bottles you understand, not one of everything.
Start with light reds such as Pinot Noir or Gamay, one medium red that takes an hour in the oven, two whites that handle a weeknight dinner, and one sparkling for celebrations. That mix covers most meals without any bottle needing its own instructions.
Buy the versions you can find easily and afford in pairs. A collection of twelve bottles you can replace on a normal shopping trip is worth more to you than four bottles you bought once and think about. Do not buy wine to store for ten years. If a bottle is not young and drinkable, it does not belong in a small home rack yet.
Once the bottles are home, it helps to know what each one is actually for. White wine pairing basics for home cooks covers the styles that confuse beginners most, and it will tell you fast whether a bottle is a weeknight pour or a dinner guest bottle.
Step 4: Store Bottles for Protection and Easy Access
Lay corked bottles on their side so the wine touches the cork. That is the single rule people get wrong most often. An upright corked bottle is a cork drying out slowly, and a dry cork means a flat, oxidized wine in a year or two.
Angle the neck down slightly rather than perfectly level, which a shoulder notch gives you for free. Make the opening a touch narrower than the bottle body so it settles instead of rolling to the bottom of the shelf.
Two exceptions are worth knowing. Screw cap bottles are fine upright for months, and sparkling bottles are traditionally stored neck-down, which lets the sediment settle in one place. Keep label-forward bottles where you can see the vintage, because that is what you forget when it is time to drink something.
For temperature, aim for 12 to 14°C, or about 54 to 57°F, and treat stability as more important than the number. A closet that holds 60°F all day beats a kitchen that hits 68°F every evening. Humidity in the 60 to 70 percent range keeps corks from drying out and mold from starting. Light is the one you cannot take back, so keep the rack out of direct sun even if the spot is perfect in every other way.
Put the thermometer in the spot you plan to use, not the spot you wish you had. Check it in the morning and again in the evening for a day. If the evening reading is more than a few degrees above the morning one, that closet is next to something hot and you should move the rack.
Arrange by use rather than by producer. Everyday whites and the reds you cook with go at eye level and nearest the front. Older bottles and anything festive sits deeper where you see them when you reach in.
Step 5: Track Tasting Notes and Replace Bottles
Write it down. A short line of producer, varietal, year, price paid and one sentence about how it tasted is enough, and the price is there for your own records rather than for anyone else.
Add what is missing from the rack right now, so the list stays current. If the reds are running low before the whites, the next shop is reds, no matter what a listicle says is having a moment.
Refill the same slots rather than expanding the rack until it is full. Most people who quit collecting did it by adding bottles faster than they drank them, then losing interest in a shelf that turned into storage.
When a bottle goes, note whether you would buy it again. That one column is the whole collection system, and it takes about five minutes a month. Six months in, your list tells you what you actually like, which is usually not what you thought you liked in the shop. Pairing it back to food, as in pairing wine with steak for beginners, makes the notes stick.
Common Mistakes
- Buying 36 bottles for a 12 bottle rack. The rack ends up buried and the collection feels like clutter. Build to the count you finish in a month, times three, and add a module when you are consistently running out.
- Notching for one bottle width. Magnums, half bottles and sparkling bottles do not fit a standard 3 inch notch. Either space every other slot wider or skip notching and use a shelf with a small lip.
- Mounting into drywall with no studs and no plan. Toggle bolts hold a small rack fine, but they are not a licence to hang 40 bottles. Find a stud, or stay under a dozen bottles on the wall and move the rest to a shelf.
- Parking the rack next to the oven or a sunny window. This is the mistake that ruins wine fastest, and it happens because the rack looks best there. Move it one wall over and lose nothing visually.
- Storing corked bottles upright. Fine for screw caps, wrong for natural cork. Lay them down.
- Treating the rack as an investment. Wine you buy at everyday prices and drink at the right moment is worth more than a bottle you keep for status. Build for drinking, not for waiting.
One habit worth adding: give the rack ten minutes of your attention every few months. Wipe the necks, knock off dust, and re-level it if the shelf has sagged under a full load.
Frequently Asked Questions
How do I build a simple wine rack with no power tools?
Stand two empty wine crates on end and drive short dowels through the side slats so the bottle necks rest in the gaps. You need a hand drill or a hammer and nails, glue, and a measuring tape. The crates usually come free from a wine shop or a friend, so the whole rack costs almost nothing and takes an hour. Sand the slats lightly first so the necks are not scratched.
How much does it cost to build a wine rack?
A crate and dowel build is close to free if you can source crates. A pine or plywood grid cut to size costs a few short boards plus glue and screws, which is a fraction of a comparable prefab rack. Hardwood adds a nicer finish, not better wine storage. The expensive part is usually the tools you do not own yet, and a drill, a square and a saw cover nearly every beginner build.
What type of wood is best for a wine rack?
Pine, poplar, oak or walnut all work, and for wine you will drink within a year the choice is about looks and your budget rather than storage quality. Oak and walnut take stain evenly and look finished. Pine is the easiest to cut and cheapest. Avoid MDF and particle board, which swell at the edges in a humid room, and seal plywood edges before you install them.
Should wine bottles be stored horizontally or vertically?
Store natural corked bottles horizontally, ideally with a slight tilt so the neck sits a little lower than the base, and the cork stays in contact with the wine. Vertical storage is fine for screw caps, which do not dry out, and sparkling wines are usually stored neck-down so the sediment stays in one place. Label-forward placement helps you remember what you have before it is too late.
What is the best temperature and humidity to store wine at home?
Aim for 12 to 14°C, roughly 54 to 57°F, with humidity around 60 to 70 percent. Stability matters more than the exact number, so pick a closet or interior cabinet that holds a narrow range day and night rather than chasing a perfect reading. Avoid kitchens, sunny rooms and garages, and keep bottles out of direct light, which damages them permanently.
What is the 20/20/20 rule for wine?
You will see the 20/20/20 rule described as a simple formula for keeping wine fresh: use or store it within 20 days, keep bottles at 20°C or cooler, and use it within 20 years of harvest. It is a memorable shorthand rather than a technical standard, and it is wrong for most people. The useful part is the first idea, drink what you buy within a year or so, and the last, do not hold bottles for decades in a home rack.
Conclusion
Count the bottles you have this week. That is your rack size, and everything after that is a build detail.
Start with the crate and dowel version if you want a finished rack today, or a wall panel on a French cleat if you want the counter space back. Then put a thermometer in the spot you chose, keep corked bottles on their side, and write one line about each bottle when you open it.
A small collection that matches how you actually drink is worth more than a large one you have to plan around. Build to how to build a small home wine rack collection around your own twelve bottles, get the storage right, and add the next module only when the current one is genuinely empty.