
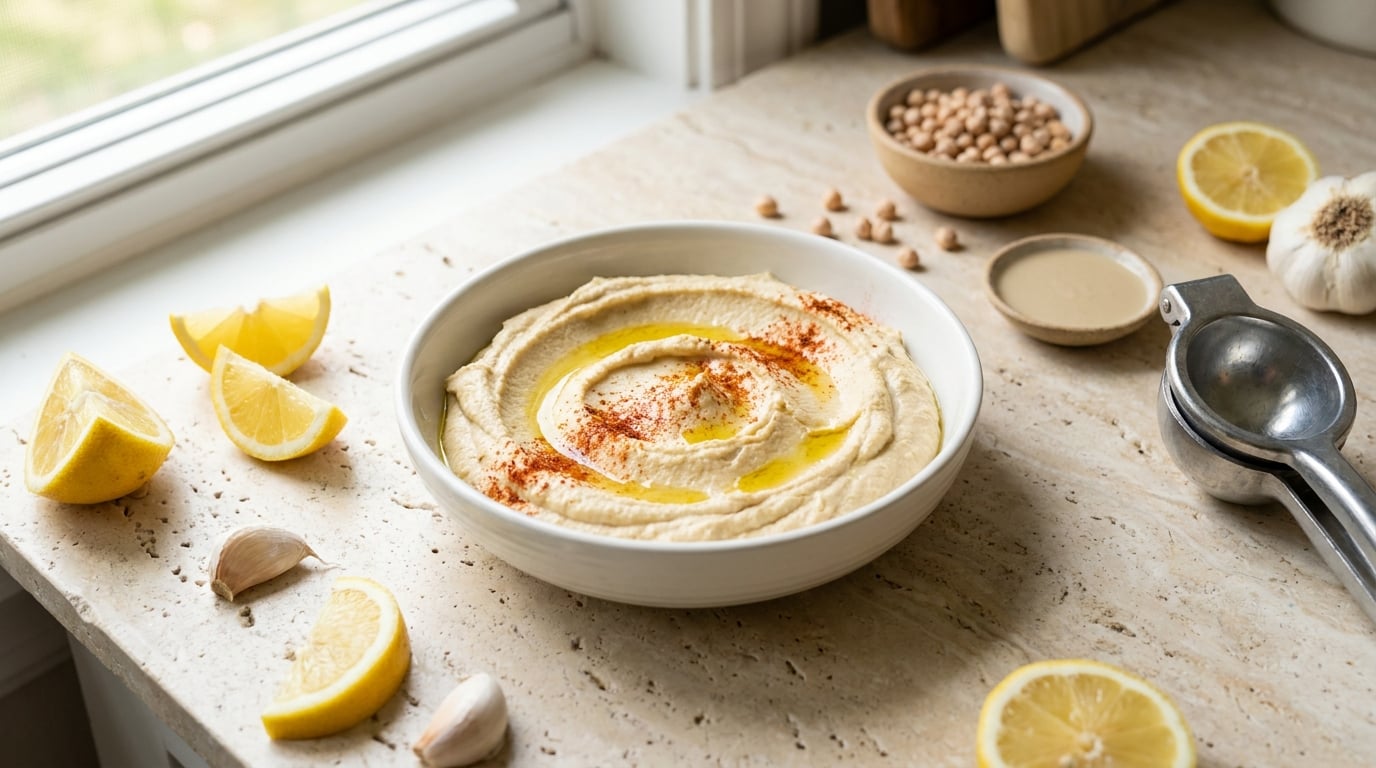
How to make hummus smooth and creamy comes down to three things: chickpeas cooked until they nearly collapse, every skin removed, and a patient blend with cold liquid added a spoonful at a time. Blend a small food processor for two minutes and you get thick paste. Give it six, use ice water, and the same chickpeas turn pale, glossy and spoonable.
Texture, not flavour, is what separates homemade hummus from the stuff in a tub. A grainy batch tastes flat no matter how much lemon and olive oil you add, because the sandy grit is physical, and no amount of seasoning covers it. Our kitchen runs this method twice a week for the mezze board, and the difference is almost entirely in the chickpea prep and the blending time.
The whole recipe takes about 15 minutes if you start with canned chickpeas, or spread across a day if you soak dried ones. The technique works the same either way.
What You Need
The base recipe is short, and every ingredient in it earns its place.
- 240 g chickpeas, drained (one 400 g can) or cooked from dried
- 60 g tahini (about 1/4 cup), stirred thoroughly before measuring
- Juice of 1 lemon, roughly 3 tablespoons
- 1 to 2 garlic cloves, grated or minced fine
- 60 to 120 ml ice water, plus the reserved chickpea cooking liquid if you have it
- 2 tablespoons extra virgin olive oil, plus more for serving
- 3/4 teaspoon fine salt, plus more to taste
Cold liquid is the part most recipes underplay. Ice water firms up the starch and makes the finished dip lighter in colour and mouthfeel. The cloudy cooking liquid from a pot of dried chickpeas does the same and adds body, which is why cooks save it before draining.
For flavour once the texture is right, add ground cumin, smoked paprika, roasted garlic, or a spoonful of beetroot purée. For tools, a food processor is the workhorse, a high-speed blender gets you the silkiest result, and a fine-mesh sieve is the fallback when you have neither. If you like, our beginner’s guide to building a cheese board covers the rest of the spread you can put hummus out with.
Step-by-Step: How to Make Hummus Smooth and Creamy
How to Make Hummus Smooth and Creamy: Prepare the Chickpeas
Drain the chickpeas and reserve the liquid, then dry them thoroughly on a towel. Drying matters more than it sounds: water sitting in the bowl is the single biggest reason hummus stays heavy and gluey instead of turning light.
Rub the chickpeas between your palms with a clean dish towel. The skins catch on the cloth and slide off in seconds, and you can process a full batch in a couple of minutes instead of picking at several hundred individual peas.
Dried chickpeas beat canned for texture. Simmering them with a small pinch of baking soda softens the pectin in the skin, so the beans collapse under pressure and release their starch into the mix. Cook them until a spoon crushes one with no resistance, then cool and reserve the cooking water.
Build a Flavorful Base
Put the tahini and lemon juice in the bowl first and blend on low for about 30 seconds. Tahini seizes when it hits liquid, and starting with the acid loosens it into a pourable paste before any chickpeas go in. Skipping this step is why so many batches turn gluey.
Add the garlic, salt and olive oil, blend again, then add the chickpeas in two or three batches rather than all at once. A bowl packed solid has no room for the mixture to move, and the blade just pushes food around the edge.
How to Make Hummus Smooth and Creamy: Blend Until Silky
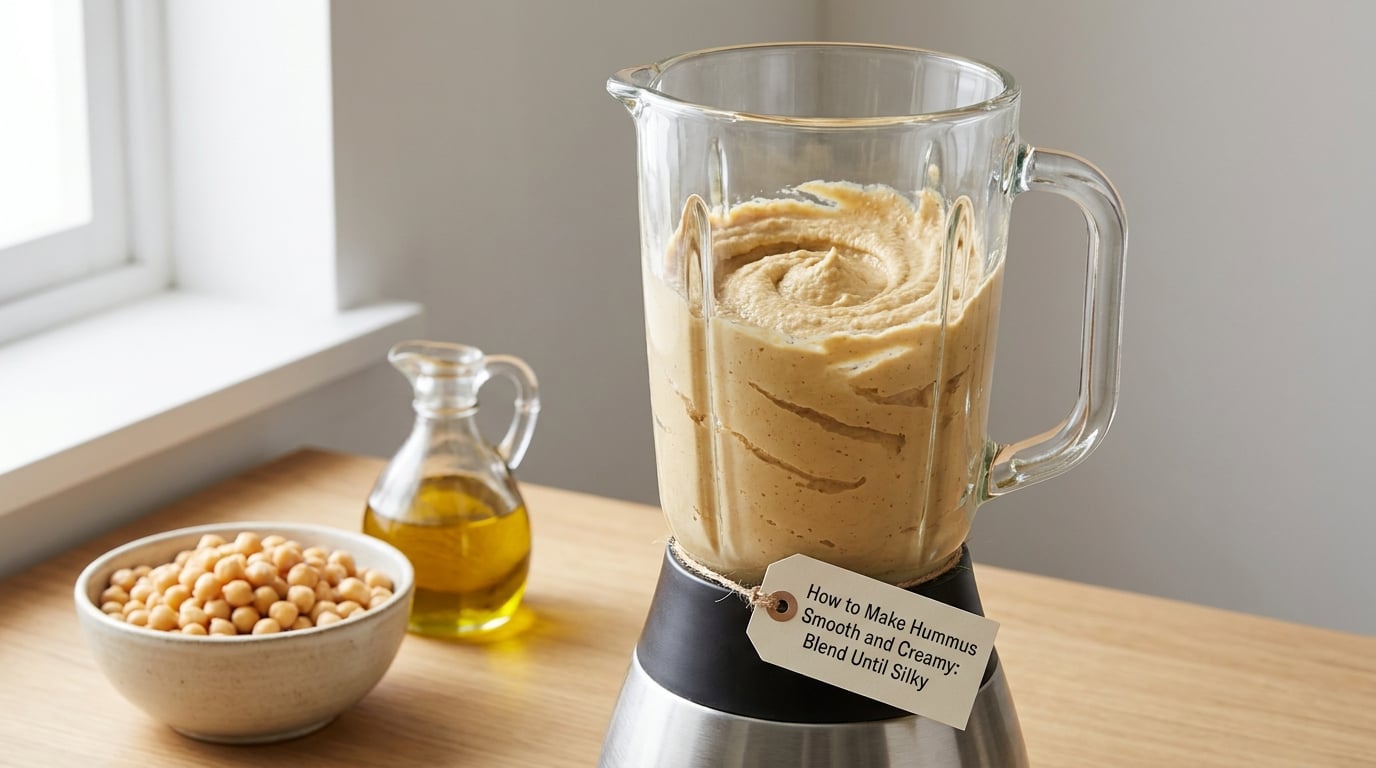
Start slow for the first 30 seconds to break the chickpeas down, then push the machine to full speed for a full three minutes. Stop once, scrape the sides down with a silicone spatula, and put the lid back on for another two to three minutes. That pause-and-scrape step is where a lot of “grainy no matter what” batches are won, because the paste that collects above the blade line never gets processed otherwise.
With the motor running, trickle in ice water one tablespoon at a time. The hummus will tighten, look dry, and then loosen into something pale and aerated. That moment of apparent dryness is normal. Keep going until it holds soft peaks when you lift the spatula.
Stop before it turns foamy. Two to three minutes past the point where it looks smooth is where the paste turns gluey and slightly gummy, which is the opposite of creamy.
Adjust the Seasoning and Consistency
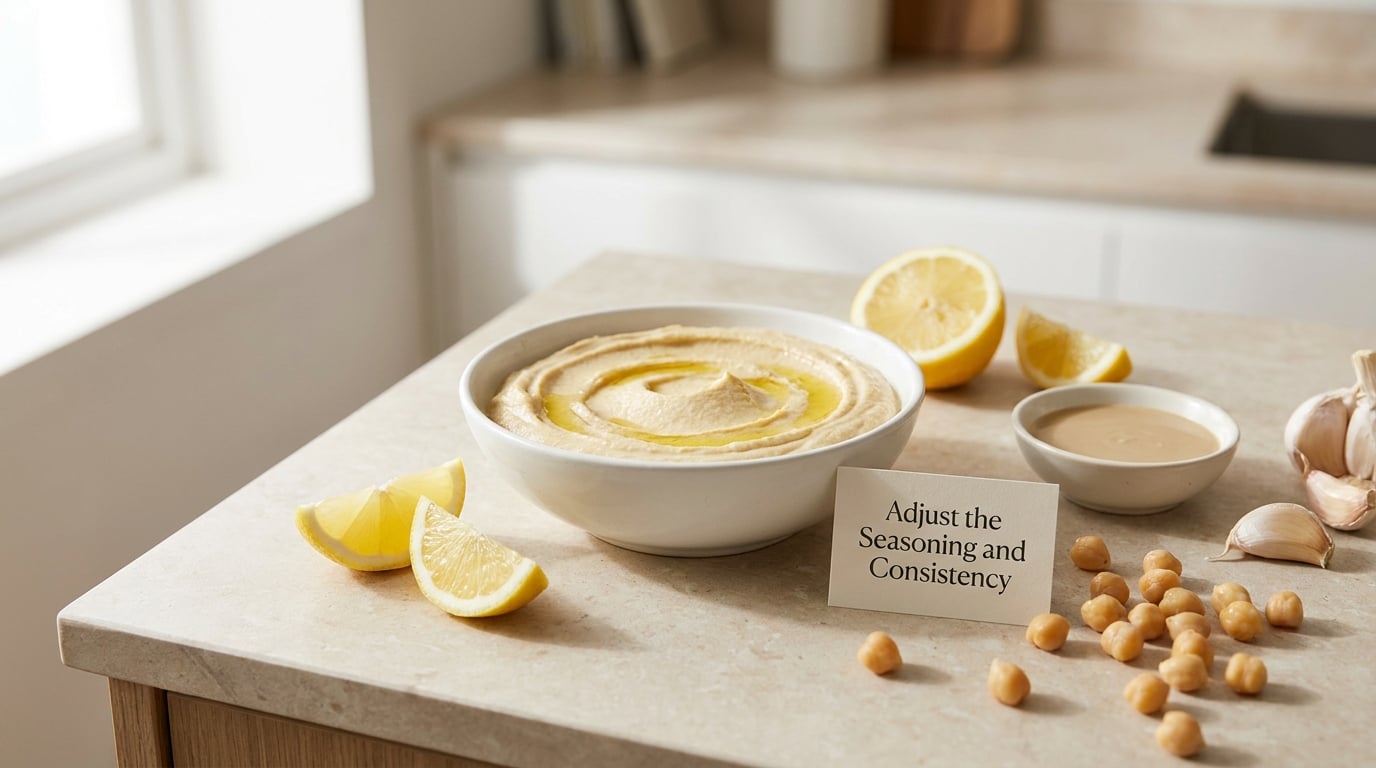
Taste before you serve it. Hummus always needs more salt than you expect, since tahini and lemon both mute it. Add lemon in small increments too; a squeeze too many and the dip turns loose and watery within minutes.
Thin with reserved chickpea liquid or ice water rather than more oil. Oil makes hummus taste richer but heavier, and it never fixes a thick batch properly. Spoon into a bowl, run a shallow swirl across the top with the back of the spoon, and finish with olive oil, paprika and chopped parsley.
Common Mistakes
Nearly every disappointing batch comes down to one of these.
Grainy or sandy. The chickpeas were undercooked or the skins stayed on. Cook dried beans longer, rub the skins off, and blend past the point where you think it is done. If it still grits between your teeth after five full minutes, the beans were not tender enough to begin with.
Too thick, gluey, tears the pita. Almost always under-blended, or too much of the batch crammed in at once. Add ice water a spoonful at a time and blend again. Extra tahini makes it worse; it thickens further as it sits.
Runny and watery. Too much lemon or oil, or the tahini was never loosened first. Stir in more tahini or a couple of tablespoons of chickpeas, then chill for 15 minutes. Oil and lemon do not thicken anything, so neither is the fix.
Bitter. Tahini that has been sitting separated and oxidised in the jar, or garlic that browned in a hot pan. Stir the tahini from the bottom, use raw garlic, and skip the toasted spice until the end.
Pasty and heavy. You over-blended it. Once the colour lightens noticeably and the texture turns aerated, stop. Extra minutes only glue it together.
For serving, keep it at room temperature for a couple of hours rather than all day, since the tahini tightens as it cools. Refrigerate in a sealed container for up to four days, and loosen with reserved liquid before serving because it firms up noticeably overnight. Freezing works well for three months; thaw in the fridge overnight rather than on the counter.
Frequently Asked Questions
Why is my hummus not smooth?
Usually it is the chickpeas, not the machine. Under-cooked beans and leftover skins are the source of nearly all grainy texture, and no amount of extra blending removes them. Cook dried chickpeas until they crush under a spoon, rub the skins off with a towel, then blend for a full five minutes with pauses to scrape down the sides.
How do I fix dry, thick hummus without making it watery?
Add ice water or reserved chickpea cooking liquid one tablespoon at a time with the machine running, then blend another minute before you check again. The hummus will look worse before it looks better, tightening and dulling before it loosens into something silky. Stop as soon as it holds soft peaks, since it firms further in the fridge.
Do I need tahini to make creamy hummus?
No. Tahini contributes body and nutty flavour, and it is what thickens the dip, but olive oil plus a good deal of ice water gives you a smooth result too. Just expect a lighter, less rich hummus that does not hold a swirl as well on the plate. For the best texture without tahini, add the liquid slowly and blend longer than feels necessary.
Is a blender better than a food processor for hummus?
A blender usually wins on texture because the blades sit right at the bottom, which gives you the fine paste that makes hummus light. A food processor is easier for big batches and needs less liquid, but the sides need scraping more often. An immersion blender in a deep bowl works well for larger volumes and saves you transferring warm hummus twice.
How long can homemade hummus stay in the refrigerator?
Four days in a sealed container is the safe window, and most batches taste best in the first two. Keep it out of any heat, use clean utensils rather than double-dipping, and loosen it with reserved cooking liquid or ice water before serving, since the tahini firms noticeably as it chills. Freeze it for up to three months if you batch cook.
Conclusion: Start With the Right Chickpeas
Start with chickpeas that are genuinely tender and stripped of their skins, and most of the texture problem disappears before the machine even switches on. Blend longer than seems reasonable, scrape down once in the middle, and add cold liquid slowly until it turns pale and light. Season at the end, taste twice, and adjust from there.
Once the base batch is right, portion it before adding anything and the flavour variations become easy work. If you want the whole table sorted, our restaurant-style mashed potatoes follow the same logic: cook properly, keep it workable, adjust at the end.