
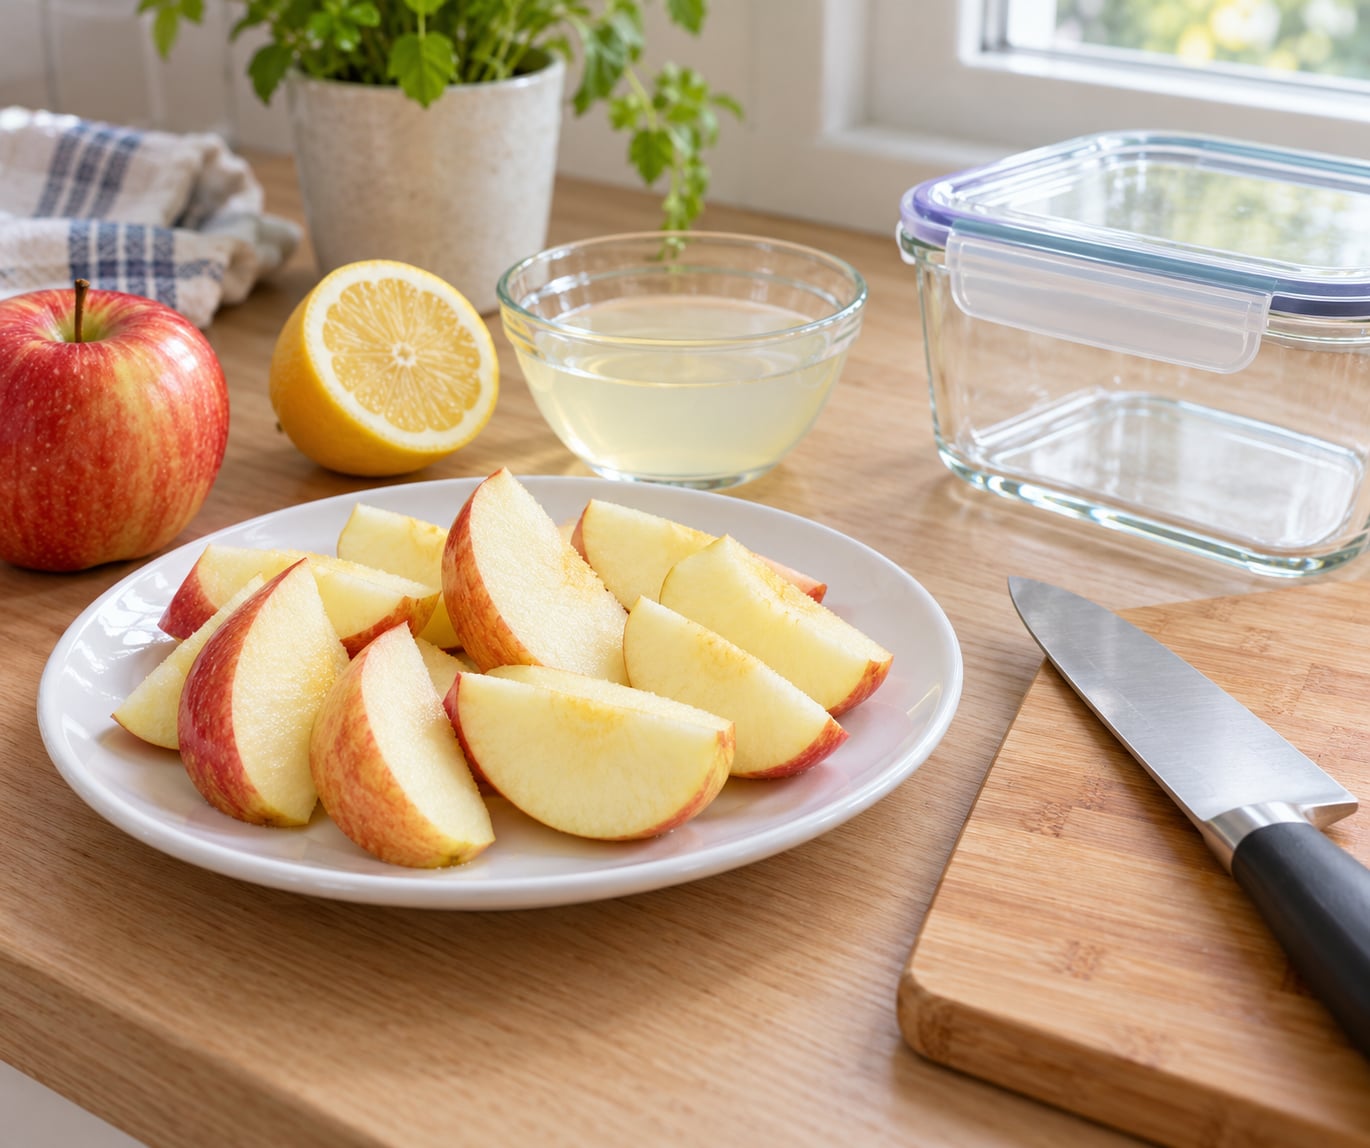
To keep cut apples from turning brown, dip the slices in a mild acid or salt solution right after cutting, then refrigerate them in an airtight container. A saltwater soak is the best all-around version: half a teaspoon of salt per cup of water, ten minutes, rinse, and store.
The whole job takes about ten minutes of active work and about a minute of your attention every time you cut an apple. That matters because a sliced apple can start browning in as little as 30 minutes, so there is no good time to figure this out halfway through prep.
Table of Contents
- What You Need
- Step-by-Step: How to Keep Cut Apples from Turning Brown
- Common Mistakes
- Frequently Asked Questions
- What is the best way to keep cut apples from turning brown?
- Does lemon juice make apples taste sour?
- How long do cut apples stay fresh after being treated?
- Can I use other citrus fruits instead of lemon?
- Does rinsing apple slices in water stop them from browning?
- Can I prepare cut apples the night before serving them?
- Conclusion
What You Need
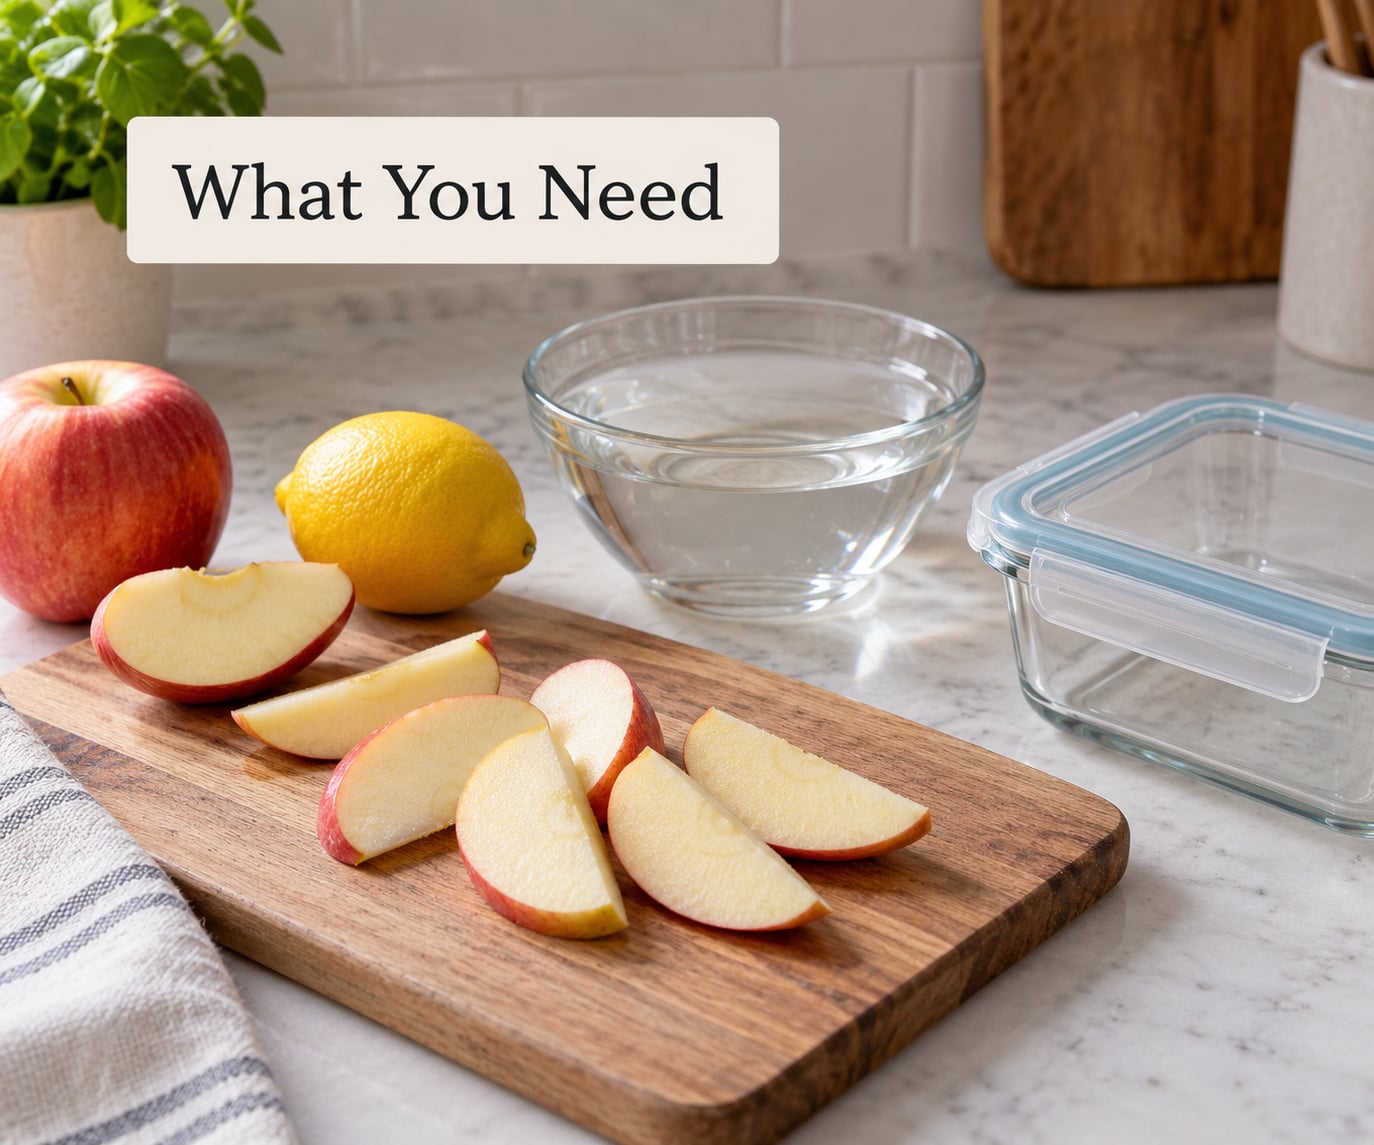
You do not need anything expensive or unusual. The tools are ordinary kitchen basics, and each of the three soaking methods below uses a different version of the same acid-or-salt idea.
- 2 to 3 crisp apples, cored and cut into wedges or slices
- One lemon, lime, or a bottled citrus juice (roughly a tablespoon is enough)
- A bowl of cool water, about one cup
- Kosher salt or fine table salt, half a teaspoon
- Honey, one teaspoon, if you want the milder method
- A sharp knife and a cutting board
- An airtight glass container with a lid, or a resealable bag
Airtight is the important word. A container that lets air through will not save slices that were treated properly, because oxygen is the other half of the browning reaction. If you are short on containers, I wrote about how to keep lettuce fresh for two weeks, and the same airtight-plus-refrigerate logic applies here.
Step-by-Step: How to Keep Cut Apples from Turning Brown
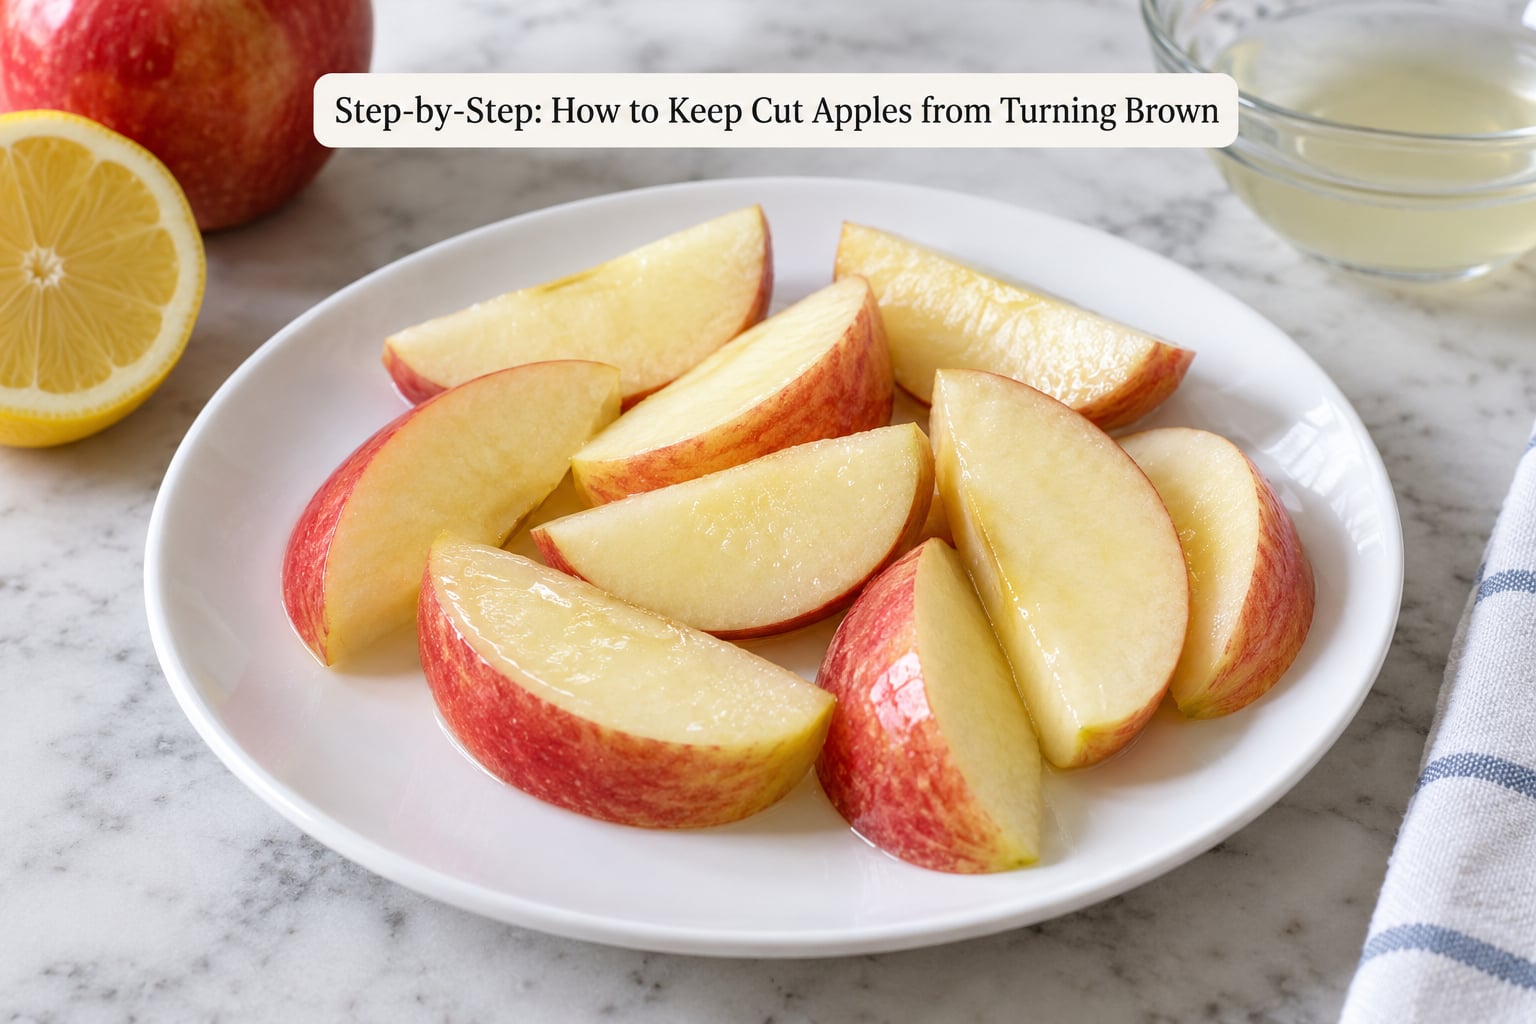
This is the version to use when you do not want to think. It works on any apple, takes one bowl, and leaves a faint citrus note rather than an overpowering one.
- Cut the apple and get it into the liquid within a minute. Slice into wedges or thick rounds. The clock starts the moment the knife hits the flesh, not when you get around to treating them.
- Mix the solution. Fill a bowl with one cup of cool water and squeeze in about one tablespoon of lemon juice, or add a tablespoon of bottled lemon or lime juice. Stir it.
- Submerge the slices. Push them under the surface with a spoon or your fingers. If they float, hold them down for the whole soak. Floating pieces are the reason so many home attempts fail, because the part above the water browns exactly as it would have anyway.
- Soak for 5 to 10 minutes. Ten minutes is the upper end and gives the longest protection. Three to five minutes is enough if you are eating the slices the same day.
- Drain and rinse under cool water. One quick rinse, no scrubbing. This pulls off the excess acid so the apples taste like apples instead of lemon candy.
- Pat dry with a clean towel or paper towel. A thin film of water is not a big deal, but drying the cut faces means the slices do not sit in a puddle inside the container.
- Store in a single layer, airtight, in the refrigerator. Do not stack wedges on top of each other. Air pockets between overlapping pieces are where browning hides.
You will know the coating worked if the cut faces look clear and glossy instead of dull and slightly yellow, and if you can still see the skin color through the flesh. That shine is the diluted acid sitting on the surface. Trimmed pieces keep this look for several days in the fridge; whole thin rounds turn translucent and soft faster, so cut thick if you are prepping ahead.
Use Lemon Juice for the Quickest Reliable Method
Diluted lemon juice is the most dependable option and the one most people mean when they say “just use lemon.” The citric acid drops the pH enough to slow the browning enzyme, and the treatment is fast, cheap, and already in most kitchens.
The ratio that works is about one tablespoon of juice per cup of water. Bottled lemon juice performs about the same as fresh here, because the active compound is citric acid and it survives pasteurizing. Undiluted lemon juice is a mistake: it coats the slice in concentrated acid, and most people find the result sharp rather than fresh.
If you have no time to soak, rub the juice directly onto the cut faces with your fingers or a pastry brush. That is weaker than a soak, but it buys you a couple of extra hours. It is the move to make while the kettle boils.
Try Saltwater for a Neutral-Tasting Option
Salt water is the best method when lemon flavor is a problem, which usually means kids. It slows browning by interfering with the enzyme itself, and because the taste is so mild, most children eat the slices without comment.
The ratio that circulates most widely is half a teaspoon of kosher salt per cup of water, soaked for ten minutes. A slightly larger batch, half a teaspoon of salt in a liter of water for five minutes, shows up in lunchbox advice and works the same way. Keep it mild. Double the salt and you will taste it, and then you have traded one problem for another.
Rinse well after the soak, even though the flavor is subtle. If you skip the rinse and the slices are a little salty, blot them with a paper towel instead of rinsing. This is my default for a week of school lunches, and it costs one teaspoon of salt.
Use Honey Water for a Softer Citrus Flavor
Honey water is the gentlest of the three, and it is worth trying if sourness is the reason you are avoiding lemon. Stir one teaspoon of honey into a cup of warm water until it dissolves, let it cool, then soak the wedges for about five minutes.
Use the solution warm, not hot, or you are softening the slices as well as treating them. Refrigerate them the same way as the other methods.
Be honest about the result though. In one five-day kitchen trial that put five different liquids through the same treatment, honey water was the biggest disappointment and browned fastest, while pineapple juice came out on top. Honey is sticky, it rinses off less cleanly than lemon, and it clings to the cut face. Treat it as a mild option, not a reliable one, and keep a lemon or salt backup if the slices are going into a lunchbox that spends hours unrefrigerated.
Store the Apples Properly After Treating Them
Treating is only half the job. Storage decides whether the slices last an afternoon or five days, and most disappointing results come from slices that were soaked correctly and then stored badly.
Arrange the treated slices in a single layer inside an airtight container. If you have to stack, put parchment or a sheet of wax paper between the layers so the cut faces never touch. Refrigerate promptly, and keep the container in the middle of the fridge rather than the door, where the temperature swings every time someone opens it.
Treated slices hold their color and texture for about 4 to 5 days in the refrigerator. Beyond that they go soft and dull. Cut apples left at room temperature in a sealed container, which is exactly what a lunchbox is, will look brown within a few hours and are only safe for about two hours at room temperature per standard food safety guidance. If a lunchbox has an ice pack, you get closer to four hours of safe eating time.
If you notice the very start of brown on a slice, there is a move I use sometimes: dip just that slice into a little lemon juice or ascorbic acid powder mixed with water, and it will hold for another day. Commercial ascorbic acid products are what the packaged snack slices at fast food chains use, and the powder form is a common choice for longer jobs like dehydrating and freeze-drying.
Common Mistakes
Almost every failure I have seen traces back to one of these six.
- Floating slices. Wedges that break the surface of the soak brown exactly as untreated fruit would. Weigh them down with a small plate or a clean spoon.
- Too much lemon juice. One tablespoon per cup of water is plenty. Undiluted juice is sour, and it is not meaningfully better at preventing browning.
- Soaking too long. Past about 10 minutes, salt water starts pulling texture out of the fruit and you get a softer, watery slice. Ten minutes is the ceiling, not the target.
- Overcrowding the container. Stacked wedges trap air against each other and brown from the contact points. One layer, or paper between the layers.
- Cutting too far ahead. Apples hold far better treated than untreated, but very thin slices lose their crunch overnight no matter what you do. Cut thick wedges for anything being prepped more than a day out.
- Leaving them out on the counter. A sealed bag is not refrigeration. Treating slows the reaction, it does not stop it, and room temperature moves fast.
Two more things worth knowing. First, never reach for vinegar, dish soap, or anything bleach-based. Vinegar works as an acid but the flavor on raw fruit is unpleasant, and soapy water has no place anywhere near food. Second, plain water alone does almost nothing, which is why the popular idea of “soaking in water” keeps disappointing people. If you like the how to make a fruit salad that does not brown route, the same acid treatment carries over to the pears and bananas in the bowl.
For picnics and road trips where a fridge is not an option, pick the apples closest to your serving time and pack the slices between layers of ice in a cooler. A well-packed cooler behaves like a refrigerator, and that is the whole reason the method works at a picnic in the first place. If you want the cold side handled for you, how to keep drinks cold without watering them down covers the same cooler setup from a different angle.
Frequently Asked Questions
What is the best way to keep cut apples from turning brown?
The best method is a saltwater soak: half a teaspoon of kosher salt per cup of water for 10 minutes, then drain, rinse under cool water, pat dry, and store airtight in the refrigerator. Diluted lemon juice works equally well and is faster, about one tablespoon per cup of water for 5 to 10 minutes. The key is treating the slices within a minute of cutting and storing them in a single layer with no air trapped against the cut faces.
Does lemon juice make apples taste sour?
Undiluted lemon juice does, and that is the most common complaint about the citrus method. One tablespoon of juice in a full cup of water, followed by a quick rinse under cool water, leaves only a faint citrus note. If you are feeding children or anyone sensitive to sourness, use the saltwater method instead, which does not change the flavor at all as long as you keep the solution mild and rinse before serving.
How long do cut apples stay fresh after being treated?
Treated slices stay clear and crisp for roughly 4 to 5 days in the refrigerator when stored airtight in a single layer. Untreated cut apples brown within a few hours at room temperature and should be refrigerated within two hours for food safety reasons. Very thin slices go soft faster than thick wedges, so for meal prep cut the fruit thicker than feels right and treat it the same way.
Can I use other citrus fruits instead of lemon?
Yes. Lime, grapefruit, and orange all work, since the browning-blocking effect comes from citric acid rather than from lemon specifically. Use about one tablespoon of juice per cup of water and adjust to taste. Pineapple juice is also effective and was the strongest performer in one five-day home test, though it adds a noticeable sweetness that does not suit every dish.
Does rinsing apple slices in water stop them from browning?
No. Plain water has no acidity and no antioxidant, so a plain rinse does nothing to slow the reaction. It will slow it slightly by washing off enzymes sitting on the surface, but untreated slices rinse and then brown on schedule. Water becomes useful only once you add an acid like lemon juice or a salt. Rinsing after a treatment is a different step, and that one you should do to remove the taste.
Can I prepare cut apples the night before serving them?
Yes, and that is exactly what the soak is for. Treat the slices, rinse if you used lemon or salt, dry, and store them in a single airtight layer in the refrigerator overnight. They will be ready to serve with no further work. Expect them to be slightly less crisp than a slice cut that morning, so cut thick wedges rather than thin rounds for overnight prep.
Conclusion
If you only remember one step, make this the one: toss or dip your freshly cut apples in a mild lemon solution, then refrigerate them in an airtight container. One tablespoon of juice per cup of water, five to ten minutes, rinse, pat dry, single layer, lid on.
For a completely neutral taste, use saltwater at half a teaspoon per cup for ten minutes and rinse. And skip the honey water unless you are curious, since it is the least reliable of the three.