
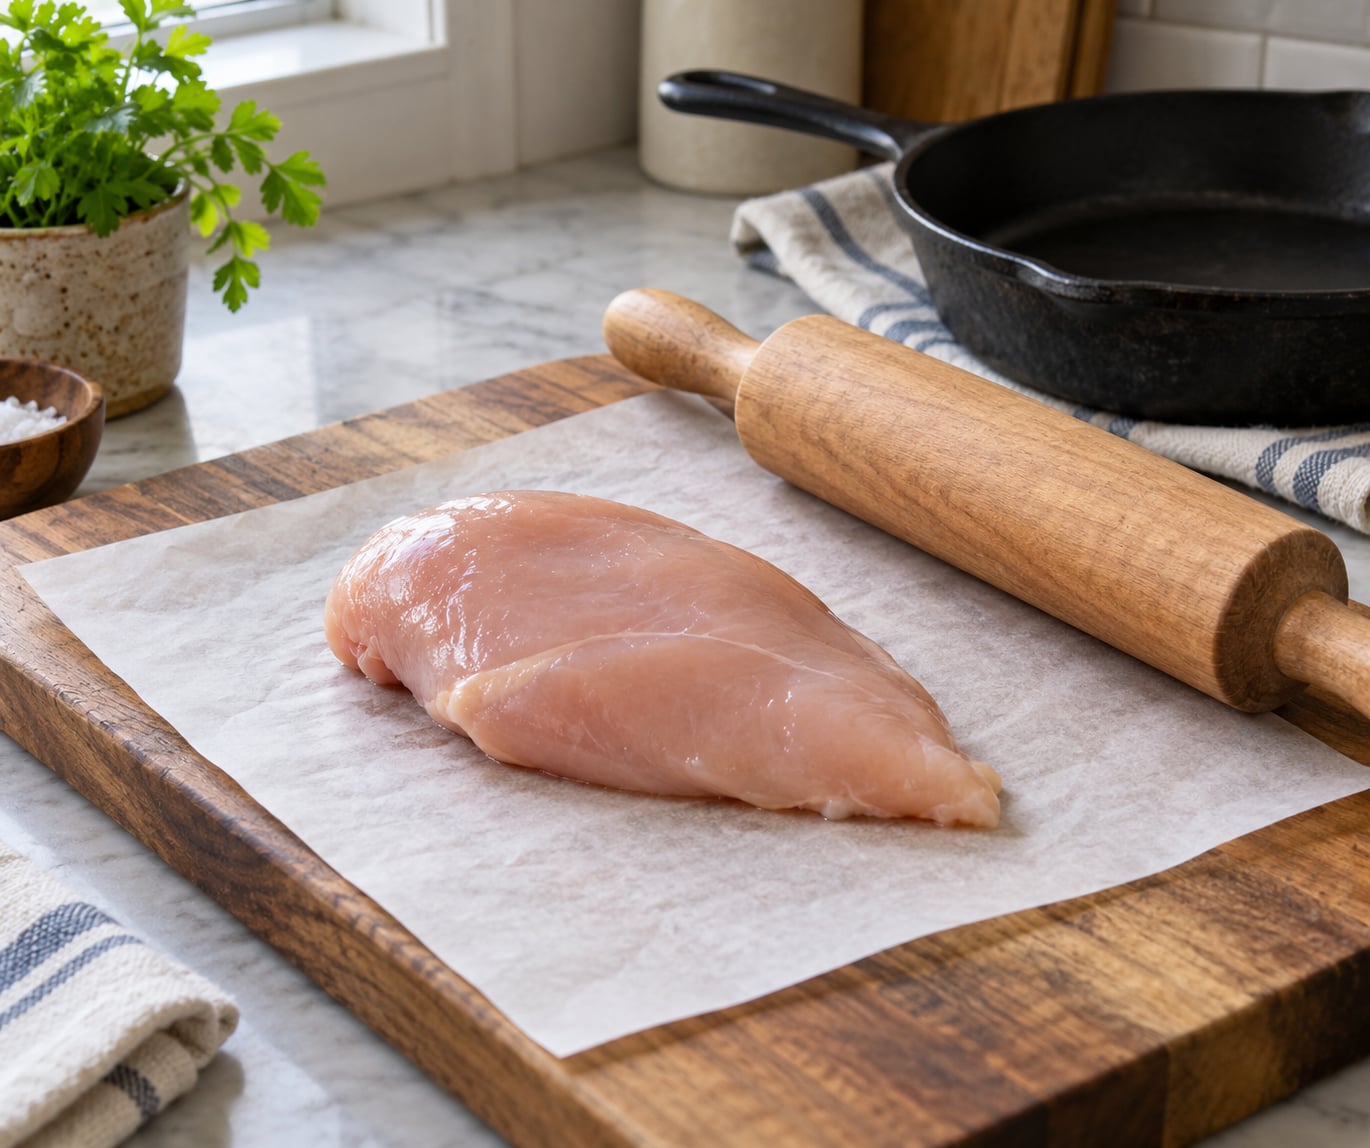
To pound chicken breast thin without a mallet, use a wooden rolling pin or the flat bottom of a heavy skillet and press from the center outward. Lay the breast between a zip-top bag or two sheets of parchment, then work the tool over it in short, overlapping passes until the thickness is even, roughly 1/4 to 1/2 inch for most cutlets. Gentle, repeated pressure beats a few hard blows.
Each breast takes about five minutes, and the difficulty is low if the chicken is cold and the board does not slide. What actually matters is even thickness. A whole breast is naturally twice as thick at one end as the other, so the thick end overcooks and dries while the thin end is already done.
Table of Contents
- What You Need
- Step-by-Step: Three No-Mallet Methods
- 1. Set Up a Stable Work Surface
- 2. Trim and Flatten the Chicken to an Even Starting Shape
- 3. How to Pound Chicken Breast Thin Without a Mallet Using a Rolling Pin
- 4. Use a Heavy Skillet for an Even, Controlled Pound
- 5. Pound with a Cleaver Carefully
- 6. Check the Thickness and Finish the Surface
- 7. Season, Cook, and Store the Chicken Safely
- Common Mistakes and Quick Fixes
- Frequently Asked Questions
- Conclusion
What You Need
Three things do the work here: a stable surface, a barrier so the chicken does not stick or splatter, and one heavy flat object bigger than the chicken itself. Cooks who already own a safe chicken defrosting method usually have everything else within arm’s reach of the cutting board.
- Raw chicken breast, ideally plain and unbrined. Pre-seasoned or injected breasts hold so much liquid that they shred instead of flattening.
- Large cutting board, bigger than the breast. A small board rocks under the weight and the chicken slides into a mess.
- A damp paper towel to wedge under the board so it cannot move while you press.
- A barrier: a zip-top bag, a silicone baking mat, or two sheets of parchment. Parchment is tougher than plastic wrap and shreds far less.
- Paper towels for patting the surface dry and blotting any juice that escapes.
- One substitute: a wooden rolling pin, the flat bottom of a heavy skillet or small saucepan, or a chef’s cleaver used broad-side down.
The barrier is optional in theory and a lifesaver in practice. Cooks pounding a whole tray for a week of chicken grain bowls usually end up buying a silicone mat and skipping the disposable plastic entirely.
Step-by-Step: Three No-Mallet Methods
All three methods share the same setup, the same target thickness, and the same rule: more presses at less force, always starting in the center and moving outward. Pick the tool that matches the recipe, then follow the shared setup first.
1. Set Up a Stable Work Surface
Fold a damp paper towel and slide it under your cutting board. That is the whole nonslip trick, and it matters more than any brand of board. Wipe the surface dry, lay down your barrier, and put the breast in the middle of it with the thick end facing you.
Keep the chicken centered rather than near an edge. If it wanders toward the side while you press, the barrier creases, the meat grabs, and the thin end tears first.
2. Trim and Flatten the Chicken to an Even Starting Shape
With a sharp knife, slice away the loose flap of fat and any stringy bits along the top edge. If the breast has two lobes of very different thickness, set them side by side rather than pounding them as one lump.
Do not try to make it thin at this stage. The goal now is a flat, even starting shape so the pressure spreads properly. If the breast is thick, cutting it in half crosswise first makes the job easier than fighting one deep piece.
3. How to Pound Chicken Breast Thin Without a Mallet Using a Rolling Pin
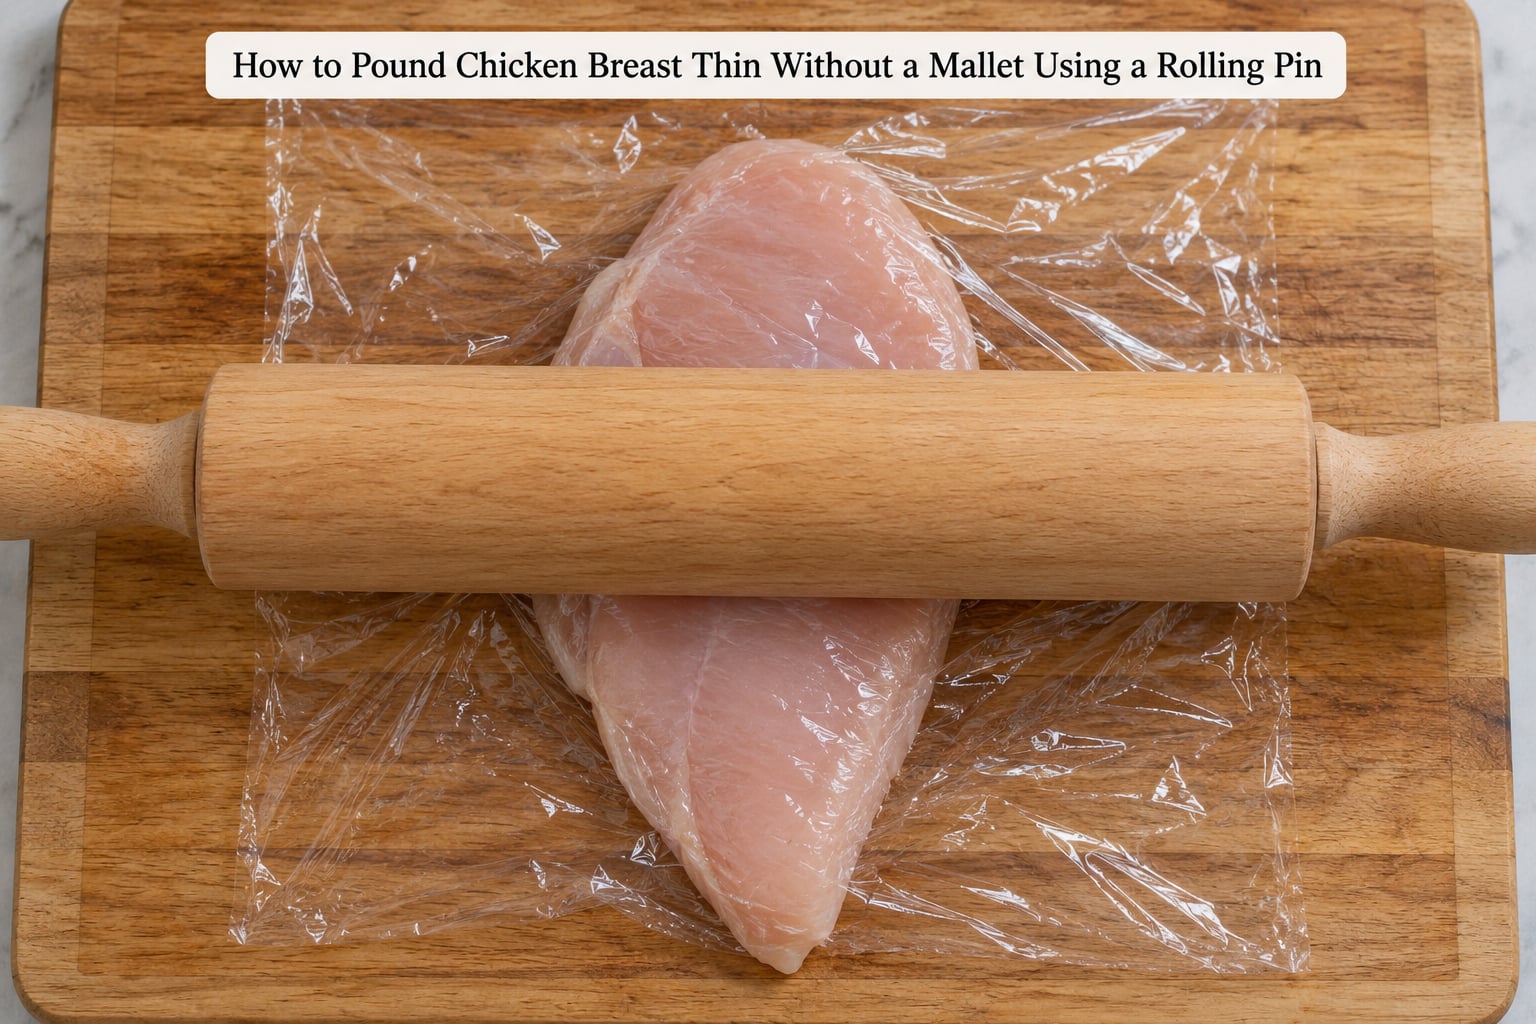
Pull the bag or parchment snug over the chicken, then press the rolling pin down with the flat of your hands rather than swinging it. Start in the center of the thickest part and roll outward toward the edges in short, overlapping passes.
Most cooks get the best result from firm pressure held for a second or two, then release and shift about half an inch, then repeat. Aim for roughly 1/2 to 3/4 inch for stuffed or rolled dishes, and closer to 1/4 inch for schnitzel or quick pan-searing. Thicker preparations need far less flattening, and a piece that is already even needs almost none.
Stop before the edges split. You will see the thin tail end start to stretch and go translucent before anything else gives, and that is your signal to move on to the next section.
4. Use a Heavy Skillet for an Even, Controlled Pound
Turn the skillet upside down and use the flat bottom, gripping the handle so the weight comes from your arm and not your wrist. Rock it gently across the chicken in overlapping strokes, working from the middle outward.
A flat pan bottom is often kinder to chicken than a mallet, because a mallet head is smaller than the cutlet, so its edges bite in and shred the barrier. Just keep the skillet edge off the chicken and lift it between passes rather than dragging it. If you are working through a big batch, this is the same flattening principle behind oven chicken tenders that stay tender, just applied before the breading.
5. Pound with a Cleaver Carefully
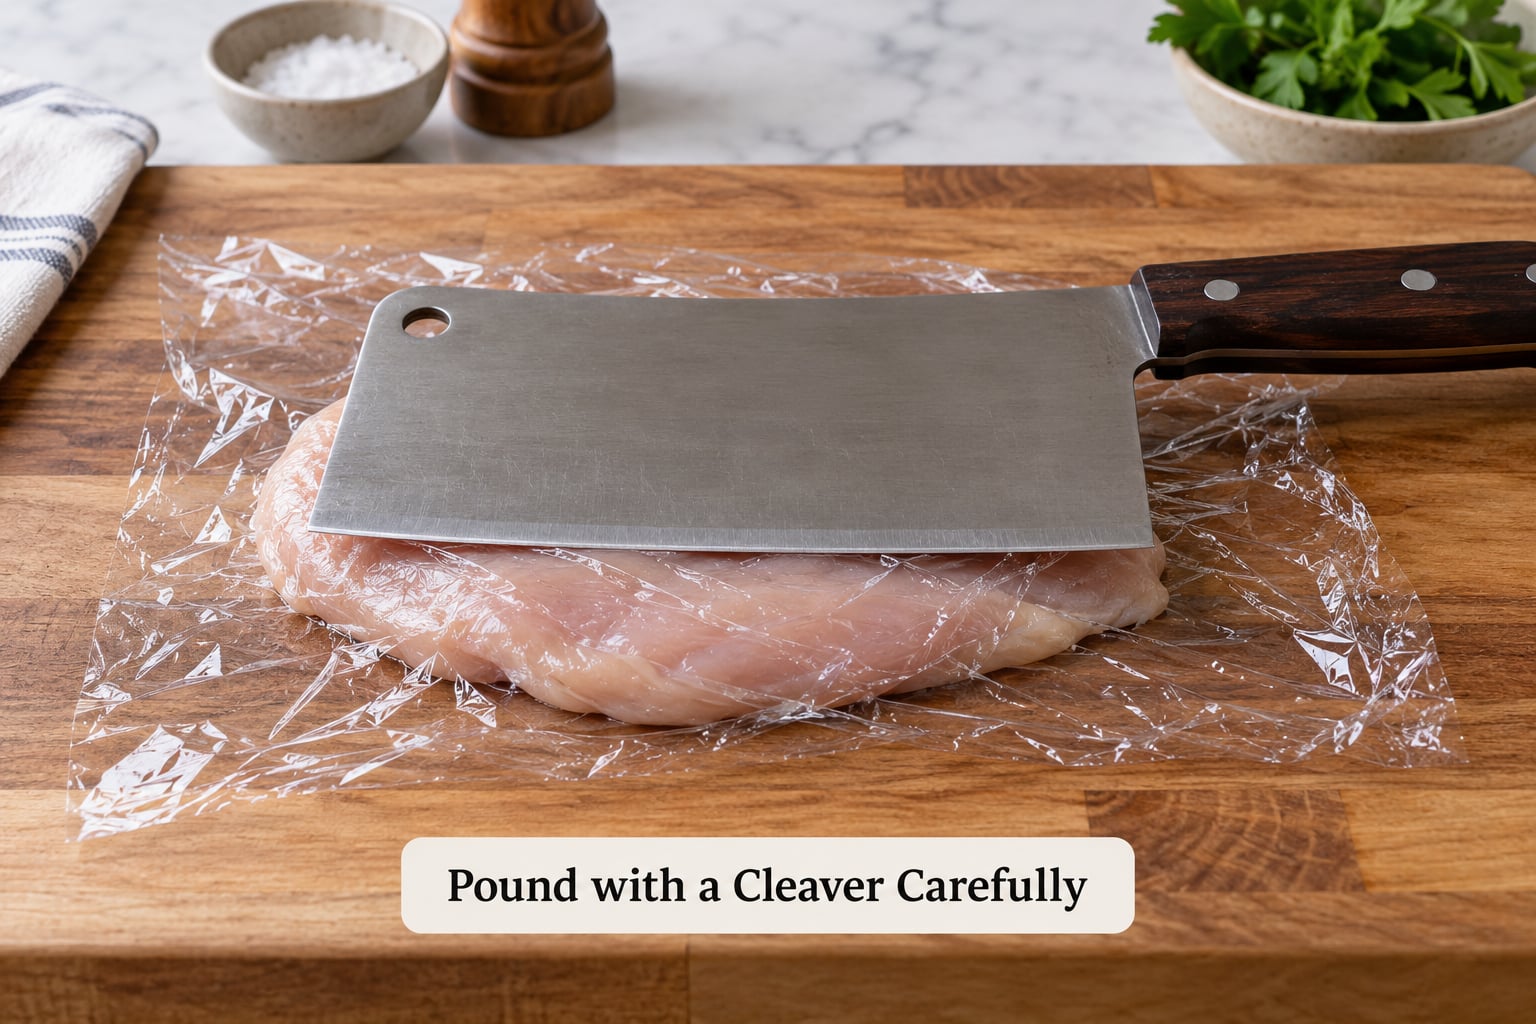
Set the broad, flat side of a chef’s cleaver over the wrapped chicken, spine facing away from you. Press down with the heel of your hand and tap the top of the blade lightly with your other hand, moving from the center toward the edges in short passes.
Treat this as controlled pressing, not chopping. A cleaver makes an excellent even-flattening tool precisely because the blade is broad and heavy, but a chopping motion with the edge pointed down will cut the breast into strips. Keep your fingertips well back from the blade and stop while the chicken still feels springy.
6. Check the Thickness and Finish the Surface
Lift the chicken by the edges of the barrier and feel the top and the bottom with your fingertips. A well-pounded cutlet feels the same everywhere, with no high spots where your fingers catch on a ridge.
Fold it in half gently to check that the two sides meet without a step. Add a few more passes only where you found high spots. Over-pounding is the most common mistake: the center turns paper-thin and translucent, then splits the moment you move it, and a thin patch cooks dry in seconds.
7. Season, Cook, and Store the Chicken Safely
An evenly flattened breast is the whole reason for the step. Every part reaches the same temperature at the same time, so the thick end does not dry out while the thin end waits.
Poultry is safe to eat at an internal temperature of 165°F (74°C), verified with a food thermometer in the thickest part. A thin cutlet in a hot skillet usually needs only a few minutes per side, so check early rather than cooking by color alone.
Raw chicken kept in the refrigerator should be used within one to two days, or frozen right away. Cooked chicken lasts three to four days in the fridge. If you batch-pound cutlets for meal prep, pound them on a board reserved for raw poultry, and wipe the surface with a sanitizing solution afterward.
Common Mistakes and Quick Fixes
Pounding too hard. A few hard blows tear fibers and shred the barrier. Fix: more passes at less force, and keep the implement in contact with the chicken rather than swinging at it.
Starting at the edge. The thin tail end tears before the thick center gets any thinner. Fix: always begin in the middle of the thickest part and roll outward.
Leaving thick spots. Overlapping, sweeping strokes flatten more evenly than repeated hits in one place. Fix: after each pass, shift the tool less than its own width so you keep working new sections.
Relying on plastic that shifts. Wrinkled wrap or a loose bag grabs the meat and folds it back on itself. Fix: a silicone mat or two sheets of parchment, pulled taut and smoothed flat before you start.
Overflattening. Past roughly 1/4 inch on a whole breast, the fibers split and the center tears. Fix: stop at the target and check by folding rather than by eye.
Using an unstable cutting board. A board that rocks sends the chicken sliding into the juice. Fix: a damp paper towel underneath, and a board larger than the breast.
Pounding one lobe while ignoring the other. Breasts with a small lobe attached leave a thick step that cooks unevenly. Fix: trim the lobe into a separate piece and pound both to the same thickness.
A few habits help across every method. Choose the target thickness before you start, based on the dish: about 1/4 inch for schnitzel and fast pan-searing, about 1/2 inch for rolled or stuffed chicken that needs to hold its shape. Use the tool that matches the amount of chicken. Reach for the skillet when you have several cutlets to do, the rolling pin when you have one or two. Pound chicken straight from the fridge, not after it has sat out. If the bag tears, wipe the board and start over rather than picking shreds out of the meat.
Frequently Asked Questions
What can I use instead of a meat mallet to flatten chicken?
A wooden rolling pin is the most widely used substitute, and the flat bottom of a heavy skillet or small saucepan works nearly as well. A chef’s cleaver laid broad-side down, a flat-bottomed drinking glass with a heavy base, or the back of a heavy pot all flatten chicken too. Pick something heavy, perfectly flat, and wider than the chicken piece so nothing bites into the edge.
How thin should I pound a chicken breast without tearing it?
About 1/4 to 1/2 inch is the safe window for most recipes. Go near 1/4 inch for schnitzel or quick pan-searing, and stay closer to 1/2 inch for stuffed or rolled dishes that need to hold their shape. Once the center turns translucent and you can almost see light through it, you are past the point of no return and the meat will split when you move it.
Can I use a heavy skillet to flatten chicken breast?
Yes, and for many home cooks it works better than a mallet. A mallet head is smaller than a cutlet, so its edges dig in and shred the plastic or paper underneath, while a flat pan bottom presses the whole surface at once. Turn the skillet upside down, hold the handle, and rock it gently from the center outward, lifting between passes rather than dragging it.
Is it safe to pound chicken with the side of a cleaver?
Using the broad flat side is fine; using the cutting edge is not. Lay the blade flat across the wrapped chicken, press with the heel of your hand, and tap the top of the blade lightly while working from the center outward. A chopping motion with the edge down will slice the breast into strips. Keep your fingers back from the blade and keep the handle out of your other hand’s way.
How do I stop chicken from sticking to the cutting board or plastic wrap?
Pat the chicken dry, use a silicone baking mat or two sheets of parchment instead of plastic wrap, and pull the barrier taut so there are no wrinkles to grab. A few drops of water or oil on the surface also reduce sticking. If you skip the barrier entirely, work on a board reserved for raw poultry, and assume it needs a sanitizing wipe afterward.
Conclusion
Start with one breast between two sheets of parchment on a board with a damp towel underneath. Press a rolling pin, the bottom of a heavy skillet, or the flat side of a cleaver from the center outward in gentle overlapping passes, and stop the moment the thickness feels even. That is the whole trick to how to pound chicken breast thin without a mallet: less force applied more often, and no more flattening than the recipe actually needs.