
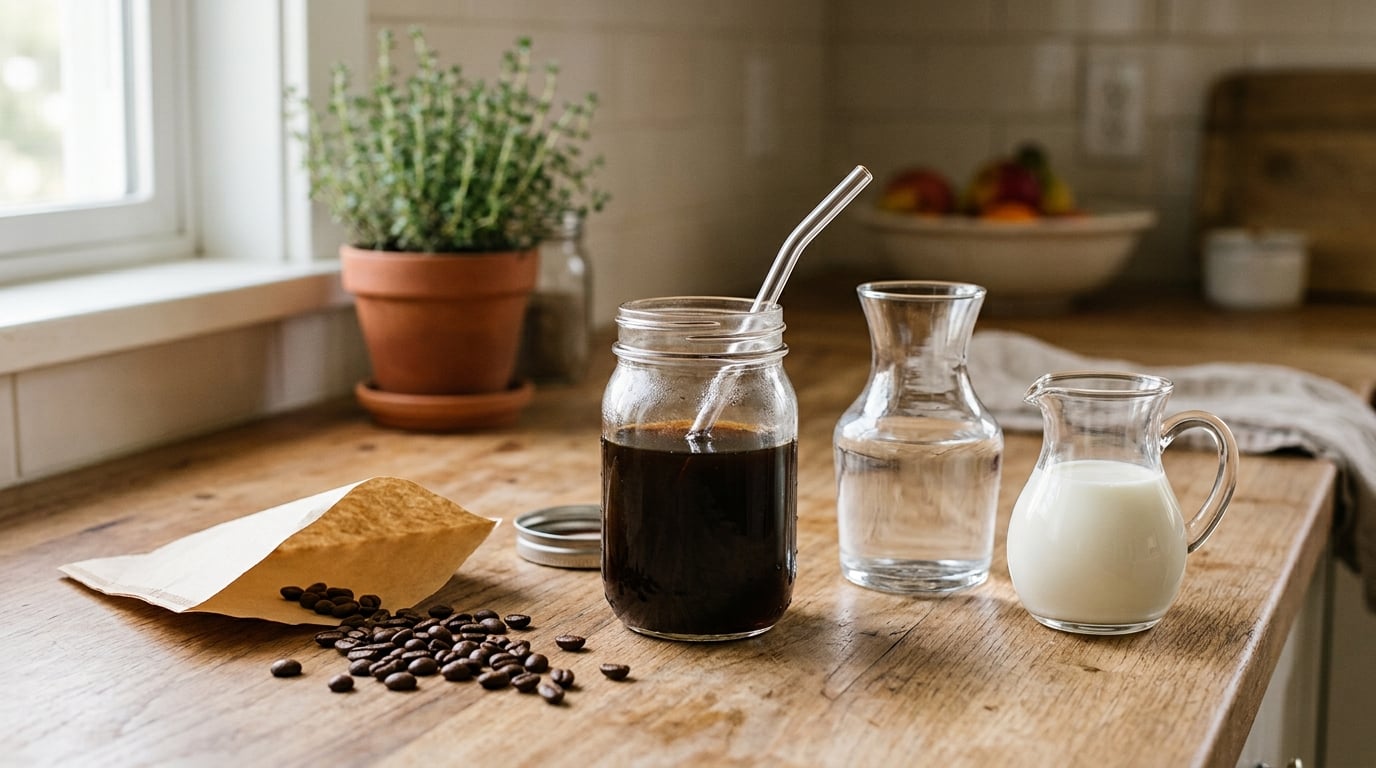
To make cold brew coffee at home, steep coarse ground coffee in cold filtered water for 12 to 24 hours, then strain it twice and dilute with water or milk. The whole method needs one jar, one strainer and about five minutes of real work. A 1:8 coffee-to-water ratio by weight is the reliable place to start.
Cold water is the only thing doing the extracting. No heat, no pressure, no machine, which is why the flavor lands somewhere between chocolate and caramel instead of the sharp edge you get from a hot pot.
If you are starting from scratch, learning how to make cold brew coffee at home is mostly about repeatability. Measure by weight, steep in the fridge, strain twice. Those three habits fix most of the disappointing batches people end up dumping in the sink.
What You Need
- 85 g coarsely ground coffee, about 3/4 cup. A medium-coarse grind like sea salt is the target.
- 680 g cold filtered water, about 2 3/4 cups. Filtered beats tap because it leaves less silt in the cup.
- A 1-quart glass Mason jar or any covered nonreactive vessel. Glass, ceramic and food-safe plastic are all fine; skip aluminum and reactive metal.
- A fine-mesh strainer for the first pass.
- A paper coffee filter or nut milk bag for the second pass. Paper gives you the clearest cup.
- A small kitchen scale, optional but worth the ten dollars.
- An airtight glass bottle for storing the concentrate.
That 85 g to 680 g split is the 1:8 ratio, and it produces a concentrate you dilute to taste rather than a finished drink. Working by weight is the whole trick, because volume measurements of coffee swing by a lot depending on how the beans were ground.
How to Make Cold Brew Coffee at Home Step by Step
How to Make Cold Brew Coffee at Home: Choose the Coffee
Medium and dark roasts are the reliable picks. Dark roasts are usually sold pre-ground, which is a real advantage if you do not own a burr grinder, and they stand up to a long steep without turning sharp.
Light roasts are possible but fussier. They need a coarser grind and a shorter steep, and the flavor reads more like tea than coffee when the water is cold.
Whatever you pick, grind whole beans right before you start if you can. Coffee grounds start losing aroma within days, and cold water is gentle enough extraction that stale beans just taste flat.
Measure the Coffee and Water
Start at 1:8 by weight. For 85 g of coffee you want 680 g of water, which lands close to 2 3/4 cups. Doubling the batch is 170 g coffee to 1,360 g water, so scaling is just doubling two numbers.
If you have no scale, use volume and accept that you are guessing. A level 3/4 cup of coarse grounds is roughly 80 to 90 g, which is close enough that most people will never notice the difference. The bigger mistake is measuring the water by eye after the grounds have soaked, because a third of the liquid stays behind in the bed.
| What you measure | With cups | Approx. weight |
|---|---|---|
| Ground coffee, coarse | 3/4 cup | 85 g |
| Ground coffee, coarse | 1 1/2 cups | 170 g |
| Cold water | 2 3/4 cups | 680 g |
| Cold water | 5 1/2 cups | 1,360 g |
Combine and Steep the Coffee
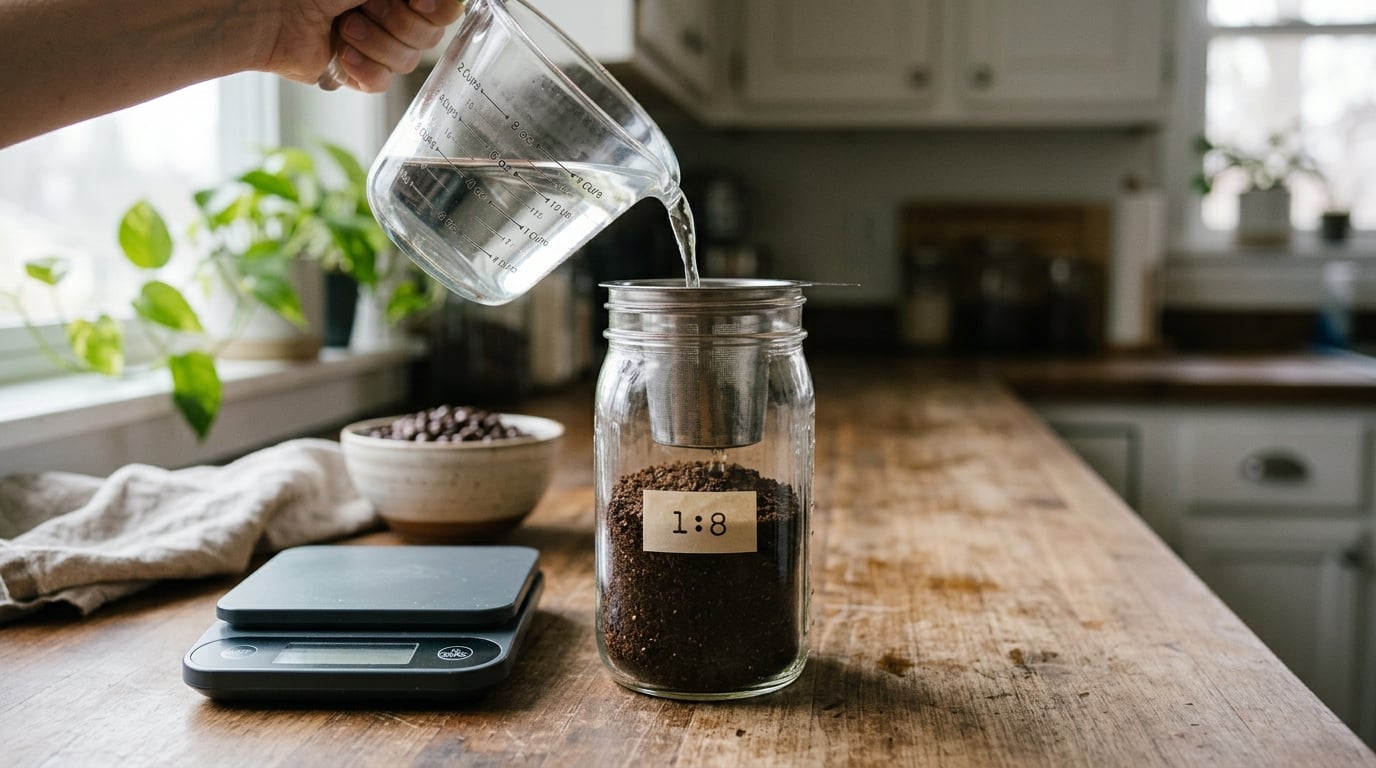
Put the grounds in the jar first, then pour the cold water over them and stir until every dry patch is wet. Stirring once at the start is what stops the top layer from brewing stronger than the bottom.
Cover and put it in the fridge. Twelve hours is the minimum worth calling cold brew, and 16 to 24 hours is where the flavor settles down.
| Steep time | What you get |
|---|---|
| 8 hours | Light, a little grassy, closest to iced coffee |
| 12 hours | Clean and balanced, the standard starting point |
| 16 to 18 hours | Rounder body, sweeter finish |
| 24 hours | Deep and syrupy, less bitterness at 1:8 |
Most home setups land on exactly that window. The easiest cue is a tasting check at the 12-hour mark: dip a clean teaspoon into the jar, taste the liquid, and put the jar straight back in the fridge. Weak and thin means it needs more time, harsh and drying means it needs a coarser grind, not more hours.
Strain and Chill the Concentrate
Pour the brew through a fine-mesh strainer first. It catches most of the grounds and gives you a workable liquid fast.
Then run that liquid through a paper coffee filter or nut milk bag, and this is the step that separates good cold brew from gritty cold brew. Let it drip. Do not press or squeeze the filter, because forcing the liquid through emulsifies the oils and gives you a cloudy, slimy result.
Tip the concentrate into an airtight glass bottle and back it in the fridge. Get it cold within about two hours of finishing the steep, and keep using the same fridge as your milk.
Serve the Cold Brew
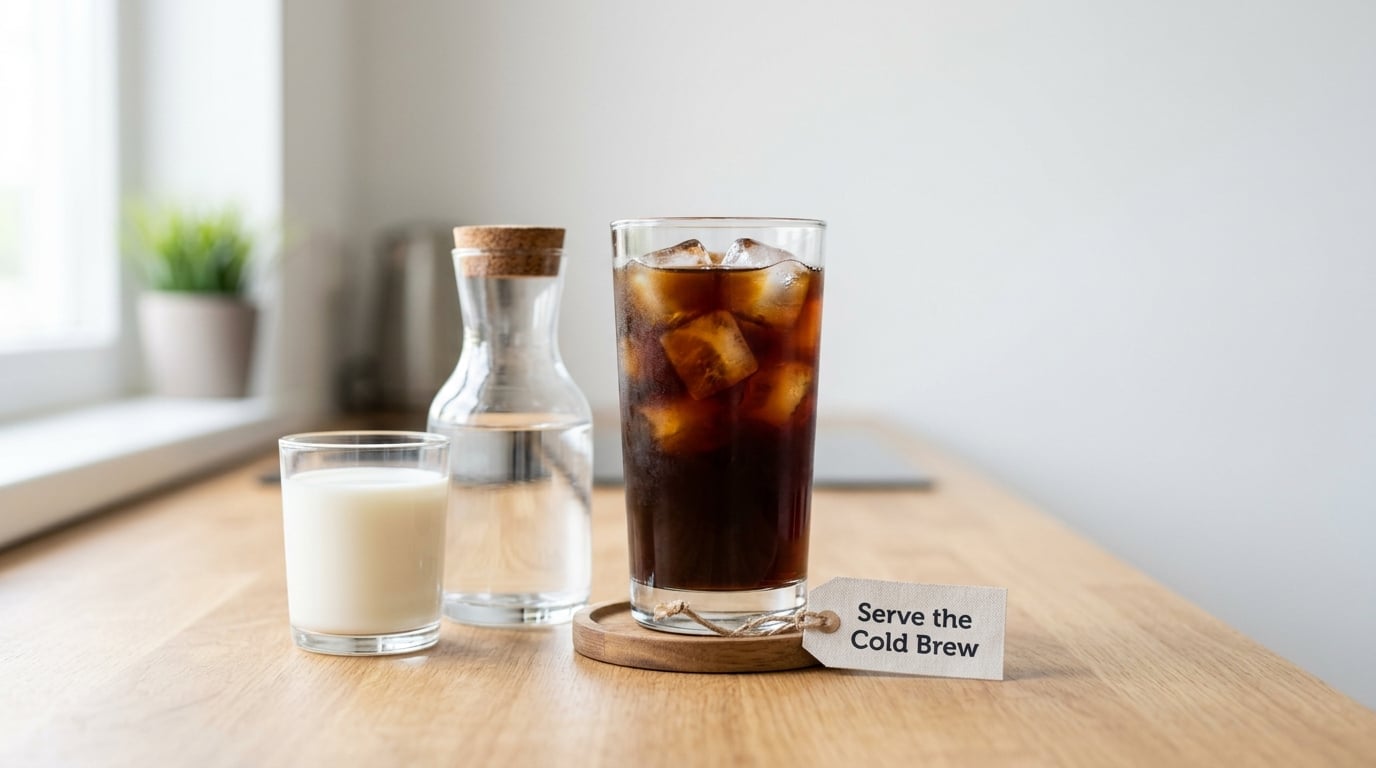
Dilute it as you pour. Two parts concentrate to one part water is a good default, and one part concentrate to one part milk gives you a cold brew latte without a machine.
Ice matters more than people expect. Use plain ice, or freeze some of the leftover concentrate into cubes so the drink stays strong as it melts. That trick comes up constantly in home brewing threads and it genuinely works.
For flavor, keep it simple at first: a cinnamon stick and one clove steeped into the concentrate during the last two hours, or a splash of vanilla and a spoonful of simple syrup in the glass. Syrup in the jar tends to get sticky and hide the coffee, so add it at the glass instead.
Common Mistakes
- Bitter or harsh. The grind is too fine or the steep ran long. Move one notch coarser and pull the time back by four hours.
- Weak and watery. Usually too coarse or too short. Grind finer, or push the ratio to 1:6 and dilute harder when serving.
- Gritty or silty. You stopped after one straining pass. Run it through a paper filter or nut milk bag second.
- Slimy or foamy. You poured too hard and pushed water through the bed, or pressed the filter. Rinse the grounds and start over with a slower pour.
- Concentrate tastes undrinkable straight. You brewed a 1:4 and skipped the dilution. That is a concentrate, not a cup.
- Brew left out on the counter. Anything past two hours at room temperature should go in the fridge or be discarded.
The first four on that list cover nearly every bad batch people report. Bitterness almost always traces back to grind size, not to steeping past the recommended window.
Cold Brew Coffee Tips
The fastest way to get how to make cold brew coffee at home right is to keep every variable fixed for the first few batches, then change one thing at a time.
- Adjust strength by changing the ratio, not the steep time. 1:6 is a strong concentrate, 1:10 is a gentle drink you can drink without dilution.
- Grind one step coarser before you lengthen the steep. The two together is how you go richer without bitterness.
- Use filtered water. It is the cheapest upgrade available and it takes real grit out of the cup.
- Freeze extra concentrate in an ice cube tray when you brew a large batch, so nothing goes to waste.
- Store leftovers in glass or food-safe plastic, sealed and refrigerated, and drink it within about two weeks.
- A French press works well if you do not mind grit: steep overnight, then press once instead of pounding the plunger down. A slightly tighter ratio suits a press, closer to 1:5, because the metal mesh lets more fine particles through.
For a bigger batch, the same logic holds. A gallon is about 1 lb of coarse dark roast to a gallon of water, and splitting it across two jars is easier than hunting down one container big enough.
Frequently Asked Questions
What is the best coffee-to-water ratio for cold brew?
Start at 1:8 by weight, so 85 g of coarse coffee to 680 g of cold water. That gives a concentrate you dilute at serving time, which is far more forgiving than brewing a ready-to-drink batch. Go to 1:6 if you want a strong concentrate to cut with milk, or 1:10 if you like coffee mild enough to drink straight. Measuring by weight matters because volume changes with grind size.
How long should cold brew coffee steep at home?
Twelve to 24 hours in the refrigerator is the standard window, and 16 to 18 hours is the sweet spot for most home setups. Under 8 hours the brew tastes thin and slightly grassy, closer to iced coffee than to cold brew. Going to a full 24 hours is fine at 1:8 and rarely turns bitter, because the water is cold enough that extraction slows down on its own.
Should I use coarse or fine grounds for cold brew?
Coarse, and think sea salt rather than table salt. Fine grounds give the water far more surface area to work with, so a short steep tastes harsh and an overnight steep can turn muddy. A medium-coarse grind from a standard blade grinder works reasonably well, though it is uneven, so expect a little sediment and strain twice to get it out.
How long does homemade cold brew keep in the refrigerator?
Sealed and refrigerated, cold brew concentrate stays good for about two weeks, and most people drink it long before that. Get it into the fridge within two hours of finishing the steep, keep the container sealed so it does not pick up odors, and use glass or food-safe plastic rather than reactive metal. If it smells off or the surface turns slimy, pour it out without tasting it.
Can I make cold brew coffee without a paper filter?
Yes. A nut milk bag is the best substitute and is usually cheaper than a box of filters, and a second pass through a fine-mesh strainer removes most of what you would catch with paper. Cheesecloth works in a pinch but lets more fines through, so expect a slightly siltier cup. You will never get quite the clarity of paper, but the flavor difference is minimal.
How do I make cold brew coffee stronger?
Grind finer and use more coffee rather than steeping longer. Moving from 1:8 to 1:6 by weight, so 113 g of grounds to 680 g of water, gives a noticeably richer concentrate you can then dilute to taste. Extending the steep works too, but it pulls bitterness along with the extra flavor, so change the ratio first and only lengthen the time if the result is still light.
Start Your First Batch
The short version of how to make cold brew coffee at home: coarsely ground coffee, a 1:8 ratio by weight, cold filtered water, and a covered jar in the fridge. Stir once when the grounds go in, give it at least 12 hours, then strain through a mesh sieve and a paper filter before bottling.
That is the whole method, and it is the version that tastes the same every time you make it. Once you have a batch you like, write the ratio and the hours on the jar lid so the next one is a repeat, not an experiment.