
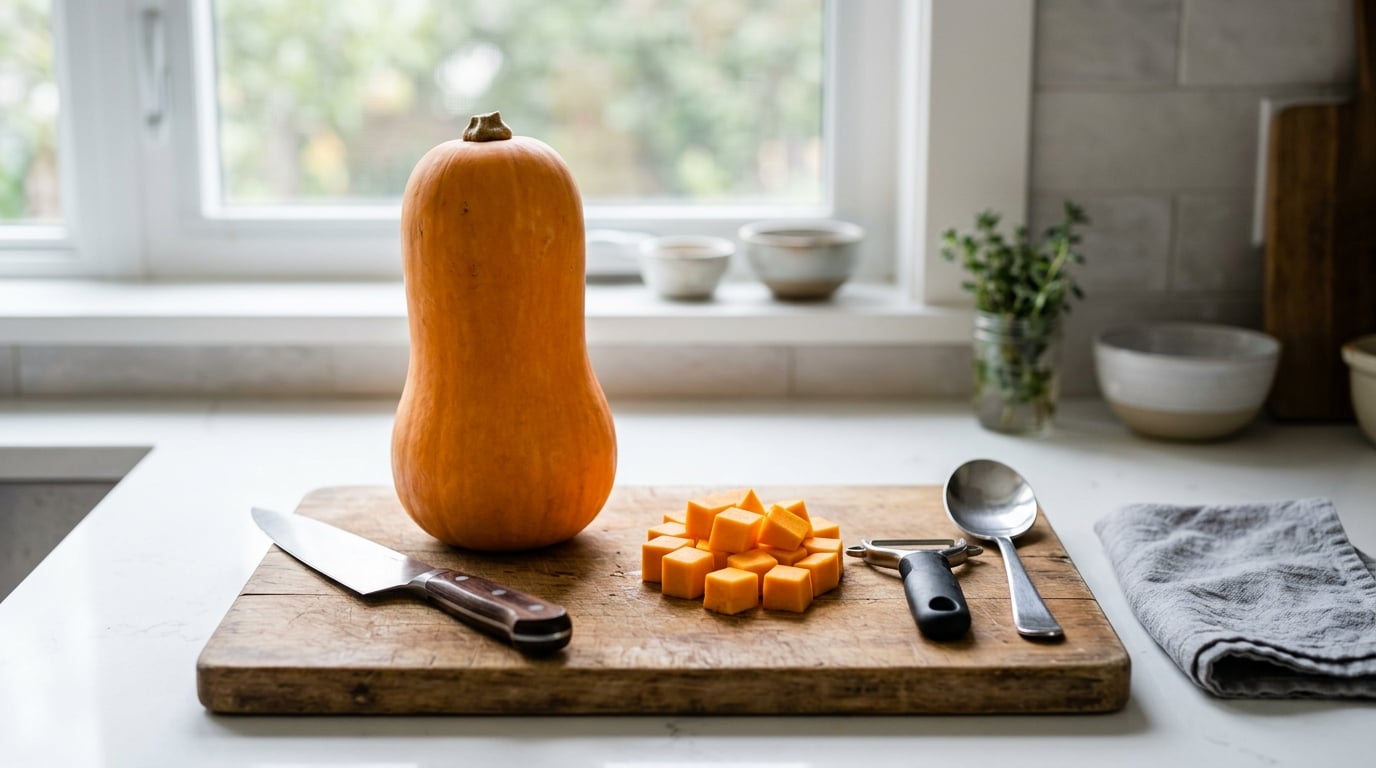
To cut a butternut squash safely: trim off the stem and blossom ends so it has two flat faces, stand it upright on one of them, slice it in half lengthwise, scoop the seeds from the bulbous end, then peel and cut the flesh into even pieces. Fifteen minutes of prep with a sharp knife, and most of that fifteen is standing still and waiting for the blade to pass through skin that does not want to go.
That last part is why squash cuts land in the ER more often than people expect. The skin is thick and woody, so the knife has to be pushed, not drawn. The squash is long and top-heavy, so it rocks the moment you lean on it. And once the skin is off, the flesh is slick enough that a knife will skate off it. Safety here is less about knife technique and more about removing the reason you have to force anything.
Table of Contents
- What You Need
- Step-by-Step: How to Cut a Butternut Squash Safely
- Tips for Safer, Easier Cutting
- Frequently Asked Questions
- Do I need to peel the skin off butternut squash?
- What is the best tool to peel butternut squash?
- What to do if squash is too hard to cut?
- Can I microwave butternut squash to make it easier to cut?
- Why does my hand feel weird after cutting butternut squash?
- What’s the easiest way to peel and cut butternut squash?
- Conclusion
What You Need
You do not need a special knife for this. You need a boring, sharp one.
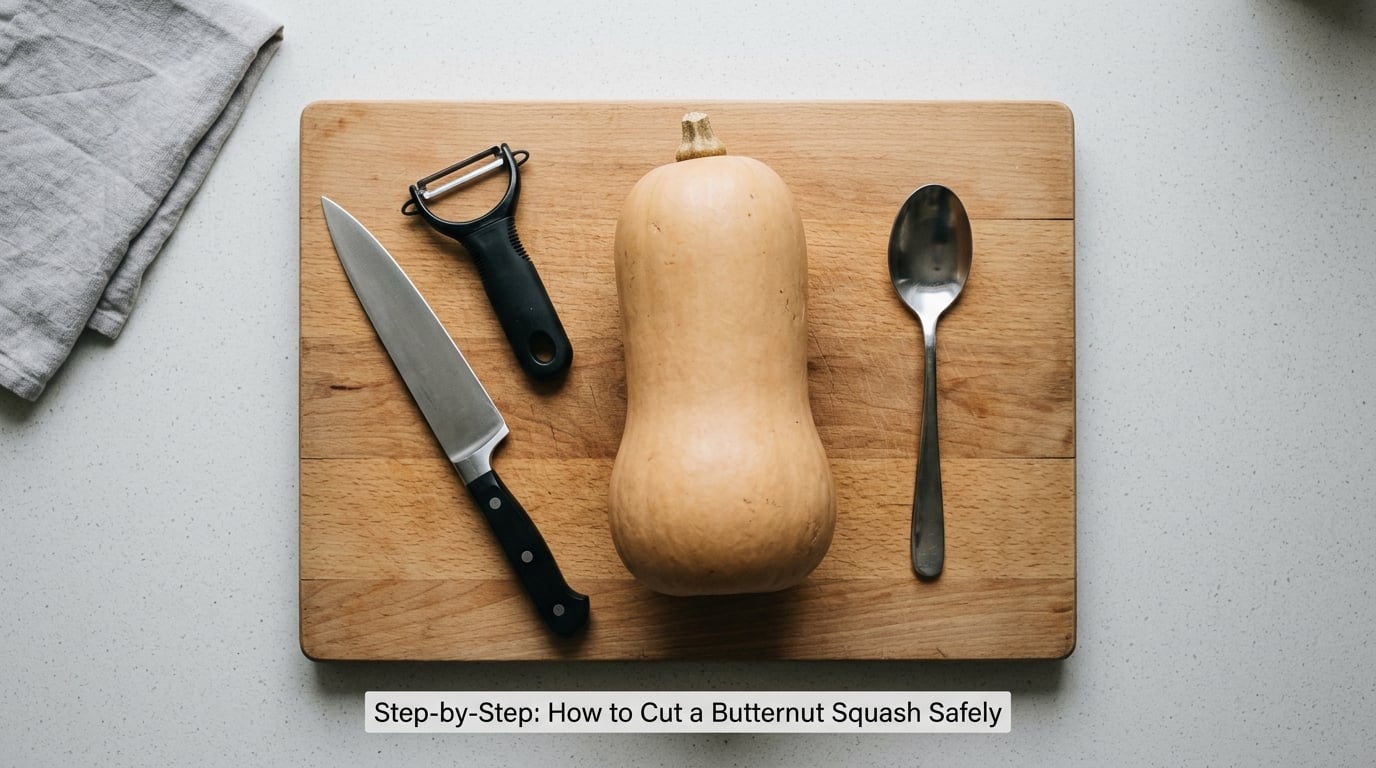
- A sharp chef’s knife, 8 inch. A thin blade and a sharp edge matter far more than a brand. A dull knife has to be pushed, and pushing is how it slips.
- A Y-peeler or sturdy vegetable peeler. The straight-edged kind barely bites into a raw squash skin. A Y-peeler has a wider blade and a curved edge that lifts the skin in strips instead of tearing at it.
- A large cutting board. Big enough that the squash does not hang off the edge and rock. A wooden board grips a damp towel better than glass does.
- A damp towel or a nonslip mat. Folded under the board, it stops the board sliding across the counter. Draped over the squash, it stops the squash sliding across the board.
- A sturdy spoon or a melon baller for the seed cavity.
- A fork and a microwave, optional but useful. This is the answer when the squash is too hard to cut comfortably.
Dry your hands before you start. Wet hands on a peeler handle are how grips fail, and every safety guide in cooking says the same thing in different words.
Step-by-Step: How to Cut a Butternut Squash Safely
Step 1: Wash and Stabilize the Squash
Rinse the squash under running water and scrub the skin with your fingers or a stiff brush, especially around the stem end where dirt gets pushed into the crevices. If you are leaving the skin on, this step matters. If you are peeling, it is quick.
Now make it stop moving. Fold a damp towel and lay it flat on the board, or set a nonslip mat under the board itself. Lay the squash lengthwise on the towel with the bulbous end facing one hand. When you press down later, the towel takes the slide out of it.
Step 2: Trim the Ends
Cut off the stem end and the blossom end, about an inch off each. These are the first cuts you make, and they are the easiest, because both ends sit flat on the board. Use short downward strokes, hand on the flat of the blade, and let the knife do the work rather than your shoulder.
Those two flat faces are the reason the rest of the process is manageable. Now the squash can stand upright on its own instead of rolling every time you touch it.
Step 3: Peel or Leave the Skin On
There are two orders of operations, and this is where most people get stuck. You can cut the squash in half first and peel the halves, or peel the whole squash first and cut it afterward.
An executive chef on the Discuss Cooking forum argues for peeling first, and the logic is sound: taking the skin off with a peeler is a pulling and slicing motion on a flat surface, while cutting the skin with a knife is a pushing motion through a hard shell on a round object. Peeling first means your sharp knife only ever touches clean, soft flesh, and the awkward half-moon shape stays intact until it becomes easy pieces.
- Halve first, then peel: about 12 to 15 minutes. The knife meets skin, then flesh, and the peeled halves are slick and curved, so the slip risk is higher. This is the right method for most people, if the squash is small and your knife is genuinely sharp.
- Peel first, then cut: about 15 to 18 minutes, and your knife only ever touches soft flesh. Nothing needs forcing, so the slip risk is lower. This is the better method for a large or hard squash, and for anyone who has had a knife slip before.
If you leave the skin on for roasting, you still need to cut through it, and there is no version of that where you do not push a bit. If you are peeling, make a second pass. Just under the skin is a fibrous green layer that a single peeler stroke often leaves behind, and it is stringy enough to change the texture of a soup.
To peel the whole squash, stand it on one flat end, grip it firmly with your non-knife hand, and take long strokes down the length of the body. Peel the neck and the bulb separately, since the bulb curves away from you.
Step 4: How to Cut a Butternut Squash Lengthwise
Stand the trimmed squash on one flat end. It should sit without any wobble, and if it rocks, trim another quarter inch off the longer end until it does not. That wobble is the single biggest cause of slips.
Set the knife tip near the center of the top face and draw it straight down through the squash toward the bottom face, in one continuous motion if you can manage it. The blade will meet resistance around the middle, which is the neck, and then break through into the softer bulb below. That is normal. Keep going instead of lifting and repositioning halfway through, because restarting is when people rush.
Your non-knife hand belongs in a claw: fingertips curled under, knuckles forward, thumb tucked behind your fingers. The heel of that hand rests on the top face of the squash, well above the path of the blade. If you cannot get your hand into a claw, tuck the fingers under and out of the way, but never wrap them around the back of the squash where the knife will be travelling.
Step 5: Remove the Seeds
Set the halves cut-side down on the board. This is more stable than cut-side up, and it keeps the seeds and moisture from spreading across your work surface.
The seeds live only in the bulbous end, not in the neck, so the neck can be cut straight into pieces with no seeding step at all. Scoop the seed cluster and the stringy membrane out of the bulb with a sturdy spoon or a melon baller, and drop it in the compost or keep it for later. Scrape the cavity clean so you are not cutting through loose, wet seeds with the knife.
Those seeds are worth keeping. Roasted with a little oil and salt at 400F until they pop, they are the best part of the squash for a lot of people, and the raw ones taste like nothing at all.
Step 6: Cut the Flesh into Even Pieces
Turn each half cut-side up and lay it flat. Cut it lengthwise into planks about half an inch thick, then turn the planks on their side and cross-cut them into cubes. Even thickness is what makes the pieces cook at the same rate, so resist the urge to cut the soft neck thinner than the dense bulb just because it cuts more easily.
For a weeknight soup, cubes about half an inch across are right. For roasting, an inch is better, so the outside caramelizes before the middle gives up. For a quick side dish, half-moons cut from planks are plenty.
Common Mistakes
- Cutting on a wet, smooth counter. Put a damp towel under the board. It costs nothing and it is the most common fix.
- Using a dull knife. A dull blade has to be shoved, and a shoved blade jumps. Sharpen it, or use a different knife for the first cut through the skin.
- Halving before trimming the ends. You are asking a long round object to sit still while you cut through its hardest point. Trim first so it can stand on a flat face.
- Standing square in front of the blade. Move your feet to the side of the board so your body is never in the line the knife travels if it goes.
- Skipping the seed cavity. Loose wet seeds under the blade are how a clean cut turns into a slip. Scoop them out first.
- Cutting the squash on a rocking surface with a hand that is nowhere near it. Cut in place. Do not pick the squash up, turn it over in your hands and then cut it.
Tips for Safer, Easier Cutting
Soften it first when the knife is struggling
If the knife skates along the skin and leaves a groove instead of a cut, the squash is too hard for your knife, not your technique. Three options fix that, and the first one is the community favourite by a wide margin. In a thread on r/MealPrepSunday, where a user had just spent 45 minutes prepping half a squash, the top workaround was to stab the squash all over with a fork, microwave it for 2 to 5 minutes depending on size, then peel and chop it with sharp tools. The microwave heats the flesh just enough that the skin goes soft and the peeler moves without resistance.
The second option is to bake it whole at 400F until a knife pushed into the neck meets little resistance, which takes about an hour for a small squash. Then you split it, and the flesh scoops out with a spoon. No knife work on raw squash at all, and the flavor is better for it. The third option is the one several people on that same forum rely on: buy pre-cut or frozen squash and skip prep entirely.
One note on the bake-whole route. Squash is worth roasting or steaming rather than boiling, because waterlogged squash loses both flavor and texture. The same holds true for a microwave-softened squash going into a soup.
Why your hands feel tacky afterwards
Cut squash releases sap, and the sap dries on your skin and leaves it feeling tight and slightly irritated. It is not an allergy and it goes away on its own within a couple of hours. Wash your hands and your cutting board when you are done, and avoid rubbing your eyes partway through, since that is the one way the irritation actually stings.
Other cuts once the squash is prepped
- Sticks, about a quarter inch thick for squash fries. Soak them in water for 15 minutes before frying so the edges stay crisp and the centres do not go soggy.
- Half-moons for roasting with a glaze, where a flat surface caramelizes better than a cube does.
- Rings from the neck for roasting or for a quick pickle.
- Ribbons or spaghetti strands from a spiralizer. The neck works best here, since it is uniform in diameter and the bulb is not.
- Shredded in a food processor for fritters and quick breads, and the reason a lot of cooks buy more squash than they need.
Storing cut squash
Raw cubes and planks go into a sealed bag or a covered container in the refrigerator for three to five days. For longer storage, blanch the pieces for three minutes, cool them, and freeze them flat on a tray before bagging so they do not clump. Roasted cubes freeze without blanching and hold up better for soups and stews.
A cut squash keeps fine for about a week refrigerated, sealed, on its own or in a bag rather than loose in the crisper drawer.
Frequently Asked Questions
Do I need to peel the skin off butternut squash?
No, not for most cooking. Roasting, soup and puree all work fine with the skin on, and it holds moisture in while the flesh cooks. Peel it for any dish where you want smooth texture, such as a pureed soup or a pie filling, or if the squash is old enough that the skin has turned woody. A Y-peeler with a second pass over the fibrous layer underneath gives you a cleaner peel than a straight-edged vegetable peeler.
What is the best tool to peel butternut squash?
A Y-peeler, or a Swiss-style peeler with a curved blade. Both lift the thick skin in strips rather than scraping it, which takes fewer passes and less arm strength. A straight-edged vegetable peeler works but tends to leave patches of skin behind. If your peeler is dull, it will tear the flesh instead of lifting the skin, so sharpen it or switch to a serrated peeler designed for thick-rinded vegetables.
What to do if squash is too hard to cut?
Soften it first rather than pushing harder. Fork the squash all over, microwave it for 2 to 5 minutes depending on size, then peel and chop with sharp tools. The microwave takes the hardness out of the skin and the peeler moves almost freely afterward. Baking it whole at 400F for about an hour works too, after which you split the squash and scoop the cooked flesh out with a spoon. A sharp knife on a nonslip surface is still essential either way.
Can I microwave butternut squash to make it easier to cut?
Yes, and it is the most popular shortcut for a hard squash. Pierce the skin all over with a fork, microwave for 2 to 5 minutes depending on size, and let it cool for a minute before handling. The skin softens and the flesh stops resisting, so peeling and cubing take a fraction of the force. Do not microwave it so long that the flesh turns to mush, and cut it with a sharp knife on a stable board as usual.
Why does my hand feel weird after cutting butternut squash?
The sap is what you are feeling. Cut squash releases a sticky sap that dries on your skin and leaves it tight, tacky and mildly irritated. It is not an allergy and it clears within a few hours. Wash your hands and your board with soap and water when you finish, and avoid touching your eyes partway through prep, since that is the one thing that really stings. Some people wear gloves if they have sensitive skin or eczema.
What’s the easiest way to peel and cut butternut squash?
Trim both ends so the squash has two flat faces, stand it upright, and cut it in half lengthwise with a sharp knife. Scoop the seeds from the bulbous end with a spoon, then peel each half with a Y-peeler, taking a second pass over the fibrous green layer. The neck holds no seeds, so it can be cubed immediately. If the squash is large or hard, soften it in the microwave first and the whole job takes under ten minutes.
Conclusion
Start by securing the squash, not by picking up the knife. Put a damp towel under the board, trim both ends so it can stand on a flat face, then work through the rest in this order: halve it lengthwise, scoop the seeds from the bulb, peel, and cut into even pieces. Keep your non-knife hand in a claw and let a sharp knife do the cutting rather than your shoulder.
If the blade starts skating along the skin instead of cutting into it, stop and soften the squash. A few minutes in the microwave costs you less time than a cut, and the pieces you end up with are identical.