
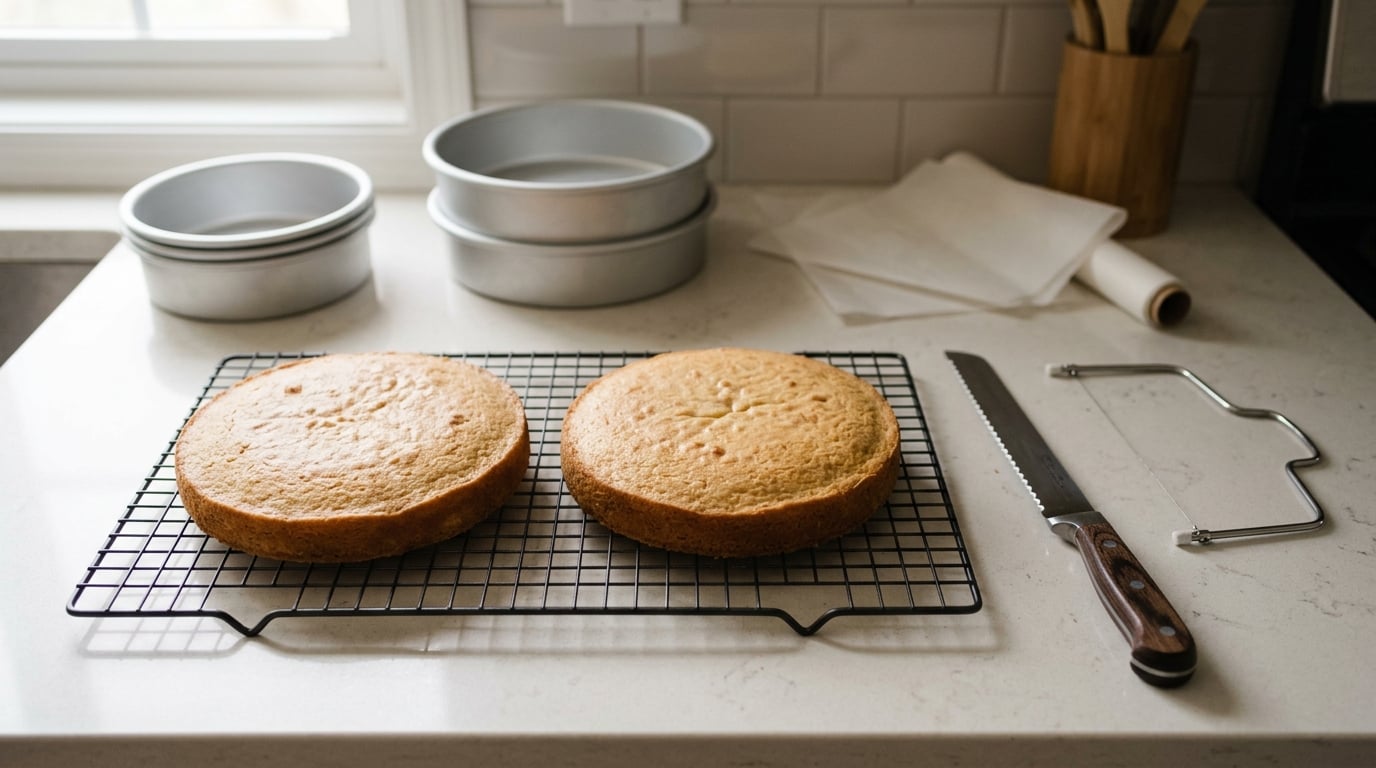
A domed layer is usually the oven’s fault, not yours. If you want to know how to make a layer cake that does not dome, the answer is heat control: verify your oven with a thermometer, drop the temperature 25 to 50 degrees, and wrap the pans in damp strips so the outer edge sets at the same pace as the center. Then cool the layers fully and trim them against a ruler before you frost. Budget about 15 minutes of extra work per layer, mostly cooling time you can use for something else.
Most doming shows up as a rounded ridge you shave off and lose, or worse, as a stack that leans because two layers are different heights. Both come back to the same physics, so start there.
What You Need to Make a Layer Cake That Does Not Dome
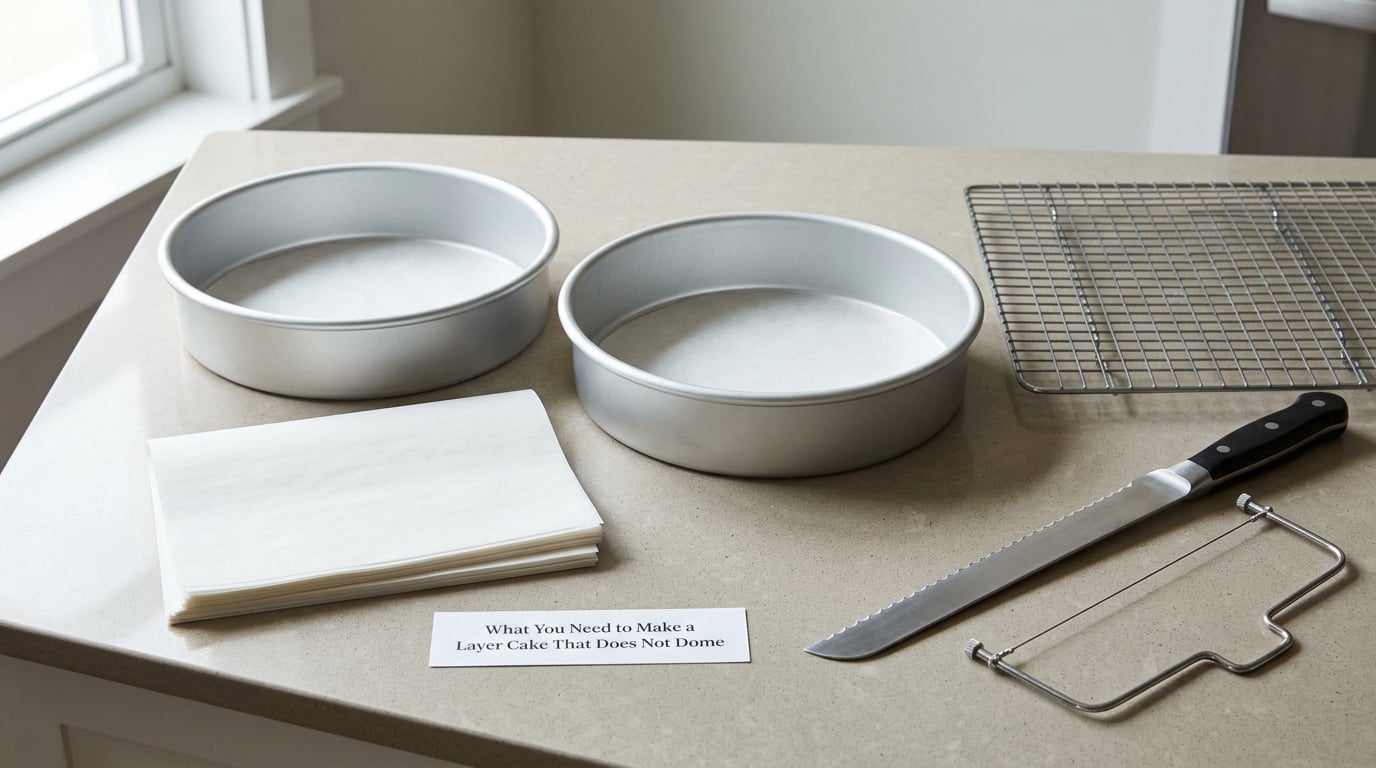
None of this is specialty gear. You need pans of the same size, parchment or a silicone mat, an oven thermometer, a wire cooling rack, and either a serrated knife or a cake leveler. My one rule is to prep everything before the batter goes in, because mid-bake you will not want to hunt for a thermometer.
- Two identical pans. Mixed sizes are the quiet cause of mismatched layers. If you only own one, bake the second batch after the first cools.
- Parchment or a silicone baking mat. It stops the batter gripping the pan wall, which is one reason the outer edge sets before the middle.
- An oven thermometer. Home ovens commonly run 25 to 50 degrees hotter than the dial. Bakers on baking forums report the same discovery again and again, and it is often the whole problem.
- A wire cooling rack. A cake cooling in the pan traps steam against the sides and keeps the edges moist and soft.
- A long serrated knife or a cake leveler. Both work. The leveler is faster once you get the hang of it; the knife costs nothing.
- A small kitchen scale. Dividing batter by weight beats eyeballing it, and it is how you get two layers the same height.
- Fridge space. Not optional in the decorating sense, but you will want it for chilling layers and setting frosting.
If you are cooking for a bigger table, the same leveling logic still holds. Two layers that match are easier to portion, which is one less thing to think about on a day you are also planning how to make brunch for a crowd without stress.
Step-by-Step
Step 1: Prepare the Pans so the Batter Starts Even
Heat the pans while you mix, and line them while they are warm. Warm pans plus parchment give you a head start on an even bake.
Weigh your finished batter and split it between the two pans on the scale, sitting one pan on the scale and zeroing it first. If the batter is the same weight in each pan, the layers have a real chance of baking the same height.
Pour the batter in, then tap the pan firmly on your work surface two or three times. Large air pockets rise with the batter and set the middle higher. Spread the batter gently to the edges with the back of a spoon, filling the pan roughly halfway for a standard layer cake and no more than two-thirds for a taller bake.
Step 2: Control the Oven and Batter
Put the thermometer in the oven and preheat for a full 15 minutes, then check the reading. If the oven says 350 but the thermometer says 375, bake at 325. Most recipes survive a 25-degree drop, and the bake time will stretch by 5 to 10 minutes, so start checking early.
Rack position matters more than most bakers assume. Bake on the center rack, never on the bottom element or under the broiler, where the underside sets and browns before the top can rise evenly.
Now the batter itself. Mix until combined and a few lumps remain, then stop. Overmixing develops gluten, which makes the batter springy and elastic, so it rises fast and hard in the middle. Scrape the bowl sides once, fold a few times, and move on. To make a layer cake that does not dome, a light hand matters as much as the temperature dial.
If you have strips, wrap them now. Soak a few strips of old towel in water, wring them out until damp, and tie them around the outside of each pan with two layers of cake strip or heavy foil. Bakers describe this tinfoil and damp towel setup as doing the job of commercial strips, and it is the difference between a flat top and a croissant shape.
For deep pans over 3 inches, a heating core, also sold as a flower nail, pulls heat into the center so the middle cannot lag behind the edge. Insert it into the batter in the center, grease it, and fill around it.
Step 3: Bake Until the Layers Are Set
Do not open the door for the first 20 minutes. That early draft collapses the structure and pulls moisture out of the top.
Look for lightly golden edges, a center that springs back when you press it lightly, and a tester that comes out with a few moist crumbs. Wet batter on the tester means more time. A completely clean tester can mean you have gone too far, and overbaked cake rises in a sharper peak, dries out, and cracks around the base.
In a convection oven the fan circulates heat faster, so drop the recipe temperature by about 25 degrees or cut the time by a quarter, and use the lower third rack. Convection bakes flatter, but only if you adjust for it.
Step 4: Cool Completely Before Leveling
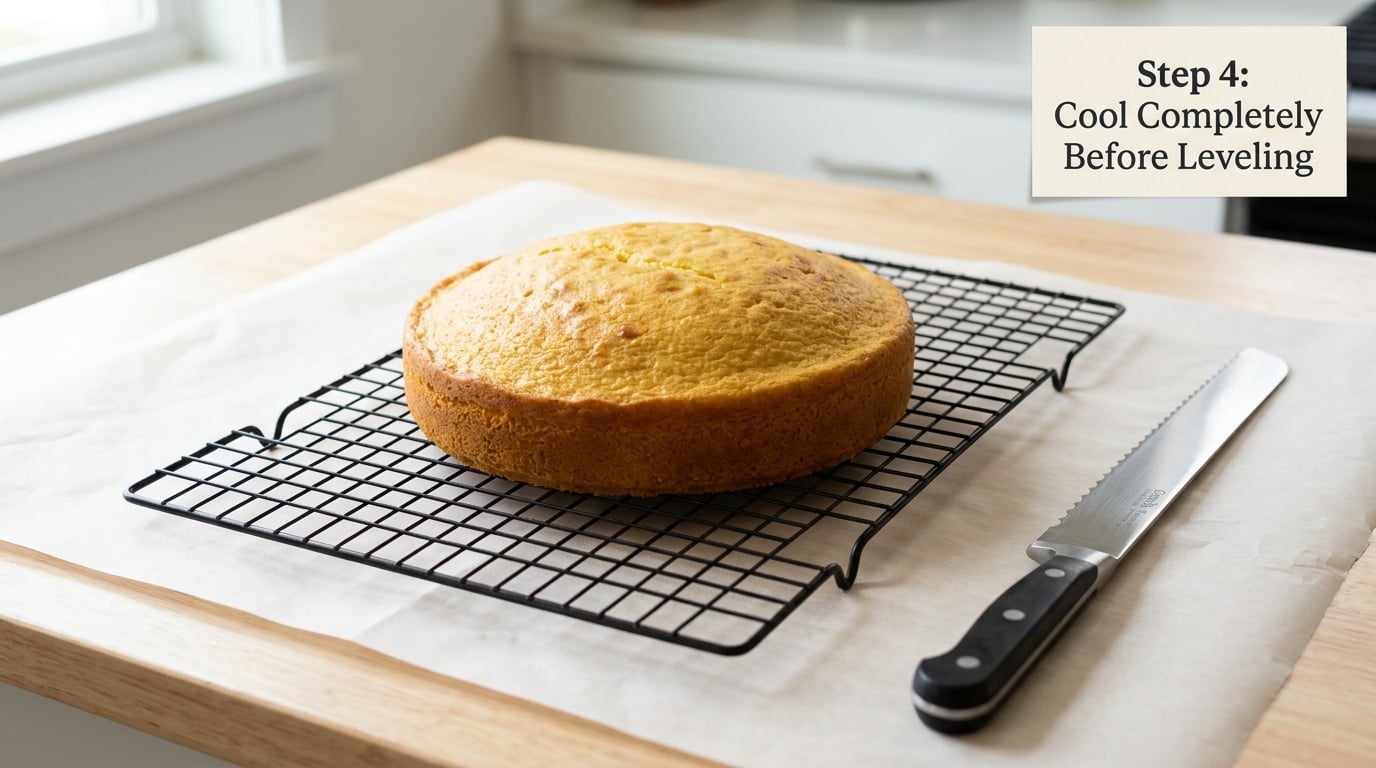
Let the cake sit in the pan for 10 to 15 minutes, then turn it out onto a rack. Residual heat and steam are still moving through the crumb, and a warm cake tears when you cut it instead of trimming cleanly.
Cooling dome-side down on the rack is worth trying. Gravity pulls a fraction off the peak as the crumb sets, and it costs you nothing. Wait until the pan is cool to the touch, usually 90 minutes for a single layer, before you pick up a knife.
Step 5: Trim the Dome and Check Each Layer
Turn the cake upside down so the flattest point, which was the pan bottom, faces up. That gives you a stable base and the biggest flat surface to work with.
Find the lowest point of the layer and set your guide a fraction above it. Make one shallow cut all the way around, and stop before you reach the crumbs. Repeat on the second layer, then hold them next to each other and measure the height of the cut edges with a ruler. Two layers within an eighth of an inch of each other will stack cleanly.
Chilled cake cuts cleaner and crumbles less. Wrap the trimmed layers and chill them 20 to 30 minutes while you make the frosting.
Step 6: Chill, Stack, and Decorate
Apply a thin crumb coat to the first chilled layer, about an eighth of an inch, and press the next layer on. A crumb coat is glue. It fills gaps and stops the stack from sliding.
Chill the stack again for 15 to 20 minutes, then frost the final coat. Cold cake and cold buttercream are both stiffer, so the frosting stays put instead of bulging out the sides. Smooth the top before the sides so you have a guide to follow, and keep a crumb coat on the sides if you want sharp edges.
Once the sides are frosted, most of the work is done. If the crumb coat is doing your job, the rest is a steady smoothing pass, the same way you would frost restaurant style mashed potatoes on a big platter, and the same way the cake holds up an hour later on the counter.
Common Mistakes
Nearly every domed layer traces back to one of these. Match your cake to the problem and the fix is usually quick.
Hot pans and cold pans
Batter hitting a screaming hot pan locks the outer edge in place almost instantly, so the middle ends up higher. Parchment and preheating both soften this. Bring the pan to room temperature, line it, and grease the parchment rather than the pan wall.
Uneven or heavy batter
Batter poured straight from the bowl settles in the center. Weigh and divide, spread it gently to the corners, and tap the pan to release air. Scrape the bowl down to the last of the batter so nothing extra goes into one pan.
An oven that lies
Check with a thermometer, every time you suspect it. A 25 to 50 degree overshoot produces a tall center, pale sides, and a cracked top, and no amount of trimming will make the layers look right.
Overmixing
Gluten development makes a tight, elastic batter that rises hard. Overmixed cake also bakes denser and drier, so the crumb suffers as well as the shape.
Underbaking and overbaking
An underbaked center collapses later and leaves a sunken pit you cannot frost. An overbaked one peaks sharply and dries. Test early and test with a toothpick in the center, not near the edge.
Cooling too soon, or cutting without measuring
A warm cake tears and sheds crumbs. And trimming by eye is how you get two layers an inch apart. Measure both layers against a ruler before you frost anything.
Warm frosting on a warm cake
Melting buttercream slides off and pushes the stack out of alignment. Chill the layers and let the frosting cool before it goes on.
Troubleshooting by cake type
Chiffon and angel food are the most vulnerable, since they are tall, airy, and leaning on a lot of leavening. Bake them low, add a heating core, and cool them fully upside down. Sponge behaves the same way, and pressing the top while hot will collapse the crumb, so level it cold instead.
Butter cakes, pound cakes, and carrot cake dome less and can take a firm press with a clean towel on the top right out of the oven if you want to try it. Cheesecake barely rises at all; you are watching for cracks and even color instead, and a water bath keeps the edges from drying out. For any of them, an oven thermometer still comes first.
If you live above about 3,000 feet, lower the temperature by 25 degrees and expect a shorter bake. Thin air makes the leavening gas expand faster and evaporate more, so cakes rise more and dry out more. Leave a little more room in the pan and keep watching the clock.
Do not throw away the trimmed tops either. Cake domes turn into cake pops, or get folded into a trifle, layered with frosting as a snack cake, or frozen for later.
Frequently Asked Questions
Why does my layer cake dome in the middle?
The outer edge of the batter touches the hot pan wall and metal first, so it sets while the center is still liquid. That liquid center keeps rising after the edges have stopped, which is what builds the dome. A hot oven, hot pans, uneven batter and overmixing all speed up that edge setting.
Does a domed cake mean it is underbaked?
Usually the opposite. A center that stays liquid and wet usually sinks, not domes. A sharp peak and cracked, over-browned surface point to too much heat or too long in the oven, which pushes the rise too fast before the structure sets. Test with a toothpick in the center for moist crumbs.
Can parchment paper prevent a layer cake from doming?
Parchment helps indirectly. It stops the batter from gripping the pan wall, so the edge is not sealed in place as fast, and it makes the layer far easier to turn out and trim. On its own it will not beat an overheated oven, but combined with a cooler temperature and even batter it makes a real difference.
Do cake strips help a layer cake stay flat?
Yes. Damp strips wrapped around the outside of the pan slow the heating of the outer wall, so the edge and the center set at roughly the same time. A soaked towel tied on with cake strip or heavy foil does the same job, and bakers report it works as well as store-bought strips for a few dollars.
How do I fix a domed cake after it has cooled?
Turn the layer upside down, find the lowest point, and set a level a fraction above it. Cut a shallow slice all the way around and lift off the ridge. Repeat on the second layer, measure both cut edges with a ruler, and adjust until the heights match before you frost anything.
Should I refrigerate a layer cake before stacking it?
Yes, briefly. Thirty minutes in the fridge firms the crumb, so the layers cut cleanly and crumbs stay in the cake instead of on your knife. Chilling also firms the frosting, which keeps the stack from sliding and the sides from bulging once the final coat goes on.
Conclusion
Start with the oven, because everything else is a refinement. Check it with a thermometer, drop the temperature 25 degrees, and wrap the pans in damp strips while the batter rests. Weigh the batter so both layers start out equal, and stop mixing before the batter turns smooth.
Then be patient. Cool the layers completely, trim them while they are cold, and measure both cut edges against a ruler before a single swipe of frosting. Chill the stack between coats, and the cake that comes out of the fridge will sit as straight as anything you would buy.