
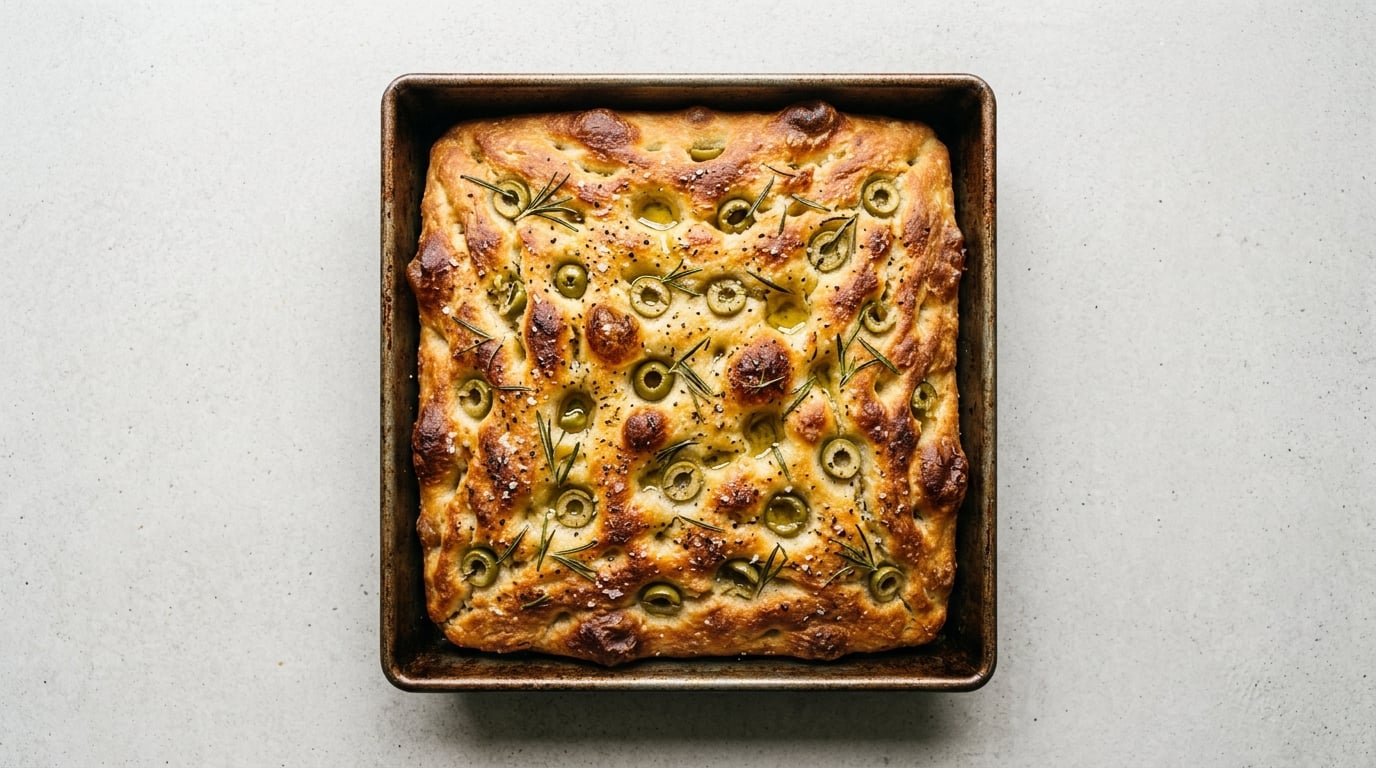
Focaccia is the most forgiving bread you can bake, which makes how to make focaccia at home for beginners a genuinely easy first project. You mix flour, water, salt, yeast and a lot of olive oil into a sticky shaggy mess, build strength with three sets of stretch and folds instead of kneading, let it rise, press it into a well-oiled pan with your fingers, and bake hot until the base is crisp and the crumb is full of holes.
There is no shaping, no scoring, and no tension to get wrong. The dough is supposed to look too sticky and too wet, and the hot pan is supposed to do most of the work. Learning how to make focaccia at home for beginners really takes about three hours of your attention spread across half a day, most of it spent waiting.
Below is the same-day method, with the timings written down and a visual cue for every stage. I have baked this version maybe thirty times, and the two things that changed my results most were pouring enough oil in the pan and pressing the dimples all the way to the metal.
Table of Contents
- What You Need
- Step-by-Step: How to Make Focaccia at Home for Beginners
- The timed plan: how to make focaccia at home for beginners start to finish
- Step 1: Mix the dough
- Step 2: Build strength with three sets of stretch and folds
- Step 3: Bulk rise until doubled and bubbly
- Step 4: Move the dough into the pan
- Step 5: How to know the dough is ready to dimple
- Step 6: Dimple, top and give it a second rise
- Step 7: Bake hot until deeply golden
- Step 8: Cool, serve and store
- Common Mistakes
- Frequently Asked Questions
- Conclusion
What You Need
You need seven ingredients, one 9×13 inch pan, a bowl, your hands and an oven. No stand mixer, no proofing basket, no baking steel, and honestly no scale either. A cup of flour is close enough for a first attempt.
Ingredients
- 4 cups (500g) all-purpose flour or bread flour
- 1 3/4 cups (415g) warm water, about 100 to 105F (38 to 40C)
- 1 1/2 teaspoons instant yeast (or 1 1/4 teaspoons active dry yeast)
- 1 1/2 teaspoons fine sea salt
- 1 tablespoon honey or sugar, optional but it feeds the yeast and improves browning
- 1/3 cup (80ml) extra virgin olive oil in the dough, plus more for the pan
- 2 tablespoons olive oil for the pan, plus a little extra so it pools in the dimples
- Flaky sea salt, for the top
That water-to-flour ratio is roughly 83 percent. Hydration just means how much water you use compared with the flour, and focaccia is a wet dough on purpose. All that water turns to steam in the oven and pushes open the crumb, which is where the big holes come from. Sticky dough is not a mistake, so do not add flour to fix it.
Warm the water in the kettle and put your finger in it. If it feels like a warm bath rather than hot, that is the number you want. Water much above 110F (43C) can stall the yeast, and water straight from the tap on a cool day will make your rise take twice as long.
Equipment: the pan matters more than the tools
A 9×13 inch (23x33cm) metal pan is the sweet spot for this dough, and it is the one piece of equipment worth caring about. Metal conducts heat straight into the batter, which is how you get a crisp base instead of a pale one. A dark metal sheet pan will brown the bottom faster, so if you use one, check it a few minutes early.
Glass works, and plenty of people use a Pyrex, but glass is a slower conductor and you should expect a softer bottom. Pull the bake time at the low end and give it an extra two minutes if you want more color. Cast iron heats well and gives a very dark base, so line it with parchment or your first loaf will be a permanent pan fixture.
No scale? Spoon flour into the cup and level it, then weigh nothing. It will be a few grams off and it genuinely will not matter. A digital thermometer for the water is the more useful tool if you do not have a scale.
Which flour should you use?
All-purpose flour is the right answer for a first bake, because it is what most people already have and it does not need any special handling. Bread flour gives you a slightly stronger dough and taller rise, and 00 flour is fine but soft, so it needs the same folds to build structure.
| Flour | Protein | What you get | Best for |
|---|---|---|---|
| All-purpose | 10 to 12 percent | Softer crumb, very forgiving, slightly less rise | Your first loaf |
| Bread flour | 12 to 13 percent | Taller, airier crumb with more defined holes | Your second and third |
| 00 flour | 10 to 11 percent | Silky, cake-like interior, needs more fold time | When you want a lighter crumb |
Skip whole wheat for the first attempt. It soaks up water fast and the dough goes tight while you watch.
Same-day, overnight or sourdough: which method fits?
If you want bread this afternoon, use the same-day method below with instant yeast and warm water. If you want the deepest flavor and do not mind waiting, an overnight cold rise in the fridge builds a lot more taste for almost no extra effort.
| Method | Total time | Hands-on time | Flavor | Difficulty |
|---|---|---|---|---|
| Same-day yeast | About 3 to 4 hours | 25 minutes | Clean and buttery | Easiest |
| Overnight yeast | About 14 hours | 20 minutes plus a morning bake | Noticeably deeper | Easiest |
| Sourdough starter | 1 to 2 days | 20 minutes a day | Sharpest, most complex | Harder to read |
For the overnight version, do everything through the stretch and folds, then let the dough sit covered in the fridge for 10 to 14 hours, and let it come to room temperature for about an hour before you shape it. Cold dough is stiff, so waiting takes the guesswork out of the pan step.
Step-by-Step: How to Make Focaccia at Home for Beginners
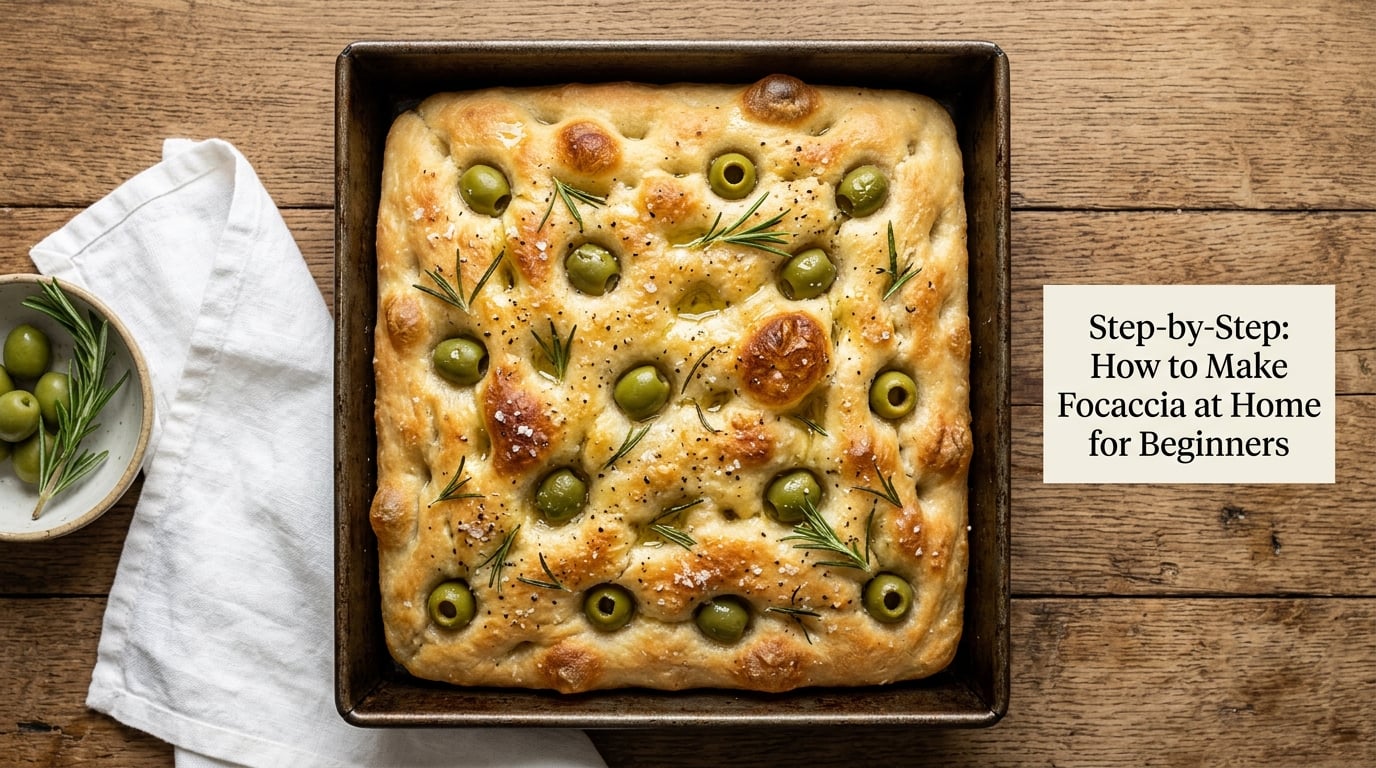
The timed plan: how to make focaccia at home for beginners start to finish
Read this once before you start. Mix at 9am, fold over the next 45 minutes, let it rise about 90 minutes while you do something else, shape and dimple around 11am, let it sit a final 15 to 20 minutes, bake for 25 minutes, and eat it warm by noon. Total time around 3 hours, of which about 25 minutes are your hands.
Step 1: Mix the dough
Whisk the flour, yeast, salt and sugar in a large bowl. Pour in the warm water and the 1/3 cup of olive oil. Stir with a spoon until it looks like a shaggy wet dough, then squeeze the bowl a few times so no dry flour hides at the bottom.
It will be far too wet to knead. That is the point. A wet dough develops gluten on its own during the rise, and the folding comes later to give it enough strength to hold shape.
How to tell it worked: there is no dry flour left in the bowl and the dough holds together in a loose blob when you tip it out.
Step 2: Build strength with three sets of stretch and folds
Wet your hands. Lift one side of the dough, stretch it up and fold it over the center. Turn the bowl a quarter turn, and repeat. Four folds per set, with about 30 seconds between folds so the gluten relaxes.
Do that once, wait 15 minutes, and do it again. Then wait 15 more minutes and do the third set. That is 12 folds total and it replaces roughly 10 minutes of kneading. The dough will start to look smoother and a little domed by the end of the third set.
How many stretch and folds does focaccia need? Three sets of four, spaced 15 minutes apart, is the beginner sweet spot. You can do a fourth set if the dough still feels fragile when you are ready to shape it.
Step 3: Bulk rise until doubled and bubbly
Cover the bowl and leave it somewhere warm until the dough has roughly doubled, usually 60 to 90 minutes at room temperature. Look for bubbles along the sides and a domed surface, not just a bigger bowl.
How long it takes depends on your kitchen. In a cool room around 68F (20C), give it closer to 2 hours. In a warm kitchen near 75F (24C), check it at 45 minutes. A fridge at night is a good pause button if you are not ready to bake.
Step 4: Move the dough into the pan
Pour 2 tablespoons of olive oil into a 9×13 inch metal pan and spread it up the sides and across the base with your hands. Tip the dough in, then turn the pan to coat every piece of dough. Leave the dough in its bowl until the very last moment if it is sticky, and pour the oil over it in the bowl before the transfer.
Wet your hands and gently pull the corners of the dough out toward the edges of the pan. Never press hard and never stretch, because a thick spot bakes into a bubble and a thin spot bakes into a cracker. Push the dough only until it fills the pan. It will look underfilled and that is normal.
Let it sit 10 to 15 minutes, then dimple.
Step 5: How to know the dough is ready to dimple
Ready means relaxed, spread out and full of air, not shaped. Check for these four cues before your fingers go near it:
- It has relaxed into a loose sheet and no longer pulls back from the edges of the pan
- You can see open air pockets along the surface and the sides
- It jiggles when you gently shake the pan
- It has grown roughly 1.5 times since it went in
The poke test is the backup. Press a floured finger about half an inch into the dough and pull it out. If the dent springs back quickly, wait ten more minutes. If it springs back at all, it needs more time. If the dent stays and the dough feels fragile, move on, because it is on the edge of overproofed.
Step 6: Dimple, top and give it a second rise
Pour 1 to 2 more tablespoons of olive oil over the top, then press your oiled fingertips straight down into the dough, all the way to the pan, in rows about an inch apart. Push down, do not drag. The oil runs down into the wells and pools at the bottom, which is what keeps the base crisp.
Add toppings now for the classic look, since the dimples hold them: rosemary needles, flaked salt, sliced green olives, grated Parmesan. If you are using wet or heavy toppings such as tomato or mozzarella, press the dimples first, add the topping, and use less oil on top so the surface does not flood.
Then let it rise one more time, 15 to 20 minutes, and this is the second rise that decides the final height. Wait until the dough looks puffy and the dimples have softened but have not disappeared. Ten minutes is enough if you want a thinner, flatter loaf, and skipping it is the usual reason a beginner’s focaccia comes out dense.
What happens if you skip the dimples? You get a smooth, flat top with no pockets, oil that spreads into a thin film instead of pooling, and a denser crumb because the dough never gets the little expansion chambers. It still tastes good, it just does not look or feel like focaccia.
Step 7: Bake hot until deeply golden
Preheat the oven to 450F (230C) and give it a full 20 to 30 minutes, with the pan already inside. A cold or lukewarm oven is the most common reason a beginner’s focaccia bakes pale. Put the pan on a rack in the middle.
Bake 20 to 25 minutes until the top is deep gold and the edges are well browned. The dimples should be full of dark, cooked oil. If the top colors at 18 minutes, tent it loosely with foil so the base keeps cooking.
Check by lifting an edge with a spatula. The bottom should be golden brown and firm, not pale or translucent. Glass and dark metal pans bake faster, so start checking at 18 minutes.
Step 8: Cool, serve and store
Cool in the pan for 15 minutes before cutting, which firms up the crumb. Focaccia tastes best warm with a drizzle of olive oil, but it is also good at room temperature, torn by hand, as a sandwich base, or dipped in oil and vinegar.
Store it in an airtight container at room temperature for up to two days, where the crust softens as it absorbs moisture. A paper towel in the container keeps it from going damp. For longer storage, wrap slices and freeze them for up to a month, then reheat straight from the freezer in a hot oven for 5 to 8 minutes. Reheated focaccia gets its crisp base back; a microwave leaves it chewy and flat.
Common Mistakes
Almost every disappointing focaccia traces back to one of four things: not enough oil in the pan, a dough that was not fully proofed, an oven that was not hot enough, or dimples pressed too shallow. The table below maps what you see to what caused it.
Symptom, cause, fix
| What you see | Likely cause | Fix |
|---|---|---|
| Pale or soggy base | Not enough oil in the pan, or a glass pan baked too short | Use 2 tablespoons in the pan plus more for the dimples, and add 2 minutes to the bake |
| Dough did not rise, but tasted fine | Water was too hot, or the dough was underproofed | Check the water is 100 to 105F (38 to 40C) and give the rise until doubled, not until the clock says so |
| Crumb is tight and cakey | Dough was too dry, or mixed like cake batter | Add a splash of water at mixing and do all three fold sets |
| Stuck to the pan | Skipped or under-oiled the pan, or poured the dough in too thin | Coat the base and sides generously and let the dough set 10 minutes before dimpling |
| Dimples filled back in | Dough was overproofed and lost its gas | Bake 10 to 15 minutes sooner next time, and dimple with oiled fingers straight to the metal |
| Top browned, bottom pale | Foil on too early, or the oven was too cool | Give the oven a full 30 minutes at 450F (230C) and tent only the top |
| Burnt top, raw middle | Oven too hot for your pan | Drop to 425F (220C) and tent with foil from 15 minutes |
| Dough is a wet puddle in the pan | Pulled it instead of pushing it, or stretched it thin | Push gently to the pan corners and leave it to spread on its own for 15 minutes |
The six mistakes beginners actually make
1. Treating the dough as too wet and adding flour. The sticky stage is where the open crumb comes from. A wet dough plus three fold sets produces holes; a stiff dough plus the same folds produces a dense slab. Fix it with water and time, not with more flour.
2. Skipping the pan oil. This is the number one cause of a pale or doughy base. The oil is not for flavor alone, it stops the bread gluing to the metal and crisps the bottom. Two tablespoons in the pan, plus the oil that runs down into each dimple.
3. Proofing by the clock instead of by eye. A recipe that says two hours is a guess for a 72F kitchen. Wait for doubled volume, bubbles on the sides and a jiggle in the pan, whatever the clock says.
4. Pressing the dimples too gently. Half-hearted dimples vanish. Press straight down with oiled fingers until you can feel the pan, and space them about an inch apart so you end up with rows.
5. Not preheating the pan with the oven. A cold pan means the base sets before the middle cooks. Put the pan in during the preheat so the oil is hot when the dough lands.
6. Cutting it too soon. Fifteen minutes in the pan firms the crumb and stops it tearing. It is still lovely warm, and honestly most of us eat the first piece standing up over the pan.
Habits that fix most of it
Warm your water, and weigh the water if you can. Keep the dough in the bowl where you can see it rather than on a floured counter, because extra flour sneaks in during shaping. Oil the pan generously, then dimple. Let the dough tell you when it is ready, and stop poking it to check.
If you want to plan the cooking around this, building a three course dinner menu at home is a good way to slot focaccia in as the starter that mostly rises while you cook something else. For a morning bake, our brunch for a crowd guide has the same logic, since most of the work happens ahead of time. And if you are also cooking eggs, the omelet that does not stick guide uses the same oil-the-pan principle as the focaccia pan.
Frequently Asked Questions
Do I need to let focaccia dough rise twice?
Yes, two rises are the standard: a bulk rise while it is in the bowl, then a shorter second rise in the pan once the dough is spread out and dimpled. The second rise is what gives the bread lift in the oven and sets the dimple pattern. If you are short on time you can shorten the second rise to 20 minutes, but skipping it entirely gives a denser, flatter loaf.
Can I make focaccia in a regular baking pan?
Yes. A 9×13 inch (23x33cm) metal pan is ideal, but any 8×8, 9×9 or even a round baking pan works, and a rimmed sheet pan works too. The only real constraint is a pan with straight sides and enough oil. Glass gives a softer base, dark metal browns faster, and cast iron is best lined with parchment.
Should I use fresh yeast or instant yeast for focaccia?
For a same-day bake, instant yeast is easier because you do not have to wake it up and you can mix it straight into the flour. Active dry yeast also works and is slightly cheaper, but it needs 10 minutes in warm water to activate, and if it does not foam in that water it may be dead. Fresh yeast, sold in cakes, works like active dry yeast rather than instant.
What toppings work well on beginner focaccia?
Start with rosemary needles, flaked salt and sliced green olives, pressed into the dimples with a drizzle of olive oil. Grated Parmesan works well because it toasts in the same 25 minutes. Heavy or wet toppings like fresh tomato, mozzarella or olives packed in oil are best added after the dimples, so the surface does not flood and the base stays crisp.
How do I keep focaccia soft after baking?
The crust softens as the bread breathes, so wrap the whole loaf or store it in an airtight container at room temperature for up to two days. A paper towel in the container keeps the crumb from going damp. If you want the base to stay crisp, reheat it in a hot oven for 5 to 8 minutes just before serving, and skip the microwave, which makes it chewy.
Can I freeze homemade focaccia?
Yes. Let the loaf cool completely, then wrap it whole in plastic and foil, or slice it and freeze the slices in a bag. Frozen focaccia keeps for about a month. Reheat slices straight from the freezer in an oven at 400F (205C) for 8 to 10 minutes, and the base and crumb come back close to fresh. Thaw it in the fridge overnight if you prefer to reheat it whole.
Conclusion
Start with the plain version: seven ingredients, warm water, three sets of stretch and folds, and a wait until the dough is doubled and bubbly. Put it in a well-oiled 9×13 inch metal pan, dimple with oiled fingers until you feel the bottom, let it puff up one more time, and bake at 450F (230C) for 20 to 25 minutes.
Focaccia is hard to ruin, and the first loaf is usually about 25 minutes of your hands spread over three hours. Once you have a feel for what proofed dough looks like, start playing with toppings. Updated for 2026, this is the version I send friends who say they have never baked bread.