
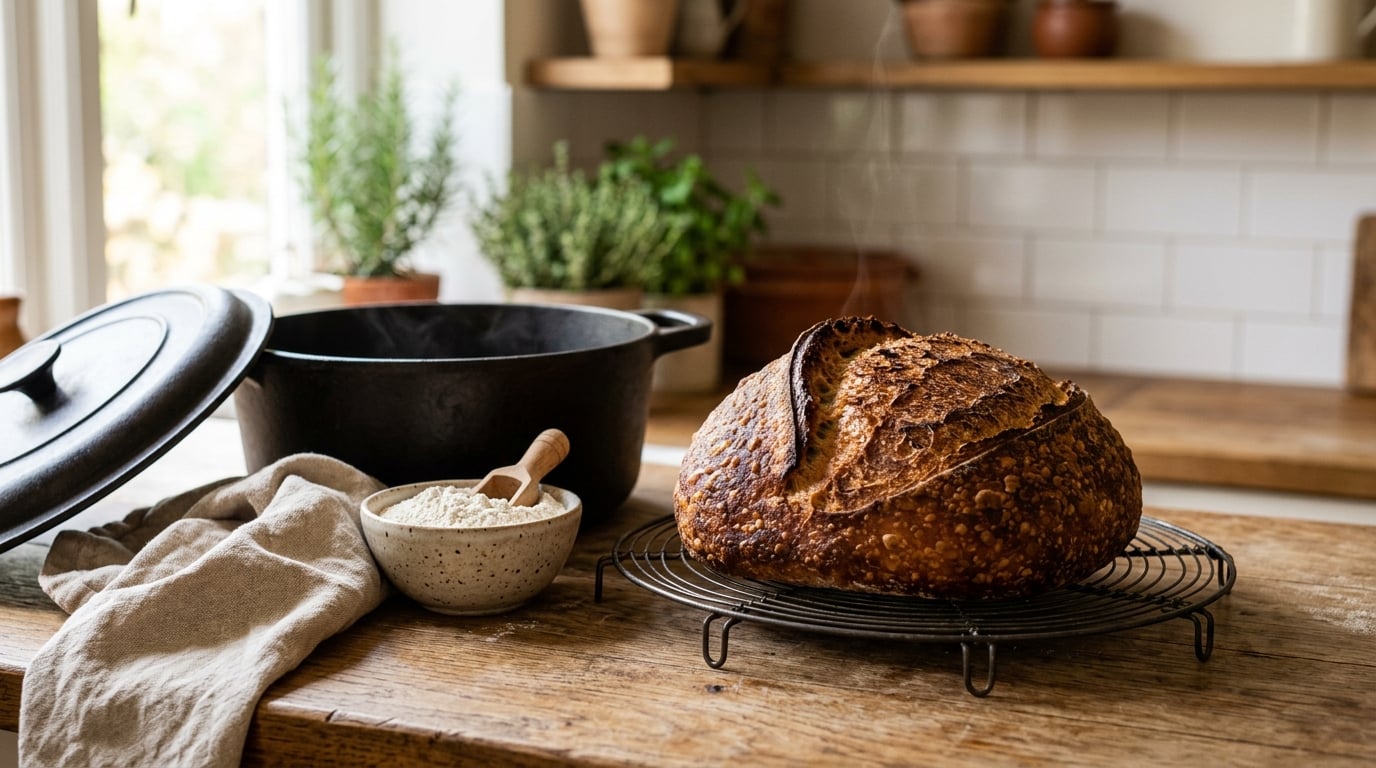
No-knead bread in a Dutch oven takes four ingredients, about five minutes of active work, and an overnight rise. You mix a wet, shaggy dough, let it ferment on the counter for 12 to 18 hours, shape it gently, then bake it in a preheated lidded pot for 30 minutes before finishing it uncovered.
The pot is the trick. A heavy Dutch oven traps the steam coming off the dough, so the loaf bakes in a humid little chamber that lets the crumb expand fully before the crust sets. That is the whole difference between a dense little brick and a round loaf with a crackling crust and an open crumb.
Total time is about 18 hours, but almost all of it happens while you sleep. Plan on roughly 25 minutes of hands-on work spread across two days.
What You Need
Four ingredients, measured by weight where it matters. Bakers measure flour in grams because a cup of flour can vary by a couple of tablespoons depending on how you scoop it, and that difference changes how much liquid the dough needs.
| Ingredient | Weight | Volume | Notes |
|---|---|---|---|
| All-purpose flour | 500 g (about 1 lb 2 oz) | 4 cups, spooned and leveled | Bread flour works too, and gives a chewier crust. Whole wheat works as up to half the total if you lower the water slightly. |
| Water | 360 ml | 1 1/2 cups | Warm it to about 100 to 110 F (38 to 43 C). That is warm tap water, not hot. |
| Instant yeast | 2 g | 1/2 teaspoon | Active dry yeast also works, but bloom it in the warm water for 10 minutes first. |
| Kosher salt | 6 g | 1 teaspoon fine table salt, or 1 1/2 teaspoons kosher | Salt controls both flavor and how the dough behaves. Do not skip it. |
Keep the salt on the opposite side of the bowl from the yeast. Direct contact can kill the yeast in a concentrated spot, which weakens the rise.
Equipment
- A 4.5 to 6.5 quart Dutch oven with a tight-fitting lid. Cast iron or enameled cast iron both hold heat well. A stainless steel pot works, but it releases heat faster, so add a few minutes to the uncovered stage and expect a paler crust.
- A large bowl that the dough can rise in without touching the sides.
- A bench scraper or a sturdy spatula for shaping.
- Parchment paper cut into a loose circle, roughly 16 inches across, for a cradle to lift the dough into the pot.
- Plastic wrap or a damp towel to cover the bowl during the rise.
- A sharp knife or razor for scoring.
- Oven mitts rated well above 475 F. You are handling a pot that has been sitting in a hot oven for 45 minutes.
- A wire cooling rack, so the bottom of the loaf does not go soggy.
- An instant-read thermometer is optional, but it turns doneness from a guess into a fact.
Size the pot to the dough, not the other way around. A 500 g flour boule wants about a 6 quart pot. Too small and the dough presses against the lid and the sides, which flattens the loaf. Too large and the air space keeps the crust pale and thin.
Step-by-Step: How to Make No-Knead Bread in a Dutch Oven
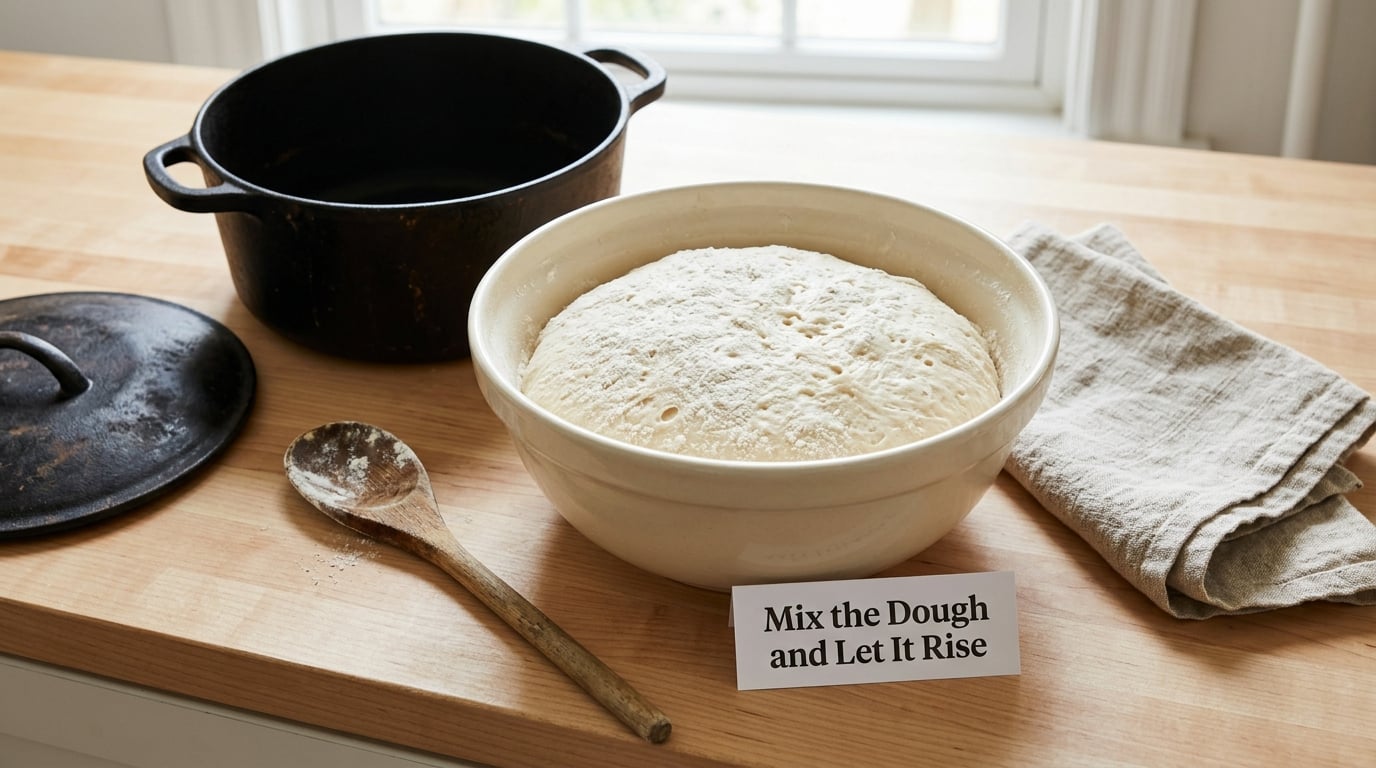
1. Mix the Dough and Let It Rise
Whisk the flour, yeast, and salt together in a large bowl, keeping the yeast and the salt in separate piles. Pour in the warm water and stir with a wooden spoon until no dry flour is visible.
The dough will look shaggy, loose, and slightly sticky. That is correct. No-knead dough runs wet, usually around 75 percent hydration, and a tight, tidy ball is not the goal here. Kneading it is exactly what you are not doing.
Cover the bowl with plastic wrap or a damp towel and set it somewhere out of direct sun. Now comes the part that does the work that kneading would have done.
Over 12 to 18 hours at room temperature, the yeast turns the sugars in the flour into gas, and that gas stretches the glutenin and gliadin proteins into an elastic network on their own. Time and water do the aligning that your hands would have forced. Cooler kitchens need the longer end of the range, so a room around 70 F is a good target.
Do not judge the rise by the clock alone. The dough is ready when it has roughly doubled, feels airy and jiggly, and shows bubbles along the edges and a few on the surface. A faint sour or yeasty smell is a good sign. If you poke it with a floured finger and the dent springs back slowly but does not refill completely, the fermentation is done. Poking straight through means it needs more time.
Scrape the dough onto a floured surface and move on to shaping.
2. Shape the Loaf
The dough will spread into a slack puddle, and that is the right starting point.
Now shape it with as little handling as possible. Fold the edges toward the center four times, dusting your hands with flour between each fold. The goal is surface tension, a taut skin across the top that holds the shape in the oven. You are not kneading, and you are not chasing a perfect ball. A rustic, slightly lumpy boule is exactly what this dough gives you.
Rest the shaped dough seam side down on a floured surface for 30 to 45 minutes while the oven preheats. This final proof is short because the bulk rise already did the work. Skip it and you get a denser crumb.
Lay a sheet of parchment paper on the counter, let the loaf settle onto it seam side down, and lift the paper by the edges. Turn it so the smooth side faces up, dust it lightly with flour, and score the top with one confident slash about half an inch deep, at a shallow angle. That cut is what gives you the raised flap of crust that bakers call an ear. A lame or razor makes a cleaner cut than a paring knife, but a sharp knife held at 45 degrees works fine.
Spray or brush the parchment lightly with oil so the loaf does not weld itself to the paper. You will thank yourself later when peeling it off.
3. Bake Covered and Then Uncovered
Set the oven to 475 F (245 C) and put the empty, lidded Dutch oven inside. Give it 30 to 45 minutes. Home ovens run cool, so the long preheat is doing real work. A pot that has only sat for 15 minutes will let the loaf drop in temperature and spread out instead of springing up.
Slide the parchment cradle with the dough into the pot, seam side down, and let the paper crumple up around the loaf. That paper is your protection from both the pot and your own hands. Never drop or toss raw dough into a pot this hot.
Bake with the lid on for 30 minutes. During this stage the trapped steam keeps the dough moist, the crust stays soft and flexible, and the crumb sets without tearing. This is the oven spring window, and the lid is what protects it.
| Oven temperature | Dutch oven size | Lid on | Lid off | Target internal temperature |
|---|---|---|---|---|
| 475 F (245 C) | 6 qt | 30 min | 15 to 20 min | 205 to 210 F (96 to 99 C) |
| 450 F (230 C) | 5 to 6 qt | 30 min | 20 to 25 min | 205 to 210 F (96 to 99 C) |
| 500 F (260 C) | 4.5 to 5 qt, smaller loaf | 25 min | 10 to 15 min | 205 to 210 F (96 to 99 C) |
Then take the lid off and turn the heat down to 450 F (230 C). Bake another 15 to 20 minutes. With the steam gone, the crust browns, crisps, and develops the blistered, slightly lacquered surface that makes this style of bread worth baking.
How to make no-knead bread in a Dutch oven without a pale crust comes down to this second stage. Pull the loaf too early and the outside browns while the middle is still raw. Watch for a deep brown, almost mahogany color, and push an instant-read thermometer into the thickest part of the bottom. Between 205 and 210 F means the crumb has finished setting. Tapping the bottom and hearing a dull hollow thump is a decent backup cue, but the thermometer does not lie.
Make sure the flour you used is a dry flour, not self-rising, and be patient about the color. A loaf that looks pale next to a bakery photo is usually a loaf that needed 10 more minutes in step two.
4. Cool the Bread Before Slicing
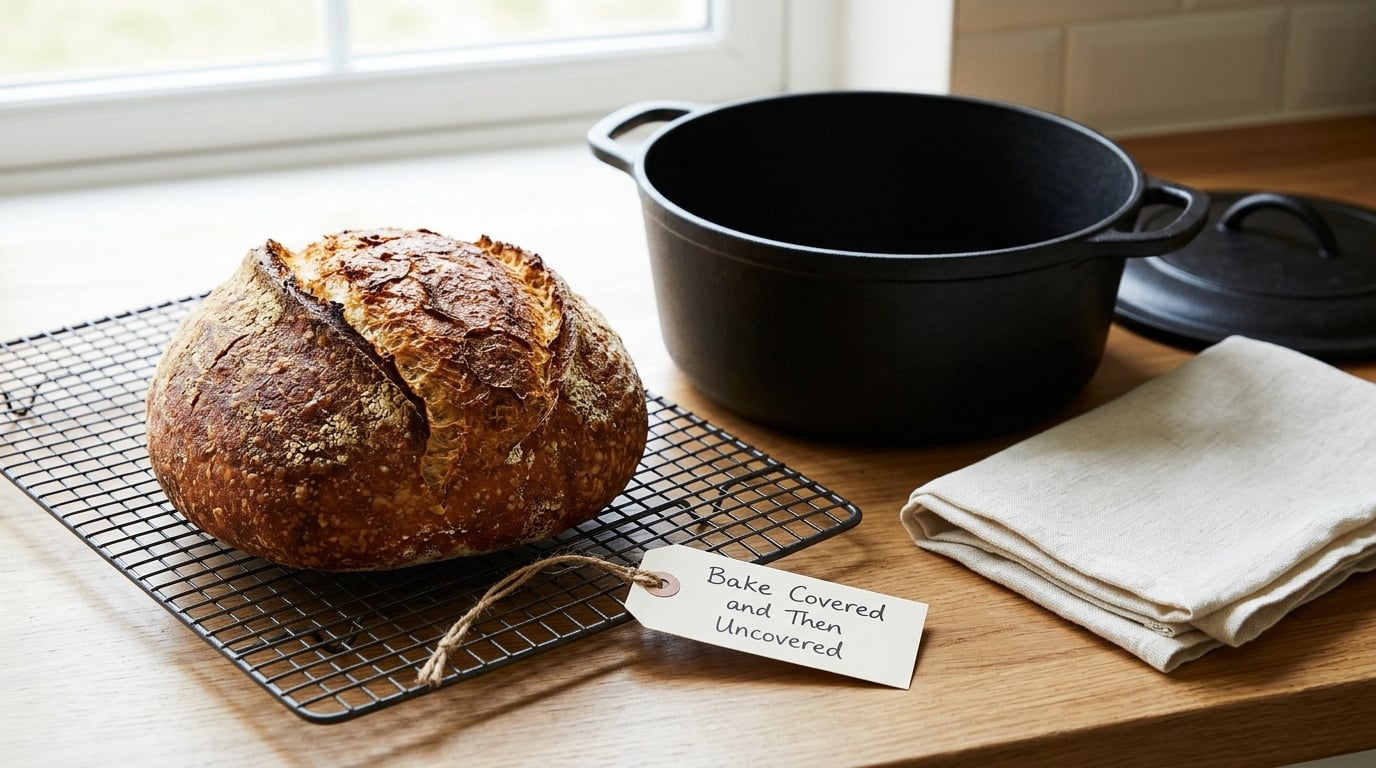
Lift the loaf out with the parchment and drop it onto a wire rack. Wait at least one hour before cutting into it, longer for a big round boule.
Cutting too early is the most common self-inflicted mistake. The crumb is still releasing moisture and finishing its structure, so a hot knife turns it gummy and tears the crust into shreds. An hour is the floor, not the goal. The sign you want is a crumb that holds together in the first slice rather than collapsing under your fingers.
For storage, keep the loaf cut side down on a board or in a paper bag at room temperature, where it stays good for two days. A plastic bag softens the crust, so reserve it for day three. Wrapping a whole loaf in a tea towel and reheating it in a 350 F (175 C) oven for 10 minutes brings the crust back.
Freezing half a loaf for a few weeks, well wrapped, works fine. Thaw it in the pot or on a rack, never in the microwave.
Common Mistakes
Almost every disappointing no-knead loaf traces back to one of a handful of things: a rise that did not finish, a bake that ended too soon, or a lid opened at the wrong time. The table below maps the symptom to the cause and the fix.
| Problem | Likely cause | Fix |
|---|---|---|
| Dense, tight crumb | Dough was underproofed, or the final proof was skipped. | Give the rise the full 12 to 18 hours and confirm the poke test before shaping. Rest the shaped loaf 30 to 45 minutes before baking. |
| Gummy or raw middle | Pulled from the oven too early and judged by color alone. | Check internal temperature and wait for 205 to 210 F. Extend the uncovered stage by 5 to 10 minutes next time. |
| Flat, spread loaf | Dough was weak from a short rise, the kitchen was too warm, or the pot was under-preheated. | Preheat the pot for a full 45 minutes, keep the room around 70 F, and size down the loaf so it rises with room to spare. |
| Blowout or a torn side | Scoring was too shallow or off-center, or the dough overproofed. | Score one confident slash half an inch deep. Watch the rise and shape a little earlier if your kitchen runs hot. |
| Dough sticks to the parchment or tears | Parchment was dry, or the dough was pulled rather than lifted. | Oil the paper lightly, lift the dough onto it in one motion, and carry the paper by its edges instead of gripping the loaf. |
| Dough sticks to your hands while shaping | Surface tension built without enough flour on the fingers. | Dust between each fold. Wet hands and wet dough always end up stuck together. |
| Pale or soggy crust | Lid lifted mid-bake, releasing the trapped steam, or the uncovered stage was too short. | Do not peek during the first 30 minutes. Bake until the crust is genuinely dark brown. |
| Burnt on the bottom, pale on the sides | Oven running hot, or the pot sitting too close to the element. | Move the rack up one position and drop the temperature to 450 F (230 C) for the uncovered stage. |
One more safety point, since it catches people out the first time. The pot is at 475 F and the dough is raw. Never toss it in. That is how people burn their forearms. Lower it on the parchment cradle, close the lid, and step back.
Longer ferment and gentler handling are the two levers that matter most. Give the dough time and let it do the kneading for you, and a mediocre first loaf becomes a habit you keep.
If you enjoy the hands-on side of cooking, our guide to making an omelet that does not stick uses the same low-and-slow patience, and a cheese board for beginners is the easy way to serve the loaf once it is baked.
Frequently Asked Questions
What are common problems with no knead bread?
The usual three are a dense crumb, a gummy middle, and a flat loaf. A dense crumb means the rise was cut short, so give the dough the full 12 to 18 hours and test it with a floured finger before shaping. A gummy middle means it came out of the oven early, so check for 205 to 210 F internal. A flat loaf means weak dough or a pot that was not hot enough, so preheat for a full 45 minutes.
Should bread be covered or uncovered when baking in a Dutch oven?
Both, in sequence. Bake 30 minutes with the lid on so the trapped steam keeps the crust soft and the crumb expanding, then remove the lid and bake 15 to 20 more minutes so the crust browns and crisps. Lifting the lid early is the single most common reason a no-knead loaf comes out pale and soft, because it dumps the moisture the pot was holding.
Is it better to bake bread in a Dutch oven or not?
The Dutch oven gives you the best result for the least equipment, especially as a beginner. It replaces a baking stone, a steam pan, and a spray bottle of boiling water. Without one, bake the loaf on a preheated stone or steel in a steam-filled oven, which is harder to control, or expect a thinner, softer crust. The shape and rise of the dough matter far more than the pot.
What are common Dutch oven bread mistakes?
The big ones are an underheated pot, a rise that did not finish, lifting the lid before 30 minutes, dropping raw dough into the pot instead of using a parchment cradle, and slicing the loaf while it is still warm. A pale, thin crust almost always traces back to the lid coming off too early or the uncovered stage being cut short.
What size Dutch oven do I need for no knead bread?
For 500 g of flour loaf, use a 6 quart pot. A 4.5 to 5 quart pot suits a smaller boule, roughly 350 to 400 g of flour, and a 7.5 quart pot can take a larger one, though you may need to stretch the bake. The dough should rise with a couple of inches of clearance to the sides and the lid.
Can I use stainless steel instead of cast iron?
You can, and the loaf will still be good. Stainless steel and aluminum release heat faster than cast iron, so the crust browns less evenly and a bit more slowly. Give the uncovered stage 5 to 10 extra minutes, and expect a slightly paler, thinner crust. Many home bakers prefer enameled cast iron, which behaves like bare cast iron without the seasoning step.
Conclusion
Start at the dough: 500 g of all-purpose flour, 360 ml of water at 100 to 110 F, 2 g of instant yeast, and 6 g of salt. Stir, cover, and let it rise 12 to 18 hours until it is doubled and jiggly. Everything after that is shaping, a 45-minute pot preheat at 475 F, 30 minutes with the lid on, and 15 to 20 minutes uncovered. Give the loaf a full hour on a rack before you cut it, and the crust will be crisp, the crumb open, and the inside tender.