
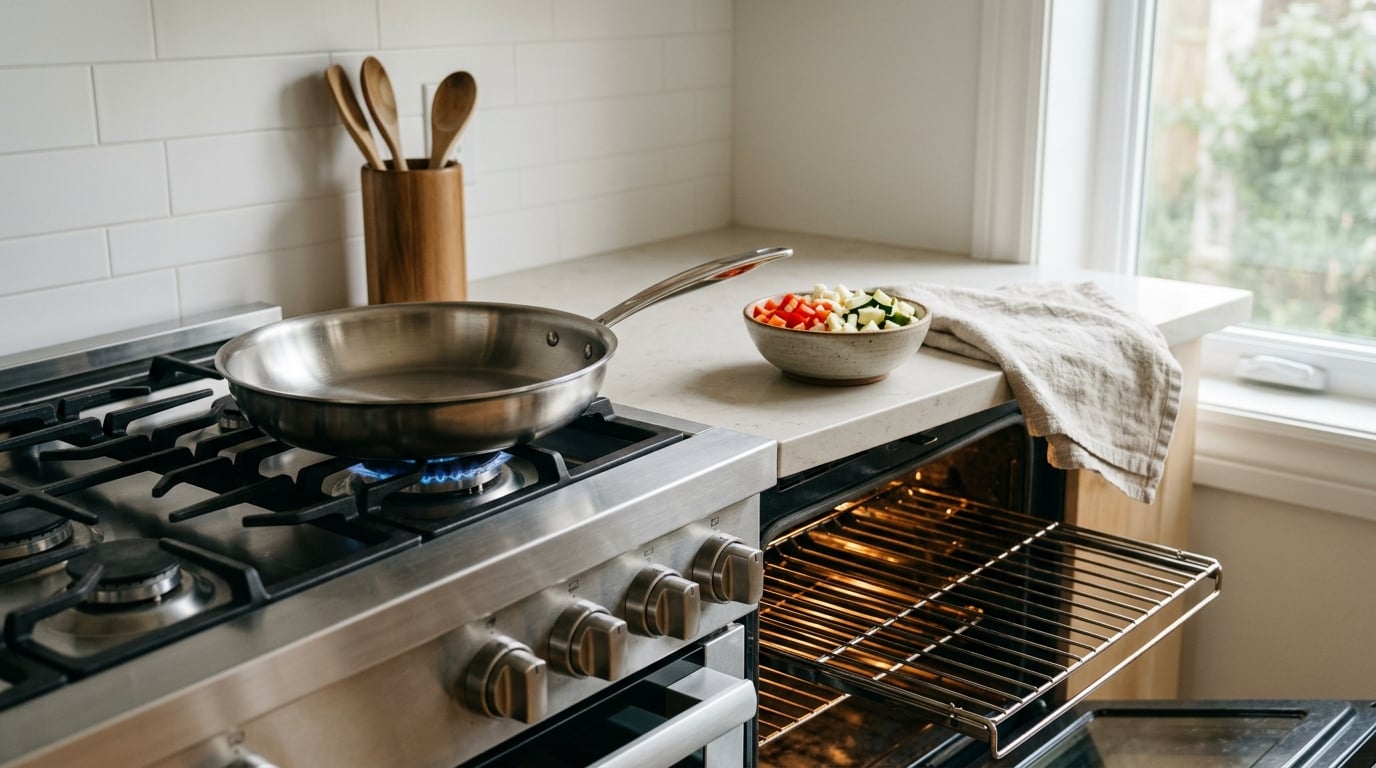
Almost every kitchen mistake beginners make comes down to heat, moisture, and timing, not talent. The same five habits show up again and again: a cold pan, a crowded skillet, food that never sits still long enough to brown, ingredients measured by guesswork, and seasoning added at the wrong moment. Fix those and an ordinary weeknight dinner tastes noticeably better.
I cook at home most nights, and the mistakes I still watch for are the same ones I made two years ago. They are habits, which is good news, because habits can be swapped out. Each one below explains what actually goes wrong in the pan, why it matters, and the specific correction.
Updated for October 2026.
Table of Contents
- Kitchen Mistakes Beginner Cooks Make at a Glance
- 1. Skipping the Preheat
- 2. Crowding the Pan
- 3. Stirring Too Constantly
- 4. Adding Food to a Hot Oil-Filled Pan
- 5. Using the Wrong Pan Heat
- 6. Measuring Ingredients by Eye
- 7. Salting and Seasoning Too Late
- 8. Not Tasting as You Cook
- 9. Carrying Moisture Into the Pan
- 10. Ignoring Food Safety Temperatures and Times
- Frequently Asked Questions
- What is the most common kitchen mistake beginners make?
- How can I tell whether a pan is hot enough?
- Can I fix food after making a cooking mistake?
- Do beginner cooks need a kitchen scale?
- How do I know when meat, poultry, or fish is safely cooked?
- What should I learn first as a new cook?
- The fastest way to catch kitchen mistakes beginner cooks make
- The Best First Fix for a Beginner Kitchen
Kitchen Mistakes Beginner Cooks Make at a Glance
Here is the whole list on one page. Use it as a checklist the first few times you cook a new dish, then keep it nearby until the fixes become automatic.
| Mistake | How it affects the dish | Quick correction |
|---|---|---|
| Skipping the preheat | Food sticks, browns unevenly, bakes pale | Heat the pan 3 to 5 minutes empty; let the oven reach its set temperature |
| Crowding the pan | Pan temperature drops, food steams instead of searing | Cook in batches so every piece sits in a single layer |
| Stirring too constantly | No browning, no crust, sauces break or scorch | Leave food undisturbed until the first side releases on its own |
| Overheated oil | Smoke, bitter flavor, splattering | Use a shimmering but silent pour, and lower the burner if it smokes |
| Wrong pan heat | Burner setting, pan temperature, and recipe temperature all disagree | Set the burner medium, then let the pan temperature do the work |
| Measuring by eye | Runs out of ingredients or bakes up dense and heavy | Level every cup, or weigh with a kitchen scale |
| Seasoning too late | Flat flavor that salt at the end cannot rescue | Season in layers: pan, early liquid, and final taste |
| Not tasting | Sauces and soups overshoot before you notice | Taste after every major addition, while a spoon can still fix it |
| Wet food in a hot pan | Steaming, sticking, pale crust | Pat dry meat and vegetables before they touch the pan |
| Ignoring safe temperatures | Undercooked food, or dry food from cooking too long out of fear | Use a thermometer: 165F poultry, 160F ground meat, 145F whole cuts and fish |
1. Skipping the Preheat
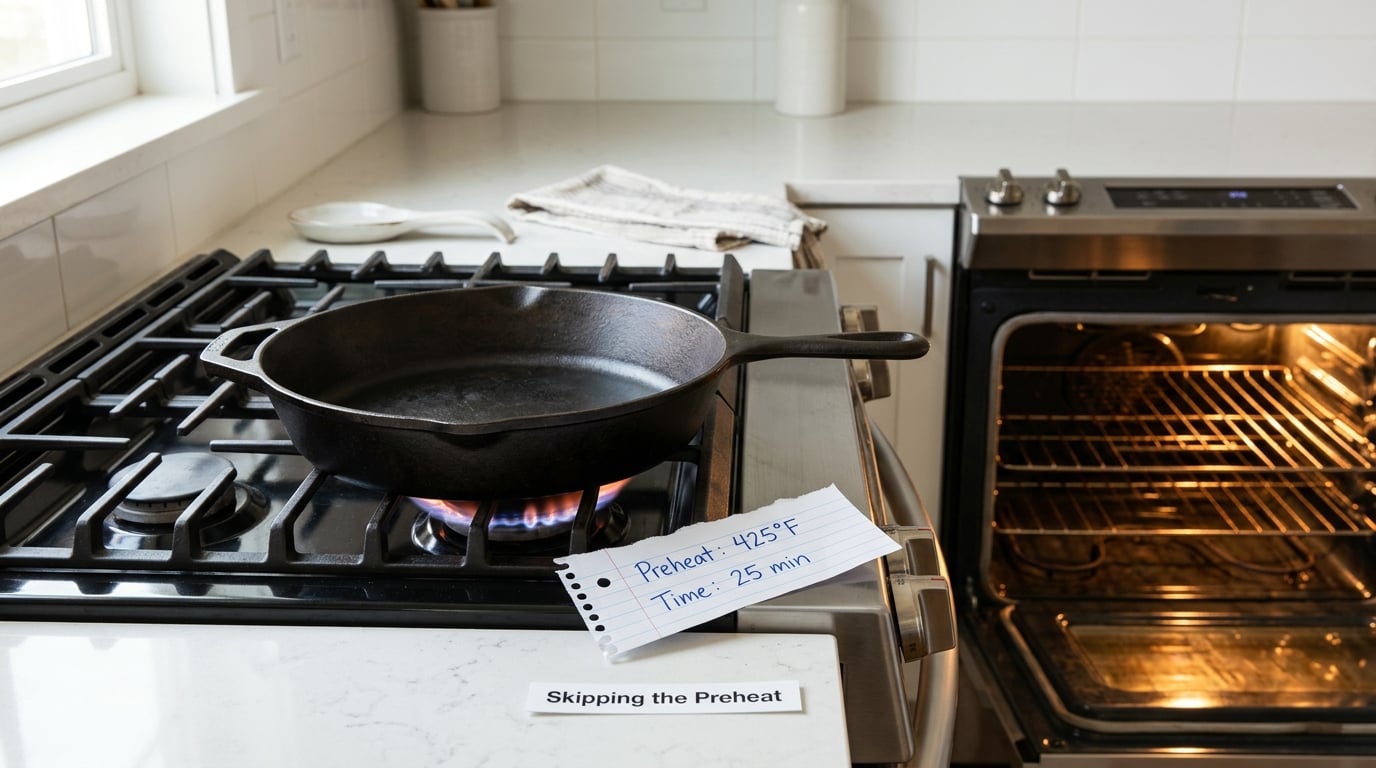
A cold pan is the root cause of most sticking, pale food, and uneven cooking. Metal needs to expand and come up to temperature before fat can flow properly across the surface, and an oven that has not finished heating means your food enters a cooler chamber than the recipe assumes.
Give an empty skillet 3 to 5 minutes on medium heat before adding anything. A properly preheated pan makes a faint shimmer when a drop of water skates across it and vanishes, rather than sitting and steaming. For the oven, set it to the recipe temperature and wait for the preheat signal, plus 5 extra minutes on a baking sheet dish, because metal trays absorb heat and the rack needs time to recover.
Take a seared chicken breast as the example. Dropped into a lukewarm pan, the outside sits in the pan long enough to stick and turn grey-white before any heat reaches the center, and the timing you followed in the recipe means the center is still underdone when the outside has overcooked. Same recipe, hot pan, and it browns in a few minutes with a clear signal to turn.
2. Crowding the Pan
Crowding the pan is the fastest way to turn a good pan into a steamer. Every piece of food releases moisture, and when there is no room for that moisture to escape, the pan fills with steam and the temperature around the food settles near boiling. Boiling water cannot brown anything, and browned flavor is most of what makes a dish taste like it was cooked rather than boiled.
The practical rule is simple: a single layer with a finger’s width of space between pieces. A 12-inch skillet holds roughly a pound of cut vegetables or about four chicken breasts with real gaps between them. When the food fills the pan in one even layer, you can still see bare metal in places, and that is the test.
Cook in batches instead. It adds a few minutes, and the last batch usually comes out even better because the pan is still hot. The same logic applies to the oven: if you double a sheet pan’s worth of vegetables, spread them across two pans rather than piling them on one.
3. Stirring Too Constantly
Constant movement is the habit behind grey, limp, unevenly cooked food. Browning, the Maillard reaction, needs surface contact with a hot pan and an uninterrupted window of heat. Move a piece of food every ten seconds and it never gets that window, so you get pale, steam-sweated surfaces instead of a crust.
Let food sit. After a piece hits the pan, leave it alone until it releases on its own, roughly 3 to 5 minutes depending on thickness. If you have to scrape it to turn it, give it another minute. That release point is your only real doneness signal, and it works better than any timer.
Some foods genuinely want movement, and the difference matters. Scrambled eggs need a steady push and pull the whole time, since you’re breaking them up on purpose. A boiling pot of sauce needs stirring to keep the bottom from scorching. A pan of green beans going dry needs a shake. Steak, chicken breast, fish fillets, and cut vegetables want stillness. Scramble the egg, leave the steak alone. If eggs are where your sticking problems start, how to make an omelet that does not stick walks through the same heat-and-wait principle in a form that is hard to ruin.
4. Adding Food to a Hot Oil-Filled Pan
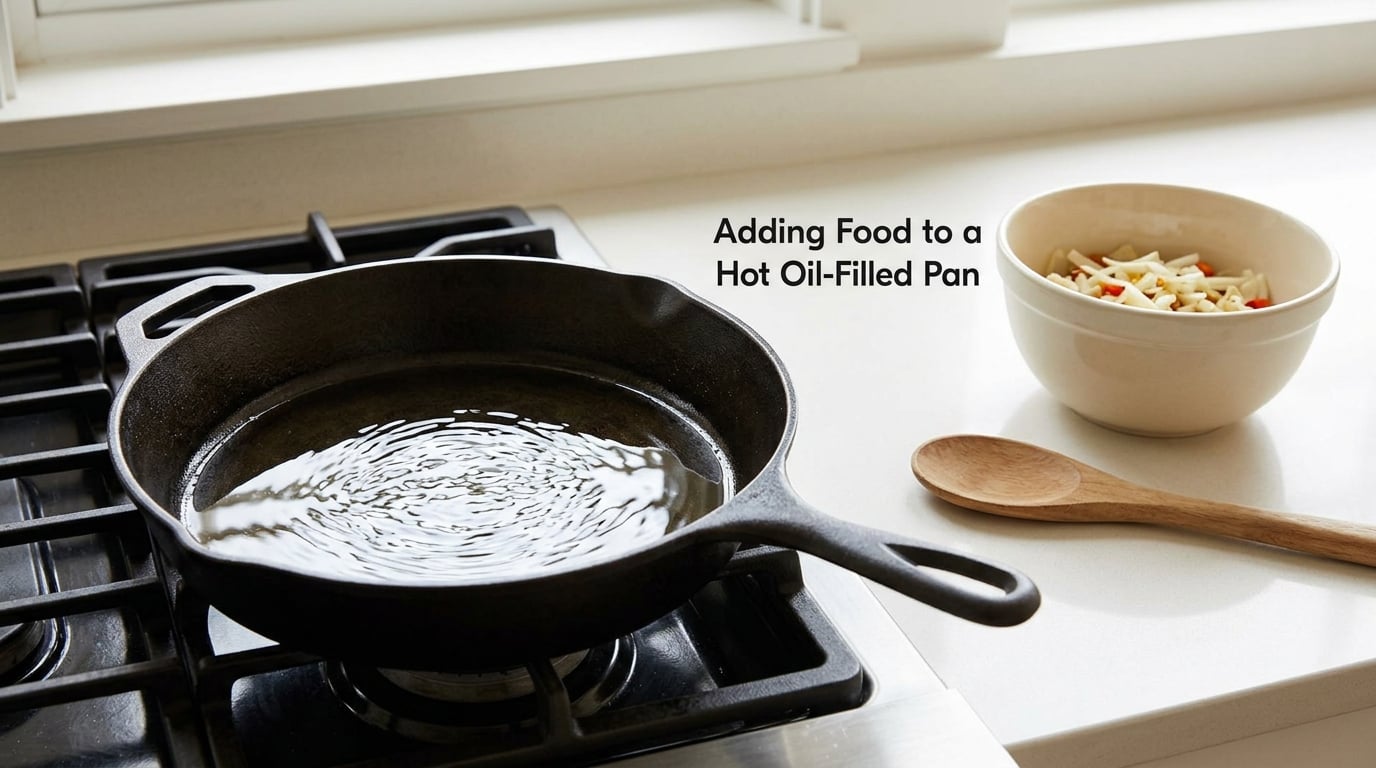
There is a real difference between oil that is properly hot and oil that is overheating. Properly hot oil is a shimmer across the surface and slides like water when you tilt the pan. Overheated oil smokes, darkens, thins out, and starts popping, and it breaks down into bitter compounds that follow the food into the dish.
You do not need a thermometer to judge it. Drop one small piece of food in: if it sizzles steadily and immediately shows a fine bubble ring around its edges, the oil is ready. Loud violent splatter and instant smoke mean you went too far, so pull the pan off the heat for 30 seconds and start over with fresh oil.
For home-fried potatoes, bring a wide pot of salted water to a boil first, simmer the cut potatoes until the outsides give to a knife, drain them, let them steam dry for 10 minutes, and only then fry them in a shallow layer of properly heated oil. That two-step method is what restaurant kitchens do, and it gives you crisp exteriors without the oil ever needing to reach smoking temperature. For chicken, season and dry the pieces, lay them away from you, and keep them still.
Use oils by their smoke point rather than their reputation. A neutral oil with a high smoke point such as avocado, canola, or grapeseed handles searing and pan-frying. Extra virgin olive oil suits dressings, finishing, and lower-heat cooking, where its flavor belongs. If you would rather not fry at all, our restaurant style mashed potatoes at home method is built on temperature control rather than hot oil, and it is a good second project once the preheat habit sticks.
5. Using the Wrong Pan Heat
Three different numbers are being confused when a beginner cooks make heat decisions: the burner level, the temperature of the pan itself, and the temperature written in the recipe. They are not interchangeable. The recipe tells you about the food, the burner controls the rate energy enters the pan, and the pan’s own temperature is what actually cooks the food.
A gas burner set to high pushes a lot of energy into a thin steel skillet, which can scorch a small amount of butter in under a minute. The same burner with a heavy cast iron pan and a full load of onions produces a gentle simmer. The setting is not the outcome, and neither is the recipe number, which is why recipes built on restaurant equipment often need the burner turned down at home.
Practical habits: start on medium, use medium-high only for preheating an empty pan, and drop to medium the moment food goes in. Give the pan two to three minutes to respond before judging, and remember that cold ingredients and a large food mass pull the temperature down for several minutes after they land. When a recipe says medium-high, treat that as a starting point, not a commitment.
6. Measuring Ingredients by Eye
Flour, sugar, and butter are the three ingredients where eyeballing quietly ruins a dish, because volume and weight are not interchangeable for them. A packed cup of flour can be a fifth heavier than a spooned and leveled one, and that difference changes the ratio of flour to liquid in the batter, which is what sets the texture.
For flour, spoon it into the measuring cup, level it with the back of a knife or a straight edge, and do not pack or tap it down. For liquid, set the measuring cup on the counter and read the mark at eye level rather than holding it up in the air. A small kitchen scale makes all of this simpler: weigh flour, sugar, rice, and butter directly into the bowl, and the recipe stops depending on how you scooped.
Use a scale for baking and for anything where precision changes the result. Cups are fine for water, stock, and oil, where volume is what the recipe assumes. If you have no scale, at least level rather than heap, and stop adding when the top of the ingredient is flush with the rim.
7. Salting and Seasoning Too Late
Seasoning at the end cannot fix a flat dish, because salt needs time and liquid to dissolve and travel into the food. Salt added in the final minute sits on the surface, tastes harsh, and leaves the interior bland. Seasoning early gives the salt time to penetrate the fibers.
Build seasoning in layers. Salt the pan just before the oil goes in, or salt meat and vegetables about 30 minutes before cooking so the draw pulls moisture to the surface and the pieces get a better crust. Season the cooking liquid for rice, pasta water, and soups, and adjust again near the end after the flavors have cooked and reduced.
Salt in layers and taste between them rather than adding it all at once. Acid, not more salt, is what most underseasoned dishes actually need: a squeeze of lemon, a splash of vinegar, or a spoon of tomato paste sharpens a flat sauce that already has plenty of salt. Be careful with cured or salty ingredients like stock, soy sauce, cheese, and olives, since they count toward the total and are the most common reason a beginner accidentally oversalts.
8. Not Tasting as You Cook
A dish is evaluated for the first time at the moment it leaves the stove, which is far too late to fix anything. The tools to correct seasoning, sweetness, and acidity are all in the pot, and once the food is plated, your only option is to accept it.
Taste after every major addition rather than at the end. In a tomato sauce, taste after the onions soften, after the tomatoes go in, and once more after 10 minutes of simmering, when the water has cooked off and the flavor has concentrated. You are looking for four things: is it seasoned enough, is it too sweet, is it bright, and does the liquid taste raw or cooked rather than sharp or heavy.
A vinaigrette is the easiest place to practice. Whisk one part acid to three parts oil, add a pinch of salt and a little mustard, then taste on a piece of lettuce rather than from the spoon, because dressing tastes stronger on a leaf than in a bowl. Adjust one variable at a time. If it is dull, add acid before you add oil, because more oil rarely fixes a flat dressing and usually makes it heavy. Emulsions are less forgiving of a hot pan and a rushed whisk than most beginners expect, so hollandaise that does not break is worth a read before you attempt one.
9. Carrying Moisture Into the Pan
Water is the enemy of browning. Moisture has to boil off before the surface of the food can heat past 212F, and a wet steak, a rinsed vegetable, or a damp piece of breaded chicken spends its first minutes in the pan steaming at a temperature too low to brown. You get a pale, soft surface that also sticks more, because the thin water layer severs contact between the food and the oil.
Make drying a step, not an afterthought. Pat meat and fish with paper towels on both sides until the towels come back nearly dry, and do it after seasoning, since salt draws new moisture to the surface. For vegetables, spin or pat them after washing. For dredged foods, let the coated pieces rest on a rack for 5 minutes so the coating absorbs moisture from the food underneath and dries on the outside.
Rinsing raw poultry is not one of those steps. Splashing water spreads bacteria across the sink, the counter, and your hands, and the heat of cooking is what kills it. Season and cook the chicken straight from the package, and clean the surfaces afterward.
10. Ignoring Food Safety Temperatures and Times
Color is a poor doneness test, and the two failure modes at the table are opposite. The first is serving food that is not safe because it still looks pink. The second, far more common among beginners, is cooking well past done because you were afraid of the first outcome. Both are solved by the same cheap tool: an instant-read thermometer inserted into the thickest part.
The USDA minimum internal temperatures are 165F for poultry, 160F for ground meat, and 145F for whole cuts of beef, pork, lamb, and fish. Take ground meat and poultry to the temperature on every piece, and let steak, chops, and roasts rest 5 to 10 minutes after cooking so the juices redistribute instead of running onto the cutting board.
Storage matters as much as cooking temperature. Keep the refrigerator at 40F or below, refrigerate perishables within two hours of cooking, and use cooked leftovers within 3 to 4 days, freezing what you will not eat in that window. When reheating, bring the food to 165F. Rinsing raw meat and poultry is not recommended, and the reason is worth remembering: it does not make the food any safer and it does spread bacteria around your kitchen.
Frequently Asked Questions
What is the most common kitchen mistake beginners make?
The most common beginner mistake is not preheating the pan and oven before adding food. A cold pan sticks, browns unevenly, and cooks the center of a piece more slowly than the outside. Heat an empty skillet 3 to 5 minutes on medium, wait for the oven preheat signal, and the same recipe usually turns out noticeably better with no other change at all.
How can I tell whether a pan is hot enough?
Use three signals together. A drop of water should skate across the surface and vanish instead of steaming. A small piece of food should sizzle steadily with fine bubbles forming around its edges right away, not explode or smoke. And a thin film of oil should shimmer and run like water when you tilt the pan. If the oil smokes, pull the pan off the heat for 30 seconds.
Can I fix food after making a cooking mistake?
Most mistakes are recoverable mid-cook. A bland sauce usually needs salt, acid, or 10 more minutes of simmering. A dish that tastes too sweet takes lemon juice or vinegar, and one that is too salty gets more liquid, unsalted stock, or a larger batch of rice. A sear that stuck to the pan cannot be repaired, but the food itself rarely has to be thrown away.
Do beginner cooks need a kitchen scale?
A scale is helpful rather than essential, and it pays for itself in baking. Volume and weight are not interchangeable for flour, sugar, and butter, and a small difference changes the texture of the result. A scale also saves time by cutting the measuring step out of baking entirely. For savory cooking with liquids, marked cups and careful leveling are enough until you bake often.
How do I know when meat, poultry, or fish is safely cooked?
Use an instant-read thermometer in the thickest part, away from bone. The USDA minimums are 165F for poultry, 160F for ground meat, and 145F for whole cuts of beef, pork, lamb, and fish. Color is not a reliable guide, since cured and sous-vide meat can look pink while still being safe, and rare roast beef can look done while it is not.
What should I learn first as a new cook?
Learn to preheat the pan, leave room between pieces, season in layers, and taste before serving. Those four habits cover most of what separates a good home dinner from a disappointing one, and they apply to every recipe you will ever follow. Knife skills and timing come second, because technique cannot rescue a crowded cold pan.
The fastest way to catch kitchen mistakes beginner cooks make
One habit catches more errors than any other: read the whole recipe before the heat goes on. Home cooks self-report this one constantly, along with casually eyeballing measurements instead of using cups and spoons. Reading the full recipe tells you what the dish needs before you are halfway through it and holding a hot pan.
Prep everything in advance, too. Chopping, measuring, and draining while the oil is heating is how beginners burn garlic, overcook a stir-fry, and discover they never chopped the onion. Slowing down for five minutes of mise en place removes more failure points than any gadget in a drawer.
The Best First Fix for a Beginner Kitchen
If you change one thing this week, change the preheat. Heat the pan properly, give the oven its full time, and cook in batches instead of crowding. That single habit fixes sticking, pale surfaces, uneven cooking, and the grey steamed flavor all at once.
Then work down this short list:
- Preheat fully, and let the pan tell you when it is ready instead of the timer.
- Keep a single layer in the pan. Two batches beat one crowded one every time.
- Season in layers and taste along the way.
- Check doneness with a thermometer: 165F for poultry, 160F for ground meat, 145F for whole cuts and fish.
- Stop stirring food that should be browning, and let it release on its own.
None of this requires new equipment or a better recipe. It is the same skillet, the same burner, and the same dinner, handled with attention. That is what moves a beginner cook from following recipes to trusting them.