
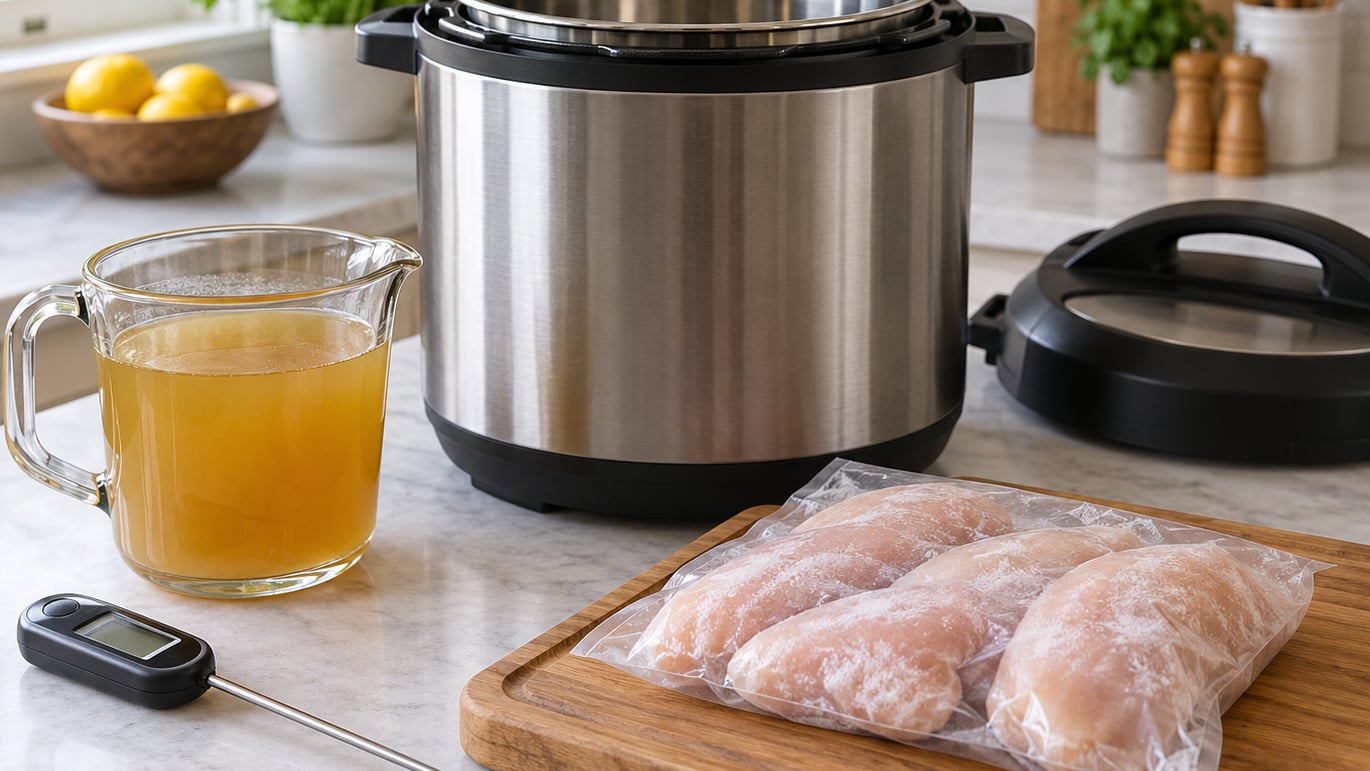
You can cook frozen chicken straight from the freezer in an Instant Pot with no thawing at all. Pressure cook frozen boneless chicken breasts on high for 10 to 12 minutes, let the pot natural release for 10 minutes, then confirm the thickest part reads 165°F (74°C) with an instant-read thermometer.
That is the whole method, and it takes roughly 30 minutes end to end including the come-to-pressure time. If you skipped the thaw step on the way out of the freezer tonight, this is your dinner.
Table of Contents
- What You Need
- Step-by-Step
- Common Mistakes
- Frequently Asked Questions
- Can you cook frozen chicken directly in an Instant Pot?
- How long do you pressure-cook frozen chicken breasts?
- How long does frozen chicken take in the Instant Pot?
- Should frozen chicken be thawed before using the Instant Pot?
- Do you need a trivet, and should you use the poultry setting?
- How do you store and reheat cooked chicken from the Instant Pot?
- Conclusion
What You Need
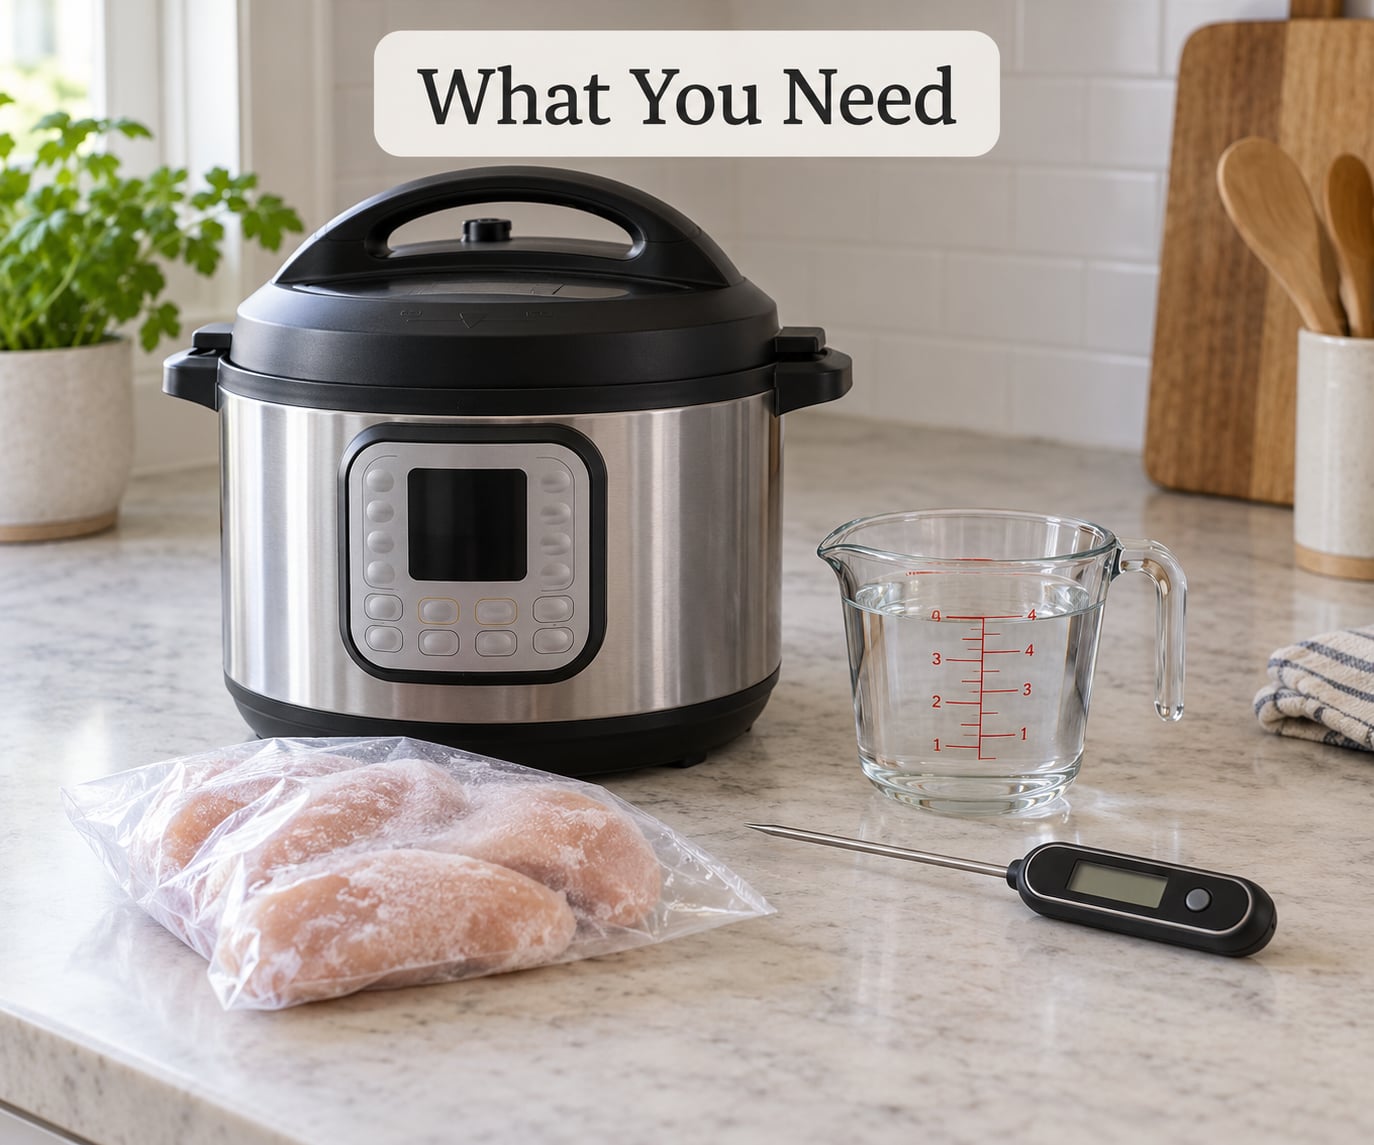
Here is the honest gear list. Not much of it, and most of it you already own.
- An Instant Pot or any 6-quart electric pressure cooker, 8-quart works fine
- The metal inner pot that came with it, plus the trivet if you have one
- A 1-cup measuring cup, filled with water or chicken broth
- Tongs or a fork for handling the chicken before and after cooking
- An instant-read thermometer, which is the one tool that makes this method safe
- Salt, pepper, and whatever seasoning you like
- A heat-safe surface, because the pot comes off the heat holding steam
On a 6-quart cooker, one cup of liquid is enough. On an 8-quart, use a cup and a half. Whatever the size, keep the food and liquid under the two-thirds fill line on the inner pot.
If your chicken is frozen solid in one clump, put it in the sink under cold running water for a few minutes so you can pull the pieces apart. That two-minute job saves ten minutes of guessing later.
Step-by-Step
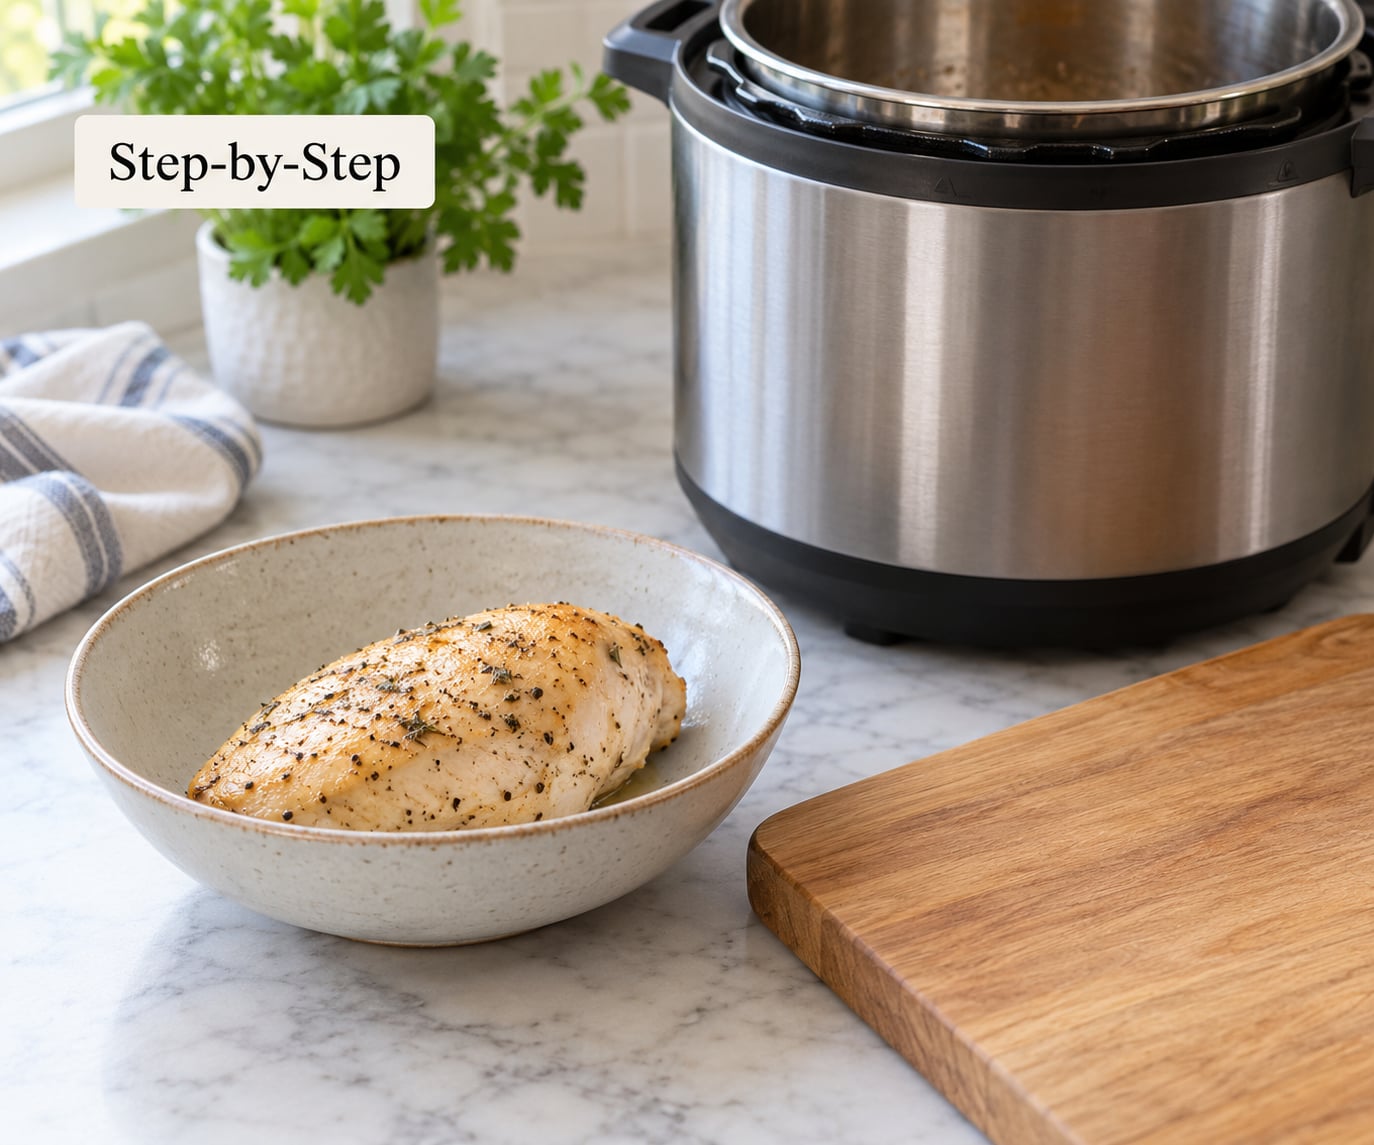
Set aside about 30 minutes total. Ten to fifteen of those are the pot coming to pressure, which is separate from the cook time and the most common reason people think this recipe failed.
Step 1: Prepare the Frozen Chicken
Take the chicken out of the packaging and check it over. If the packaging is torn or the chicken looks grey, slippery or smells off after thawing, throw it out rather than cooking it.
Pat the pieces dry with paper towel, and pull apart anything that arrived frozen as one solid block. Patting the surface dry helps seasoning stick instead of sliding off into the broth.
Keep the raw chicken away from your produce and your other groceries. If you want to season now, use salt, pepper, garlic powder and paprika, or work through our season-as-you-cook guide for layering flavor without salting the pot water twice.
Step 2: Add Chicken and Liquid
Pour the measured water or broth into the inner pot first, then set the chicken on top. Liquid first matters: the insert cannot run dry, and dry inserts are what produce tough, cardboard-textured chicken.
A trivet is optional. Chicken sitting directly in the broth cooks just fine, and many long-time users never use one. Use the trivet if you want the seared or roasted texture, or if you are cooking a whole bird.
Stack pieces only when they are not fused together. The clock does not care how many breasts you load, so a full meal-prep batch takes the same time as a single breast, as long as nothing is piled more than two deep and the pot stays under the fill line.
Step 3: Pressure-Cook the Chicken
Lock the lid, turn the steam release valve to Sealing, and set the cooker to Manual or Pressure at High. On a Ninja Foodi or Instant Pot Max, the same setting is called Pressure Level or High Pressure, so look for the word Pressure rather than Poultry.
Cook frozen boneless, skinless chicken breasts for 10 to 12 minutes. Cook frozen thighs and drumsticks for 10 to 12 minutes too, and give bone-in pieces or a whole chicken 12 to 15 minutes.
Add time by the piece, not by the pound. A 7 to 8 ounce frozen breast sits at 10 to 12 minutes; a 12 ounce breast that is thicker than 2 inches wants 12 to 14. A single frozen clump that will not separate gets 5 to 10 extra minutes, which is the fix longtime pressure-cooking users recommend most often.
Skip the Poultry setting. It is programmed for an average 1 to 1.5 inch fresh breast, which is thinner than most frozen pieces, so it undercooks the thick ones and lets you overcook the thin ones in the same batch.
Step 4: Check the Internal Temperature
When the cook cycle ends, leave the valve in the Sealing position for a full 10-minute natural release, then move it to Venting to let the pressure down. Natural release is what lets residual heat finish the chicken gently instead of driving it into a dry, rubbery texture.
Open the lid away from your face and check the thickest part of the piece, not the edge. You are looking for 165°F (74°C) in the center. Check two or three breasts of different sizes, since the small ones cook faster than the big ones.
If a piece reads under 165°F, put the lid back on for another 3 minutes at high pressure and check again. If it reads 190°F or higher, that is your answer on overcooking: it will be dry no matter how you slice it.
Step 5: Rest, Slice, and Serve
Rest the chicken on a cutting board for 5 minutes before cutting. That pause lets the juices settle back into the meat instead of running onto the board.
Slice against the grain for the quickest way into a tortilla, or shred it with two forks for tacos and grain bowls. Toss the cooking liquid back over the chicken, or save it in a jar in the fridge for broth, soups and pan sauces.
From here it goes into chicken grain bowls, enchiladas, pasta, wraps and salads. Most families eat the same batch three or four ways across a week of lunches.
Common Mistakes
Overcooking and quick release. Ten minutes at high pressure followed by a quick release is how you get a breast that squeezes like a sponge when you cut it. Add 5 to 10 minutes of natural release, which is where most of the softening and drying actually happens.
Too little liquid. One cup in a 6-quart pot, a cup and a half in an 8-quart. Skimping on liquid is the second most reported cause of dry results after overcooking.
An overloaded pot. Going past the two-thirds fill line leaves the cooker unable to build proper pressure, and the chicken cooks unevenly. A full meal-prep batch is fine, a packed pot is not.
Skipping the thermometer. Time is a guideline, temperature is the answer. Check the thickest piece every time, especially when the breasts came from different packs and are different sizes.
The wrong pressure setting. Poultry is tuned for fresh, average-thickness meat. Use Manual or Pressure at High so you control the minutes.
Opening the cooker too quickly. Cracking the valve the second the timer beeps sends steam and hot liquid out of the port and starts the carryover cooking you just paid 12 minutes to avoid.
Frozen pieces stuck together. A solid block cooks from the outside in and the middle stays frozen no matter what the timer says. Split it before it goes in, or add 5 to 10 minutes and verify the center.
Forgetting that come-to-pressure time is not cook time. Expect 10 to 15 minutes before the timer even starts counting down. A recipe that advertises 25 minutes really takes closer to 35, and knowing that keeps you from yanking the lid early.
Frequently Asked Questions
Can you cook frozen chicken directly in an Instant Pot?
Yes. Frozen boneless chicken goes straight from the freezer into the pot. Add at least 1 cup of water or broth, pressure cook on high, and check the thickest piece with an instant-read thermometer. It needs to reach 165F or 74C before you eat it. No thawing is required, which is the whole point of the method.
How long do you pressure-cook frozen chicken breasts?
Boneless, skinless frozen chicken breasts usually need 10 to 12 minutes at high pressure, followed by a 10-minute natural release. Timing depends more on thickness than weight: a breast under 2 inches thick needs the lower end, and a thicker 12 ounce breast may need 12 to 14 minutes. Confirm 165F before serving.
How long does frozen chicken take in the Instant Pot?
Frozen thighs and drumsticks generally take around 10 to 12 minutes at high pressure, and wings need 8 to 10. Larger bone-in pieces or a whole chicken need 12 to 15 minutes. Always verify that the thickest area reaches 165F. If the pieces froze together in one block, split them first or add 5 to 10 minutes.
Should frozen chicken be thawed before using the Instant Pot?
No thaw is required, which makes this a good last-minute dinner. Very large, tightly packed pieces cook more evenly after thawing safely in the refrigerator overnight. Never thaw chicken on the counter or in warm water, since the outside warms into the danger zone long before the center softens. Our defrosting guide covers the safe methods.
Do you need a trivet, and should you use the poultry setting?
A trivet is optional. Chicken cooks fine sitting directly in the broth, and most experienced pressure cooks skip the rack, though a trivet gives you seared or roasted texture instead of poached. Skip the poultry setting and use Manual or Pressure at High, because poultry is timed for a thinner fresh breast and will undercook frozen pieces.
How do you store and reheat cooked chicken from the Instant Pot?
Cool the chicken and store it in an airtight container in the refrigerator for up to four days, or freeze it for up to three months. Reheat only what you will eat, and only once, at 165F or 74C. Sprinkling a few drops of water over the chicken before microwaving keeps reheated pieces from turning dry.
If you ever do want to thaw first rather than cook from frozen, our safe defrosting methods walk through the cold-water and refrigerator approaches.
Conclusion
Add a cup of liquid, drop the frozen chicken in without thawing it, seal the lid with the valve on Sealing, and pressure cook on high for 10 to 12 minutes for boneless pieces. Then leave the valve closed for a 10-minute natural release and check the thickest part with a thermometer.
That is the method for how to cook frozen chicken in an Instant Pot, and it takes the guesswork out of a dinner you forgot to plan. Keep the liquid at a full cup, keep the pot under the two-thirds line, and let 165°F (74°C) be the last word.