
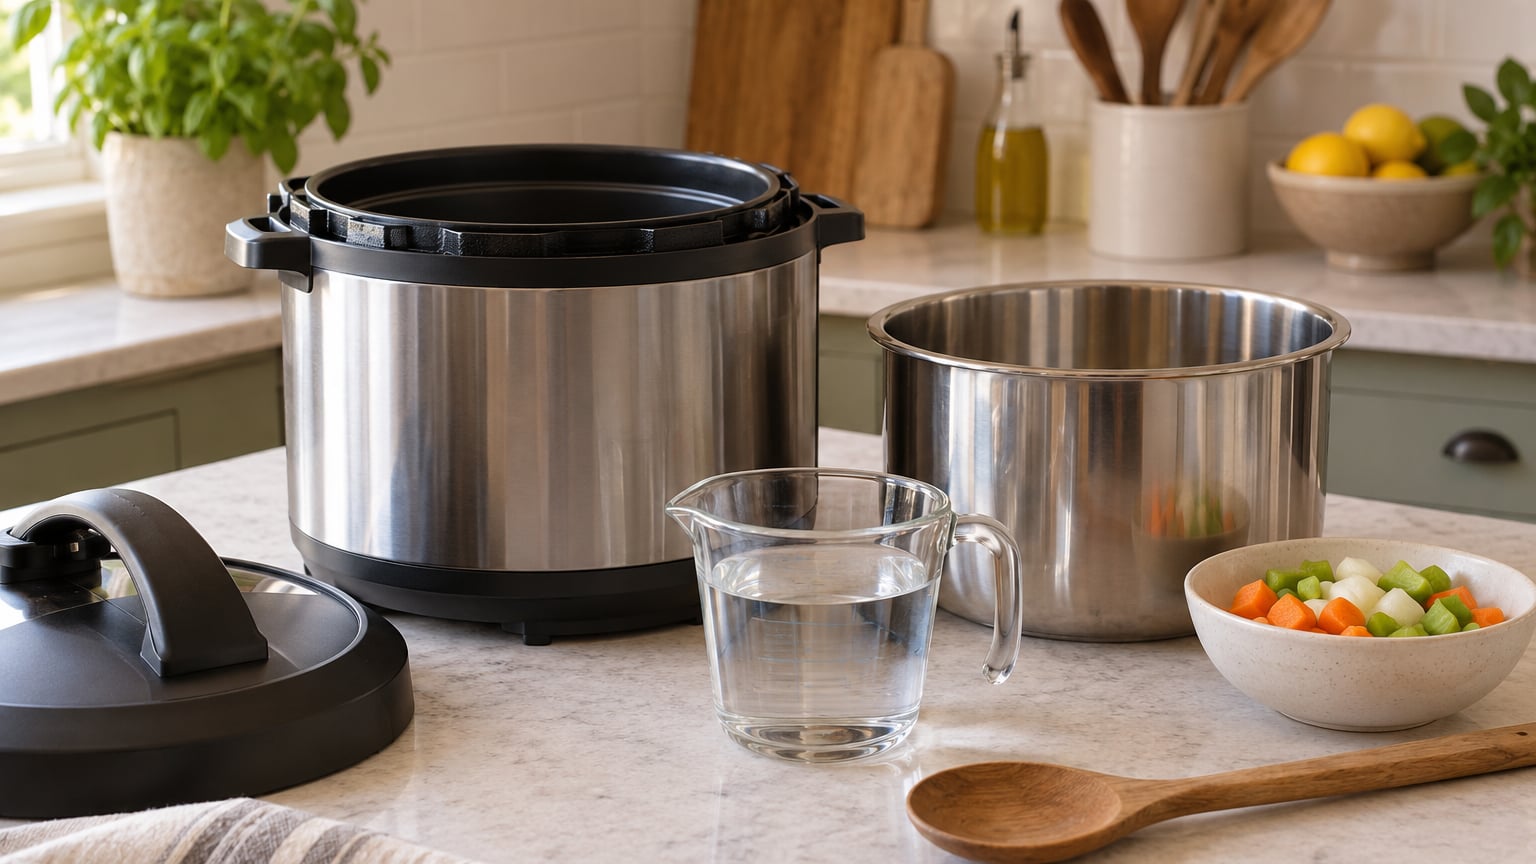
Learning how to use an Instant Pot for beginners takes about twenty minutes, and almost all of that is reading rather than cooking. Put food in the stainless steel inner pot, add thin liquid, lock the lid with the steam release valve set to Sealing, press Pressure Cook or Manual, set your time, and walk away. The pot does the rest, then you release the pressure and open it.
Two rules explain nearly every failure beginners have. There is always liquid in the pot, and you never force the lid. Learn those first and the machine is a good cook. Update for 2026, the notes below cover the Duo, Duo Plus, Duo Crisp and Pro families, with small differences called out where they matter.
Table of Contents
- What You Need
- Step-by-Step
- Common Mistakes
- Frequently Asked Questions
- Do I need to preheat an Instant Pot before cooking?
- When should I use natural release instead of quick release?
- Why does my Instant Pot say no liquid?
- Can I use frozen ingredients in an Instant Pot?
- What should I do if the pressure cooker will not stop cooking?
- Can I leave cooked chicken and rice in the pot overnight?
What You Need
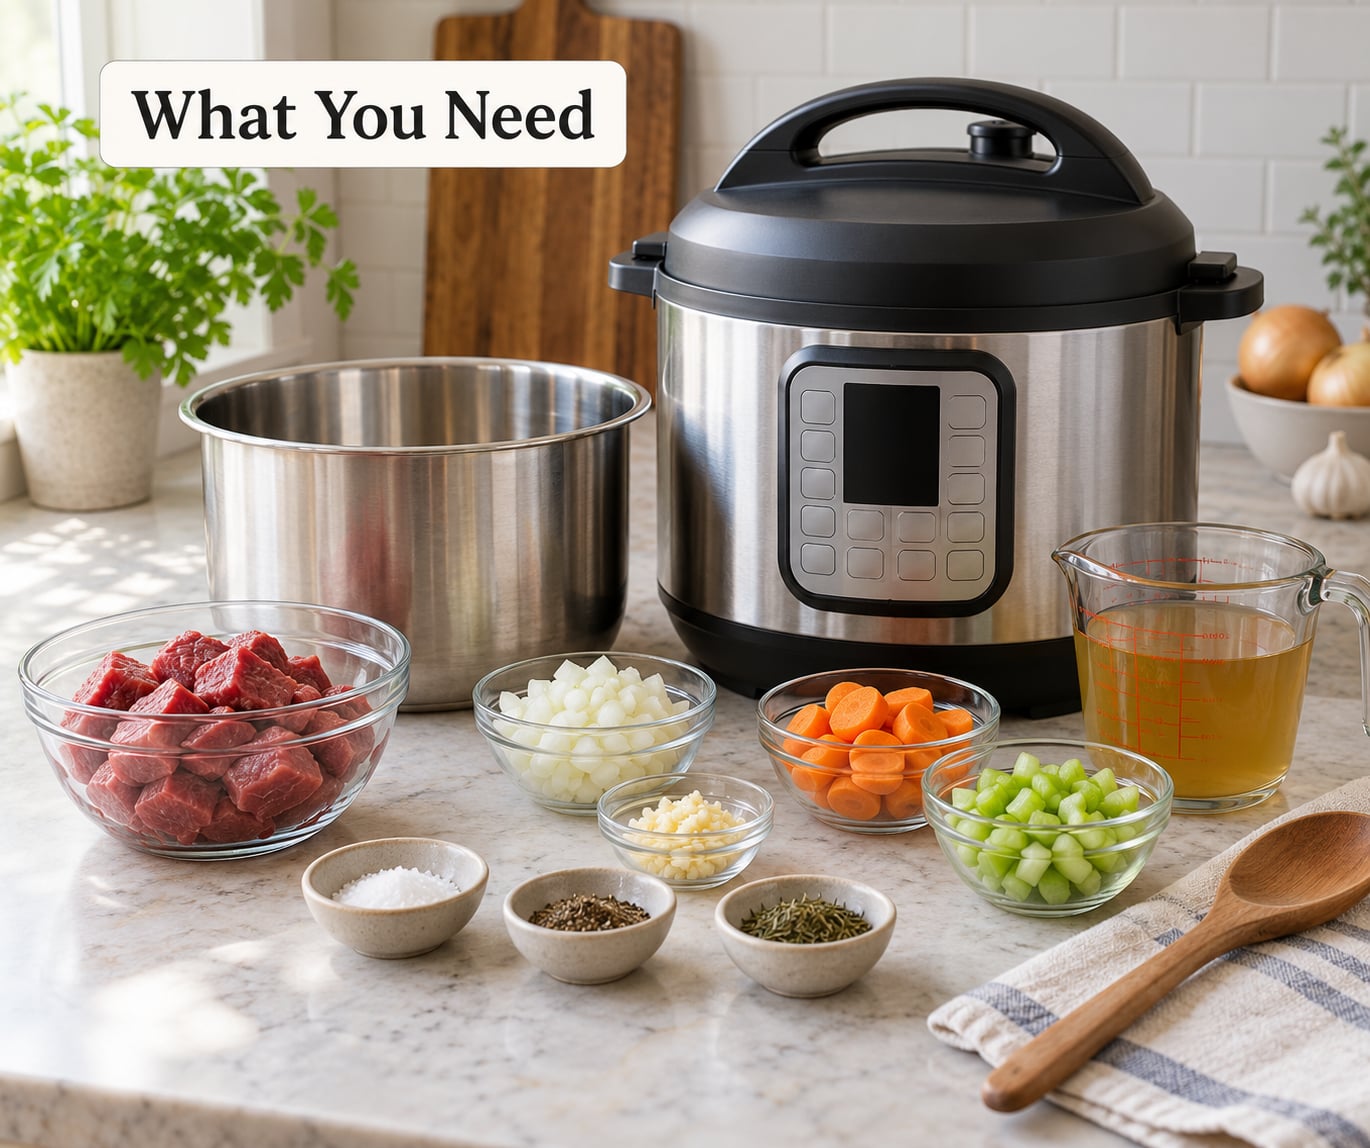
Most owners never read the booklet that ships in the box, and plenty still do not have it. Here are the parts by name so the rest of this guide makes sense, plus the short list of things worth adding to the box.
The base holds the heating element, the controls and the electrical cord. The inner pot is the removable stainless steel insert that actually holds your food, and it has two stamped lines inside worth memorizing: the lower one is the minimum safe liquid level, the upper one is the maximum fill line.
The lid carries the sealing ring, a silicone gasket that sits in a groove around the underside, plus a steam release valve and a float valve. The float valve is the small black pin on top that pops up the moment the pot is pressurized. If it is up, the pot will not open, and that is by design rather than a fault. A condensation catcher clips over the valve to catch drips.
A trivet, the short stainless steel rack that sits on the bottom of the inner pot, lets you pot-in-pot: a smaller bowl or pan raised above the liquid so nothing boils dry against the base.
On size, most households land on the 6 quart. Reddit owners describe it the same way again and again: 6 quart feeds two to four people comfortably, 8 quart suits a family of five or six, 3 quart is really for single portions and dips, and 10 quart is for batch cooking and side dishes. On models, the Duo is the plain pressure cooker most beginners want, the Duo Crisp adds a glass lid so it can air fry, the Pro adds Bluetooth, and the smaller Go model is a personal-size pot.
Beyond what came in the box, only three accessories earn their money early: a spare sealing ring, a second inner pot if you cook a lot at once, and a glass or ceramic lid for non-pressure cooking. Extra rings also solve the smell problem, because a ring that has absorbed curry can be swapped for a second one you keep for sweet recipes.
Step-by-Step
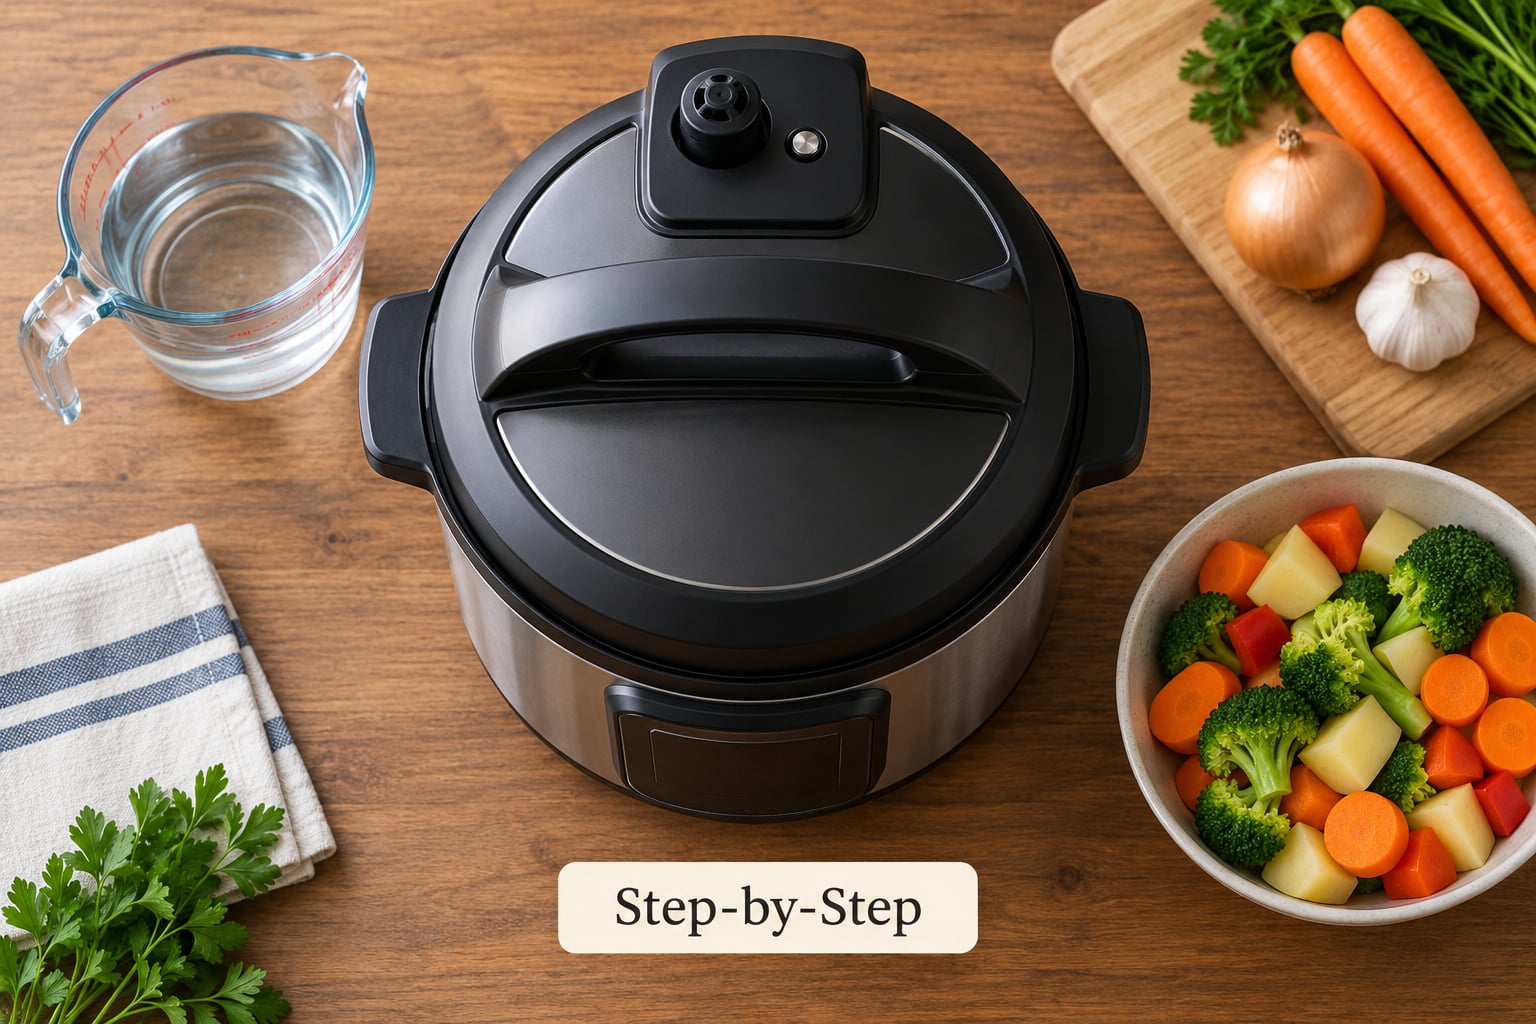
How to Set Up and Season Your Instant Pot
Wash the inner pot, lid, sealing ring and trivet in warm soapy water and dry them fully. Pull the sealing ring out of its groove with your fingers, check it for splits or flattening, and press it back in so the flat side sits down and the ring is seated all the way around.
Set the inner pot into the base and make sure it clicks into place, because a crooked insert is the most common reason a pot will not come to pressure. Then run the water test before you cook anything real.
Add two cups of water and one cup of dry beans, nothing else. Lock the lid, set the valve to Sealing, press Manual or Pressure Cook and set 2 minutes. Ignore the display for now. The clock only starts counting down once the float valve rises, and reaching pressure usually takes 8 to 12 minutes.
When the timer finishes, turn the valve to Venting for a quick release and wait for the float valve to drop. Open it, and the beans should be tender and the water reduced. If the water did not reduce or the pot never pressurized, something is not seated properly. Seasoning a new pot is optional; most people just cook with it, and the stainless steel insert does not need it.
How to Choose a Beginner Recipe
Pick something with three traits: a short ingredient list, a stated liquid amount, and a cook time you can check. Chicken thighs, a pot of beans, hard-boiled eggs and a soup all qualify. A recipe that starts with sear the, reduce the and finish with a reduction needs experience you have not built yet.
One thing worth knowing before you start: pressure cooking and slow cooking are different jobs. Pressure cooking needs liquid and takes minutes. Slow cooking needs almost none and takes hours. A slow cooker recipe you convert straight over will often scorch, because there is no liquid to prevent the burn notice.
If you like baking as much as pressure cooking, our guide on how to make focaccia at home for beginners covers the dough side of things while you get comfortable with the pot.
How to Load and Cook the Pot
Measure ingredients into the inner pot. Add thin liquid, and treat that rule as absolute: at least one cup in a 6 quart pot, three-quarters cup in a 3 quart pot, one and a quarter cups in an 8 quart pot, and one and a half cups in a 10 quart pot. Broth, water or tomato sauce all count. Thick sauces and thickeners do not, which surprises people.
Stay under the upper fill line at all times, and go further down to the halfway mark for anything that expands, such as rice or dried beans. Lock the lid by twisting until the lid body lines up with the base marks, and set the steam release valve to Sealing.
Press Manual or Pressure Cook, dial in the cook time, and press the dial to set it. There is no separate Start button on most models. Pressing the button once begins the cook, which is why new owners think nothing happened. Let the pot come to pressure first, then let it cook.
Do not touch the base or move the cooker while it is pressurized, and keep the steam valve pointed away from cabinet edges. If you are sautéing first, that happens with the lid off, the valve set to Venting, and the heat on medium.
How to Release Pressure Safely
Quick release means turning the valve from Sealing to Venting with a long-handled utensil or tongs and standing back. Steam blasts straight up, and that is how beginners burn a hand. Never use quick release on soup, oatmeal, beans, rice or anything foamy, because the sudden drop lets the contents foam up the pipe and out through the valve.
Natural release means leaving the valve on Sealing and waiting. Pressure bleeds off on its own over roughly 10 to 30 minutes depending on volume, and food keeps cooking the whole time. That is exactly what you want for tender meat and for grains that should not turn to mush.
Use quick release for vegetables, fish, eggs you want soft rather than jammy, and any low-starch dish. Use natural release for chicken, pork shoulder, rice, and anything with a lot of liquid. Whatever you pick, the lid stays locked until the float valve drops on its own. There is no release lever to force, by the way, and never try to pry the lid before the pin is down.
Your First Beginner Recipes
Hard-boiled eggs. One cup water, six eggs, Manual on high for 6 minutes, 6 minutes natural release for jammy yolks or a quick release plus an ice bath for hard yolks. Eight minutes gives a fully set yolk.
Shredded chicken. Two chicken thighs, one and a half cups chicken broth, a bay leaf, 12 to 15 minutes on Manual, then quick release. Shred with two forks straight in the pot. Frozen breasts work from frozen at the same time, which is the single feature that converts most new owners.
Vegetable side. Chopped carrots, potatoes and green beans, one and a half cups broth, 8 minutes, quick release. Keep vegetables under the halfway fill line and use quick release so they stay crisp instead of turning soft.
If your instinct is chicken, our step-by-step on how to roast a whole chicken for beginners is a good oven reference, while the pressure cooker version takes a quarter of the time.
Common Mistakes to Avoid on Your First Cook
The first and most common mistake is forgetting liquid. No liquid, no steam, no pressure, and the pot may throw a burn notice. The second is crowding. Fill lines are safety rules as much as performance rules, so an overfull pot can spit hot liquid when it opens.
The third is quick-releasing a foamy dish. The fourth is opening the lid the instant the timer stops, before the float valve drops. The fifth is treating a preset button as a promise. Presets are averages, and new owners routinely get mushy rice from the rice program because the liquid-to-rice ratio matters more than the button does. For your first ten cooks, press Manual and set the time yourself.
One last one: cook times in recipes exclude the 8 to 12 minutes of come-to-pressure time. A 15 minute recipe is a 25 minute cook, and expecting otherwise is what makes people think the pot is slow.
Common Mistakes
Burn notice. Not enough liquid, or too little liquid for the time. Turn the pot around with long tongs, let the hot liquid coat the bottom for a minute, add a cup of water, and press Manual to restart.
Will not come to pressure. Usually one of four things: the sealing ring is loose or backwards, the inner pot is tilted, the steam release valve is set to Venting, or there is not enough liquid. Check the valve position first, since that is the one people miss.
Nothing happens when you press a button. Most models start on the first press with no separate Start button. If the display is not lighting at all, the pot is not seated on the base or has not reached a wall outlet.
Steam leaking from the side of the lid. The sealing ring is not seated evenly or is deformed. Take it out, wash it, dry it, and press it back into the groove with the flat side facing down.
My lid smells like garlic and will not stop. The porous sealing ring absorbs strong odors permanently. Bake the ring alone at 230 degrees for three hours, run it through the dishwasher often, and keep a spare ring for smelly cooks.
Liquid boils dry. Pressure cooking and deep frying do not mix. Never deep fry, sear under pressure, or fill a cup past the halfway mark with oil. Use the sauté function with the lid off instead.
On food safety, cook poultry to 165 degrees F, ground meat to 160 degrees F, and whole cuts or fish to 145 degrees F. Move cooked food out of the pot rather than leaving it on warm indefinitely, and refrigerate leftovers within two hours.
Frequently Asked Questions
Do I need to preheat an Instant Pot before cooking?
No, and this trips up almost everyone. There is no preheat cycle on an electric pressure cooker, because the pot is sealed and pressure cannot be built around cold food any differently than hot food. The heating element runs the entire cook. For roasting or searing you do want the inner pot hot, so use the saute function with the lid off for a few minutes before you add meat.
When should I use natural release instead of quick release?
Use natural release for anything that benefits from continued cooking, such as chicken, pork shoulder, rice and dried beans. The pot stays locked, pressure bleeds off over 10 to 30 minutes, and the food keeps cooking the whole time. Use quick release only for low-starch vegetables, fish and eggs, and never for soup, oatmeal or foamy beans, where the sudden pressure drop sends food up through the steam valve.
Why does my Instant Pot say no liquid?
The float valve rose without enough steam to hold pressure, and that nearly always means the liquid was below the minimum line or the sealing ring is not seated. Add liquid up to the stamped minimum line, press the sealing ring flat side down into its groove, and make sure the steam release valve is set to Sealing. If it happens again on the same recipe, you are likely running the time too long for the liquid you added.
Can I use frozen ingredients in an Instant Pot?
Yes, and frozen is often the fastest route to dinner. Frozen chicken breasts and ground beef cook from frozen with no thawing, as long as you add a cup of liquid and keep the fill line in view. Frozen vegetables work on a shorter cook because they thaw as they cook. One caution: do not pressure cook frozen meat in a packed block, and never put a frozen sealed container or a whole frozen squash in the pot.
What should I do if the pressure cooker will not stop cooking?
Press the Cancel or Adjust key to stop the cook, then release the pressure the way the recipe specifies, quick release for low-starch food or natural release for everything else. Once the float valve drops the lid opens normally. If the display shows an error code instead, let the unit cool fully before handling it, and check that the inner pot is not empty, since an empty pot is the most common cause of a stuck element.
Can I leave cooked chicken and rice in the pot overnight?
Do not, even on keep warm. Hold cooked chicken and rice in the refrigerator within two hours and use them within three to four days. Keep warm mode is meant for the last hour or two of a cook, not for overnight storage, because food sitting in a warm pot sits in the food safety danger zone of 40 to 140 degrees F for far too long. Reheat leftovers to 165 degrees F before serving.
Start with the water test this week. It takes fifteen minutes, it proves the seal and the float valve work, and it gives you the confidence to press Manual on a batch of chicken thighs without hesitating. From there the machine is mostly liquid, fill line and patience.