
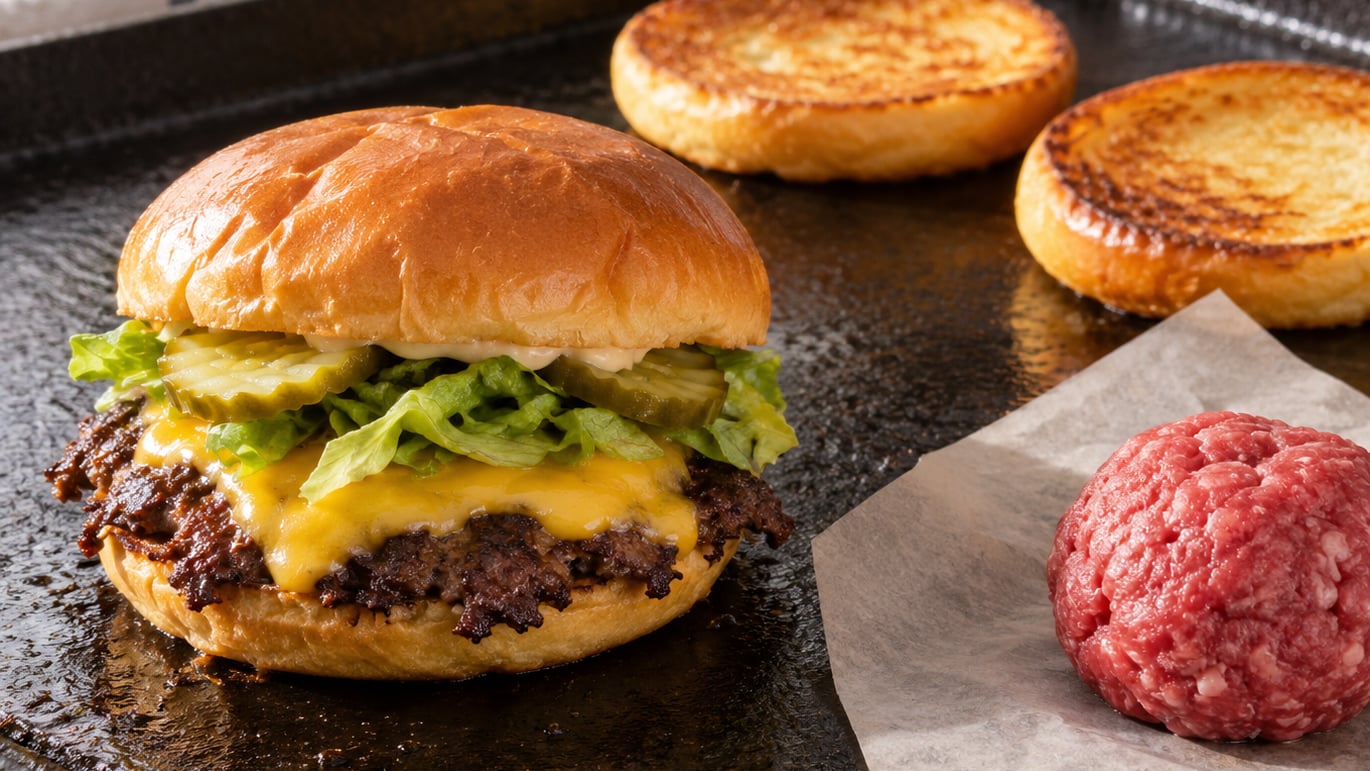
A smash burger comes down to three things: ground beef that is about 80% lean, a cooking surface hot enough to make water hiss on contact, and a thin patty pressed flat within about 10 seconds of landing. Get those right and a stovetop skillet produces the same lacy, browned edges you get from a restaurant flat-top, with the center still juicy.
The whole cook takes under 10 minutes. The shaping takes longer than the cooking, which is the part most home cooks find surprising.
What You Need
Equipment first, because two of these items decide whether the patty smashes cleanly or sticks to everything. A 10 to 12 inch cast iron skillet or a flat griddle plate gives you the flat, conductive surface a smash burger needs. A thin, rigid spatula with a sharp edge is the second must-have. A burger press is nice but not essential, and a sturdy piece of parchment paper does the same job.
- Cooking surface: cast iron skillet, carbon steel griddle, or flat griddle plate
- Tools: rigid spatula with a thin edge, two sheets of parchment paper, instant-read thermometer, tongs
- Beef: ground chuck or 80% lean ground beef, kept refrigerated until the last second
- Buns: potato rolls, or any soft-but-sturdy bun that will not fall apart under a thin patty
- Seasoning: kosher salt or coarse salt, cracked black pepper
- Cheese and toppings: American or similar melty cheese, shredded lettuce, thin tomato slices, onion, pickles, sauce
Ground chuck beats ground sirloin here because the fat is what keeps a quarter-inch patty from turning into a cracker. Cooks on burger forums consistently steer beginners toward 80/20 and away from anything leaner than 85/15. Lean beef has no fat left to render, and a thin patty with no fat cooks in seconds and dries out immediately.
Finely ground beef is easier to smash than coarse grind because it spreads evenly without tearing. The instant-read thermometer is not fussy equipment. Ground meat has to reach 160°F (71°C) for safety, and on a thin patty a thermometer is the only honest way to check the center without cutting it open.
Patty size decides how long each side cooks and which bun you pick:
| Patty size | Weight per patty | Cook time per side | Bun to use |
|---|---|---|---|
| Slider | 1.5 oz | 45 to 60 seconds | Small dinner or slider rolls |
| Standard | 2.5 to 3 oz | 2 to 3 minutes | Potato rolls |
| Double stack | 2 x 2 oz | 2 to 3 minutes | Brioche or potato rolls |
For more on keeping the patty moist through the cook, our guide to how to make burgers that stay juicy covers the fat and seasoning choices that matter here.
Step-by-Step
Preheat Your Griddle and Toast the Buns
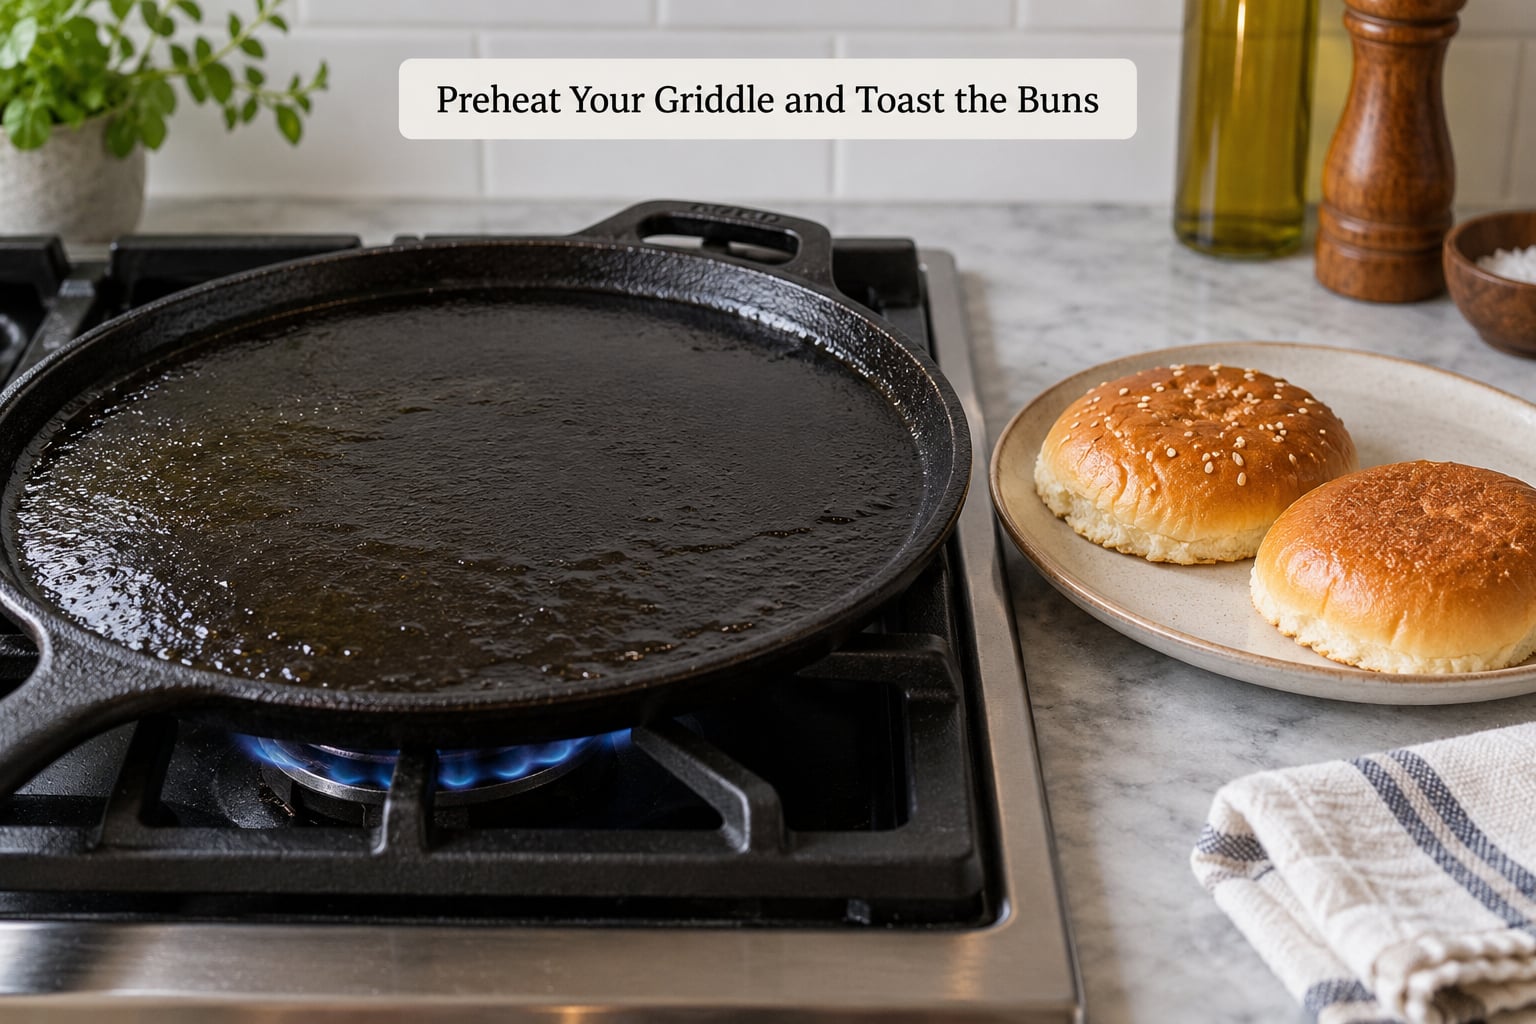
Heat the skillet or griddle over medium-high to high heat until it is visibly hot. On a cast iron skillet, that means several minutes of preheating and a faint shimmer when you drop a drop of water. Wipe the surface with a paper towel, then add a thin film of a high-smoke-point oil such as avocado, canola, or clarified butter.
Yes, oil the surface. A light coating keeps the meat from welding itself to the pan during the first ten seconds, and it stops the crust from tearing off when you flip. Ghee or clarified butter also seasons the patty, but plain oil gives a cleaner crust flavor.
While the pan heats, split the buns and place them cut-side down on a dry section of the griddle or in a hot pan for 30 to 60 seconds. Pull them off before they over-toast and set them aside. Keep the beef in the refrigerator during all of this. Cold meat hitting a hot surface is what produces the hard sear; room-temperature meat steams first.
Shape the Beef Without Packing It
Take the beef out and divide it into loose 2.5 to 3 ounce balls. Roll them gently with your palms only. Compacting the meat squeezes out air and makes the ball dense, and a dense ball smears instead of spreading.
Put one ball between two sheets of parchment paper, then press down with the heel of your hand or roll it with a rolling pin until it is roughly a quarter inch thick and about an inch wider than your bun on all sides. The extra width is not waste. Those ragged fringes are the lacy edges everyone is after, so do not trim them.
Peel off the top sheet and leave the bottom one attached to the patty. You will need the meat to be loose enough that it hits the griddle and sticks to nothing.
Place, Smash, and Season the Patties
Lay the parchment-side up onto the hot surface and peel the paper away as it touches. You should hear an immediate, aggressive hiss. If you do not, the pan is not ready. Set the meat down and immediately press it flat for 5 to 10 seconds with a sturdy spatula, a second sheet of parchment, or a heavy flat object.
Longer contact is what builds the crust. Smashburger chain founder Tom Ryan described the technique as a firm, sustained press rather than a quick tap, and home cooks who hold 10 to 20 seconds consistently get more browning than those who tap and lift.
Season the exposed beef right away with salt and pepper, while it is flat on the surface. Seasoning before smashing mixes salt into the meat and can give it a tacky texture. Once the edges look deeply browned and the top is still mostly pink, about 2 to 3 minutes, slide a thin spatula under the patty.
Flip Briefly and Check the Center
Flip once, at roughly a 45-degree angle for leverage if the patty has spread wide. Press it down lightly for another few seconds, then leave it alone. No second press and no flipping again. Each extra press squeezes out the juice you worked to keep in there.
Check the center with the thermometer and cook until it reads 160°F (71°C), which is the USDA minimum safe internal temperature for ground meat. On a standard patty this is usually 60 to 90 seconds. On a double stack, cook the first patty, then start the second a minute later so both are ready at the same time.
If you want cheese, lay a slice on each patty during the final 15 to 20 seconds and let it melt over the top. American cheese is the consensus pick among cooks because it melts evenly and stays soft. If there is no cheese on a patty sitting too long on the griddle, move it.
Assemble and Serve Immediately
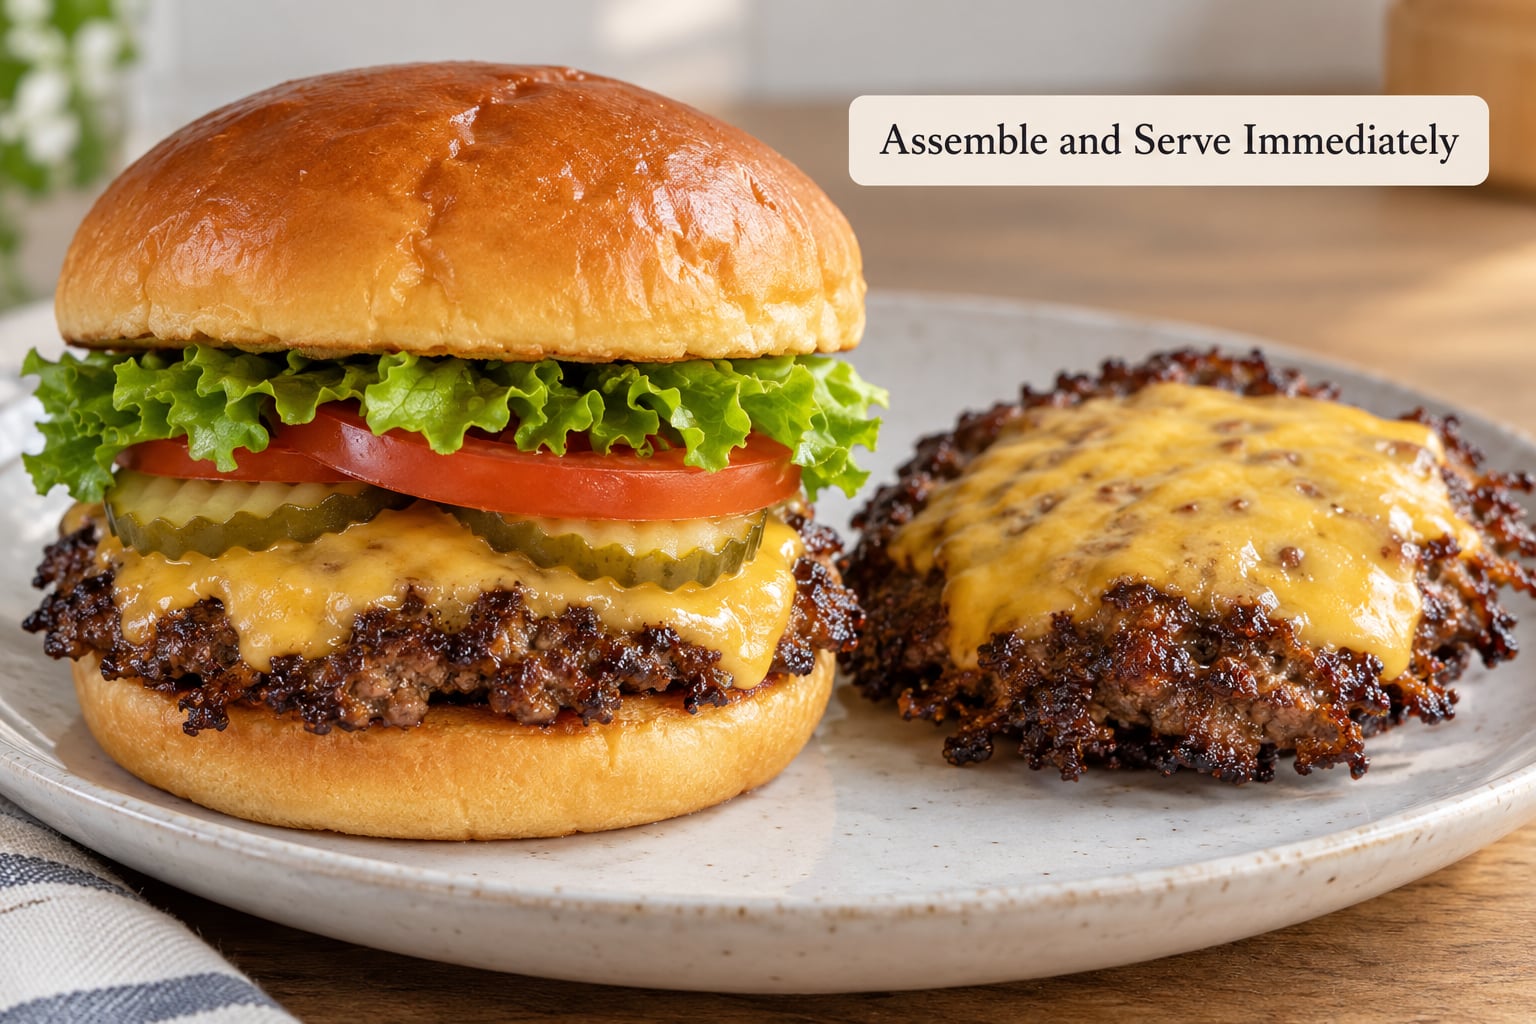
Build the burger in about 15 seconds. Smear a thin layer of sauce on the bottom bun, add the patty, then top with shredded lettuce, thin tomato slices, onion, or pickles. The sauce layer matters more than it looks: a dry bun drinks the patty juices and goes soft in under a minute, while a saucy bun keeps a barrier between bread and beef.
Cut toppings to fit the patty. A whole iceberg leaf or a thick tomato round sits higher than the meat and makes the burger fall apart on the first bite. Shredded lettuce and one thin tomato slice match the height of a quarter-inch patty.
Serve right away. Smash burgers are at their best in the first few minutes, before the crust softens from trapped steam and the bun gives up.
Common Mistakes
Almost every disappointing smash burger traces back to one of a handful of repeat errors. Here is what goes wrong and what fixes it.
The patty sticks to the press or the paper. The meat was too warm, or you pressed an already-cold patty too hard. Keep the beef refrigerated until the pan is ready, and use parchment on both sides. If it still grabs, press once instead of grinding the spatula back and forth.
No crust, just a gray steamed patty. The surface was not hot enough, the meat was not cold, or the press was held for a second instead of ten. A water drop should sizzle and skate across the surface before you start. If it sits and bubbles, keep heating.
The burger is dry. Lean beef is the usual cause. Stick with 80% to 85% lean ground chuck. A thin patty has no time to recover from overcooking, and lean beef has no fat left to render into it.
The patty is too thick or too small for the bun. Rolling the ball instead of smashing it gives you a hockey puck. A quarter inch is the target. If a patty overhangs the bun by more than half an inch on each side, the edges will fold under and the burger will be hard to eat.
The edges burn while the center stays cool. Too many patties on the griddle. The surface temperature drops sharply when cold meat goes down, so cook two at a time on a home griddle and expect a few extra seconds. Crowding also traps steam, which is the enemy of browning.
The crust peels off with the spatula. The patty is ready to move but the pan lost its heat, or you pressed again after the crust formed. Press only during the first ten seconds. After that, let it cook untouched.
The bun is soggy by the second bite. Untoasted bread plus excess sauce. Toast the cut side for 30 to 60 seconds and keep the sauce layer thin.
A few habits help with bigger batches. Keep everything within arm’s reach before the pan heats, because a smash burger waits for nobody and each patty takes under three minutes a side. If the griddle cools down between batches, it needs a few minutes back on the flame, not a rush. Season lightly and taste next time. And for leftovers, cool cooked patties uncovered, then refrigerate them for up to three to four days, or freeze them flat in a single layer for up to three to four months. Reheat in a dry skillet rather than a microwave so the crust survives. Cooking for a crowd? Our how to plan a birthday dinner at home guide covers timing the cook around everything else.
Frequently Asked Questions
What is the best ground beef for smash burgers at home?
Ground chuck with an 80% lean to 20% fat ratio is the standard choice. You need that fat both to keep a thin patty juicy and to render into the crust for flavor. Leaner blends such as 90/10 or 93/7 leave nothing behind, so the patty dries out within seconds of hitting the griddle. Finely ground chuck spreads more evenly than coarse grind, which makes smashing easier. Buy it fresh, keep it cold, and use it within a day or two of purchase.
Do smash burgers need a cast-iron skillet or griddle?
You need a flat, heavy, high-heat surface, and cast iron or carbon steel are the easiest ones to own at home. A flat griddle plate on a burner works well for larger batches, and an outdoor griddle is the same technique with more space. A nonstick pan is the one surface to avoid. It cannot safely take the high heat needed for a proper sear and the thin patty will stick to it instead of releasing with a crust.
How thin should a smash-burger patty be?
Aim for about a quarter inch thick, roughly one inch wider than your bun on all sides. The extra width matters because those ragged fringes crisp into the lacy edges that define a smash burger. A practical way to get there is to roll a 2.5 to 3 ounce ball between two sheets of parchment paper. Do not trim the edges and do not pack the meat tight before rolling. Pressing it flat on the hot surface for 5 to 10 seconds finishes the job.
How long do you cook a smash burger on each side?
A standard 2.5 to 3 ounce patty takes about 2 to 3 minutes on the first side and 60 to 90 seconds on the second. Watch the edges rather than the clock: they should be deeply browned and crisp while the top still looks mostly pink. Use an instant-read thermometer and cook until the center reaches 160°F (71°C), the USDA minimum safe internal temperature for ground meat. Sliders cook much faster, usually under a minute per side.
Can I add cheese to a smash burger?
Yes, and most people do. Add a slice during the final 15 to 20 seconds so it melts directly on the patty while the crust is still hot. American cheese is the usual choice because it melts evenly across a thin patty and stays soft. Cheddar and provolone melt well too, though cheddar pulls apart more than it drapes. Add cheese to each patty as it finishes rather than letting a cooked patty sit while you catch up on the rest.
How should I store leftover smash-burger patties?
Cool cooked patties uncovered, then refrigerate them in a sealed container for up to three to four days. Store buns and toppings separately so the bread does not turn soft. For longer storage, lay the patties flat in a single layer and freeze them for up to three to four months. Reheat in a dry cast iron skillet over medium heat for a minute or so on each side. A microwave reheats the beef evenly but leaves the crust rubbery.
Conclusion
Start with the beef and the heat, not the sauce. Buy 80% lean ground chuck, keep it cold until the pan is visibly hot, and press the ball flat for a full ten seconds the instant it lands. Everything after that is assembly, and assembly takes fifteen seconds.