
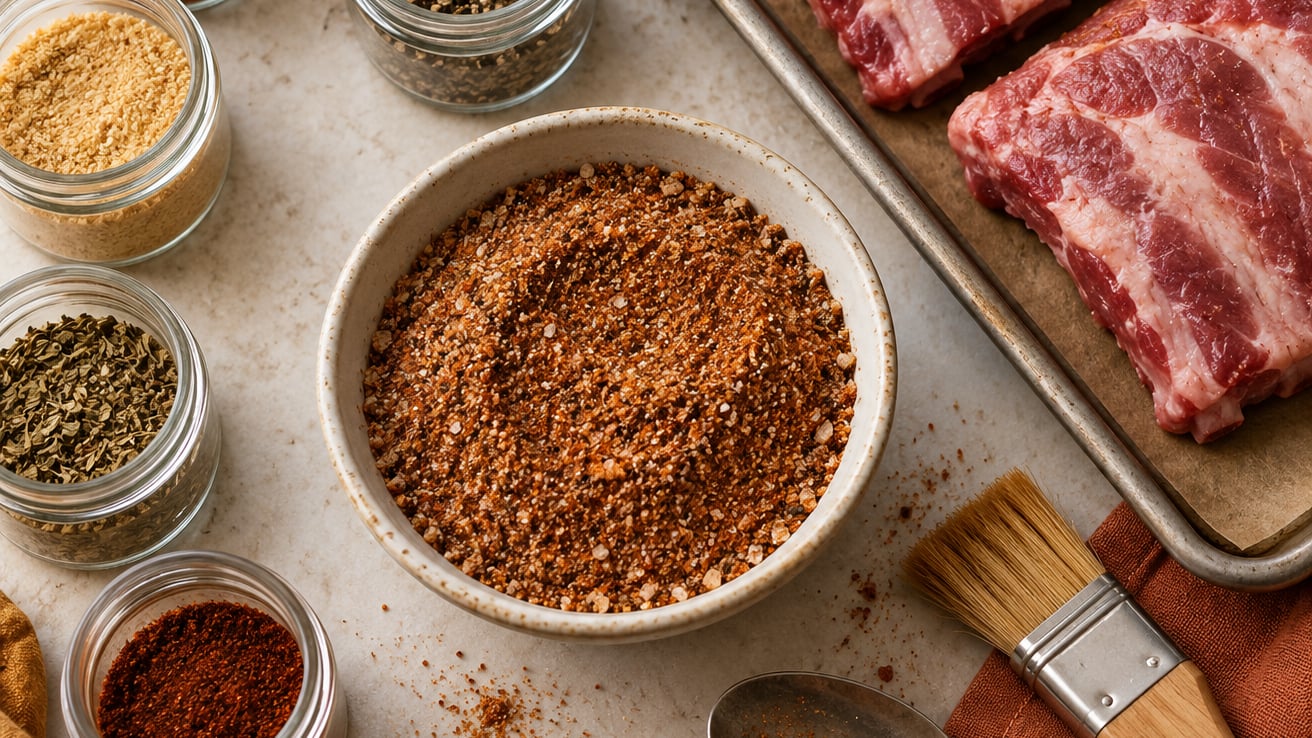
Learning how to make a dry rub for ribs comes down to a ratio you can scale, not a fixed recipe: coarse salt, coarse black pepper, paprika and brown sugar in equal parts, with garlic and onion powder as the backbone. Mix it in ten minutes, press it onto ribs that have been patted bone-side dry, and let it sit for at least an hour before the smoker, grill or oven takes over.
A homemade dry rub costs almost nothing, and you control the salt and sugar, which is the whole point. Store-bought blends tend to land in one of two traps: salty enough to make ribs inedible, or so sweet the sugar scorches before the bark ever forms. If you know the ratio, you can dial either one back with a spoonful.
The rest of this guide covers the base formula, four regional style swaps, how to apply the rub without it sliding off, and which adjustments each cook method needs. Smoking sweet? A conventional oven? It matters, because sugar behaves differently at 250F than it does on a hot gas grill.
What You Need
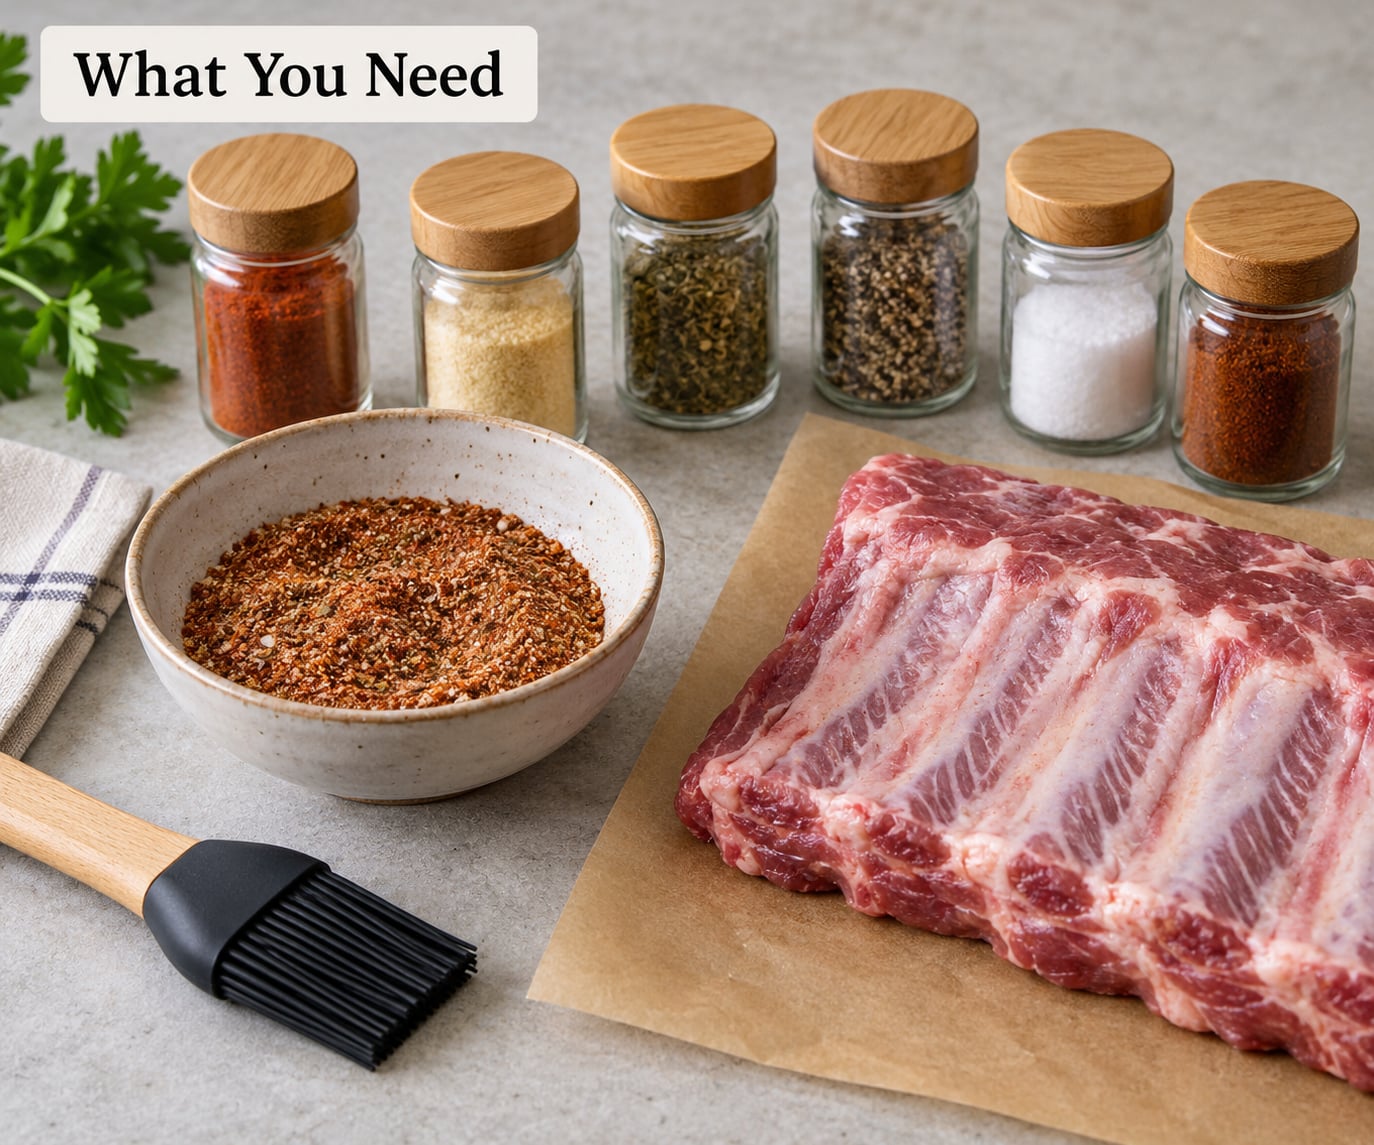
The base recipe below is sized for one rack of spare ribs weighing 2 to 3 pounds, and the rule of thumb is roughly two tablespoons of rub per pound of meat.
- 2 tablespoons coarse kosher salt
- 2 tablespoons coarse ground black pepper
- 2 tablespoons smoked paprika
- 2 tablespoons packed light brown sugar
- 1 tablespoon garlic powder
- 1 tablespoon onion powder
- 2 teaspoons dry mustard powder
- 1/2 teaspoon cayenne pepper (optional, for heat)
- 1/4 teaspoon ground cinnamon (optional, for a sweeter warm note)
That is your five-spice core if you want the shortest version: salt, pepper, paprika, brown sugar and garlic powder. Granulated garlic and granulated onion are the dried equivalent of the powders, and many pitmasters use them because they dissolve into the bark with no gritty texture.
Coarse grind matters more than most people expect. A rub blended mostly from fine powders feels dusty and can blow off the meat in a smoker, while a grind with visible pepper and salt crystals sticks better and gives you texture. A coffee grinder works for a small batch, and a spice grinder set to a coarse setting is the tool for the job.
What each spice actually does
| Ingredient | Amount for one rack | Role in the rub |
|---|---|---|
| Coarse kosher salt | 2 tbsp | Seasoning and moisture control; pulls liquid out of the surface so bark forms |
| Coarse black pepper | 2 tbsp | Sharp heat, pepper aroma, and texture in the finished crust |
| Smoked paprika | 2 tbsp | Deeper smoke flavor and the red-brown color people expect on ribs |
| Light brown sugar | 2 tbsp, packed | Caramelizes into the crust; sweetness that balances the salt |
| Garlic powder | 1 tbsp | Savory base note, the “G” in a SPOG rub |
| Onion powder | 1 tbsp | Sweet sharpness that keeps the blend from tasting flat |
| Dry mustard powder | 2 tsp | Binder that helps the rub adhere, plus a light tang |
| Cayenne pepper | 1/2 tsp | Clean chili heat; start here and add more to taste |
| Ground cinnamon | 1/4 tsp | Warm depth that makes a sugar-forward rub taste less like candy |
Mustard powder is the quiet workhorse. It has no strong flavor on its own, but it helps the mix cling to damp meat, and people who add it report fewer patches of bare rib after a long cook.
Four style swaps to try
Regional barbecue styles are mostly about the sweet-to-spice ratio. Start from the base formula, then make one or two swaps.
| Style | Change from the base | Result |
|---|---|---|
| Texas | Drop the brown sugar entirely, double the black pepper and salt | Savory, pepper-forward crust with almost no sweetness |
| Memphis | Add 1 tsp cumin and 1 tsp chili powder, keep the brown sugar | Warm, earthy heat that still caramelizes well |
| Carolina | Halve the brown sugar, add 1 tsp mustard powder and a pinch of allspice | Sweeter, tangier, meant to be finished with a thin vinegar mop |
| Cincinnati | Cut the sugar by half, add 1 tsp cinnamon and 1/2 tsp allspice | Warm spice profile that pairs with a tomato-based sauce |
Equipment is short: a small bowl, a fork or whisk, a sheet pan, and paper towels. A grill brush and clean tongs help at the other end. If you are seasoning several racks for a cook, mix the full batch and store the unused portion in a sealed jar rather than dipping a wet spoon back into it, which is the usual reason a whole batch goes off. Batching extra seasoning for a weekend of cooking is the same idea behind our guide to how to make appetizers you can prep ahead.
Step-by-Step
Step 1: Choose Your Rib Style and Seasoning Level
Spare ribs are larger, meatier and take longer to cook, so they handle a heavier rub and a hotter spice profile. Baby back ribs are smaller, curlier and have less fat, which means the seasoning reads louder on them.
Decide your heat level before you mix anything. Start with the base formula and no cayenne for a mild rub, add the 1/2 teaspoon for medium, or double it for a genuinely hot one. Dry brined ribs with a rub on top need care, so if you are dry brining, hold the salt in the rub back to about 1 tablespoon and keep the dry brine to roughly 1/2 teaspoon of salt per pound of meat.
Step 2: Combine the Dry Rub Ingredients
Whisk everything together in a medium bowl until no streaks of brown sugar remain. Sugar is the ingredient that clumps, and pressing it through a fine sieve with the rest of the blend, or just breaking up lumps with the back of a spoon, fixes it in seconds.
Think of the backbone as 2:2:2:2 for salt, pepper, paprika and sugar, then 1:1 for garlic and onion. Once that ratio is in your head, a batch for four racks is a matter of multiplying everything by four, no scale required.
Step 3: Taste and Adjust the Seasoning
Dip a clean fingertip into the mix and taste it straight. It will seem saltier than it is on the meat, because the sugar and paprika mute the salt as they cook.
Too salty means more brown sugar, a spoonful at a time, and never more salt. Too sweet means more paprika and pepper to bury it. Bland usually means the cumin or mustard is missing, not that the salt is low. Harsh, purely hot rubs need brown sugar and paprika to round them off, which is exactly the balance problem most people hit on a first attempt.
Step 4: Apply the Rub to the Ribs
Pull the membrane off the bone side of the rack first. Slide a spoon under the corner of the silver skin, grip it with a paper towel for traction, and pull the sheet across the bones. Membrane left on means the rub has nothing to grip and flavors do not move into the meat.
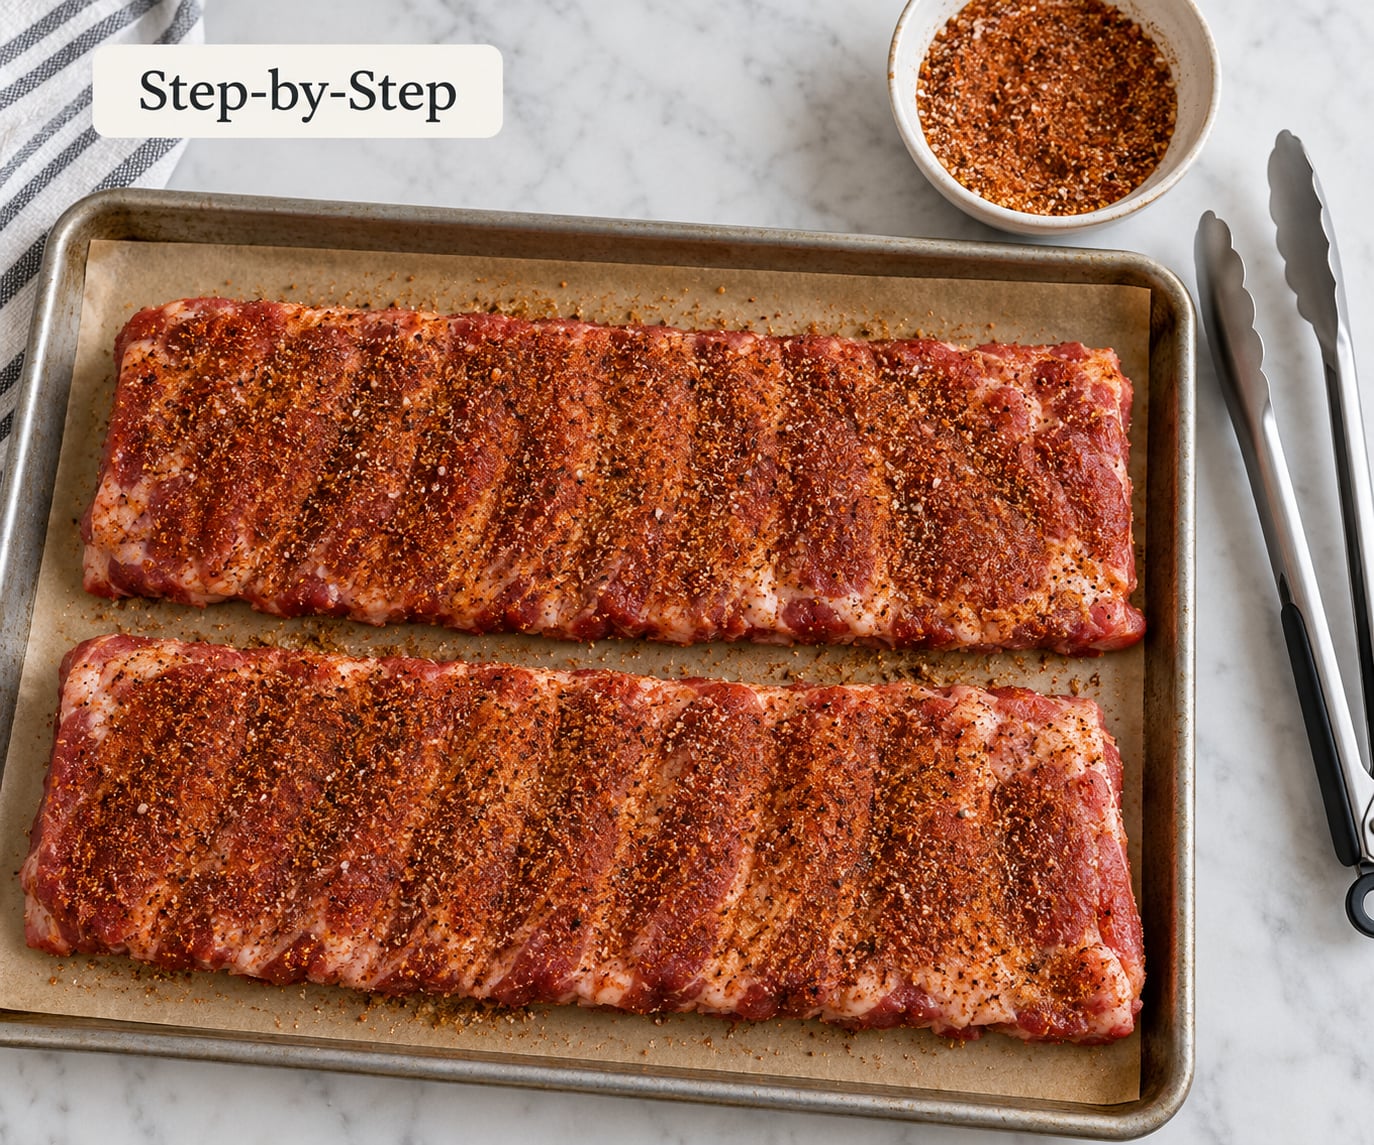
Pat the ribs dry with paper towels, then season the bone side and the meat side, edges and all. Rub it in with your hands rather than sprinkling, and stop at a complete, even coat. Piled-on seasoning falls off in the first hour of a cook, and a heavy coat on the bone side burns first because it sits closest to the heat source.
Step 5: Let the Ribs Rest Before Cooking
Let seasoned ribs sit uncovered in the refrigerator for at least 1 hour, and 4 hours to overnight if you can plan it. The salt needs time to draw moisture out of the surface and start working inward, and an uncovered rest is what keeps that surface dry enough to form bark.
Covered plastic wrap works too if the ribs are going straight into a smoker within a few hours, but for anything longer, leave them uncovered on a rack set over a sheet pan. Blanking the surface with plastic overnight traps moisture and you get a pale, tacky exterior instead of a crust.
Step 6: Cook the Ribs and Check the Result
A 3-pound rack of baby back ribs usually needs about 4 hours at 225F to 250F in a smoker, and you are cooking to tenderness rather than to time, which most people land somewhere between 190F and 203F pulled from the smoker.
Cook methods ask for different adjustments. An offset smoker or pellet grill at 250F takes the full base formula as written. A gas grill runs hotter and drier, so cut the brown sugar in half and keep the lid closed to trap moisture. A conventional oven needs 300F, roughly 3 hours, foil-wrapped bone-side down, then the foil off under the broiler for a few minutes to set the bark. If oven ribs are new to you, our oven chicken tender guide covers the same heat logic in a shorter cook.
You know the rub worked when the surface is dark and firm, pulls with the bark rather than flaking off, and the meat gives with almost no resistance at the bone. Taste one rib at the end of the cook, not before, because ribs taste under-seasoned while they are still cooking.
Dry rub, wet rub or sauce
| Dry rub | Wet rub or marinade | Sauce | |
|---|---|---|---|
| Flavor depth | Surface crust plus seasoned meat | Penetrates the meat, little crust | Glaze on the outside only |
| Bark formation | Best, the surface stays dry | Poor, moisture steams the surface | Added late, so the bark survives |
| Sweetness control | You set it by volume | Often heavy in the liquid | Easy to overshoot with a sweet commercial sauce |
| Best use | Base layer on any cut | Brisket and pork shoulder | Finish, in the last 20 minutes |
These work in layers rather than as rivals. Most pitmasters rub first, then mop or sauce at the end, so the meat is seasoned underneath and the outside still caramelizes.
Common Mistakes
The ribs taste like salt and nothing else. Usually a dry brine plus a full-salt rub. Do the math before seasoning, and if they are already coated, wipe the surface with a damp paper towel and finish with a sweet mop. Salt cannot be pulled back out, which is why keeping seasoning balanced on meat you cook often is worth learning before ribs specifically.
The rub falls off in the smoker. Three causes: the meat was wet, the coat was too thick, or the rub went on five minutes before cooking. Pat the surface dry, use an even coat, and give it an hour or more.
No bark, just a pale tacky exterior. Blanking seasoned ribs with plastic wrap for a long rest, or saucing too early, traps moisture. Rest uncovered, and hold the sauce until the last 20 to 30 minutes.
The rub scorches before the ribs finish. Sugar burns fast on a gas grill or under a broiler. Cut the brown sugar in half for high-heat cooking, or move ribs to the indirect side of the grill and pull them off entirely once the bark sets.
Ten spices and nothing tastes like anything. A complex blend can hide the meat entirely, and a rack with more than about eight spices in it usually reads as mud. Cut back to the salt, pepper, paprika, sugar, garlic and onion backbone, then add one accent at a time.
Fine powder that blows away in the wind. Grind or buy coarse, and if you make your own paprika and chili powder from dried peppers, pulse them only until they look like cracked black pepper, not talcum.
A few habits that pay off: store leftover rub in a sealed jar away from heat and sunlight, label it with the date, and expect about six months of good flavor for a dry blend with no oil in it. Use the leftovers as a mop base thinned with a little cider vinegar and water, or dust pork tenderloin and chicken with it. Never dip a wet spoon into the jar, and never use a spoon that has touched raw meat.
Frequently Asked Questions
What is the 5 ingredient rib rub?
The short version is 2 tablespoons each of coarse salt, coarse black pepper, smoked paprika and packed brown sugar, plus 1 tablespoon of garlic powder. That five-spice core covers salt, sweetness, color, pepper heat and savory depth, and it scales cleanly to any number of racks. Add onion powder, mustard powder or cayenne from there.
How much dry rub do I need for one rack of ribs?
Plan on roughly two tablespoons of rub per pound of meat, which works out to about a half cup to three quarters of cup for a 2 to 3 pound rack. The base recipe on this page makes slightly more than you need, so mix it, use what the rack takes, and store the rest in a sealed jar. You want an even coat, not a layer you can see from the side.
How long should the dry rub sit on ribs before cooking?
At least one hour, and four hours to overnight is better. Salt needs that time to draw moisture out of the surface and begin seasoning the meat, while the uncovered rest keeps the exterior dry enough to form bark. Longer rests go in the refrigerator uncovered rather than under plastic wrap, which traps moisture and stops the crust from forming.
Can you put too much dry rub on ribs?
Yes, and it is the most common way homemade rubs fail. A heavy coat of a salty blend will taste aggressively seasoned, and any sugar in it burns before the ribs are tender. Coat evenly and stop; if you are also dry brining, cut the salt in the rub to about one tablespoon so the two layers do not stack.
Is a dry rub better than a wet rub on ribs?
For ribs, a dry rub is the better base layer. The surface stays dry, so the sugar and spice caramelize into a bark and take on smoke, while a wet marinade steams the surface and leaves less to caramelize. The usual approach is both: rub first, then mop or sauce in the final stretch.
How should I store a homemade dry rub?
Keep it in a sealed jar or airtight container in a cool, dark cabinet, and write the date on it. A dry blend with no added oil generally holds its flavor about six months, and the aroma tells you sooner than the calendar does. Always scoop with a clean, dry spoon, since moisture or raw-meat contact is what shortens the life of a batch.
Conclusion
Mix the base rub this week and taste it on a fingertip before you even buy ribs. That single habit catches a salty or sugar-heavy batch in ten seconds instead of four hours, and once you have the 2:2:2:2 backbone in your hands, every style swap on this page is just an adjustment from there. Pat the ribs bone-side dry, coat them evenly, give it an hour uncovered, and let the cook do the rest.