
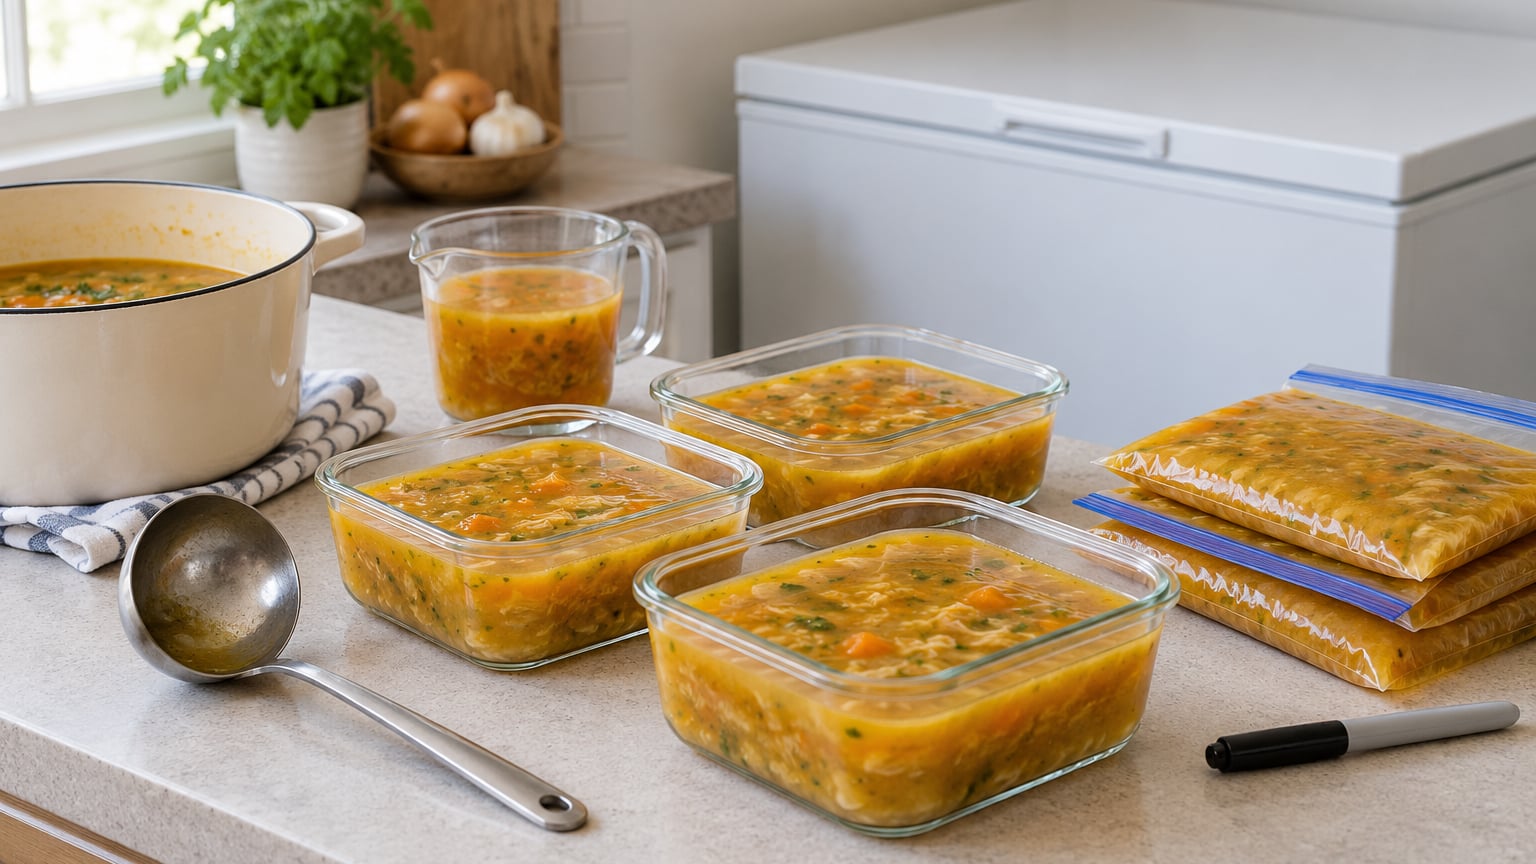
To freeze soup in portions, cool it fully in the refrigerator first, then ladle each serving into its own freezer bag or wide-mouth jar, pressing out the air and leaving 1 to 2 inches of headspace before you seal and stack it flat. The whole job takes maybe 30 minutes of active work once the soup is cool, and it turns one big pot into a month of weeknight dinners.
The part people get wrong is not the freezing. It is the cooling. A steaming pot of soup dropped into containers and shoved in the freezer thaws out its neighbors, slows the freezer down, and leaves you with an icy brick. Get the cooling right and the rest is straightforward.
Here is my whole routine, plus the containers that work, the soups that refuse to cooperate, and what to do when a bag leaks anyway.
Table of Contents
- What You Need
- Step-by-Step
- Common Mistakes
- Frequently Asked Questions
- What is the best container to freeze soup portions?
- How much headspace should I leave when freezing soup?
- Can I freeze soup in mason jars?
- Can you freeze soup with cream or half and half in it?
- Can you freeze soup with noodles or rice in it?
- How long does frozen soup last?
- Is it safe to freeze soup in plastic freezer bags?
- Conclusion
What You Need
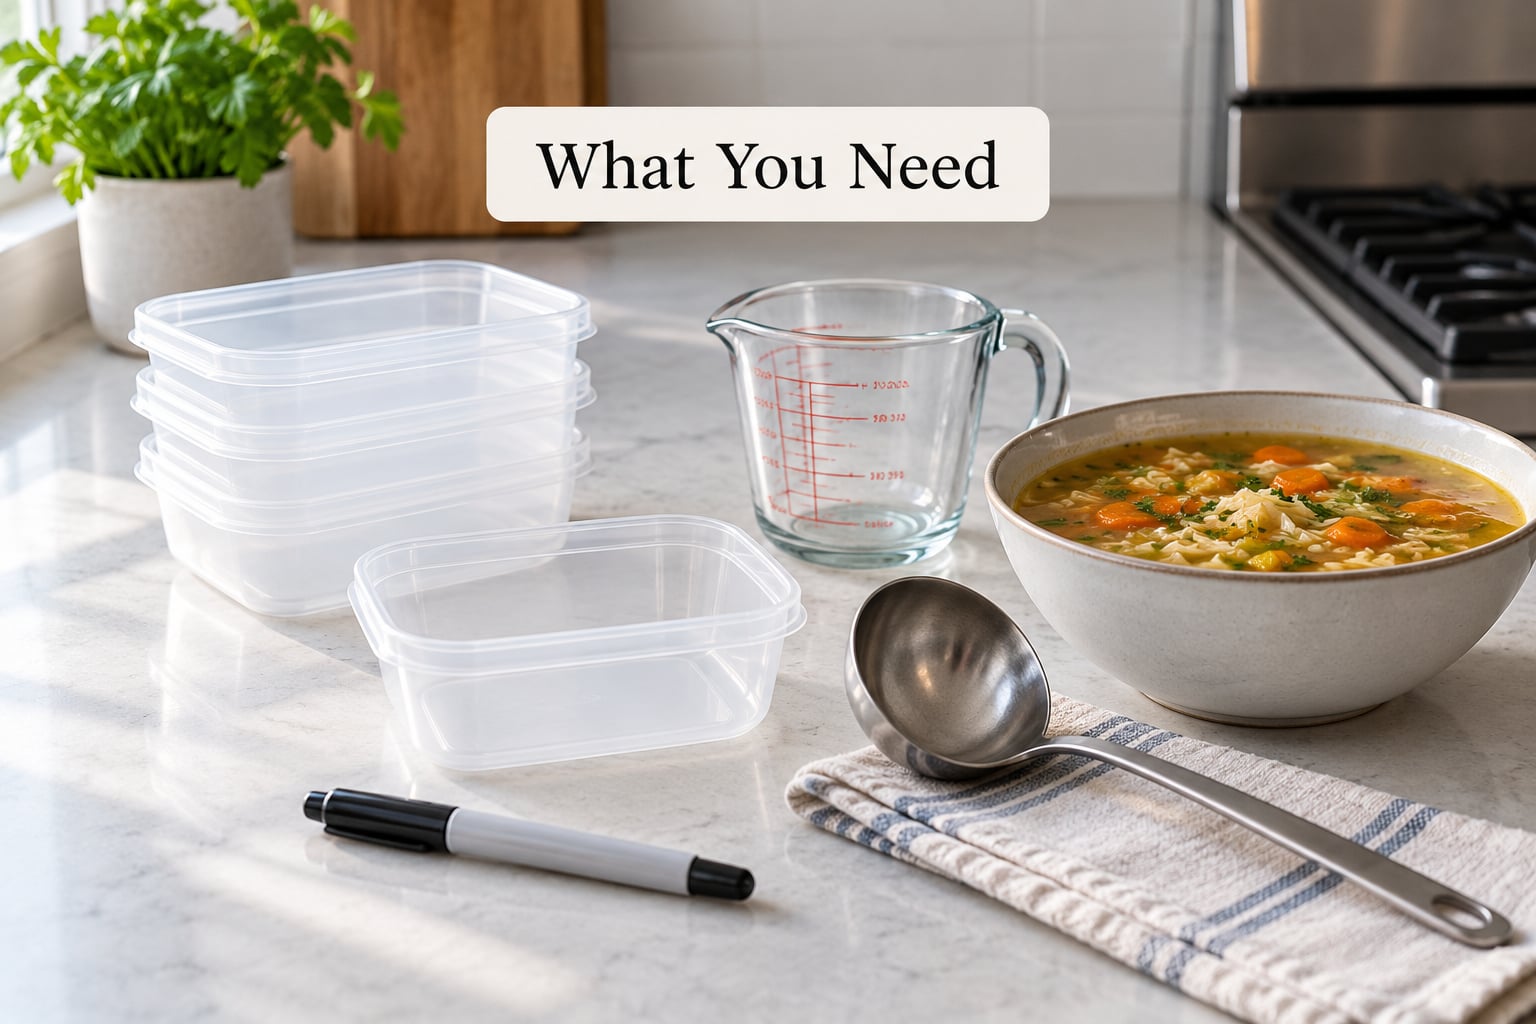
You do not need anything exotic. The tool that matters most is something that measures a portion while you ladle, so every serving is the same size and reheats in the same amount of time.
- A ladle and a measuring cup. A 1-cup or 2-cup measure turns portioning into a repeatable step instead of a guess.
- Freezer-safe bags in two sizes. Quart bags for single meals and a second, larger size for family-size batches. Lay them flat, not on their side in a pile.
- Wide-mouth pint and quart mason jars if you like seeing what is in the freezer. Look for jars marked freezer-safe on the neck or base, and choose straight-sided jars with screw-top lids.
- Silicone portion trays for exact 1-cup and 2-cup servings. They come out as solid cubes you can drop into a bag or eat straight from.
- A rigid plastic container for soups with firm carrots, corn, or bones in them. Soft bags get punctured by frozen chunks.
- A baking sheet or platter so bags can freeze flat in one layer before you stack them.
- A permanent marker and masking tape for writing the soup name, the date, and the portion size.
Before you portion anything, decide how you actually eat soup during the week. If lunches are the goal, cup-sized portions win. If you are feeding four people on a Tuesday, quart portions win. Build your base first, if you have not already, with our guide to building flavor in a soup base, then freeze it once the soup is finished.
Step-by-Step
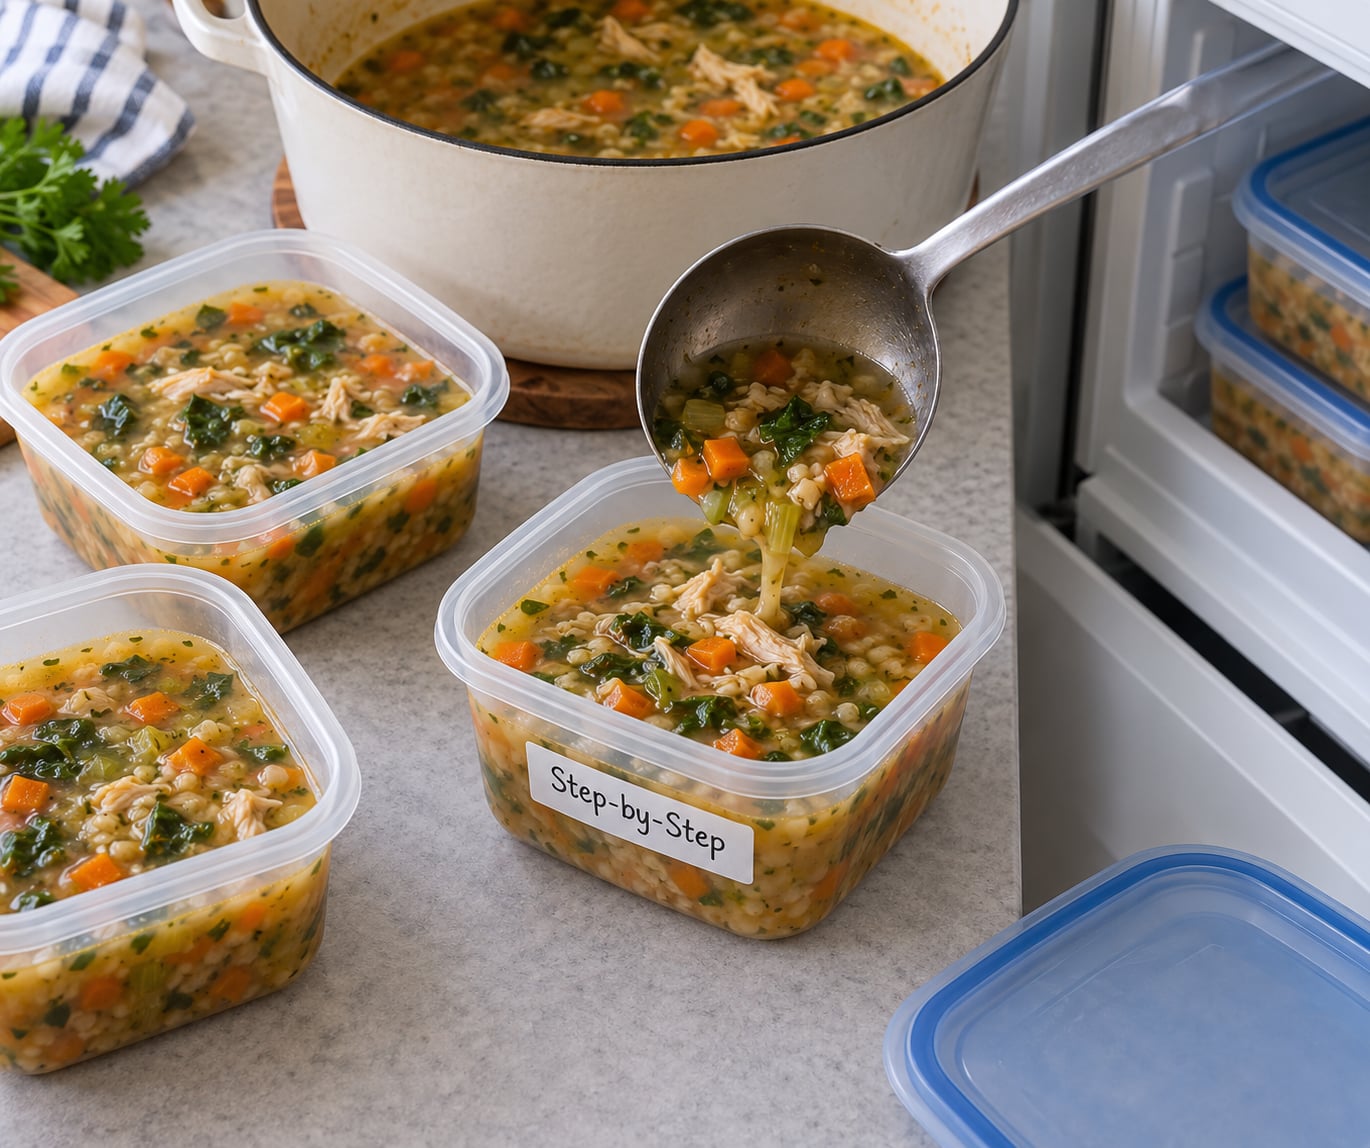
Here is the quick version. Cool the soup, ladle it into measured portions, press out the air, lay it flat, seal and label it, then stack it like books.
- Cool. Refrigerate the soup until it is no longer warm to the touch, ideally overnight.
- Ladle. Fill each bag or jar to the portion size you want, stopping short of the rim.
- Press. Squeeze the air out of each bag before you seal it, which is what prevents freezer burn.
- Lay. Place the sealed portions flat on a baking sheet in a single layer until they firm up, usually a couple of hours.
- Seal and label. Zip or screw the lid on, then write the soup name and the date on the outside.
- Stack. Move the frozen portions upright, newest in back, oldest in front, so you eat in order.
Total active time is about 30 minutes once the soup is cold. The waiting is the cooling, not the freezing.
How to Freeze Soup in Portions: Cool and Divide
Soup must come down to refrigerator temperature before it goes into any container. USDA guidance is to get perishable food into the refrigerator within two hours of cooking, and to cool food in shallow containers because a deep pot holds its heat for hours in the middle. Split a big stockpot into smaller pans or containers set in an ice bath, and stir a few times as they cool.
Once it is cold, portion it. Here is the sizing guide I use for a family of four:
| Portion size | Best for | Fill guidance |
|---|---|---|
| 1 cup | Snack-sized lunch, soup with a side salad, tasting portions | Fill a 2-cup silicone tray halfway, or a pint jar no more than two-thirds full |
| 2 cups | Grab-and-go workday lunch, one person dinner | Fill a 4-cup tray halfway, or a pint jar to the shoulder |
| 1 quart | Family dinner night, soup pot for guests | Fill a quart jar no more than three-quarters full |
Whatever the size, leave headspace. Liquids expand as they freeze, and that expansion is the single biggest reason jars shatter. For pint and quart jars, leave 1 to 2 inches of empty space at the top. Straight-sided wide-mouth jars are the safe choice because the walls and base take the stress evenly, and shoulder jars build pressure where the glass narrows.
Never put soup that is still hot into a freezer bag or a cold jar. Temperature shock plus expansion is how people lose a ladle of soup and a pile of glass on the kitchen floor.
How to Freeze Soup in Portions: Seal, Label, and Store
For bags, stand the bag open in a tall drinking glass or a cup so you can ladle straight into it without spilling. Press the air out from the top, push out any lumps that freeze in a ridge along the seam, and zip it shut. A second bag inside the first helps if your soup has firm vegetables or bones in it, which can puncture the plastic once frozen solid.
For jars, wipe the rim clean, seat the lid, and tighten it until it is snug. Do not overtighten. Set the jars on a towel in the freezer so they do not rock onto the hard edge of a shelf on the way to solid.
Then label. Write the soup name, the date, and the portion size on the outside of every single portion. A mask of frozen soup that nobody can identify is a wasted pot of food. Our breakfast burritos to freeze guide uses the same label system if you want the freezer organized consistently.
Stack portions like books once they are solid, oldest in front and newest in back. Once a month, take one shelf out and move anything older than three months to the front of the queue or to the bin. Frozen soup keeps its best quality for three to four months and stays safe well beyond that in a working freezer.
Common Mistakes
Most ruined soup portions trace back to one of these. The fix is usually small.
| Problem | Cause | Fix |
|---|---|---|
| Cracked or shattered jars | Hot soup in a cold jar, or no headspace for expansion | Cool fully, use freezer-safe straight-sided jars, leave 1 to 2 inches |
| Ice crystals and dull flavor | Air trapped in the bag or container | Press air out before sealing, seal every zip fully |
| Punctured bag, soup leaking | Firm carrots, corn, or a bone froze against the plastic | Double-bag, or use a rigid container for chunky soups |
| Portions fused into one slab | Bags stacked before they were solid, or the freezer is too warm | Freeze flat in one layer until firm, then stack upright |
| Soup thickened after thawing | Starches and beans swell as they cook and freeze | Add water or stock a little at a time while reheating and stir |
| Cream soup turned grainy | Dairy fat separates when frozen | Whisk or blend hard while reheating, or freeze the base and add cream fresh |
If a block of soup is fused solid, set it on the counter for ten minutes or run the sealed bag under cool water until a layer softens. Then cut it with a serrated knife in the sink, where you will drip anyway. Do not try to break it apart with the bag on a frozen counter.
Soups That Freeze Badly, and How to Freeze Them Anyway
Cream and dairy soups are the ones to watch. The fat in milk and half and half separates when it freezes and reheats, which is why a chowder can come back looking curdled. Freeze the soup base without the cream, then stir in cold cream or milk after it reheats on the stove. Our guide to creamy soup without heavy cream is worth a read before you freeze a pot of bisque.
Cooked pasta and rice are the other two. Both turn mushy and swell after thawing and can make the broth cloudy and thick. Freeze the broth and vegetables, then cook the noodles separately and add them after reheating, or use a portion that is mostly broth with just a little pasta in it.
Potatoes go watery and grainy. If potato soup is the plan, freeze it anyway and accept a slightly thicker result, or swap in a potato that holds up better. Beans, corn, and okra also thicken a soup as they sit frozen, so keep extra stock on hand for the reheat.
Broth-based soups with meat, vegetables, and herbs freeze beautifully. That is most stews, chilis, gazpacho, lentil soups, and chicken soups.
How to Thaw and Reheat Frozen Soup
The refrigerator is the safest thaw and the easiest one to forget about. Move a portion to the fridge the night before and reheat it the next day.
For a faster thaw, seal the bag and submerge it in a bowl of cool water, changing the water every 30 minutes. A 2-cup portion usually loosens in about an hour that way. Cold water thaws faster than warm water and keeps the outside of the portion from going warm while the middle is still frozen.
You can also start from frozen. Put the sealed bag in the microwave on defrost until the block turns slushy, then slide it into a pot with a splash of water or stock and heat it on the stove. Add the liquid a little at a time, since frozen soup gives up water as it melts and scorches easily on the bottom of a dry pan.
Reheat only what you plan to eat, and reheat it to 165°F before serving. Bring the whole portion to temperature rather than heating the middle and leaving cold spots, which is the part people skip.
Frequently Asked Questions
What is the best container to freeze soup portions?
Freezer bags laid flat are the best everyday choice because they stack like books and save more space than rigid containers. Wide-mouth straight-sided mason jars win if you want to see the contents, and silicone portion trays are best when you need exact 1-cup or 2-cup servings. Use a rigid plastic container for soups with firm vegetables or bones that could puncture a bag.
How much headspace should I leave when freezing soup?
Leave 1 to 2 inches of empty space above the soup in a pint or quart jar. Liquids expand as they freeze, and the extra room absorbs that expansion. Without headspace the glass takes the pressure unevenly and can crack on the freezer floor. Bags need less because the seam flexes, but still do not fill a bag to the very top.
Can I freeze soup in mason jars?
Yes, as long as the jar is labeled freezer-safe and you use a straight-sided wide-mouth shape with a screw-top lid. Cool the soup completely in the refrigerator first, leave 1 to 2 inches of headspace, and place the jar on a towel in the freezer so it does not hit a hard shelf edge while the soup expands.
Can you freeze soup with cream or half and half in it?
You can, but the dairy fat usually separates and the soup reheats grainy or curdled looking. The better move is to freeze the base without the cream, then stir in cold cream or half and half once the soup is hot on the stove. Whisk or blend hard during reheating if you already froze it with dairy.
Can you freeze soup with noodles or rice in it?
You can, but pasta and rice absorb liquid and turn mushy after thawing, and they often make the broth thick and cloudy. Freeze the broth and vegetables on their own, then cook the noodles separately and add them after reheating. It takes two extra minutes and the soup tastes like it was just made.
How long does frozen soup last?
Frozen soup keeps its best flavor and texture for three to four months, and it stays safe to eat longer in a freezer that holds 0°F. After four months the flavor fades even if the soup is still perfectly good. Label every portion with the date and move the oldest ones to the front so you use them first.
Is it safe to freeze soup in plastic freezer bags?
Yes. Freezer bags are designed for the job and they handle the expansion of liquid better than rigid containers. Use bags marked freezer-safe, press the air out before zipping, and double-bag if your soup contains firm vegetables or bones that can puncture the plastic once frozen solid. Never pour scalding hot soup into a bag.
Conclusion
Start tonight with whatever soup is already in the pot: cool it in shallow containers, put it in the refrigerator, and let it sit until it is cold. That cooling step is the whole trick.
Then ladle it into measured portions, press the air out, leave headspace in any jar, label the name and date, and lay the bags flat until they firm up. Portioning is what makes freezing soup worth doing at all. A whole frozen pot is one meal you have to thaw all at once, while four labeled bags are four weeknights you already handled.