
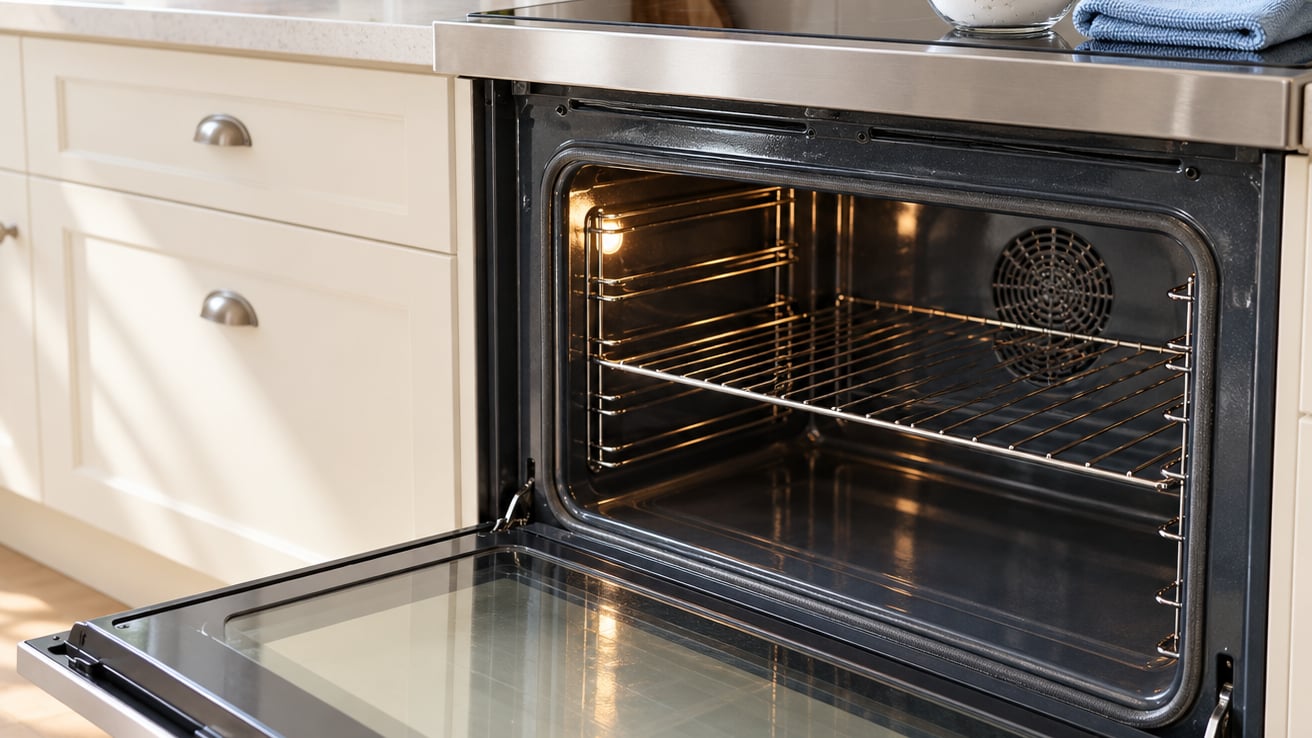
Cleaning an oven without harsh chemicals comes down to one method: a paste of baking soda and water, spread over a cool oven cavity and given time to sit, then wiped away with a damp cloth. White vinegar goes on afterward, as a rinse, never as part of the paste. Budget about 30 minutes of hands-on work for a moderately dirty oven, plus dwell time you can walk away from, or an overnight soak for buildup that has been ignored for months.
The oven is the one appliance in the kitchen that quietly collects every splash, spatter and spill from the last several dozen meals. That grease layer is what makes food bake onto enamel and glass, and it is also the source of most of the odd smells people notice while cooking. Removing it does not need a caustic spray, and honestly it should not get one.
I keep a small tin of baking soda near the range for exactly this, and a spray bottle of white vinegar that does nothing else all year. Between them they handle the door glass, the racks, the knobs and the cavity. This guide walks through the full process, the surfaces that need different treatment, and the mistakes that turn a gentle job into a repair bill.
Table of Contents
- What You Need
- Step-by-Step: How to Clean an Oven Without Harsh Chemicals
- Step 1: Identify Your Oven and Check Its Manual
- Step 2: Turn Off and Cool the Oven Completely
- Step 3: Remove Racks and Absorb Loose Grease
- Step 4: Make a Baking-Soda Cleaning Paste
- Step 5: Loosen Baked-On Food and Grease
- Step 6: Wipe the Interior Clean
- Step 7: Clean Racks and the Door Glass
- Step 8: Reassemble and Check for Remaining Odor
- Common Mistakes
- Simple Ongoing Care Tips
- Frequently Asked Questions
- Can I use vinegar to clean an oven without harsh chemicals?
- Is baking soda safe for every oven?
- How do I clean greasy oven racks without leaving a strong odor?
- Why does my oven smell dirty after I wipe it with baking soda?
- Should I use a self-cleaning cycle instead of scrubbing?
- How often should I clean an oven without chemicals?
- Conclusion
What You Need
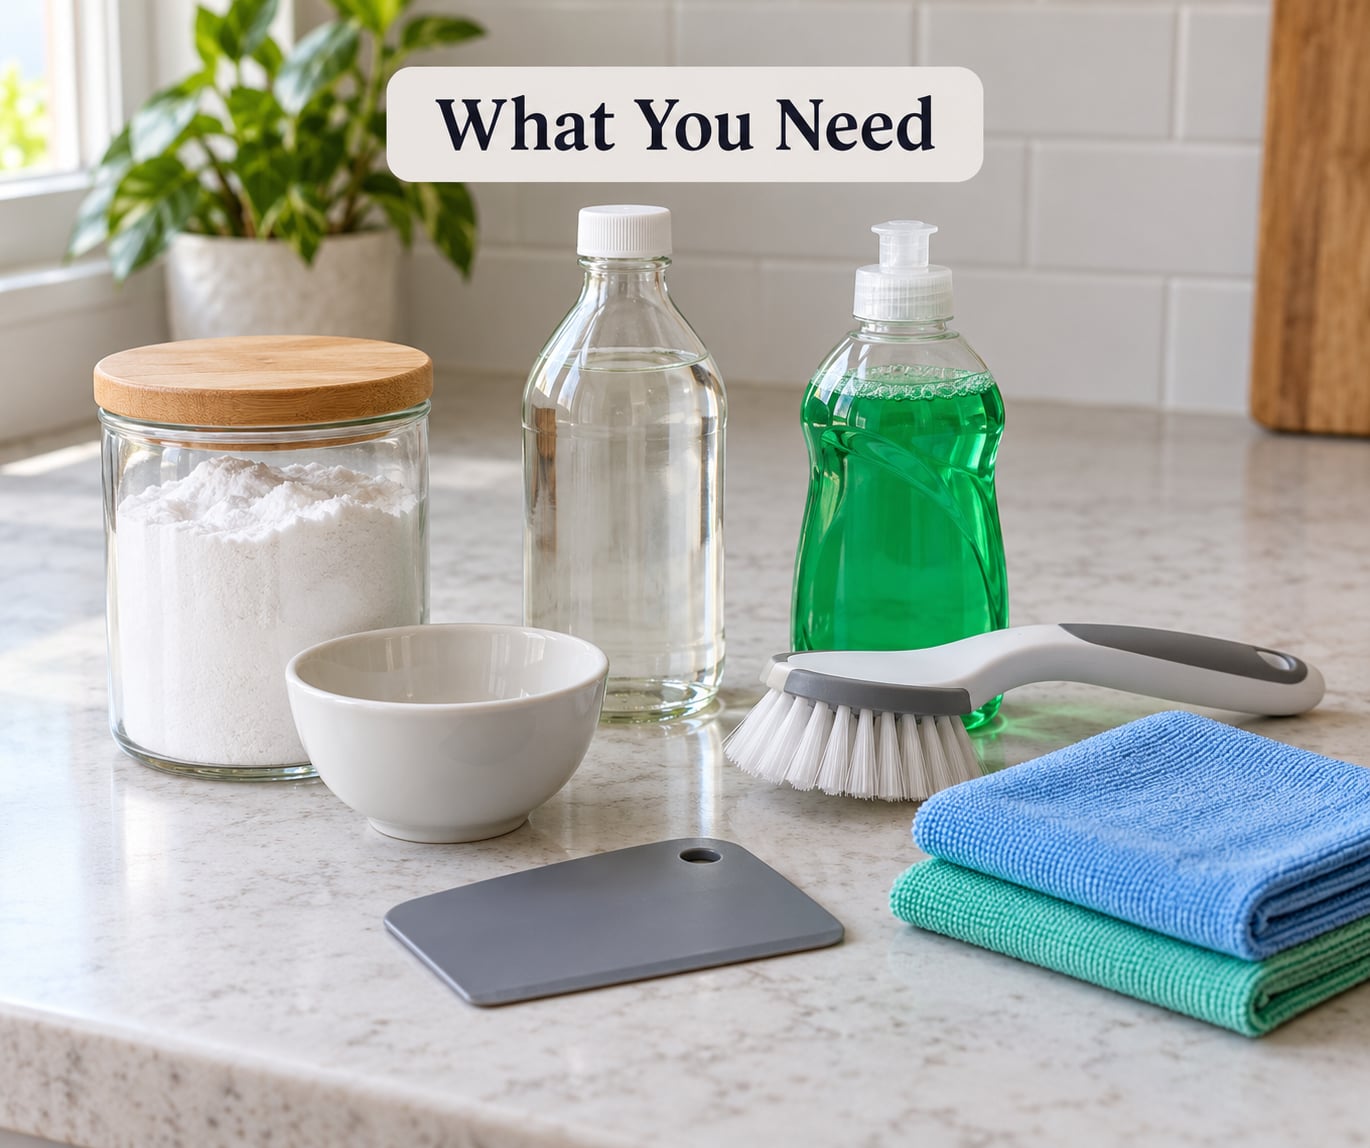
Everything here is either food you already eat or a tool you already own. Nothing on this list needs to be bought specifically for the job, and none of it produces fumes.
- Baking soda, 1/2 to 1 cup for a full cavity (about 3 tablespoons is enough for the door glass alone, which is where most people under-mix and then wonder why nothing happened).
- Water, 3 to 4 tablespoons to make a spreadable paste.
- White vinegar in a spray bottle for the post-wipe rinse that removes the fine white grit.
- Dish gloves, since baked-on grease is unpleasant to touch even after it has softened.
- Damp microfiber cloths, a couple of them, so you are not redepositing grime from a dirty rag.
- A plastic or silicone scraper for lifting softened residue off enamel without scratching it.
- A nonabrasive brush or an old toothbrush for corners, rack bars and the gap around the door frame.
- Optional: a squirt of dish soap for very greasy racks, a pumice stone for hardened carbon, and a spray bottle you can dedicate to vinegar.
Skip anything metal-bright or scouring-powder based on enamel, coated heating elements, and oven door glass. Scratches there cannot be buffed out.
Step-by-Step: How to Clean an Oven Without Harsh Chemicals
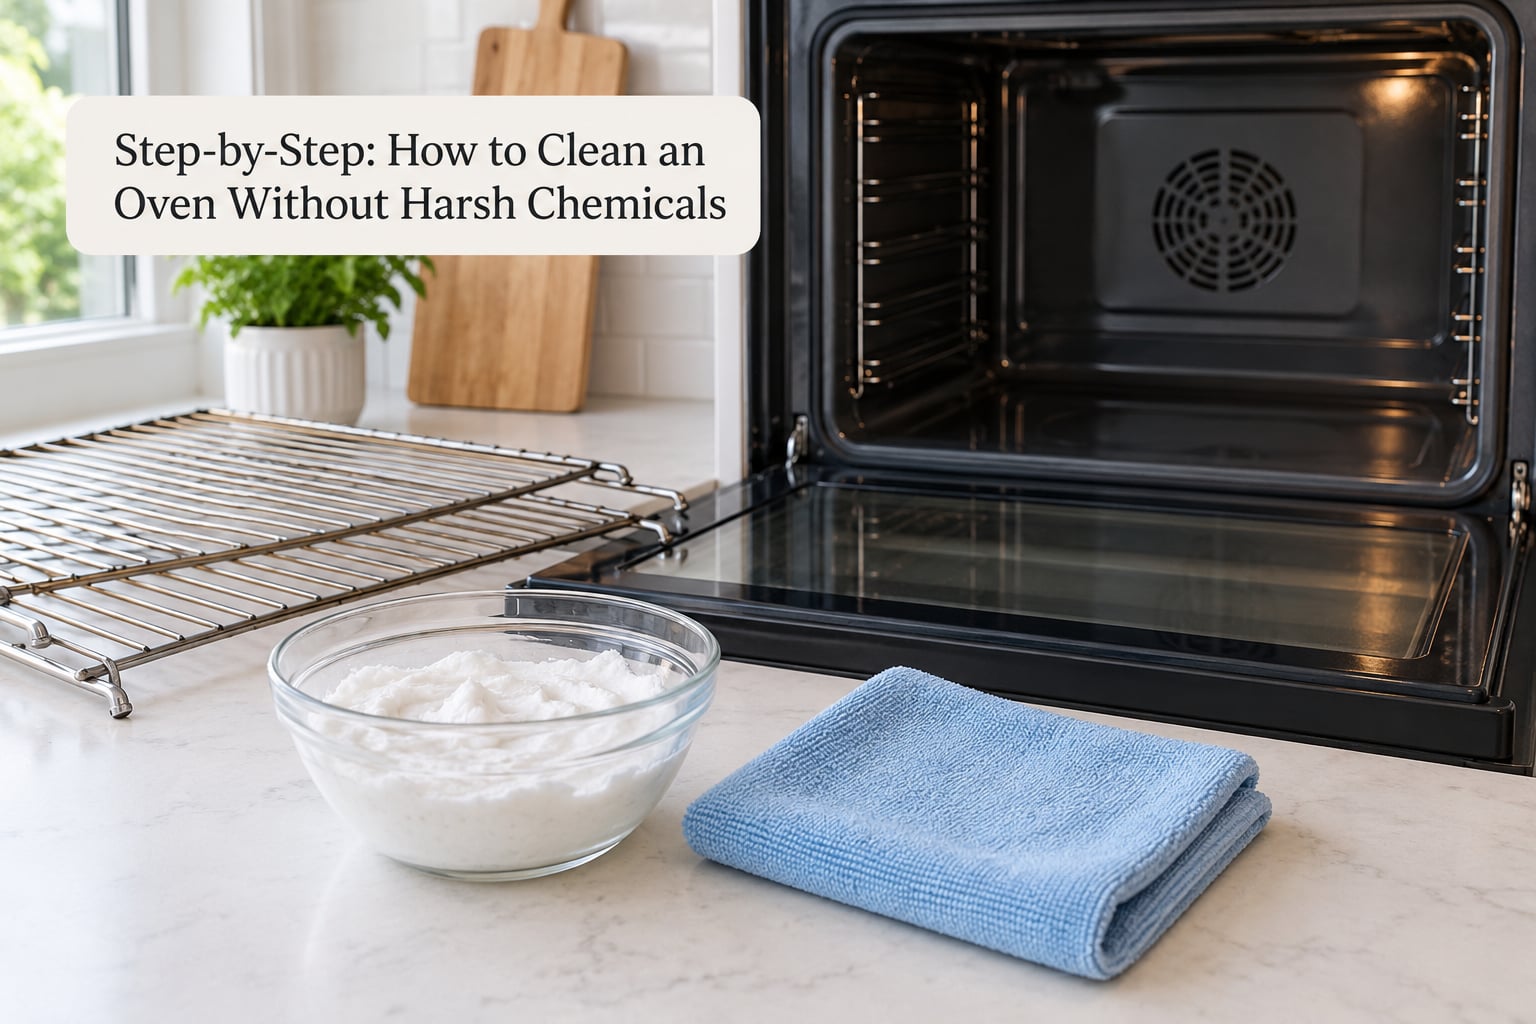
Step 1: Identify Your Oven and Check Its Manual
Conventional ovens, self-cleaning (enamel) ovens and steam-clean ovens all use the same basic method, but their limits differ. Find your manual and check one thing in particular: whether the cavity is porcelain enamel, and whether the heating elements are exposed or concealed.
Exposed elements are usually easier to wipe because you can see them, and easier to avoid because you can see them. Concealed elements sit under a metal floor plate, and soaking that plate or scrubbing under it can be more than the design wants. When the manual is silent, treat the surface as delicate and use the gentlest option that works.
Step 2: Turn Off and Cool the Oven Completely
Switch off the oven and, separately, the cooktop and any warming or broiler setting people forget about. If your manual permits it, unplug the unit; that removes any chance of a stray element heating while you work.
Wait until every interior surface is cool to the touch, including the door glass and the rack supports. Spray cleaner into a hot oven is how people get chemical burns and lung irritation from a job they thought was mild.
Step 3: Remove Racks and Absorb Loose Grease
Lift the racks out with oven mitts or dry tongs once the oven is cool. They go into a sink or a bathtub later, not back into a greasy cavity.
Fold a paper towel and blot pooled grease off the floor, the sides and the back wall before anything wet touches it. Absorbing first means the paste stays put instead of sliding off a slick surface, and it removes the loose layer that would otherwise smear around during wiping.
Step 4: Make a Baking-Soda Cleaning Paste
Mix 1/2 cup baking soda with 3 to 4 tablespoons of water in a small bowl. The target is a thick, spreadable paste, closer to wet plaster than to pancake batter. Add water a spoonful at a time; too dry a paste will not wet the grease, and too wet a paste runs off the walls.
For the door glass, a lighter mix works better because you need it to stay on a vertical surface. Add a small squeeze of dish soap if the grease is thick and sticky; the soap does the degreasing while the soda does the mild scrubbing.
Apply it to enamel, to the rack supports and to accessible door glass. Do not put it on a non-stick coating, on aluminum trim, or on a surface your manual specifically protects.
Step 5: Loosen Baked-On Food and Grease
Spread the paste in a thin, even layer over greasy interior surfaces. Skip the heating elements themselves, or wipe around them with a cloth rather than spreading paste across metal you cannot see well.
Give it at least 20 minutes, and for anything genuinely baked on, leave it overnight. Long dwell time does more work than scrubbing does, which is the whole point. When you come back, loosen the softened spots with a plastic scraper or a damp nonabrasive brush, working gently and without forcing stubborn patches.
Step 6: Wipe the Interior Clean
Use damp microfiber cloths or a damp brush to lift the paste and the loosened food, turning the cloth often so you are not redistributing grease. Repeat with fresh cloth sections until the walls, ceiling, floor and door frame come up clean under your hand.
At this stage, do the vinegar rinse. Spray a light mist of white vinegar over the surfaces you just wiped and wipe again with a clean damp cloth. That second pass lifts the fine white grit that makes people think the oven is permanently chalky. Then dry everything, including the rack runners, with a clean dry cloth.
Step 7: Clean Racks and the Door Glass
For oven racks, fill a sink or bathtub with hot water, add a squirt of dish soap, and submerge the racks. An hour of soaking loosens most of what years of roasting left behind, and you brush the bars with an old toothbrush while they soak. Rinse, dry fully, and check for black carbon along the top bars where grease sits highest.
For oven door glass, spread a thin baking soda paste and let it dry to a crust before wiping, or scrub it with a damp cloth dipped in the paste. Avoid commercial glass cleaner and any ammonia product on the door.
If the glass is sealed or cannot be lifted out, clean only the inside face you can reach from the open door. The channel between the inner and outer panes is a separate job: most manuals describe pulling the inner panel forward or removing the lower trim screws, and it is worth five minutes of reading before you try to wedge a cloth into a gap you cannot reach.
Step 8: Reassemble and Check for Remaining Odor
Return the racks only when they are completely dry, and slide them back on a clean cloth if you want to protect the finish. Leave the door ajar for a short while if the oven is cool, which lets trapped moisture and odors move out.
If a smell remains after a full pass, run the oven empty at its usual temperature for 30 to 45 minutes with the door ajar. A second overnight pass on the areas that still look dull usually takes care of the rest.
Common Mistakes
Spraying cleaner into a hot oven is the fastest way to turn a simple job into a trip to urgent care. Heat turns vapor into concentrated fumes, and most of the strong chemical oven cleaner complaints start with a warm oven.
Using bleach or ammonia, or mixing any two cleaners together, produces gases that are genuinely dangerous. One cleaner, one surface, one time.
Scrubbing glass, enamel or a coated surface with anything abrasive leaves permanent haze. A pumice stone is a last resort for hardened carbon on a plain steel oven floor, and never on glass or enamel.
Soaking parts that are not meant to be soaked can warp a rack or get water into an element housing. Cast iron grates can soak; check before you fill the tub.
Ignoring the self-cleaning instructions is common and expensive. That cycle exists because the coating inside is specially made to survive extreme heat, and a caustic spray can permanently damage both the enamel and the feature itself.
Under-mixing the paste is the most common quiet failure. Three tablespoons works for a door. A whole cavity needs the half cup, and if the paste has run thin, it will streak and take longer to strip off.
Simple Ongoing Care Tips
A splatter guard or a cheap sheet of foil on the rack below the element catches most of what ends up as baked-on grease. Positioning dishes so nothing touches the element or the back wall keeps drips where you can see them.
Wipe visible grease while the oven is safely cool rather than letting it set. Five minutes on a Sunday and your next clean is a maintenance job instead of a project. If you bake on a stone often, that stone collects its own carbon; see how to bake pizza on a stone in a home oven for how it is handled and stored.
Spilled bacon grease is a special case: let it cool and solidify, then lift it off with a plastic scraper and a paper towel before it soaks into the enamel. Our oven bacon method for a crowd is a reliable way to create a lot of it, which is exactly why the cooling-then-lifting habit matters.
Match the schedule to how often you cook. Light use, a monthly wipe-down is plenty. Regular baking and roasting earns a quarterly paste treatment.
Frequently Asked Questions
Can I use vinegar to clean an oven without harsh chemicals?
Yes, as a rinse after the paste is wiped away, not as part of the paste. Vinegar’s acid dissolves the fine white grit baking soda leaves on enamel and glass, which is the chalky film many people complain about. Skip it on aluminum trim, and never combine it with another cleaner in the same wipe.
Is baking soda safe for every oven?
Baking soda is mild enough for most enamel oven cavities and for oven door glass. Keep it off non-stick coatings, and off any surface your manual calls out, since alkaline paste can dull a coating over time. Wipe heating elements with a damp cloth rather than spreading paste over metal you cannot see clearly.
How do I clean greasy oven racks without leaving a strong odor?
Soak them in hot water with a squirt of dish soap for an hour or more, then brush the bars with an old toothbrush and rinse. Dry them fully before they go back in, because a damp rack smells worse than a greasy one. Rinse the sink or tub afterward so trapped grease does not follow you around the kitchen.
Why does my oven smell dirty after I wipe it with baking soda?
Two usual causes. First, residue: a thin paste leaves a film that harbors food smell, so finish with a vinegar rinse and a clean damp cloth. Second, moisture: a damp oven sealed shut smells stale within a day. Leave the door ajar for an hour after drying, and heat the empty oven for 30 minutes to drive it out.
Should I use a self-cleaning cycle instead of scrubbing?
Usually not if you want to avoid harsh chemicals. The pyrolytic cycle burns off residue at very high heat and produces fumes that can irritate anyone in the house, and it ages the oven faster. If your oven only has mild grime, the baking soda paste and a damp cloth handle it. Use the cycle only when buildup is heavy and the manual directs you to.
How often should I clean an oven without chemicals?
Wipe visible grease as soon as the oven is cool, and give the whole cavity a paste treatment every three months if you cook most days. Monthly is enough for occasional baking. In between, dry wiping and foil or a splatter guard on the lower rack do most of the work before residue ever hardens.
Conclusion
Start small and safe: let the oven cool completely, check the manual for your cavity coating, take the racks out, and blot the loose grease with a dry towel. That first pass costs five minutes and tells you how much paste you actually need. Most ovens come clean from there without a single spray can, and if heavy carbon remains, a second overnight pass usually settles it before you consider anything harsher.