
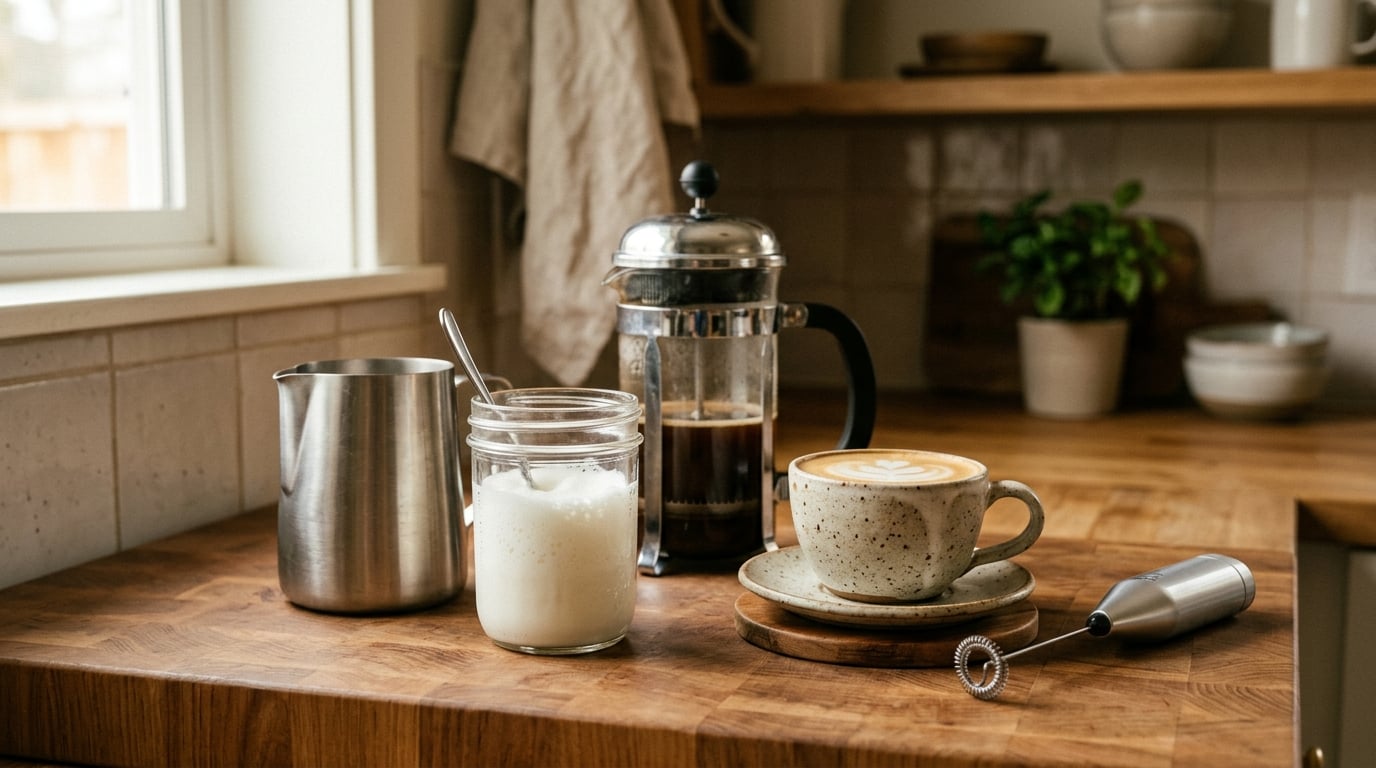
You can froth milk without an espresso machine by heating it to roughly 150°F and then forcing air into it with something you already own: a sealed jar, a French press, a handheld frother, a whisk, or an immersion blender. Heat and air are two separate jobs, so you can do them in either order.
A steam wand does both at once, which is why the foam it makes is so fine. Take the machine apart into its two jobs and every method below makes sense on its own. The result is a little rougher around the edges and a lot cheaper, and nobody at your table can tell the difference.
Foam is also the whole difference between a cup of coffee and a latte. It changes the mouthfeel, it holds aroma near the top of the cup, and it decides whether a drink reads as a cappuccino (a thick, dry head sitting on the liquid) or a latte (microfoam folded through the drink). The good news is that both come out of the same three variables: temperature, movement, and how fine you break the bubbles down.
What You Need
You need three things, and most people already have all of them. A heat source, something that puts air into milk, and a vessel tall enough to stir.
- Heat. A small saucepan on the stove, a microwave, or a mug in hot water. A milk frothing pitcher is a nice-to-have, not a requirement; a straight-sided glass or a wide-mouth jar works nearly as well.
- Air. A handheld battery frother, a French press, a whisk, an immersion blender, a countertop blender, an electric hand mixer, or nothing at all but a jar and your arm.
- Somewhere to work. Height matters more than brand. A squat mug traps big bubbles with nowhere to go, while a tall straight-sided container lets you make a vortex and pull the foam back down into the liquid.
Heat without air gives you hot milk, which is fine but flat. Air without heat gives you a whipped, cold foam that behaves completely differently. The methods below are mostly about doing both, or doing them in the right order.
Milk choice matters almost as much as the tool. Here is how the common options behave under agitation:
- Whole milk is the easiest to foam. Its fat globules and proteins trap and stabilize bubbles, so you get more volume and a creamier result with less effort.
- Two percent foams well, just a little thinner. A good middle ground if you do not drink whole milk but still want body.
- Skim milk makes impressive volume very fast, but the foam is thin and watery, and it scalds more quickly because it heats unevenly.
- Oat milk is the most reliable plant-based option. Formulated barista versions foam almost like dairy, and they split into a grainy texture if you push them past about 150°F.
- Soy milk foams well and has a high ceiling before it breaks, though the cooked bean flavor comes through in a hot drink.
- Almond milk is the hardest to foam. It is low in protein, the bubbles are fragile, and the foam goes flat within a minute. Barista-blend versions are the only ones worth trying.
Your temperature target is a narrow window: 140°F to 160°F. Below about 140 the milk is too cold for the fat to stretch properly and you get weak, thin foam. Above 160 the proteins start to tighten, which is where the sweet, cooked taste creeps in. Past roughly 170°F the milk has scalded, and scalded milk will not foam no matter what tool you use on it. A simple instant-read thermometer in the pan is the single most useful thing you can own for this, and many people just use the edge of small bubbles and a clean finger on the base of the pan instead.
Your texture target is microfoam: glossy, wet-looking, with no visible bubbles, and roughly double the starting volume in the container. Coarse foam is not the same product. It sits on the surface, pops, and collapses halfway down the cup, which is why a drink made with it tastes thin even when the milk is the same.
| Method | What you need | Time | Foam quality (1-5) | Best for |
|---|---|---|---|---|
| Jar shake | Airtight jar with a lid | 1-2 minutes | 3 | Iced drinks, cold foam, no-cost option |
| French press | Any French press | 3-4 minutes | 4 | The closest thing to microfoam without a machine |
| Handheld frother | Battery or corded wand | 1 minute | 5 | Daily use, the best balance of speed and texture |
| Whisk on the stove | Saucepan and a whisk | 4-6 minutes | 2 | Cappuccino foam layers, a workout |
| Immersion blender | Stick blender | 1 minute | 3 | Fast results in a tall jug, iced lattes |
| No equipment at all | A sealed bottle and a microwave | 3 minutes | 2 | Last resort, or a two-texture hot drink |
Step-by-Step
Start by matching the method to what you own rather than what looks appealing online. A French press that has been in a cupboard for a year will out-produce a new gadget every time. Then pick your drink: a cappuccino wants a thick layer you can spoon on top, a latte wants microfoam poured in with the milk, and an iced latte wants cold foam with no heat at all.
How to Froth Milk Without an Espresso Machine With a Jar
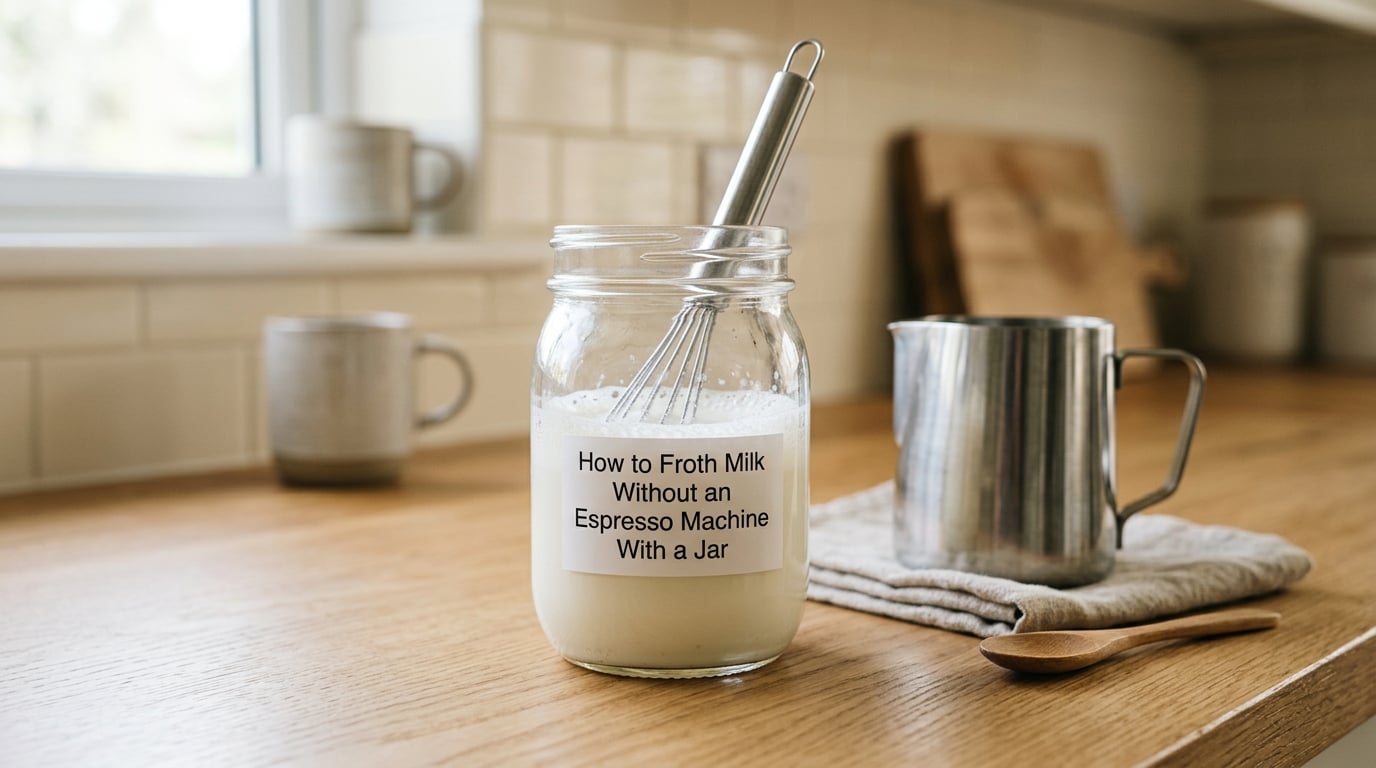
This is the method most home coffee guides point to first because it costs nothing and the instructions are thirty seconds long. The catch, and the reason jar foam has a mixed reputation, is that shaking alone gives you big bubbles rather than microfoam. A short swirl at the end fixes most of that.
- Fill the jar about one third to halfway. Milk needs to move to make a vortex, and headroom is what keeps it from sloshing out the moment you shake it. A full jar is the number one cause of a milky countertop.
- Warm the milk to 130°F to 140°F. Not boiling, not steaming. You want it warm enough that the fat moves, and a microwave in 20-second bursts or a low saucepan both get you there. Chill the milk in the fridge first and you buy yourself a lot more working time before it scalded.
- Seal the lid tightly and shake for 30 to 60 seconds. Check that the lid does not rattle as you tighten it. The sound changes from sloshing to a dense, muffled rumble right around the 30-second mark, and that is the point where the milk has doubled in volume.
- Set the jar down and swirl it once. One fast spin in a circle, then a sharp knock of the base on the counter. That knocks the coarse bubbles down into finer ones and drops the foam into the liquid. It is the closest thing to texturing you can do with a jar.
- Look before you pour. Good foam is glossy with no visible bubbles and holds a slight dome. If you see a frothy cap with holes in it, swirl again.
- Pour deliberately. For a latte, pour slowly from low so the foam goes in rather than landing on top. For a cappuccino, tip the jar and spoon the thick head into the cup before the liquid.
The reverse order also works and is the safer one: shake the milk cold, then warm it gently. Cold shaking gives you the same aeration, and heating afterward is a gentler way to finish the job. Do not let it sit in a microwave for two minutes to do both, because you will overshoot straight into scalded territory.
The same trick scales up for other drinks. Shaken cold milk, warmed in a saucepan, then finished with cocoa powder or matcha whisked in gives a decent hot chocolate or matcha latte without any special equipment at all.
How to Froth Milk Without an Espresso Machine With a Handheld Frother
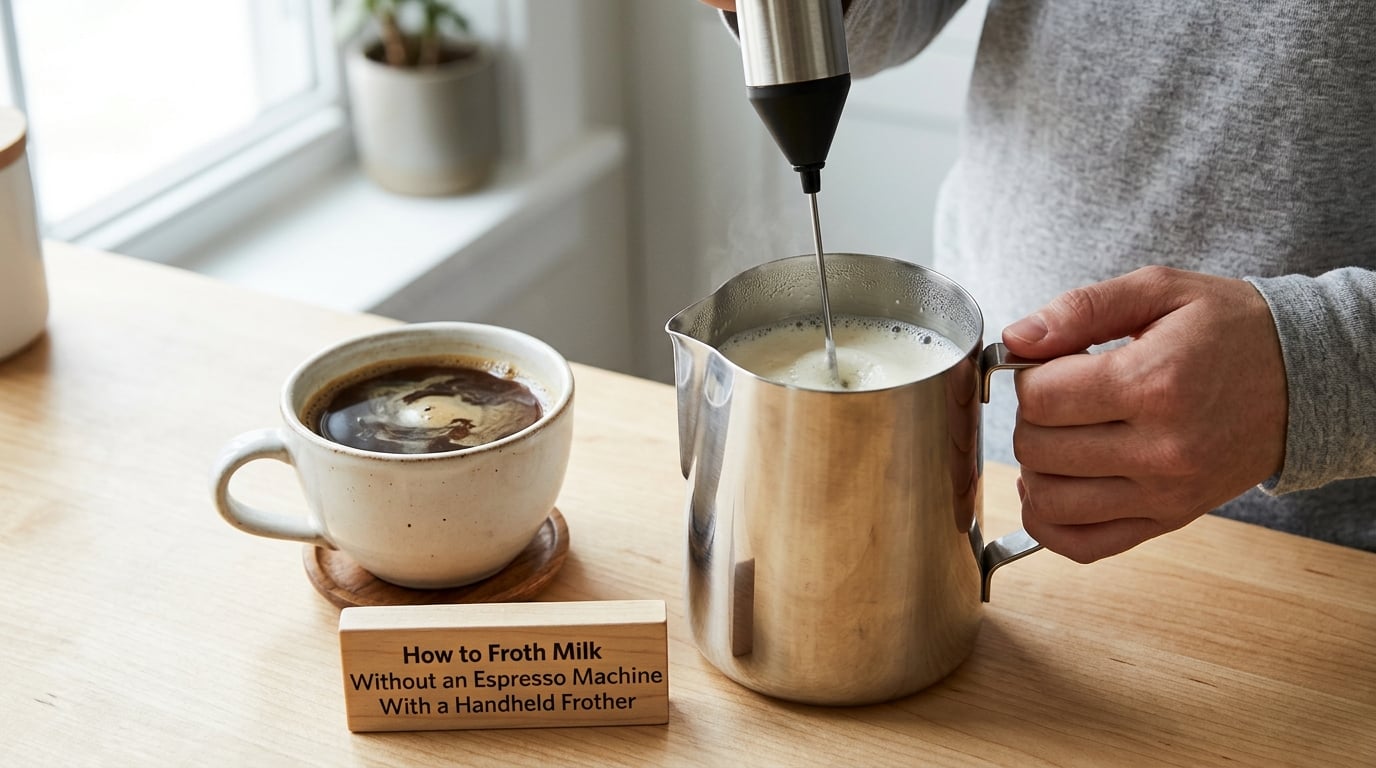
Of everything on the list, this is the only tool I would tell someone to buy. It is a small battery wand that spins at high speed, it takes fifteen seconds, and it gets closer to real microfoam than anything else you can pull out of a kitchen drawer. Everything else on this list is a workaround; this one is a solution.
- Fill a tall pitcher no more than halfway. Height is what makes the vortex. A short, wide mug will splatter milk across your shirt no matter how steady your hand is.
- Warm the milk to about 120°F to 130°F, or start cold. Starting cold is easier and, for a milk that has been sitting out, safer. You can always heat the finished foam gently afterward.
- Run the motor first, then lower the tip into the milk. Starting the wand in midair and then dipping it in throws a wave of milk at the edge of the pitcher. Turning it on before it goes in, or breaking the surface very gently, prevents nearly all splashing.
- Stretch first: hold the tip just under the surface. Keep it there for five to ten seconds. You are pulling air in, and the volume should roughly double while the surface turns glossy.
- Then texture: lower the tip a few millimeters. For another five seconds, keeping it just beneath the surface. That spinning breaks the larger bubbles into microfoam, which is the whole difference between a frothy drink and a proper one.
- Stop when the milk is hot to the touch and the volume has doubled. Pull it before you think you need to. Sound and smell are better guides than clock time: a rising hiss, then a sweet cooked smell.
Swirl or knock the pitcher on the counter before pouring, exactly as you would with the jar. It settles the foam into the milk instead of leaving a slippery cap behind.
This tool is also the best one for cold foam, which is the technique of whipping chilled milk for an iced drink. Skip the heat entirely, use the same stretch-then-texture motion, and stop at about triple volume with a soft, marshmallowy peak. It holds on top of an iced latte far longer than hot foam would.
How to Froth Milk Without an Espresso Machine With Other Tools
French press: the best dense foam without a machine. Warm milk to 140°F to 150°F in a saucepan, pour it into a preheated press, and leave it a minute so it finishes heating evenly. Then plunge slowly, just breaking the surface foam, two or three times. Each slow press breaks large bubbles into smaller ones without tearing the foam apart. Stop as soon as the plunger meets resistance. A plunge all the way to the bottom at speed will churn the foam back into big bubbles, which undoes the work.
Whisk on the stove: free and effective, and genuinely tiring. Heat milk in a saucepan over medium heat and beat it aggressively with a whisk from the moment it starts steaming. Expect four to six minutes of steady arm work, and expect a light, coarse foam. It is genuinely good for a cappuccino with a thick spooned head, and a poor substitute for latte microfoam. Keep the pan slightly off the heat while you whisk, because the milk continues cooking underneath and scalds faster than you notice.
Immersion blender: the fastest option for iced drinks. Put the blade just under the surface in the deepest, narrowest container you have, tilt the container slightly so the blade points up the wall, and pulse in short bursts. The tilt matters: a blade pointed straight up at the center just churns, while a blade angled toward the surface folds air in. Start low and increase speed gradually to keep it from splashing out. Results are close to the handheld frother, and the main downside is washing the wand under the tap every time.
Countertop blender or electric hand mixer: fine for cold foam. A blender with the lid on and the speed kept low to medium will whip chilled milk to a good cold foam. Blenders run hot, which is why they struggle to texture hot milk without cooking it. An electric hand mixer needs the deepest, narrowest beaters you can find, since the beaters need to stay submerged to keep pulling air in. Both are underrated for iced lattes in summer.
No equipment at all: a sealed bottle, cold milk, and a microwave. Any airtight bottle with a screw cap works: a water bottle, a small thermos, a baby bottle. Fill it halfway, tighten the cap, and shake hard for 20 to 30 seconds. Warm milk shakes louder and holds more foam, so refrigerate it for 5 to 10 minutes first, or let it sit in a freezer for a few minutes until it is cool to the touch but not frozen. Heat it afterward in 15-second microwave bursts, stopping to swirl every other burst. The result is coarse but honest foam, and combined with a little cold milk stirred in afterward it gives you two textures in one cup.
Moka pot: a heat source, not a frothing tool. The upper chamber will warm milk and produce a weak, uneven steam at best. Use it to get the milk hot, then pour it into a jar or a frother and aerate it properly. Trying to foam directly in the pot just gives you hot milk and a surprising amount of cleanup.
Common Mistakes
Almost every disappointing cup traces back to one of four things: temperature, container, tool depth, or stopping too late. Here is what goes wrong and what fixes it.
- The milk tastes sweet or scorched. This is overheating, not under-frothing, and it is the most common complaint from anyone learning this. Once milk passes about 170°F it will not foam again, no matter what you do to it. Pull the heat earlier, start from cold milk, or add a splash of cold milk back in to bring the temperature down.
- You get almost no foam. Usually one of three causes: the milk was under 120°F, the container was too full to move, or the tool was held too deep and stirred instead of aerated. Fix all three by using a half-full tall container and holding the tip right at the surface.
- The foam has big bubbles and collapses in the cup. You stretched the milk without texturing it. Shaking, plunging, or blending only adds air; the swirling, the slow French press plunge, or dropping the tool a fraction deeper is what breaks those bubbles down. Skip that second step and the foam will be gone before you finish drinking.
- Milk everywhere. Too full, too wide, or the tool went in before the motor was running. Turn the frother on first, use a tall narrow vessel, and fill it no more than halfway.
- You have more foam than your drink needs. For a cappuccino that is not a problem, just spoon it on. For a latte, stop at double volume and skim off the extra from the top before pouring.
- Oat milk turns grainy or splits. Plant-based milk has a narrower safe range than dairy. Keep it under 150°F, add cold milk back to cool it, and switch to a barista-blend version made for steaming.
- You are frothing 60 to 70 ml for a cappuccino or macchiato. Small volumes are genuinely hard because there is not enough milk to build a vortex, and this is a question that comes up constantly on home coffee forums. The fix is a small container with a lid: a 4-ounce jam jar, a baby bottle, or a small food container with a snap lid. Shake for 45 to 60 seconds, since small amounts lose volume fast. Alternatively froth four ounces, pour off what the drink needs, and save the rest of the foam for a second cup within the hour.
- The foam dies the moment it hits the cup. Pour quickly, pour low, and do not stir it in. A layer that is folded into the drink and then agitated loses its structure in about a minute.
On keeping milk safe and usable: heat only the amount you plan to drink, and refrigerate the rest of the carton promptly. Reheated milk should be brought to 165°F if it has been sitting out, and heated milk left at room temperature should be discarded after two hours. If you have leftover frothed milk, store it covered in the fridge and expect the foam to be mostly gone within a day. Scalded milk is a quality problem rather than a safety one, but it will not recover for drinking hot, so treat it as a loss and start again.
Frequently Asked Questions
How do you froth milk manually?
Heat the milk to about 150F, then add air and break it down in two steps. Seal a jar halfway with warm milk and shake for 30 to 60 seconds, or plunge a French press slowly twice through the surface. Warm milk in a whisk in a saucepan works too, though it takes four to six minutes and makes coarse foam. Finish every method with a swirl or a tap on the counter so the foam settles into the liquid.
What can I use if I don’t have a frother?
A wide-mouth jar with a tight lid is the classic answer and costs nothing. A French press gives you the finest texture of any household tool because the plunge breaks large bubbles into small ones. A whisk in a saucepan, an immersion blender, a hand mixer, and a blender with the lid on all work, mostly for cold foam. Pick the one you already own rather than buying anything.
How do I froth milk on the stove?
Pour milk into a small saucepan over medium heat and watch the base rather than the surface. As fine bubbles form, start beating with a whisk or hold an immersion blender just under the surface. Keep the pan slightly off the heat while you work, because the milk keeps cooking underneath. Pull it at 150F to 160F and pour immediately, since stovetop foam collapses faster than foam made in a pitcher.
Is there a way to steam milk without an espresso machine?
Yes, and the machine is not doing anything you cannot do separately. A steam wand heats the milk and injects air at the same time. You can heat milk in a saucepan or microwave, then aerate it with a jar, a French press, a handheld frother, or a whisk. The result is slightly coarser than machine texturing, but with a proper second step to break the bubbles down, the difference is hard to taste.
What type of milk foams best?
Whole milk foams most easily because its fat globules and proteins trap and stabilize bubbles, and it forgives small temperature mistakes. Two percent is a solid compromise. Skim milk makes more volume but thinner foam and scalds faster. Among plant-based milks, a barista-blend oat or soy milk performs best and should stay under about 150F. Unsweetened almond milk has too little protein to hold bubbles and the foam goes flat within a minute.
How do I froth a small amount of milk without a machine?
Use a small lidded container rather than a big pitcher, since 60 to 70 ml cannot build a vortex in a tall jug. A four-ounce jam jar, a baby bottle, or a snap-lid food container all seal well enough to shake. Fill it halfway, shake for 45 to 60 seconds, and swirl once before pouring. A trick that works well is to froth about four ounces, pour off the amount the drink needs, and save the rest for a second cup within the hour.
Get Cafe-Style Milk at Home
The first thing to do is pick the method that matches the equipment already in your kitchen, and heat the milk to somewhere between 140°F and 160°F. That single habit fixes more disappointing cups than any tool does, because almost every failure traces back to cold or overheated milk rather than a bad whisk.
From there the pattern is the same no matter which tool you choose. Stretch means adding air and roughly doubling the volume, and it happens at the surface of the milk. Texture means breaking those bubbles down finer until the foam looks glossy and wet with no visible holes, and it happens just below the surface. Tools that only do the first step give you foam that collapses in the cup.
Start with a jar if you want zero cost, a French press if you want the closest thing to microfoam, and a handheld frother if you plan to make drinks more than a couple of times a month. For cappuccinos, spoon a thicker layer on top. For lattes, fold a thinner one in. For iced drinks, skip the heat entirely and whip the milk cold. You will be a few degrees of practice away from never buying a flat white again.
If you only remember one line of the whole method of how to froth milk without an espresso machine, make it this: heat, aerate, then break the bubbles down. Skip the last step and no tool on this list will save you.