
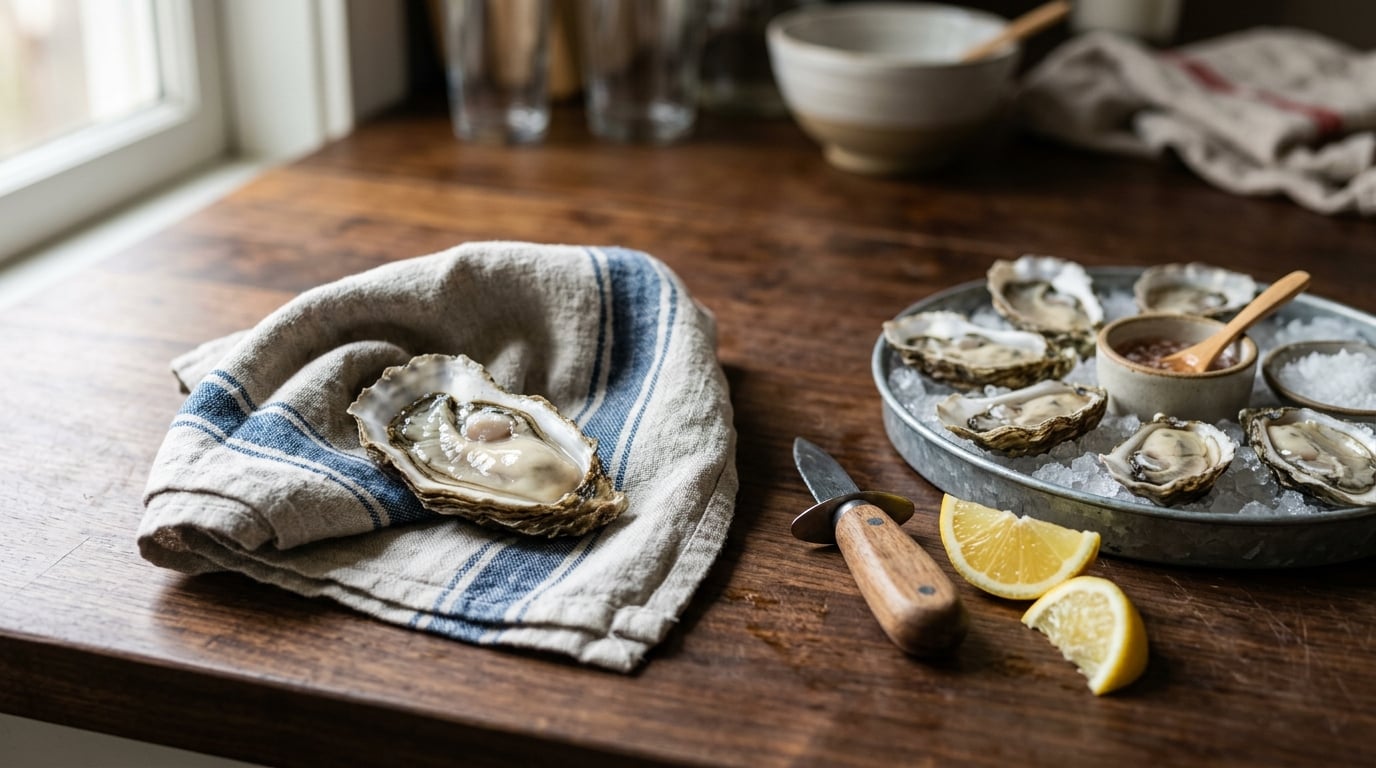
Shucking an oyster at home takes about 30 to 60 seconds per oyster once you get the rhythm of it, and the whole job comes down to grip, angle and one slow twist. Wrap the oyster in a folded towel cup side down, push the tip of a short oyster knife into the hinge at the pointed end about a quarter inch, twist until the shell releases, then slide the blade along the inside of the top shell to cut the muscle holding it shut. Nearly every injury in the kitchen starts with an oyster that slid, not with a technique that was too hard.
The first one takes me longer than the tenth, and that is normal. Beginners routinely mangle the first several oysters before the movement becomes automatic, so plan on doing two or three as practice before you shuck any for a guest.
What You Need
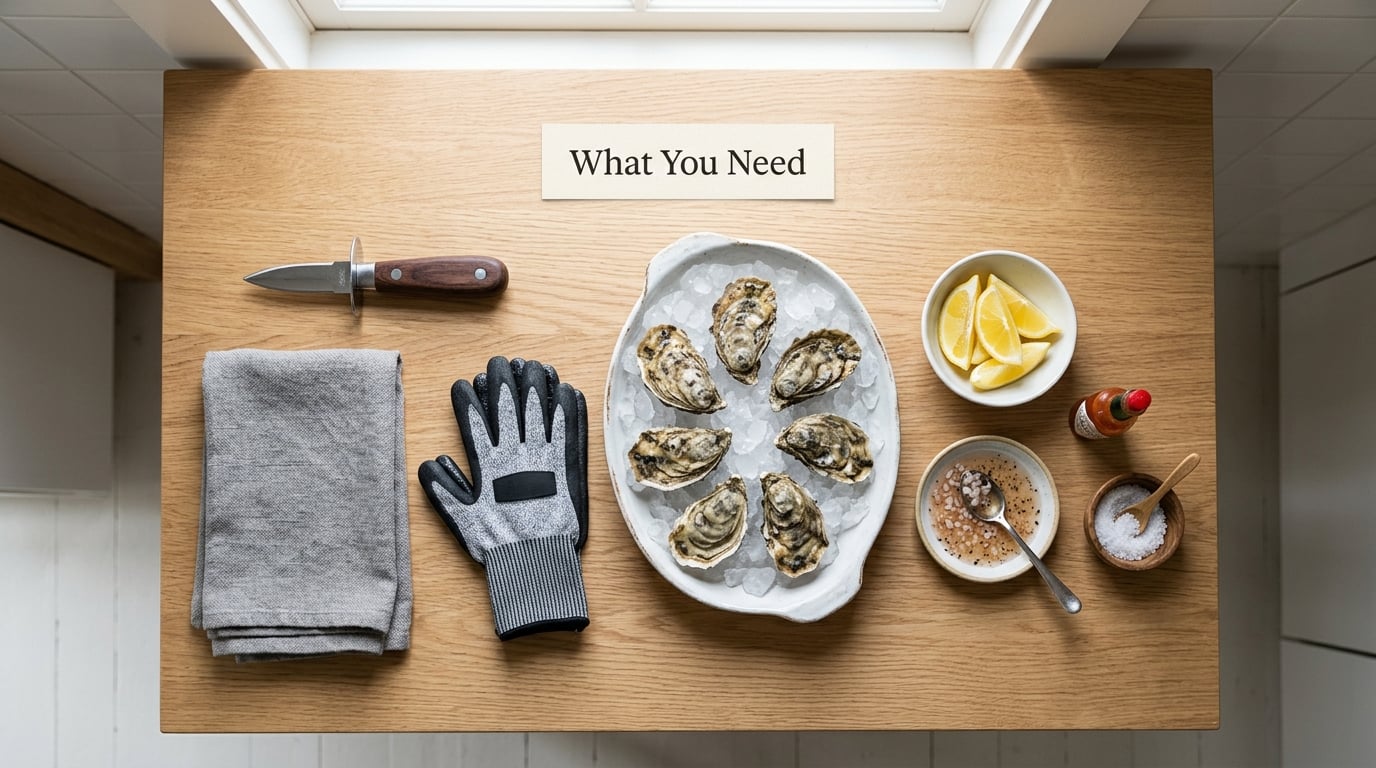
The whole setup fits on a small tray, and each piece earns its place by controlling the one thing that goes wrong: a wet shell squirting out from under your grip.
- A short oyster knife. A stout blade roughly 2.5 to 4 inches long with a thick, blunt-rounded point. The tip is built to push and lever, not to slice, so it will feel unsharpened compared with a kitchen knife. That blunt tip is exactly what you want against your hand.
- A folded kitchen towel. This is the grip. The towel gives you a dry, textured surface to hold the shell, and you wrap the oyster in it so the blade has somewhere safe to travel.
- A cut-resistant glove. Optional if you use the towel well, genuinely useful once you are shucking a dozen in a row and your grip softens.
- A shallow tray or plate. You need a non-slip surface to set the wrapped oyster on, plus a separate bowl for shells so the counter does not fill with fragments.
- Fresh oysters on crushed ice. Ice is both a freshness measure and a serving surface. Never shuck oysters straight from the counter after they have been sitting out.
- Lemon wedges, mignonette and hot sauce. For the eating, not the opening. A squeeze of lemon is enough for most people.
How to Shuck an Oyster Safely at Home: Step-by-Step
Step 1: Inspect and Chill the Oyster
Fresh oysters should be closed, heavy for their size and still cold to the touch. Before you open a single one, put them back on ice and let them chill properly rather than working through a warm tray.
Throw out anything with a cracked shell, a gap that will not close when you tap it, a dry or darkened shell, or a sour smell. Shucking will not make an oyster safe. It is only safe if the handling and the harvest were right to begin with.
Step 2: Secure the Oyster in a Towel
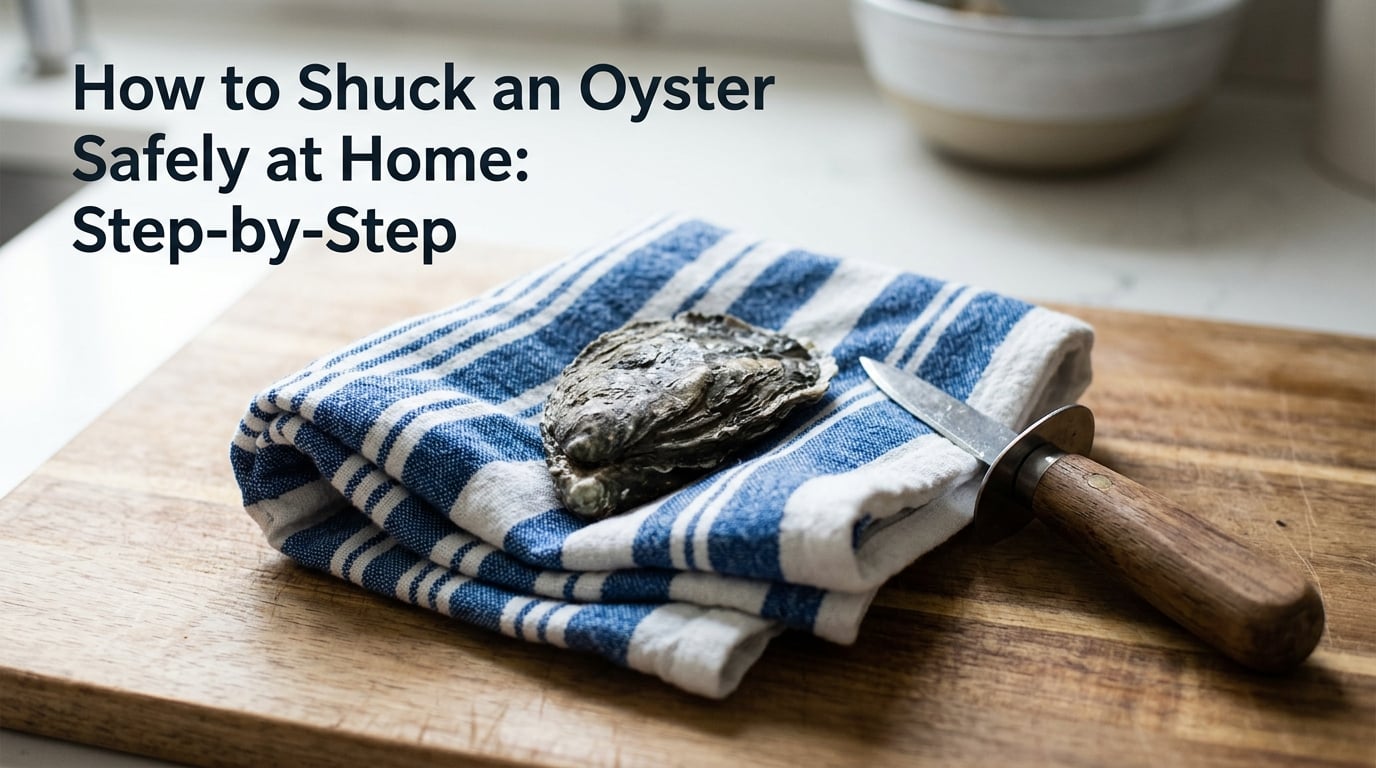
Fold a kitchen towel in half, lay the oyster on it with the rounded cup side down and the flat side up, then wrap it snugly and twist the towel until the shell is locked inside. Leave the pointed end, where the hinge is, sticking out of the towel.
This is the step that makes how to shuck an oyster safely at home a repeatable process instead of a gamble. The blade will travel from the hinge toward the round lip, and the towel is what stands between that travel and your fingers. If the oyster can still rotate inside the towel, wrap it again.
Step 3: Find the Hinge and Insert the Knife
The hinge is where the two shells meet at the narrow, pointed end. Hold the wrapped oyster hinge-end away from your body with one hand on the towel, and with the other hand push the knife tip into that point. Knowing how to shuck an oyster safely at home starts here, because the hinge is the only place the blade should ever go in.
Use a firm push with a slight wiggle. About a quarter inch is enough depth to get leverage, and more depth than that is what turns a slip into a cut. If the hinge is tight, twist the blade rather than stabbing harder.
Step 4: Twist and Loosen the Hinge
Now rotate your wrist. A small, controlled twist is all it takes, and the moment the shells part you stop. Do not keep turning and do not try to lever the blade deeper to gain force.
People get hurt when they treat this like a can that needs prying. It is not a can. The oyster is held by one muscle, and a twist snaps it rather than shearing it, so steady pressure beats hard pressure every time. Keep the blade angled down and away from your holding hand.
Step 5: Lift the Shell and Check the Oyster
Slide the knife between the shells along the inside of the top shell, staying close to the shell so you do not slice into the meat. Cut until the top shell lifts free, then set it aside and check what is underneath.
Scrape or brush off any loose shell fragments, and look the oyster over. It should be plump and glossy with a clear liquor pooled beneath it. If it is dry, grey or slimy, discard it. Once the top shell is off, most of the damage is done, so take the rest slowly.
Step 6: Serve Immediately on Ice
Set the bottom shell on a bed of crushed ice, loose liquor and all, and keep it cold until it goes to the table. Lemon, mignonette or hot sauce goes on at the moment of eating. If oysters are the opener for a bigger meal, they work well as the first course once you have planned a three course dinner menu at home.
Shucked oysters are at their best within about 10 to 15 minutes of opening. That is not a hard food safety limit, but the texture does dull quickly, and there is no reason to serve them warm or sitting out while everyone gets to the table.
Common Mistakes
| Mistake | Why it happens | How to fix it |
|---|---|---|
| Knife slips into the holding hand | The oyster is wet or rotates inside the towel | Wrap tighter, leave only the hinge exposed, keep the blade angled down and away from your hand |
| Shell will not open | Forcing instead of twisting, or the tip was too blunt | Twist the blade in the hinge rather than pushing down, and back the knife off to a sharper point |
| Meat sliced or mangled | Cutting too deep, or slicing rather than sliding along the shell | Run the blade flat against the inside of the top shell, almost parallel to it |
| Oyster liquor spilled | Lifting the top shell straight up off a tilted oyster | Keep the bottom shell flat and level so the liquor pools rather than pours away |
| Shell fragments in the meat | Weak or worn knife, or a thin brittle shell | Inspect every oyster before it goes on the platter and brush the meat clean |
| Shucking over a hard counter | No traction, so the oyster skates | Use a damp towel under a tray or plate as your non-slip base |
| Served warm or late | Ice added too late or not at all | Keep everything, shells included, on ice from the start and plate the ice last |
A few habits cover most of that table at once. Work over a tray, keep the shells in their own bowl, and hold the oyster lower than you think you need to so a slip travels away from your body rather than across your palm. Beginners usually get the technique right on the second or third try, so do not force the tenth one the way you forced the first.
On handling raw seafood: wash your hands with soap before and after, and clean the knife, tray and towel with hot soapy water. Keep a separate plate for cooked food and never put cooked food on the board you just used for raw shellfish. If you have a cut on your hand, wear a waterproof glove or have someone else shuck. If you are pregnant, have liver disease, diabetes, kidney disease or a weakened immune system, cook oysters to an internal temperature of 145°F, which is the USDA guideline for mollusks, rather than eating them raw.
For the rest of the menu, a chilled, high-acid wine handles the brine better than anything heavier, and our white wine pairing basics for home cooks covers how to pick one that will not fight the oyster.
Frequently Asked Questions
What can I use instead of an oyster knife?
A short, sturdy paring knife with a thick blade works reasonably well, because the job is to push into a hinge and twist, not to slice. A butter knife will slide and skate, a screwdriver has no control at the hinge, and a bottle opener cannot reach the muscle. If you have nothing suitable, put the oysters on ice and buy a proper shucker rather than improvising with a kitchen drawer.
Do I need to soak oysters before shucking them?
No. Soaking in fresh water does not clean the oyster and can dilute the liquor that gives it its flavour. Rinse the closed shells under cold running water to knock off loose grit, then keep them on ice until you open them. A quick scrub of the outside is all the cleaning an oyster actually needs.
Is an oyster knife supposed to be sharp?
Less sharp than a kitchen knife, and that surprises people. The blade is thick and the tip is blunt on purpose, because it is designed to push into the hinge and twist rather than cut. A razor edge would slip sideways the moment it hit a wet shell, which is exactly the accident you are trying to avoid.
Are raw oysters safe to eat at home?
They are safe when they have been handled and harvested correctly, and unsafe when they have not, and no technique of yours can change that. Buy from a licensed seller, keep the tags, and check local harvest closures because red tide closures still happen. Anyone pregnant, immunocompromised, or living with liver disease, diabetes or kidney disease should cook oysters to 145u0026deg;F rather than eat them raw.
What should I do if I cut myself shucking an oyster?
Run the wound under clean running water for several minutes, apply pressure to stop any bleeding, and cover it with a clean waterproof dressing. Oysters can carry Vibrio vulnificus, which is a real concern through an open cut, so tell the person treating you that you were handling raw shellfish. Seek medical care straight away if the cut is deep, if redness or swelling spreads, or if you develop a fever or chills.
Start with three things: an oyster wrapped tightly in a folded towel, its hinge left exposed, and a blade angled down and away from your holding hand. Twist slowly, stop the instant the shells give, and slice the top shell off flat against the shell. The first oyster will take you a couple of minutes and the tenth will take forty seconds, and that gap closes faster than anyone tells you.