
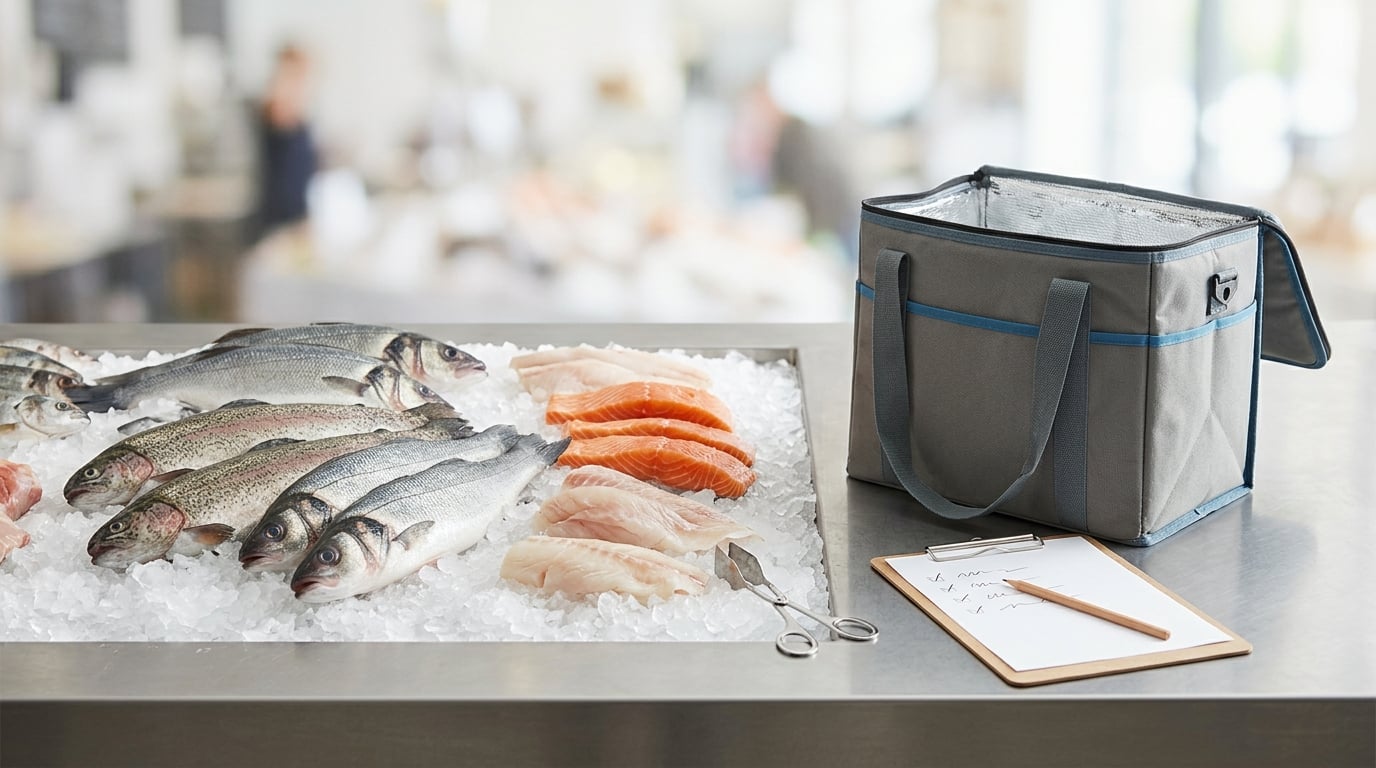
How to buy fresh fish at the counter comes down to five checks you can run in about a minute: smell it, look at the eyes and gills, press the flesh, check the skin and belly, and look at how the display itself is holding. Fresh fish smells like clean ocean air and nothing like fish. Once those five checks pass, the rest is just picking the right cut for what you are cooking and getting it home cold.
I have shopped fish counters the way most people do: too late in the day, guessing at jargon, and paying more than I needed to for a fillet when a whole fish would have fed us for less. It took me years to learn that the person behind the counter is usually happy to talk about the fish, and that the questions are simpler than the vocabulary suggests.
So yes, anyone can learn this. Give yourself ten minutes at the counter and a plan for dinner, and you can pick a fish with confidence even if you have never bought one before. This guide walks through the whole visit in order, from what to bring to what to do the moment you get home.
What You Need
You do not need equipment. You need a plan and a cold box.
- An insulated bag or cooler with ice packs. This is the single most useful thing to bring. Fish left in a warm car for thirty minutes loses more quality than most people can taste, and you will still eat it.
- Tongs or a fish basket if you want to handle the fish yourself instead of pointing at it. Some counters prefer their own tongs, and that is fine.
- A one-line meal plan. “Four people, pan-seared, Tuesday night” tells a fishmonger more than “some fish.”
- A rough number for guests. Counting portions before the counter saves you from the classic overbuy.
- A cool plan for leftovers. Know in advance whether you will freeze what you cannot cook, because the answer changes how much you buy.
Keep the checklist in this article on your phone. That sounds like overkill until the first time you are standing there with a fishmonger waiting and you blank on every question.
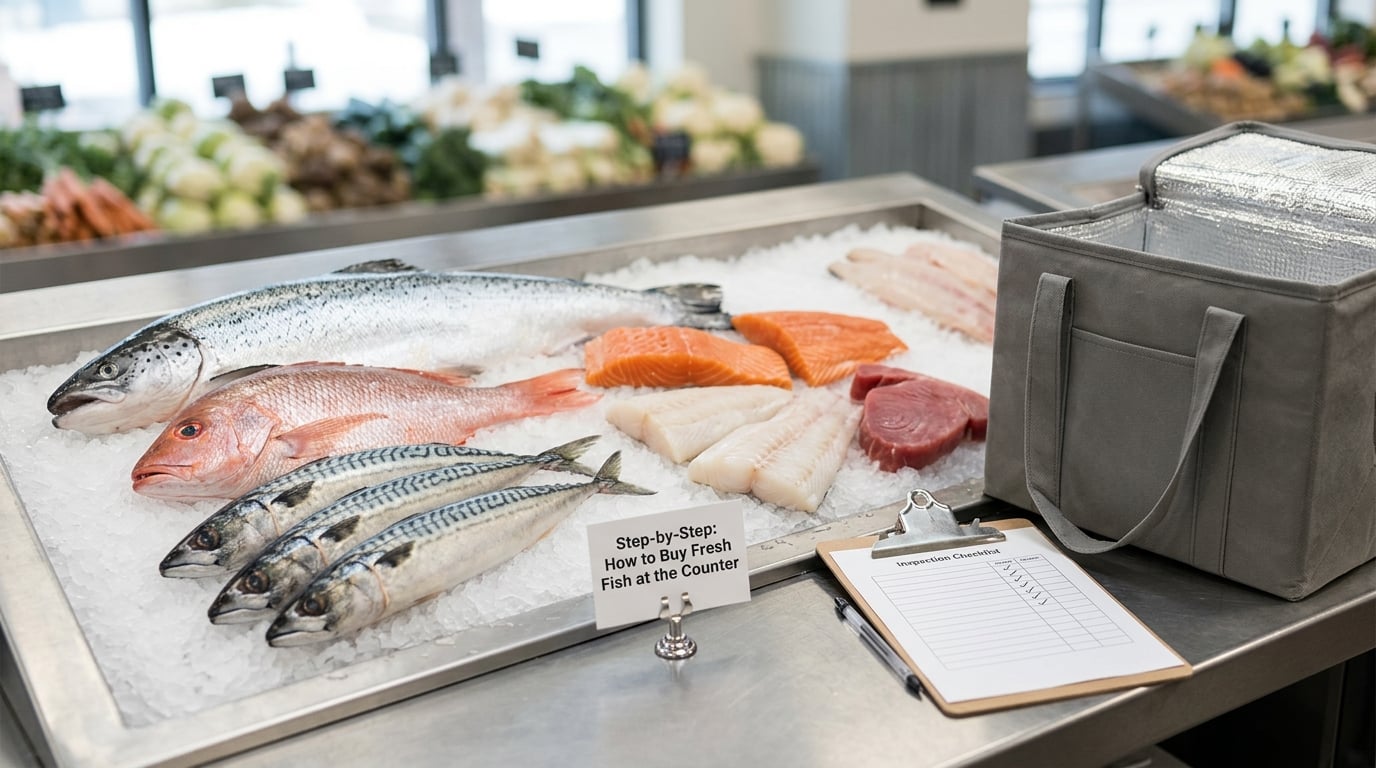
Step-by-Step: How to Buy Fresh Fish at the Counter
1. Tell the Fishmonger What You Plan to Cook
Start with the meal, not the fish. Say something like: “I am cooking for four on Wednesday, pan-seared, nothing too strong in flavor.” That single sentence usually produces a better recommendation than naming a species you saw online.
It also saves money. A fishmonger who knows you are feeding six people will steer you toward a firm, sturdy cut that holds up to the pan, and away from a delicate fillet that falls apart on the way to the table. Mention any fish-averse guests at your table and ask for the mildest option on the display.
Timing matters too. Counters tend to be fullest right when a delivery lands and thinnest late in the day, so go early if you want a species choice. Friday and Saturday are busiest. Shop midweek if you want a calm conversation and a better selection of the less popular cuts.
2. Ask What Was Caught or Delivered Most Recently
Four questions cover most of it: when did this arrive, is it wild or farmed, was it ever frozen, and where did it come from?
The arrival date matters more than the catch date. Freshness is a care chain, not a clock: a fish landed two days ago but iced immediately and kept at 34°F will beat something caught this morning that sat warm on a boat. That is also why the label asking whether a fish was previously frozen is not an insult. Most seafood is frozen at some point in the supply chain, because it travels well over long distances.
Wild or farmed is a quality and sustainability question, not a freshness question. Ask it to know what you are getting, not to judge it. If sustainability matters to you, look for Marine Stewardship Council or Aquaculture Stewardship Council certification on the sign or the label. And if the label says sushi-grade, ask the counter what it means to them, because there is no legal standard behind that phrase.
3. How to Buy Fresh Fish at the Counter: Check Appearance, Smell, and Display
Run the checks in this order, starting with the one that beats all the others.
Smell first, always. Lean in before you look at anything. Fresh fish smells like clean ocean air, sea brine, or faintly like nothing at all. A sharp fishy edge, sour vinegar, or ammonia means the flesh has started breaking down, and cooking will not hide it. This is the single check that gets repeated by cooks more than any other, because it is the hardest to fake.
Eyes. They should be clear, bright, convex, and set in the head. Cloudy white or grey, or sunken back into the socket, means time has passed. On a whole fish this is easy. On a fillet the head is often gone, so eyes may not be available to you at all.
Gills. Lift the flap on a whole fish. Bright red or pink gills that are wet and heavy with blood mean a recently killed fish. Grey, brown, or dry gills mean the other thing. You are allowed to do this. Everyone does it.
Flesh spring-back. Press firmly with your thumb along the thickest part. If the dent fills back in, the fish is fresh and the muscle structure is intact. If the dent stays, or if the flesh feels mushy, the texture has degraded. This works on a whole fish, a steak, and a fillet.
Skin. It should be tight and glistening, and it should not flake off when you touch it. Dry, dull, cracking skin means dehydration, which means time out of water.
Belly. A whole fish with a swollen or sunken belly has had its internal organs break down into the flesh. Walk away from that one no matter how good it looks elsewhere.
The display itself. This is the check almost everyone skips. Fish should sit on a thick bed of clean crushed or pellet ice that hides the tray beneath, not in shallow water. Meltwater in the tray means the display is not cold enough and the fish has been sitting damp. A counter that looks exhausted at noon is a counter whose fish has been out too long. If the staff will not let you look closely or answer questions, that is its own answer.
Fillets get a different set of tests. Look at the cut face. It should be glossy and translucent with no dry, milky, or chalky patches, which mean air exposure, and no browned or yellowed edges, which mean it has been sitting out. Edges should look clean and sharp, not frayed or bruised. Smell works exactly the same way.
Shellfish have their own rules. Live clams, mussels, and oysters should close when you tap the shell. If a shell stays open or does not close at all when tapped, that animal is dead and should not go in the bag. Shrimp and scallops should smell sweet and clean, with no sour edge, and their surfaces should be glossy rather than dull and coated.
Species cues help once you get past the basics. Salmon should show clean white fat lines running through the flesh; snapper skin is often marked with a faint electric-blue sheen, and its flesh is firm and pink; haddock and cod are judged mainly by smell, and both should have a very clean scent. Tuna should be deep red and firm, never dull brown or purple-grey.
4. Choose the Right Cut for Your Recipe
The cut decides how much work you have to do and how forgiving the fish is in the pan.
- Whole fish gives you the best value per serving and the most control, since you can see every part of the fish before you commit. It needs scaling, gutting, and filleting unless the counter will do it for you. Roast it whole for the drama, or ask them to break it down.
- Head-on, gutted fish is the middle ground. Someone else did the messy part and you still see the whole animal.
- Fillet is boneless, skin-on or skinless, and the easiest route for a beginner. Skin-on fillets go into a hot pan and stay put. Skinless fillets are more fragile, so lower the heat and don’t move them.
- Steaks are cross-sections from larger fish like swordfish, tuna, or grouper. They are thick, meaty, and hard to overcook quickly, and they are a good pick for the grill.
- Loins are the thickest, meatiest part of a fillet, and they hold up to high heat.
- Scallops are a bonus cut rather than a fillet. They cook in under two minutes per side and are the fastest good dinner on display.
Thickness matters more than most people expect. A thin fillet hits the pan, loses moisture, and is done in under two minutes a side. A thick one needs a lower heat or a shorter time in the pan. If you are nervous, ask the counter to cut two thinner portions from one thick fillet and let them cook separately.
5. Confirm the Price, Weight, and What You Are Getting
Before anything gets wrapped, ask what the total is, what the unit price is, where the fish came from, and whether trimming or deboning costs extra. Most counters will fillet, skin, pin-bone, or portion your fish at no charge, and many will scale and gut a whole fish for you as well. It is worth asking because it costs nothing and it saves you an evening with a knife.
Ask one clarifying question about weight: is the number on the scale the weight of the whole fish, or the weight after trimming? A whole fish that yields fillets typically loses a substantial share of its weight to bones, head, and skin, so the same price per pound buys you two different amounts of food depending on the cut.
That is the whole cost story. A whole fish is usually the cheapest route per serving, then head-on fish, then fillets, because you pay for parts you will not eat in a fillet. Ask for the number of portions a fish will give you, or ask them to cut it into portions on the spot so you can count what you actually take home.
Get a written receipt or a label where the counter offers one. It should list the species, the origin, and whether it was wild or farmed, and for shellfish it often carries a harvest date and a warning about the risk of Vibrio infection for people with liver disease or diabetes. Keep it until you have cooked the fish.
6. Transport and Store It Safely
Get the fish into a cold bag at the counter if you can, before you start the checkout conversation. Ask for a bag of ice or a cup of crushed ice to sit with it.
Once you leave, keep the clock short. Perishable food should not sit unrefrigerated for more than two hours, and one hour if you are somewhere hot or the fish has been out of a cold store. Many cooks use a simpler version: aim to be home within thirty minutes, and never leave fish sitting on the kitchen counter while you unpack the rest of the shop. Ten minutes of extra time on a warm afternoon is enough to start losing quality.
At home, put the fish straight into the coldest part of the refrigerator, ideally on ice in a sealed container or bag, at 40°F or below. Use it within one to two days. If you will not cook it in that window, freeze it the same day and label it.
Two warnings worth knowing. Tuna, mackerel, and other scombroid species form histamine as they break down, and cooking does not destroy it, so smell and appearance are your only line of defence with them. And frozen-at-sea fish that was thawed for display keeps well in the refrigerator but must be used within one to two days, not returned to the freezer.
When you do cook, the USDA recommends an internal temperature of 145°F, or 63°C, measured at the thickest part. Cook fish until it flakes easily and turns opaque, and stop there. Overcooked fish is the reason many people think they dislike it.
Common Mistakes
Judging on looks alone. A fish can be silver, bright, and beautiful and still smell off. Smell first, then look.
Buying a species you researched instead of the freshest fish. If you came in for sea bass and the fishmonger says the halibut landed this morning, take the halibut. Best advice at the counter beats a plan made at home.
Buying too much. A rough guide is a quarter-pound of raw fish per adult for a main portion, a half-pound for a generous one, and less for children. When in doubt, buy one fish you can eat and go back tomorrow.
Treating previously frozen fish as a defect. Flash-frozen fish that was frozen at sea is often fresher in flavor than a never-frozen fish that spent days warming on a route to the counter. The thing to avoid is fish that was thawed, displayed, and then put back in the case.
Ignoring yield. Comparing a whole fish and a fillet at the same price per pound tells you nothing. Compare price per portion, and ask the counter to portion it so you can count.
Skipping the label. Species, origin, wild or farmed, and harvest date are all on it. For shellfish, that label also carries a raw-consumption warning you should read before serving pregnant guests, older relatives, or anyone immunocompromised.
Letting the fish ride home warm. An insulated bag and ice packs cost less than the fish and save the evening.
Frequently Asked Questions
How can I tell if fish is fresh at the counter?
Smell it first. Fresh fish smells like clean ocean air or sea brine, never sharply fishy, sour, or like ammonia. Then check that the eyes are clear and convex, the gills are bright red or pink, and the flesh springs back after you press it with a thumb. On fillets, look for a glossy translucent cut face with no milky patches or browned edges, and on shellfish, tap the shell to confirm it closes.
How much fresh fish should I buy per person?
Plan on a quarter-pound of raw fish per adult for a normal main portion, about a half-pound for a generous serving, and a small serving for children. Fish shrinks noticeably as it cooks, so buying slightly less than you think you need is the safer mistake. If you are unsure, ask the fishmonger to portion the fish for you at the counter so you can count exactly what you are taking home.
Is fresh fish always better than frozen fish?
No. Most seafood is frozen at some point in its journey to the counter, and fish that is flash-frozen or frozen at sea right after being caught often holds more flavor than fish that traveled unfrozen and spent days in transit. Judge any fish by how it was handled and how it looks and smells now, not by whether it was ever frozen. What matters more is avoiding fish that was thawed, displayed, and re-stocked.
What should I ask the fishmonger before buying?
Ask what arrived most recently, whether the fish is wild or farmed, whether it was ever frozen, and where it came from. Then say what you are cooking and for how many, and ask them to recommend the cut. Most counters will fillet, skin, pin-bone, or portion at no extra charge, so it is worth asking. A fishmonger enjoys these questions because it is their chance to talk about what they know.
Can I buy fish that was previously frozen?
Yes, and you should not treat it as a downgrade. Fish frozen quickly at sea is frequently fresher than fish that was never frozen but spent longer warming on its way to the counter. The label matters: look for terms like flash-frozen or frozen at sea. If a fish was thawed for display, that is a different story, so ask. Fishmonger willingness to answer that question is a good sign about the counter itself.
How long can I keep fresh fish in the refrigerator?
Use it within one to two days of purchase, kept at 40°F or below in the coldest part of the refrigerator, ideally on ice in a sealed container or bag. If you cannot cook it in that window, freeze it the same day and label it with the date. Get it into the fridge within two hours of leaving the counter, or within one hour in hot weather, and use an insulated bag with ice packs for the trip home.
Conclusion
Here is the whole method, in order. Ask what arrived most recently and whether it was ever frozen. Smell it, then check the eyes, gills, spring-back, skin, and belly. Choose the cut that matches your dish, or ask the counter to portion it for you. Confirm the total, the weight, and the origin, and get a label. Then get it home fast, into a cold bag, into the refrigerator at 40°F or below, and cook it within a day or two to 145°F.
That is the entire skill. The rest is just dinner.