
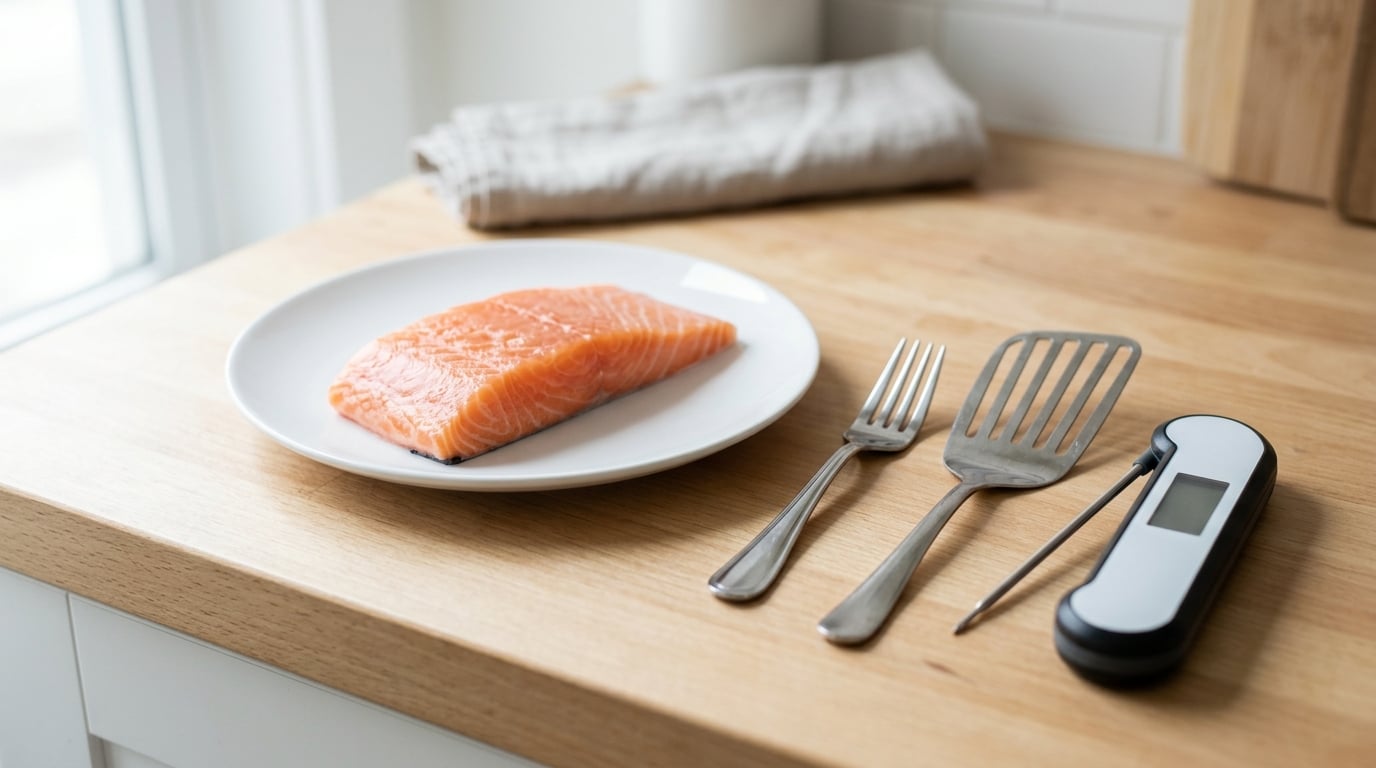
Fish is done when the thickest part of the fillet turns fully opaque, separates into clean flakes under a fork, and reads at least 145°F (63°C) on an instant-read thermometer. That is the entire test, and it takes about ten seconds once you know where to look. The part that trips people up is not the test, it is trusting the wrong signal: a fillet can be golden brown, crisp, and completely raw in the middle.
So here are the four signs that matter, in the order I would check them in a home kitchen.
- The flesh at the thickest point turns opaque and loses its wet, glassy look.
- It separates into broad, moist flakes when you lift with a fork.
- A probe in that same spot reads 145°F (63°C) or higher.
- It feels firm under a fingertip and springs back rather than staying dented.
Learn why restaurant food tastes better than home cooking and one of the recurring reasons is that fish leaves the pass on temperature, not on the clock. Restaurants cook a steak and fish to different targets because they are different materials. Fish has almost no fat and very little connective tissue, so it has no holding zone. It goes from moist to dry in a narrow window, which is exactly why a doneness test matters more with fish than with most proteins.
What You Need
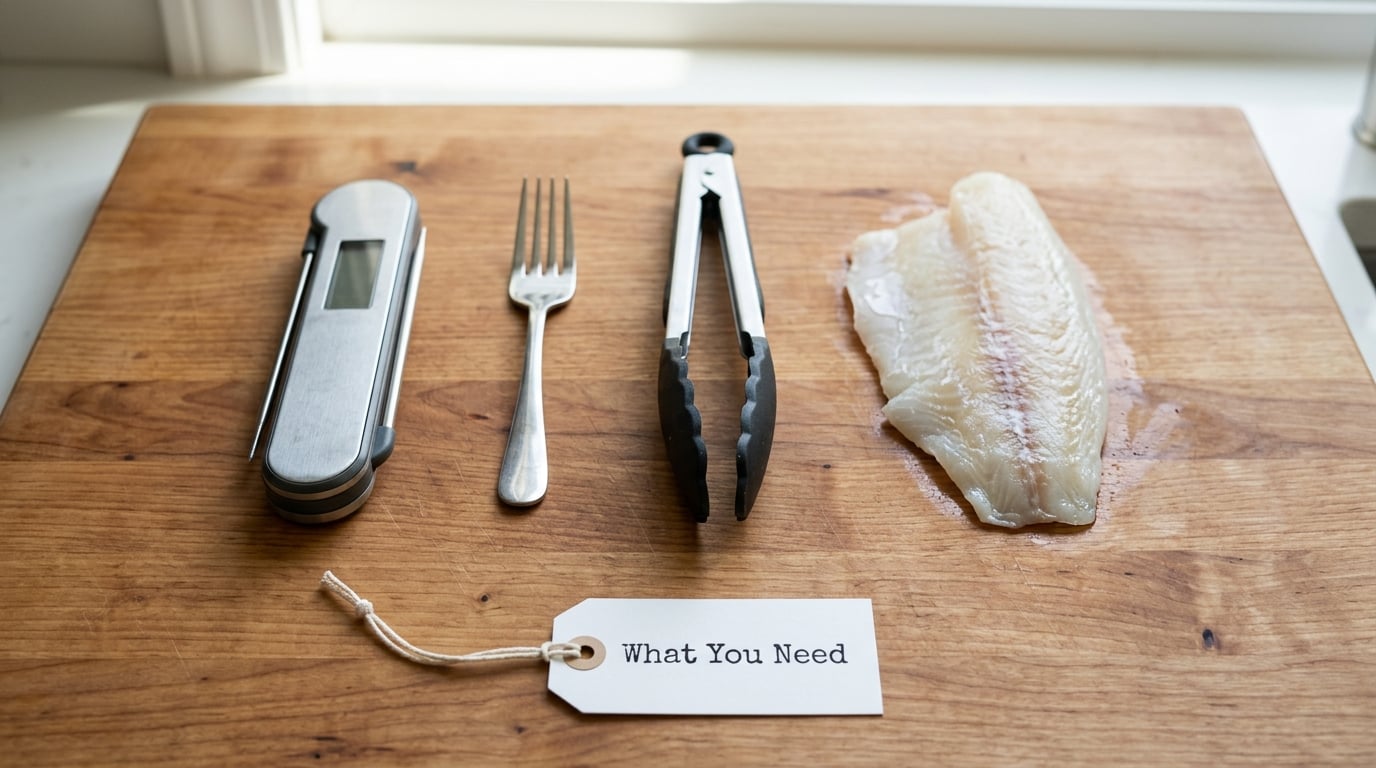
Four things, and only one of them is a purchase.
An instant-read thermometer. This is the tool that settles arguments. A basic dial or digital model does the same job as an expensive one, as long as you check it in ice water before you trust it. Two thermometers in the same kitchen disagree often enough that knowing which one is accurate saves a ruined dinner.
A dinner fork. The tines are the instrument. You want to slide them in at a shallow angle and lift, not stab straight down and tear a hole in the fillet.
A thin fish spatula or heatproof tongs. A narrow metal spatula goes under a fillet without dragging the skin across the pan, which matters more for judging doneness than it sounds: torn skin cooks unevenly and dries out the flesh underneath.
Options, not requirements: a wooden skewer or a cake tester for a second opinion when you have no thermometer, and a small ovenproof dish or a foil packet to weigh down a delicate fillet that curls in the pan. If you are buying fish fresh, the same seasonality thinking behind how to tell if produce is in season applies: fresh fish is more forgiving, and very fresh fish cooks noticeably faster than fish that has been sitting.
Keep a fork within reach while you cook rather than digging one out at the end. The whole sequence works because you test twice, once early and once at the finish.
Step-by-Step: How to Tell When Fish Is Done Cooking
1. Choose the Right Target Temperature
The USDA safe minimum internal temperature for fish is 145°F (63°C). That number is a food-safety floor, not a quality target, and the difference between those two ideas is where most home cooking goes wrong.
Treating 145°F as a ceiling gives you a safe but often disappointing piece of fish. Lean white fish like cod, pollock, and tilapia have almost no fat to keep them moist, and once they pass roughly 150°F they start to go dry and tight fast. Fatty fish like salmon and trout hold their texture further past the mark, so a slightly higher reading costs you nothing there.
Some species also stay moist and opaque a little above the safety minimum while still comfortably meeting the guidance. Salmon, tuna, and halibut are the common examples. Aim for 145°F as the floor, treat 150°F as the ceiling for lean fish, and use the texture test in step four to decide which end of that range you actually want.
2. Check the Thickest Part with a Thermometer
Heat travels from the outside in, so the thickest part of the fillet is always the last part to finish. That is the only place worth measuring, and it is the place almost everyone skips.
Slide the probe in at about a 45-degree angle, between half an inch and an inch deep, in the widest section of the fillet. Avoid three things: the bone, the skin, and the pan itself. A probe that touches any of those is giving you a number that belongs to something other than the flesh you are about to eat, and bone in particular produces readings low enough to send you back to the stove for no reason.
Read it, then wait thirty seconds and read it again. The needle keeps climbing while it sits, because the heat is still equalizing through the flesh. If the first reading is 138°F, the second is usually in the low 140s, and that is normal rather than a malfunction.
For anything thick, take a second reading in a different spot. A thick roast or a large chunk cooked from frozen develops a real temperature gradient: the edges go past dry well before the center catches up, and a single reading can easily be taken from the wrong part of that gradient. Frozen portion fillets are the worst offenders, which is why thawing in the refrigerator overnight gives you a fillet that cooks evenly instead of one that is overdone outside and icy in the middle.
3. Look for the Right Appearance
Appearance is a supporting clue, not proof. Use it to narrow things down, then confirm with temperature and texture.
What you are looking for: flesh that is opaque rather than translucent, muscle fibers that have visibly separated so the fish pulls into pieces instead of resisting, a surface that has firmed up instead of wet-shining, and skin on a skin-on fillet that has browned and begun to pull away from the flesh. That last one is the best flip cue there is, and waiting for it saves you from tearing the fillet in half when it is still glued to the pan.
What is not proof: a band of darker color down the center, pinkness, or a little clear liquid running out when you press. Salmon, tuna, trout, and some rockfish carry a natural pigment that never turns white or brown, so a fully cooked piece of salmon will always look pink. The same goes for juices: clear liquid comes out of properly cooked fish all the time.
Watch the other end of the color range too. Flesh that has gone chalky, brick-white, and dry-looking rather than just opaque has usually spent too long in the pan, and no amount of resting will bring the moisture back.
4. Confirm Doneness with a Texture Test
This is the test that works without any equipment, and it is the one I trust most after temperature.
Insert the fork at a shallow angle into the thickest part, twist it a quarter turn, and lift. Cooked fish separates into broad, moist pieces that hold their shape. Raw fish stays glossy, slightly translucent, and clings to the tines as one stubborn plug. Fish that has gone too far shreds into small dry fibers and squeezes liquid out when you press it.
Then press the thickest part with the pad of your index finger, not the tip. Cooked fish gives slightly and springs back. Fish that is still cooking takes the dent and holds it. Fish that is well past done takes the dent, stays dented, and feels rubbery under the surface.
Do both tests in a second spot before you call it. A fillet can flake beautifully at the thin end while the thick middle is still cold, and that is exactly the piece that flaked on the outside and dried out in the center.
5. Account for Carryover Cooking and Resting
Fish does not stop cooking the moment you take it off the heat. The metal pan and the dense center hold a surprising amount of residual heat, and the interior temperature keeps climbing for a couple of minutes. This is why a fillet that read 140°F in the middle of cooking can end up correct without you going back to the stove, and it is also why a fillet you left until it read exactly 145°F in the pan arrives at the table past 150°F.
For lean white fish, pull about one to two minutes before it reaches your target. The carryover finishes the job, and the difference in moisture is noticeable even if you never measure it.
Then rest it two or three minutes before serving. Resting lets the heat even out and the muscle fibers relax, which keeps more juice in the fish and gives you one more chance to run the fork test. Resist the urge to plate it straight from the pan, and resist a long rest as well: past about five minutes, lean fish starts losing moisture on the cutting board.
When the tests disagree
It happens. A pale fish reads 150°F, a translucent-looking one flakes cleanly. Here is the order I trust them in: thermometer first, texture second, appearance last.
Color is the last word because it is the only one of the three that lies by design, whether through natural pigment, through carryover browning on the surface, or through the edge of a thick fillet cooking faster than its center. If the thermometer and the fork disagree, believe the thermometer and re-run the fork test in a thicker section, where the raw core would actually be.
Common Mistakes
Six errors account for nearly every disappointing piece of fish I get asked about, and each one has a simple fix.
1. Trusting the crust. A golden exterior creates false confidence because browning happens at the surface long before the center is safe. Fix: ignore the crust, probe the thickest point.
2. Measuring next to the bone. A reading taken against bone or skin is not a reading of the flesh. Fix: probe at 45 degrees into the widest section, well clear of both.
3. Cutting a delicate fillet open to check. You lose juices, dry the surface, and mostly just get a look at a spot you could have measured. Fix: use the fork, then press.
4. Cooking out of fear. The fear of undercooking is what pushes most home cooks into overcooking. Fish that is slightly firm and springy is fine; fish that is dry and rubbery is a failed dinner, and it is entirely safe to eat.
5. Applying one timing rule to every fish. The ten-minute rule for an inch of thickness is a starting point, not a target, and it breaks down on thick portions, on frozen fillets, and on a whole fish. Fix: adjust by thickness, not by recipe time, and always finish with a test rather than a timer.
6. Skipping the temperature minimum entirely. Testing only by eye is fine for a thin, familiar fillet. It is not fine for anything thick, frozen, or going to someone who is pregnant, elderly, or immunocompromised. Fix: use a thermometer when the stakes are higher than your appetite for risk.
A few practical habits that make this easier every time. Freeze a sheet pan and rest the raw fillet on it for five minutes before cooking, and a cold pan works noticeably better than a screaming hot one for delicate fish. Cook skin-on when you can, because the skin tells you when the fish is nearly done before the flesh confirms it. If the fillet curls into a tube, press it flat with a spatula for the first minute or use a weight, since a curled fillet cooks unevenly. And if you have one of the thick, bone-in cuts, cook it partway, then move it to a lower heat or a gentler method for the second half.
That last point is the single biggest reason restaurant fish is worth recreating at home: the trick is rarely a fancier ingredient, it is giving the thick part of the fish enough time to catch up without giving the thin part enough time to dry out.
Frequently Asked Questions
How can I tell if fish is done without cutting into it?
Insert a fork at a shallow angle into the thickest part and lift. Cooked fish separates into clean flakes along its muscle fibers; raw fish stays glossy, translucent, and clings to the tines as one plug. The flesh should also feel firm to a fingertip and spring back rather than hold a dent. Testing this way costs you nothing, so do it twice, once partway through and once at the end.
Should cooked fish flake easily?
Yes, but there is a difference between flaking and shredding. Properly cooked fish separates into broad, moist pieces that hold their shape. Overcooked fish shreds into small dry fibers and squeezes water or oil out when you press it. If the fork tears rather than lifts, you went too far, though the fish is still perfectly safe to eat.
Is pink fish always undercooked?
No. Salmon, tuna, trout, and some rockfish carry a natural pink pigment that never turns white or brown, so color alone will never settle it. Check the same two signals you would on any fish: opaque rather than translucent flesh, and clean separation into flakes. A center that is still glassy and translucent is undercooked, and an opaque, springy, flaky center is not.
Why is clear liquid still coming out of my fish?
Clear juice on its own is not a problem. Properly cooked fish releases a thin, clear liquid when you press it. What matters is texture rather than color: the center should be opaque and slightly springy, not glassy. Cloudy or milky liquid usually means the flesh has broken down from overcooking, and a thick portion can still hide a raw core, so probe the middle before serving.
Should I let fish rest after cooking?
Yes, briefly. Two or three minutes off the heat lets residual heat finish the center evenly and the muscle fibers relax, which keeps more juice in the fish. Resting also gives you a second chance to run the fork test before serving. A much longer rest, more than about five minutes, will dry lean white fish out faster than it improves it.
Conclusion
Probe the thickest part of the fillet with an instant-read thermometer, clear 145°F (63°C) for safety, then use the fork and a fingertip to decide whether you want to stop a little above that for a moister piece. Ignore the crust, ignore the timer, and pull lean fish a minute or two early so the residual heat finishes it for you.