
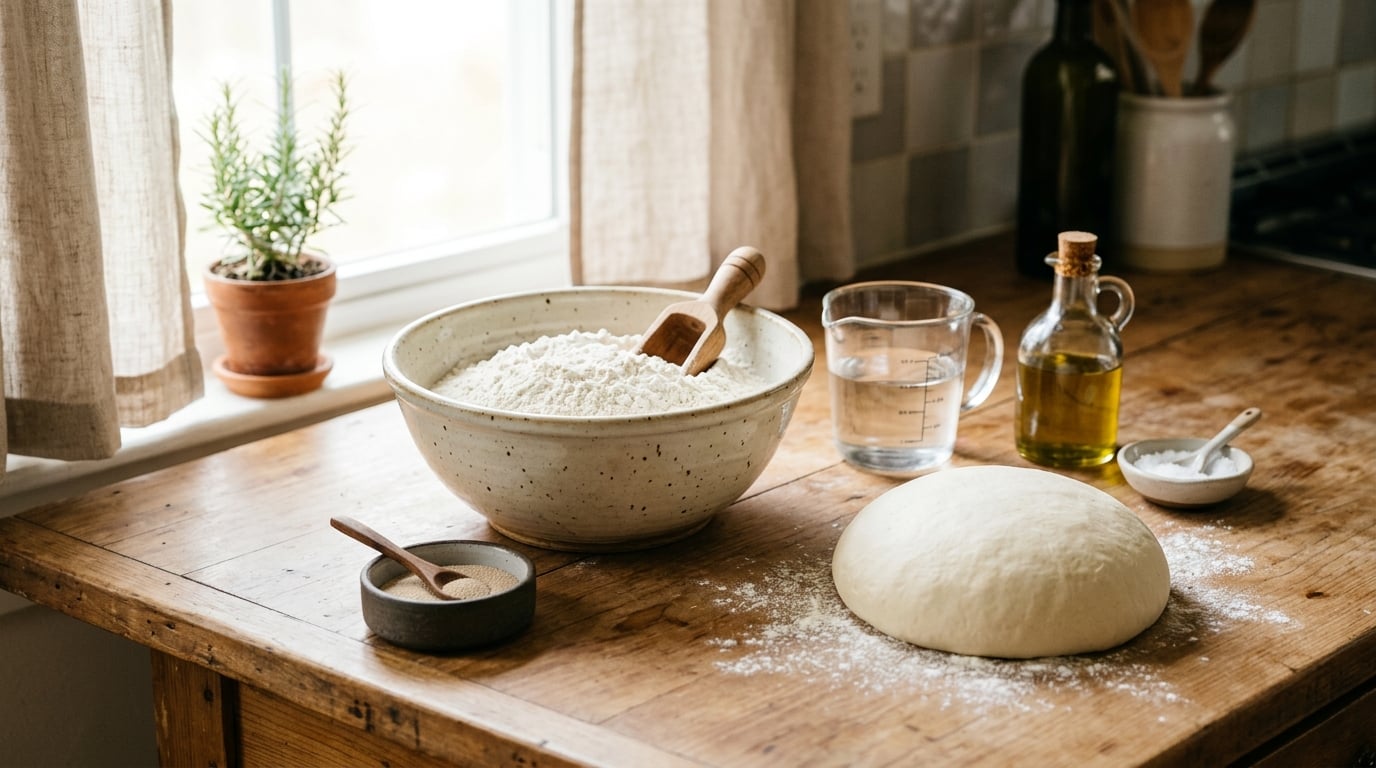
To make pizza dough at home you need four things: flour, yeast, warm water and salt, plus a little oil and sugar to help it rise and brown. Mix them into a soft dough, give it time to ferment, then stretch it thin and bake it as hot as your oven will go. The active part takes about 20 minutes, and the rise does the rest of the work while you do something else.
This is a beginner method on purpose. No stand mixer, no pizza stone, no digital scale. If you have a bowl, a spoon, a measuring cup and a baking sheet, you can have a real pizza on the table tonight.
The one thing worth understanding before you start is why restaurant pizza tastes better than what most people make at home. It is almost never a secret ingredient. It is time, and a hot oven. A dough that ferments slowly develops more flavor than one you rush, and crust that hits serious heat browns and blisters instead of drying out. We cover why restaurant food tastes better than home cooking in more detail, but the short version applies here: give the dough time, then bake it hot.
What You Need
Six ingredients cover it, and five of them you probably already own. The amounts below make two 12-inch pizzas, which is two generous dinners or four reasonable slices for people with big appetites.
- 3 cups (360 g) all-purpose flour or bread flour, plus more for dusting
- 2 1/4 teaspoons (7 g) instant yeast, or 2 1/4 teaspoons active dry yeast
- 1 teaspoon (6 g) salt
- 1 tablespoon (8 g) sugar, optional but it feeds the yeast and gives the crust color
- 1 cup (240 ml) warm water, between 100 and 115°F (38 and 46°C)
- 2 tablespoons (30 ml) olive oil, plus more for the pan and the crust
If you have a kitchen scale, grams beat cups every time. Flour varies in density between bags, and a couple of extra ounces is the difference between a light crust and a brick. If you do not have a scale, spoon the flour into the measuring cup and level it rather than scooping, and be careful not to pack it down.
Choosing your flour
All-purpose flour is the safe pick for a first attempt. It has enough protein to hold a shape and enough gluten development to trap gas, and it is what most supermarket pizza dough recipes assume. Bread flour has more protein and produces a chewier, more blistered crust with better structure, which is why many pizzeria recipes use it. It is also easier to overwork. A 00 flour is milled very fine and hydrates quickly, which makes it bready in the middle and crisp at the edge, and it needs more water and more kneading than beginners want to deal with.
You can also mix them. A blend of two parts all-purpose flour to one part bread flour lands in a nice middle spot, chewy without being tough.
Choosing your yeast
Instant yeast goes straight into the flour and does not need blooming. Active dry yeast is alive but sleeping and has to be woken up in warm water and sugar first. Either works, and they are not interchangeable in volume, so check the label. If your packet is more than six months past its best-by date, replace it. Old yeast is the single most common reason a dough sits there doing nothing.
Equipment
A large bowl, a wooden spoon or sturdy spatula, a clean tea towel or plastic wrap, a baking sheet or pizza pan, and a rolling pin you may not use much. That is the whole list.
A pizza stone is nice but not required, and a home oven does not get hot enough for one to change your results the way restaurant equipment does. A baking sheet preheated in the oven does most of the same work. A cast iron skillet is the other good upgrade, because the crust bakes from the bottom up in a hot pan rather than from a cold sheet.
Step-by-Step: How to Make Pizza Dough at Home
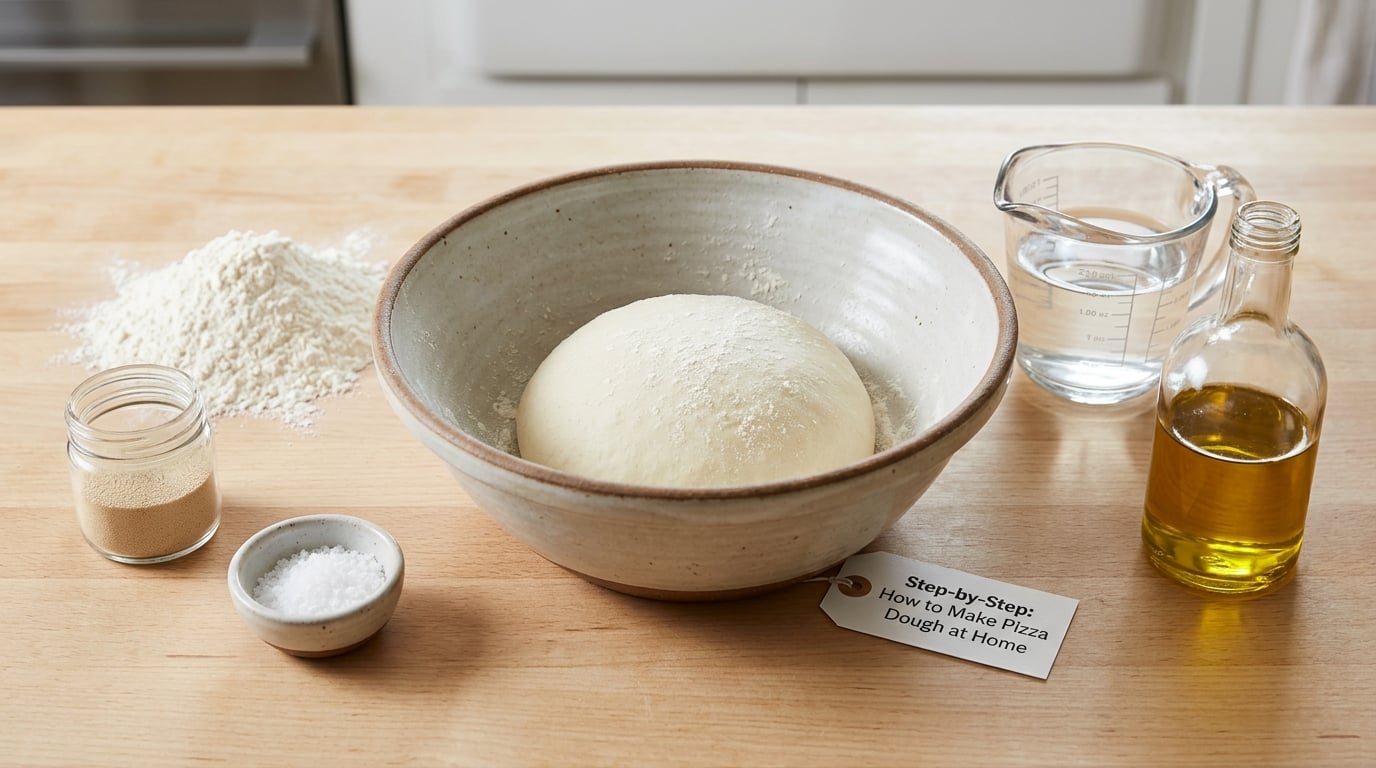
1. Activate the Yeast and Combine the Dry Ingredients
For active dry yeast, stir the yeast and sugar into the warm water and wait about 5 minutes. The mixture should turn cloudy and foamy on top. If nothing happens, the water was too hot or the yeast is dead, and you will save yourself a wasted hour by testing now instead of after mixing. Instant yeast skips this entirely.
Whisk the flour, salt and remaining sugar together in a large bowl so the salt is distributed evenly. Salt sitting in one spot can tighten the dough unevenly and make shaping frustrating.
2. Add the Water and Mix the Dough
Pour the water in and stir with a spoon or spatula until no dry flour is left. The dough will look messy and slightly sticky, and that is exactly right. Do not add more flour at this stage. The dough needs to hydrate fully, and it will feel different once it rests.
Add the olive oil and mix it through until the dough holds together in a shaggy mass. Scrape the sides of the bowl clean.
If you hate kneading, this is a no-knead dough. Cover the bowl and let it sit for 20 minutes, then come back and follow the folding in the next step instead of kneading.
3. Knead Until the Dough Becomes Smooth and Elastic
Turn the dough onto a lightly floured surface and knead for 8 to 10 minutes. Push it away with the heel of your hand, fold it back over itself, rotate a quarter turn, and repeat. It will start sticky and gradually turn smooth and slightly tacky, which is the texture you want. Tacky is fine. Sticky means it needs a few more minutes and a light dusting of flour.
The windowpane test tells you when the gluten is ready. Pull a small piece of dough and stretch it thin. If you can hold it up and see light through it without it tearing, the gluten has developed enough and you can stop. If it snaps and tears immediately, knead for another three to five minutes.
4. Let the Dough Rise
Put the dough back in the bowl, cover it with plastic wrap or a damp towel, and leave it somewhere warm until it has roughly doubled in size. How long that takes depends on your kitchen, so watch the dough rather than the clock. At 75 to 80°F (24 to 27°C) it usually takes 60 to 90 minutes. In a cold kitchen it can take twice that.
For a faster rise, turn the oven to 150°F (65°C) and leave the door slightly ajar. The gentle warmth inside, with just enough airflow to prevent the dough from cooking, is the standard home workaround for a drafty kitchen.
A cold overnight ferment in the refrigerator gives you better flavor and far more control. Cover the dough, put it in the fridge for 8 to 24 hours, and let it come to room temperature for 30 to 45 minutes before you shape. This is the method to use when you want a thin, flavorful crust rather than a thick, bready one.
You can tell the rise is done by the poke test. Press a floured finger about half an inch into the dough. If the dent springs back quickly, it needs more time. If it springs back slowly and leaves a soft dent, it is ready. If it does not spring back at all, the dough has over-proofed and lost its structure.
5. Punch Down, Divide, and Shape the Dough
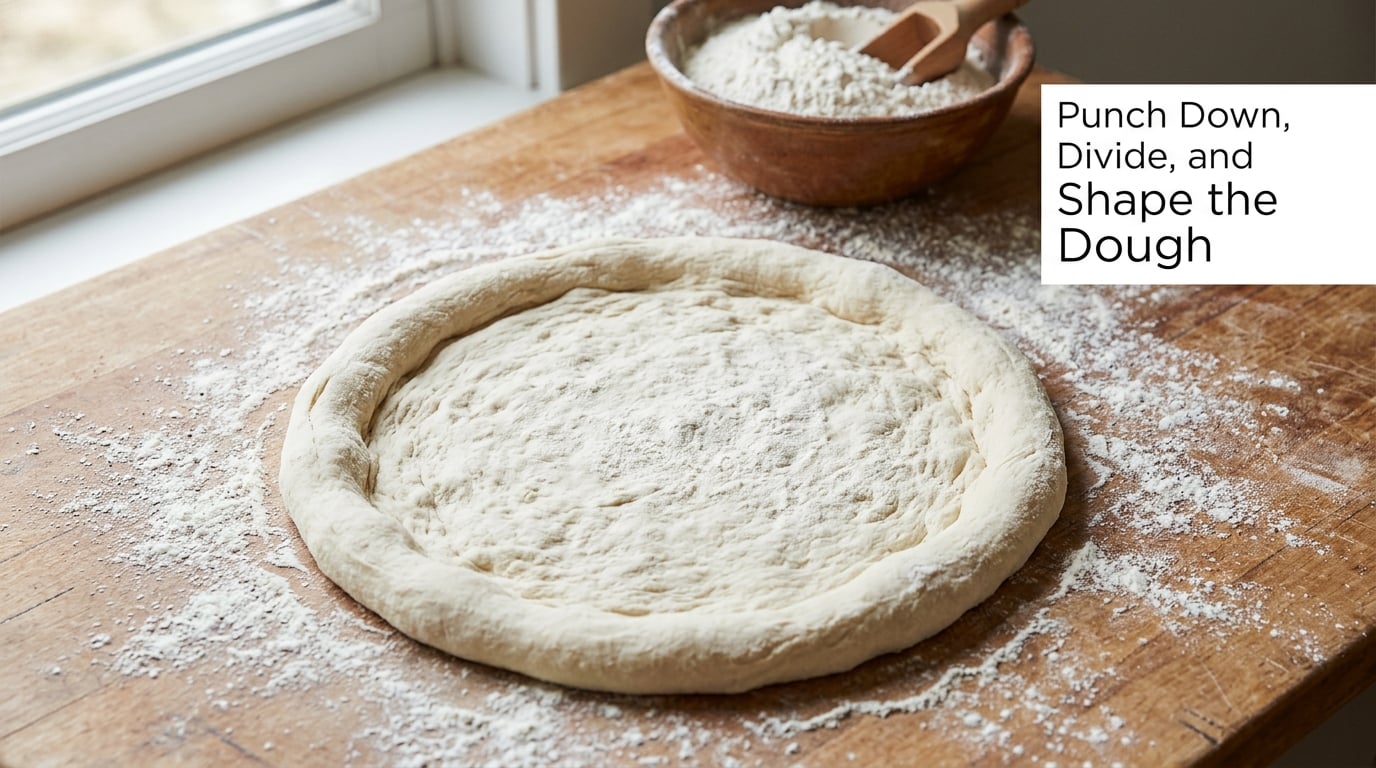
Punch the dough once in the center to release the gas, then turn it out and divide it in half with a bench scraper or a clean knife. Gently round each piece into a ball, cupping your hands around it on the counter. Cover both balls and let them rest for 15 to 20 minutes.
That rest is what stops dough from tearing. Dough that has just been divided is tight and resists stretching. After 15 minutes of relaxing, it stretches almost by itself under its own weight.
Flour your surface lightly, then press the ball down with your fingertips from the center outward, leaving a 1-inch border untouched. That untouched ring becomes the puffy rim. Do not use a rolling pin. Pressing with your fingertips preserves the gas bubbles that give you a light, airy crust, and a rolling pin pushes them all out.
Work on your knuckles rather than flat on the table. Lift a section of dough, drape it over the backs of your fists, and pull it outward gently, rotating as you go. Stop when the center is about 10 inches across. The last inch or so can be stretched thinner over a floured surface if you want a thinner base.
6. Prepare the Dough for Baking
Heat the oven to its highest setting, which on most home ovens is 475 to 550°F (246 to 288°C), with the rack in the middle. If your oven only goes to 450°F (232°C), use it and give the pizza an extra two or three minutes, then finish under the broiler for a minute for color.
Put your baking sheet in the oven while it preheats. A cold sheet makes a pale, soft bottom, and a hot sheet is the single cheapest upgrade available to a home cook. At least 30 minutes of preheating gives the metal time to absorb the heat.
If you have a shaped dough waiting while the oven heats, cover it with plastic wrap or put it back in the fridge. Uncovered dough dries out at the edges within 20 minutes and then tears when you try to move it.
To transfer, dust the hot sheet lightly with flour or semolina, lay the dough on top, and slide it into the oven. Semolina gives a crunchier bottom than flour, which burns and browns less evenly. Oil the crust lightly, then add a thin layer of pizza sauce, leaving the rim bare, followed by mozzarella and whatever else you want. Go easy on the toppings. Too much cheese and too much sauce release water that keeps the center from browning, which is where soggy pizza comes from.
Bake for 9 to 15 minutes, until the rim is browned and the underside is crisp when you lift an edge. Let it cool 2 minutes on a rack before slicing so the cheese sets instead of sliding off.
Common Mistakes and How to Fix Them
Most pizza problems come down to four things: the dough did not rise, it rose too much, it got stretched too thin too fast, or it did not get hot enough. Here is what each one looks like and what actually fixes it.
The dough did not rise. Usually a cold kitchen, water that was too hot and killed the yeast, or an expired packet. Test your yeast in warm water and sugar before you commit. If it foams, the yeast is fine and the problem is temperature, so use the 150°F oven with the door ajar, or put the bowl somewhere warmer in the house. If it does not foam, buy new yeast. The dough is not ruined by failing to rise once, but it will not rise later either, so throw it out and start again rather than baking a flat, dense disc.
The dough is sticky and tears when you stretch it. It is under-hydrated, under-rested, or you floured the work surface too heavily. Give it a 15-minute rest under cover, which is the fix that works most of the time. Then stretch with your knuckles instead of your palms, and keep a light dusting rather than a heavy one. A dusting of flour keeps dough from sticking to the counter, but it also prevents you from feeling how much the dough is resisting.
The dough is slack, sticky, and spreads when you shape it. That is over-proofed dough. It has been sitting too long at room temperature, usually in a warm kitchen, and the gluten network has broken down. It will bake up pale and bready with an uneven, blistered shape. Next time, shorten the bulk rise and use the fridge.
The crust is dense and thick. Too much flour, too little rise, or a bake that is too cool for too long. The snap-back test catches this early: stretch a piece of dough and let go. If it pulls straight back to its original size, it is under-proofed. If it holds the stretched shape but feels fragile, it is ready to shape. A dough that springs back needs more time, not less.
The bottom is soggy or pale. Your baking surface was cold, the pizza was overloaded, or you moved it off the pan too early. Preheat the sheet for a full 30 minutes at high heat, cut the toppings back, and leave the pizza on the pan until the base is set. Cornmeal or semolina on the sheet also keeps the dough from welding itself to the metal.
The rim puffed up into a balloon. That is steam, and steam collects in the thickest part of the dough. Stretch the center thinner than you think you need to, and do not over-top the rim. A well-stretched, moderately topped pizza browns where the gas can escape.
Two small adjustments do more for flavor than anything complicated. Add a teaspoon of garlic powder and a teaspoon of dried Italian herbs to the dry ingredients, and give the dough a full 8 to 24 hours in the refrigerator if you can. Brushing the baked crust with olive oil right out of the oven adds a finish that tastes far longer than the effort takes.
Frequently Asked Questions
Do I need to knead pizza dough?
No, and for a beginner I would skip it. Mix the dough, cover it, and let it rest 20 minutes. Then do a stretch-and-fold four or five times at 10-minute intervals, lifting one side and folding it over the center each time. Each fold builds more gluten structure than it seems to, and the dough ends up smoother and easier to shape than a hand-kneaded one.
How long should pizza dough rise at room temperature?
Usually 60 to 90 minutes, which is enough for the dough to roughly double in size. In a cold kitchen it can take twice as long, so watch the dough rather than the clock. Use the poke test: press a floured finger in half an inch, and if the dent springs back slowly and leaves a soft mark, the rise is done. Four hours at room temperature is usually too long and leads to over-proofed, slack dough.
Can I make pizza dough without yeast?
You can, and it is the fastest route. Mix 2 cups flour, 1 teaspoon baking powder, half a teaspoon salt, and 2 tablespoons oil, then add just enough water to bring it together. That dough skips the rise entirely and goes straight to shaping, so you can have a pizza on the table in 30 minutes. The tradeoff is a lighter, cakier crust with none of the blistered, chewy character a fermented dough gives you.
Is my dough ruined if it doesn’t rise?
It depends on why. If the yeast was dead or the water killed it, that batch is finished and will not rise if you wait longer, so start a new one. If the yeast is fine and the kitchen was just cold, the dough is perfectly usable. Warm it up: set the bowl near the oven while it preheats, or put it in the 150°F oven with the door ajar for another 45 minutes before you give up on it.
What does over-proofed pizza dough look like?
Over-proofed dough is slack, sticky, and spreads out the moment you touch it, with a surface that looks bubbly and deflated rather than tight. When you poke it, the dent does not spring back at all. The stretch test is the other tell: it pulls apart instead of holding shape, and tears in thin spots. It bakes up pale, bready, and blistered in the wrong places. Too much time at room temperature is the usual cause, not too much yeast.
How do I store and freeze pizza dough?
For the fridge, cover the dough tightly after the first rise and keep it cold for up to 2 days; it will be more flavorful and easier to shape. To freeze, portion it into balls, wrap each one tightly, and freeze for up to 3 months. Thaw in the refrigerator overnight, then let it come to room temperature for about an hour before stretching. Do not thaw it on the counter, where the outer layer over-proofs while the center is still cold.
Conclusion
Start by measuring accurately, because too much flour is the most common reason a homemade crust turns out dense. Mix gently, stop kneading as soon as the dough feels smooth and slightly tacky, and then give it the time it needs to relax and rise before you shape anything.
From there, the method is simple enough to repeat until it is automatic. Once you have a dough you like, the same batch works for breadsticks, flatbread, stromboli and pizza rolls, which makes it useful well beyond a single pizza night. If you are planning the meal around it, our guide on how to build a three course dinner menu at home has a simple way to fit it in.