
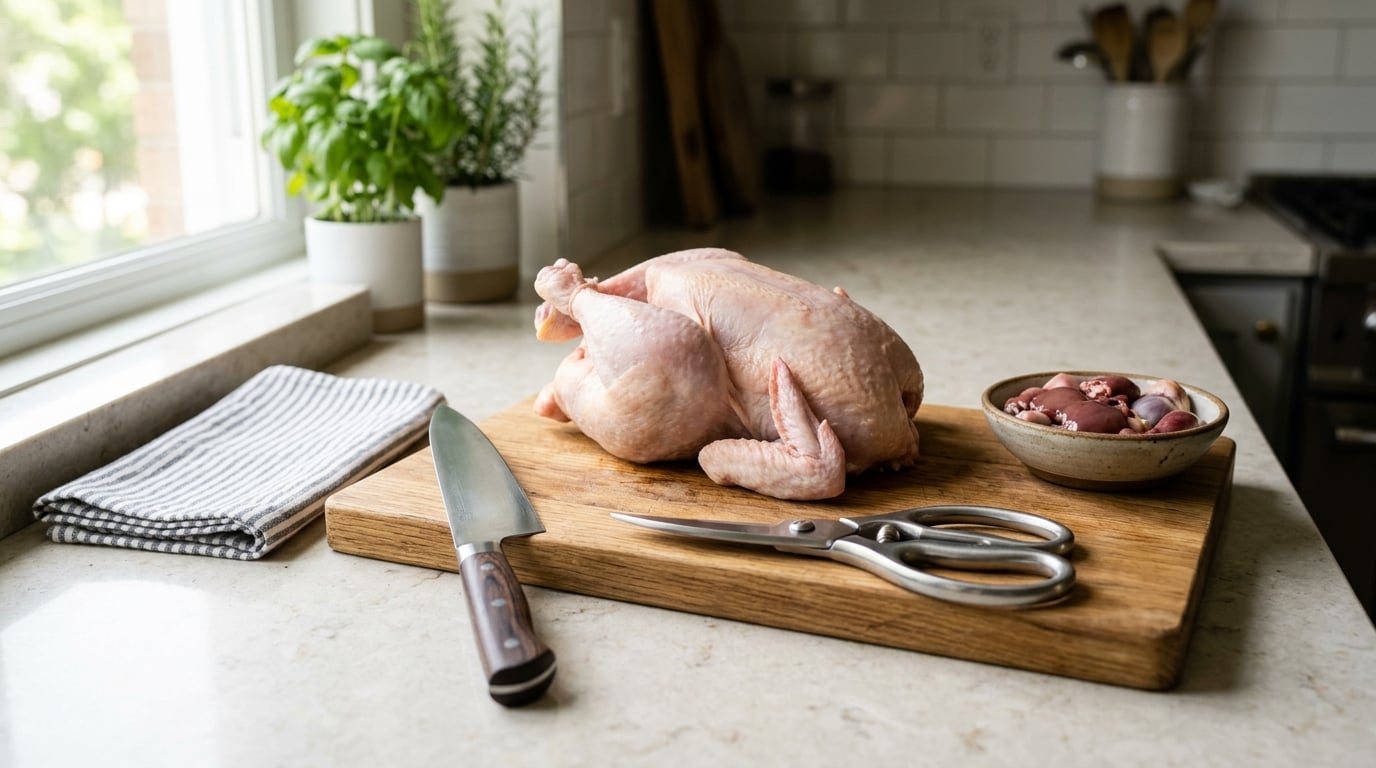
Breaking down a whole chicken means separating a raw bird into its primal cuts: two breast halves, two leg quarters that each split into a thigh and drumstick, two wings, and a carcass you can simmer into stock. To do it at home, all you need is a sharp chef’s knife, a stable cutting board, and about 20 to 30 minutes for a bird in the three-to-four-pound range.
The reason it feels intimidating is anatomy, not knife skill. Once you know that the joint between the leg and the body bends like a hinge, and that the joint between the wings and the shoulders does the same, you are cutting through soft connective tissue instead of hacking at bone. The first bird takes longer than you expect. The third is quick.
This guide covers the raw breakdown of a store-bought bird. If you actually want to carve a chicken that is already roasted, the technique is different: rest it longer, cut along the grain, and pull the meat in slices rather than working through joints. More on that in the questions at the end.
Table of Contents
- What You Need
- Step-by-Step: How to Break Down a Whole Chicken at Home
- Common Mistakes
- Frequently Asked Questions
- Are poultry shears necessary to break down a whole chicken?
- What should I do with the chicken backbone and rib cage?
- How long can I keep a broken-down raw chicken in the refrigerator?
- Should I rinse a whole chicken before cutting it apart?
- How long does it take to break down a whole chicken, and is it hard?
- How do you break down a chicken that is already cooked?
- Conclusion
What You Need
A sharp knife does most of the work. A dull blade has to be pushed, and pushed knives slip, and a slip on a slick raw bird is how people hurt themselves.
- Sharp chef’s knife, 8 inch — the single most important tool. Hone it weekly and sharpen it every couple of months.
- Boning knife, optional — a thin, flexible blade makes trimming tenderloin and oyster muscle cleaner. A chef’s knife works fine if that is all you have.
- Poultry shears or heavy kitchen shears — helpful for the rib cage and backbone. Not required, and plenty of people never use them.
- Cutting board — large enough that the bird fits without hanging off the edge, with enough thickness that it will not rock.
- Non-slip mat or damp towel — slip the towel under the board before you start. A board that moves is a board that catches a blade.
- Two or three small bowls — one for giblets, one for the fat you trim, one for finished pieces as you go.
- Paper towel or clean kitchen towel — one to pat the bird dry so it stops sliding, one rolled up in your non-knife hand to grip the wet skin.
- Kitchen shears or twine, optional — twine lets you tie leg quarters together for a stock pot.
- Instant-read thermometer — for the 165°F / 74°C check after cooking, not for cutting.
- Trash bag or bin nearby — the skin, the fat, and the frame go somewhere without crossing the rest of your kitchen.
Before the bird touches the board, wash your hands with hot soapy water for at least 20 seconds and clear the workspace. Wipe the counter, then give it a sanitizer wipe per the label directions. Raw poultry spreads bacteria through splashing water and through the drips that follow you across the kitchen, so the sink and the cutting board are the two surfaces that matter most right now.
Step-by-Step: How to Break Down a Whole Chicken at Home
1. Set Up Your Workspace and Inspect the Chicken
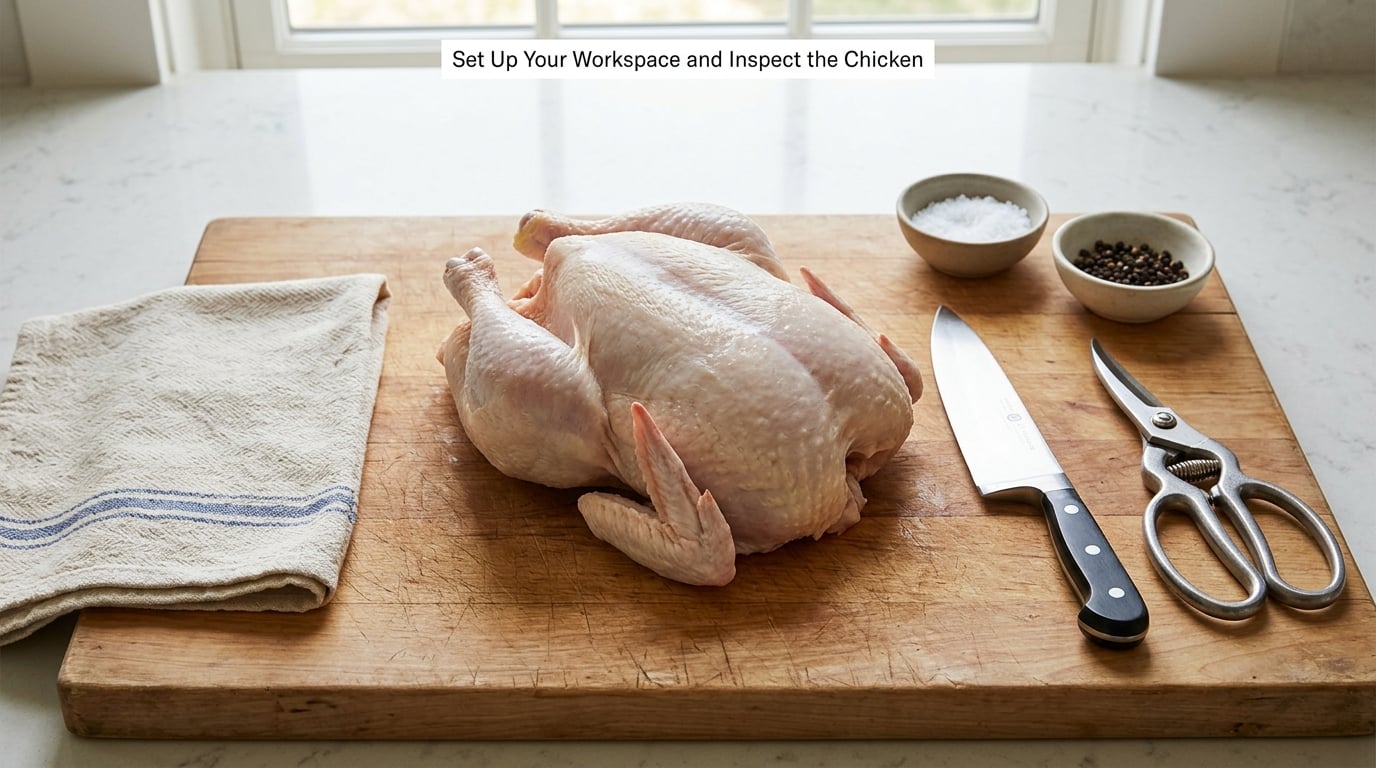
Start by confirming the chicken is fully thawed. If the bird is still hard in the center or ice crystals sit in the cavity, it needs refrigerator time, not knife time. Press a finger into the thickest part of the breast: it should give easily and leave a clear dent.
Unwrap it over the sink or the trash, not over the counter. Put the packaging straight in the bin before your hands travel anywhere else. Then pat the whole bird dry inside and out with paper towel.
Look inside the cavity. Most grocery-store birds come with a small plastic bag of giblets: heart, liver, and gizzard. Some also include the crop, the pocket of feed near the tail. Take the bag out and put it in a bowl. Check the cavity again for any loose cartilage or stray bone fragments before you make the first cut.
Position the bird breast-side up with the neck end pointing away from you. That single decision keeps the breast meat facing up and away from your cutting hand for the whole job.
2. Remove the Legs and Thighs
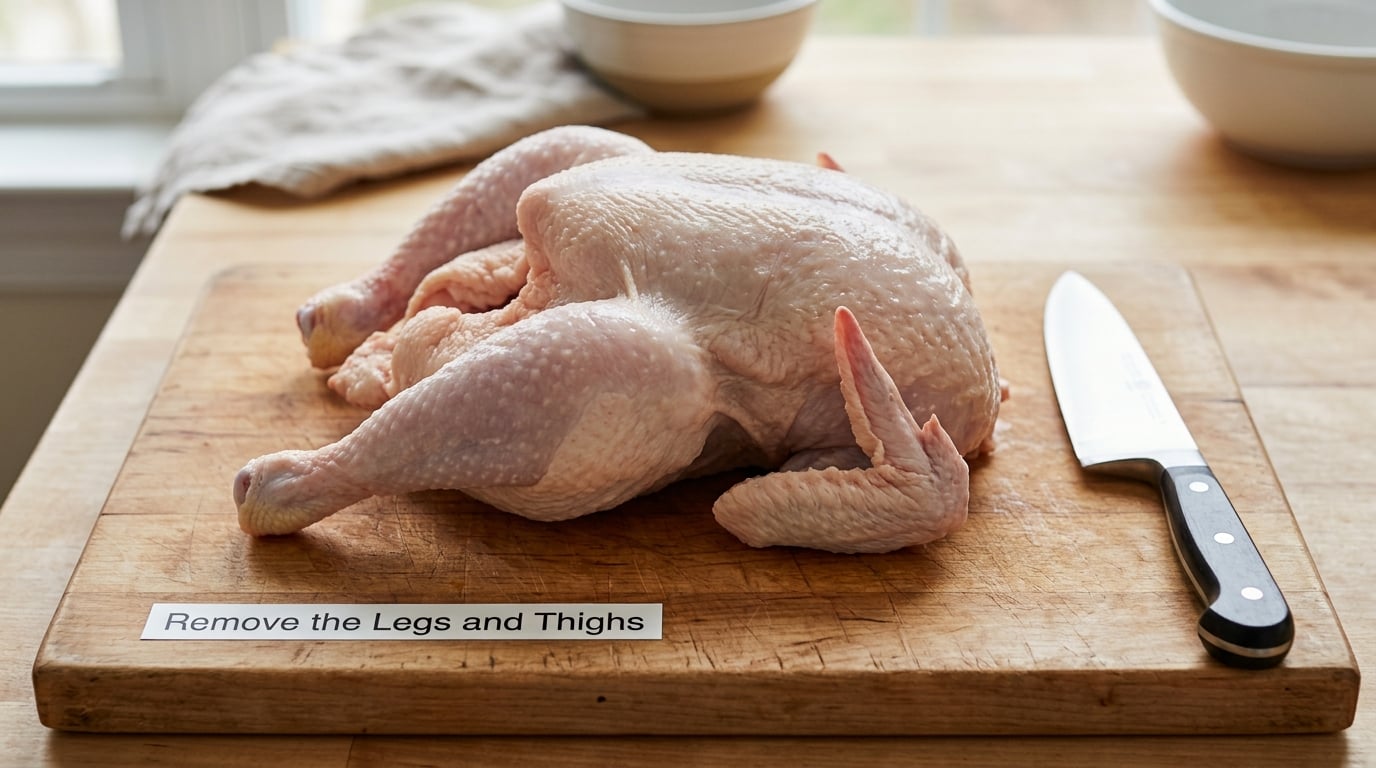
Bend each leg back at the knee until the thigh rotates up and the hip joint shows as a rounded bump near the tail. Pull with your fingers rather than with the knife — the leg moves, and the joint tells you exactly where the cut belongs.
Set the tip of the knife on the joint and cut down through the skin, then through the connective tissue and cartilage connecting the leg to the pelvis. Keep the blade angled toward the socket, not through the femur. The whole leg quarter comes away in one piece once the joint gives.
You will feel it: the knife goes through something soft and slightly springy, then the piece is free in your hand. If you meet hard resistance and the blade stops dead, you have found bone. Reposition higher, closer to the body, and try again.
Two cuts, one per side, gives you two leg quarters. Leave them whole or separate them now: bend the knee back, cut through the joint at the knee, and the drumstick comes off below while the thigh, with the oyster muscle attached underneath, stays above. Separating them now is easier than doing it later, when the meat is cold and the skin has tightened up.
3. Remove the Wings
A wing has three sections: drumette, flat, and tip. You have two choices. Leave the wings whole for roasting and fried chicken, or cut them into those three pieces for saucing and frying.
To find the joints, move each section gently with your fingers. The joints bend; the bone in the middle of a section does not. Pull the wing away from the body, and you will see the shoulder joint at the top.
Cut through the joint closest to the body and the wing comes off whole in one motion. To split it further, cut through the elbow to remove the tip, then through the next joint to separate the drumette from the flat. Keep the tip intact if you plan to roast, since it is the crispest part and dries out fastest.
4. Separate the Breast Halves
Turn the bird over and lay it breast-side down. Set the blade against the backbone, spine up and tip of the knife pointing toward the tail, and cut through the soft flesh and cartilage running along either side of the spine.
This is the step that catches beginners, because the cartilage is gristle rather than bone. Use the flat of the blade and a rocking motion, pressing down and drawing the knife toward you, rather than trying to saw. The blade should stay in contact with the backbone the entire time. If it drifts into the meat, the breast gets a hole in it.
Once both sides are cut, turn the bird back over and pull the halves apart. They should separate along the keel bone, the breastbone ridge running down the center of the breast. If they resist, the halves are still joined at the top by the wishbone.
Run your fingers under the skin at the neck end to feel for the wishbone, the V-shaped furcula. Cut it out now if you plan to roast the halves or slice the meat, because the wishbone is what pulls the breast meat upward and makes slicing awkward.
5. Remove the Backbone and Rib Cage
With the wings and legs off, the backbone and rib cage are all that is holding the shape of the bird. They come out together, and poultry shears make this step noticeably easier than a knife alone.
Work from the neck end toward the tail, cutting through the ribs on each side of the spine until the whole frame lifts free. If you are using a knife, rest the heel of the blade on the backbone for leverage and press down through the thin rib bones. They bend and snap more easily than the backbone itself.
You are left with a frame: backbone, rib cage, and neck. That is the start of a pot of stock. Cover it with water, add onion halves, a bay leaf, and a few peppercorns, and simmer it for a few hours. It also freezes well, which means the second meal is already handled.
If you want breast halves without the rib cage attached, rest the blade flat against the underside of the breast, skin side down, and cut between the meat and the bone. Work from the bottom edge toward the top so the blade stays on the rib side rather than the meat side. The oyster, that small teardrop of muscle on the back of the thigh near the hip, is worth pulling off intact — it is the most tender meat on the bird.
6. Trim, Dry, and Store the Chicken
Before the pieces go in the pan, trim the loose fat from around the tail area and the wing tips, and pull any stray cartilage or bone fragments out of the cut surfaces. Those fragments are the ones that end up in somebody’s teeth two hours later.
Pat everything dry with paper towel. Dry skin browns; wet skin steams, and steaming is why fried chicken comes out pale and heavy.
Store the pieces in covered containers on the lowest shelf of the refrigerator, below anything you eat raw, and cook within one to two days. For longer, freeze each portion flat in a bag with the air squeezed out, label it with the cut and the date, and keep it for a few months. When you cook any of it, poultry needs to reach 165°F / 74°C in the thickest part, and the thermometer goes into the thigh, not the breast, because the thigh is the last part to come up to temperature.
Common Mistakes
Using a dull knife. This causes most of the injuries people report. A sharp blade goes where you point it. A dull one catches and jumps, and the jump usually happens with your other hand on the other side of the bird. Hone before you start, and if you have to muscle through a cut, stop and re-sharpen.
Sawing through bone instead of finding the joint. The cut belongs in the joint, not in the femur or the humerus. Move each section with your fingers first. If the piece bends, you have found the joint. If it does not bend, keep looking.
Leaving meat on the bone. This is usually a cut placed too far from the body. Follow the curve of the joint with the knife tip as you go, and trim the last bit of meat off the bone with the blade held nearly flat.
Tearing the skin. Loose, fatty skin grips the knife and pulls instead of separating. Pin the skin taut with the fingers of your non-knife hand and cut under it, skin to skin, so the blade travels between layers rather than through one.
Letting the bird slide. Raw chicken skin is wet and slick. A damp towel under the board and a rolled towel in your gripping hand fix most of it. Wipe the blade between cuts rather than letting a film of fat build up.
Rinsing the chicken. Skip it. Running water over raw poultry splashes bacteria across your sink, counter, and clothes, and the heat of cooking is what kills it, not the rinse. Wash your hands and sanitize surfaces instead.
Overhandling the meat. Repeatedly squeezing, tearing, and re-cutting the breast damages the muscle fibers, and the pieces shrink and go tough when they hit heat. Make each cut once, cleanly, and stop.
Saving the frame and forgetting the fat. Trim the excess fat and skin before storing, and get the frame into a pot or the freezer the same day. Neither waits well for a week in the fridge.
Two more habits separate a smooth breakdown from a messy one. Work from the outside of the bird inward, so the pieces you already cut are out of your knife’s path. And wipe the board between the raw stage and the finished stage, because the board is where the raw liquid travels to everything you cut on it next.
Frequently Asked Questions
Are poultry shears necessary to break down a whole chicken?
Poultry shears are helpful but not essential. A sturdy, sharp chef’s knife cuts through the smaller joints without any trouble, and many experienced cooks never reach for shears. They do make one step noticeably easier: cutting through the rib cage and backbone. If you do not own a pair, cut the frame with the heel of your knife pressed against the backbone for leverage, and take your time. A store-bought bird is small enough that no saw or power tool is ever needed.
What should I do with the chicken backbone and rib cage?
Save the backbone and rib cage for homemade stock. They add collagen, body, and flavor when simmered with water, onion halves, a bay leaf, and a few peppercorns for a few hours. The frame from one bird is usually enough for a quart or two of stock. If you are not making stock the same day, drop the frame into a freezer bag instead of the refrigerator, where it will only keep a day or two before it turns.
How long can I keep a broken-down raw chicken in the refrigerator?
Keep raw chicken pieces in a covered container on the lowest shelf of the refrigerator and cook them within one to two days, which is the window USDA guidance gives for raw poultry. For longer storage, seal each portion separately, press the air out of the bag, label it, and freeze it. Thaw in the refrigerator rather than on the counter, and cook from thawed straight to 165°F / 74°C in the thickest part of the thigh.
Should I rinse a whole chicken before cutting it apart?
Do not rinse raw chicken. Splashing water spreads bacteria around the sink and across your work surface, and cooking is what makes poultry safe, not rinsing. Keep the chicken in its packaging until the moment you handle it, then dispose of the packaging, wash your hands with hot soapy water for 20 seconds, and sanitize the board and counter before cutting. Patting the bird dry with paper towel is useful for grip, but that is drying, not rinsing.
How long does it take to break down a whole chicken, and is it hard?
Budget 20 to 30 minutes for a three-to-four-pound bird, plus cleanup. It is medium-difficulty, not hard: every cut goes through a joint rather than through bone, so the skill is mostly patience and knowing where to press. The first attempt usually takes twice as long because you stop to identify each piece. If you are planning a roast dinner with a few other dishes, start the bird first and time everything else around it.
How do you break down a chicken that is already cooked?
Cooked birds work in reverse. Rest the chicken 20 to 30 minutes so the juices settle, pull the legs off at the hip joint, cut through the shoulder to remove the wings, then lift the breast meat off the rib cage in slices cut parallel to the bone, from the tail end toward the neck. For shredded chicken, pull the meat apart with two forks along the grain instead of cutting it, and save the frame for a second pot of stock.
Conclusion
Start with the simplest possible version: thaw the bird fully, sharpen the knife, pat the chicken dry, and cut nothing until you have bent a leg back and found the hip joint with your fingers. That one step teaches you everything about how the bird is put together.
Then work slowly through the joints, from the outside of the bird inward, and let each piece come free instead of trying to cut it loose. From that one chicken you get breast halves to roast, thighs to saute, drumsticks and wings to fry, and a frame to simmer into stock. If you are cooking a whole dinner around it, our guide to building a three course dinner menu at home covers how the timing usually works, and how to make restaurant style mashed potatoes at home is the reliable side dish to put next to it. And for the question that comes up every time someone tries this, we wrote about why restaurant food tastes better than home cooking.