
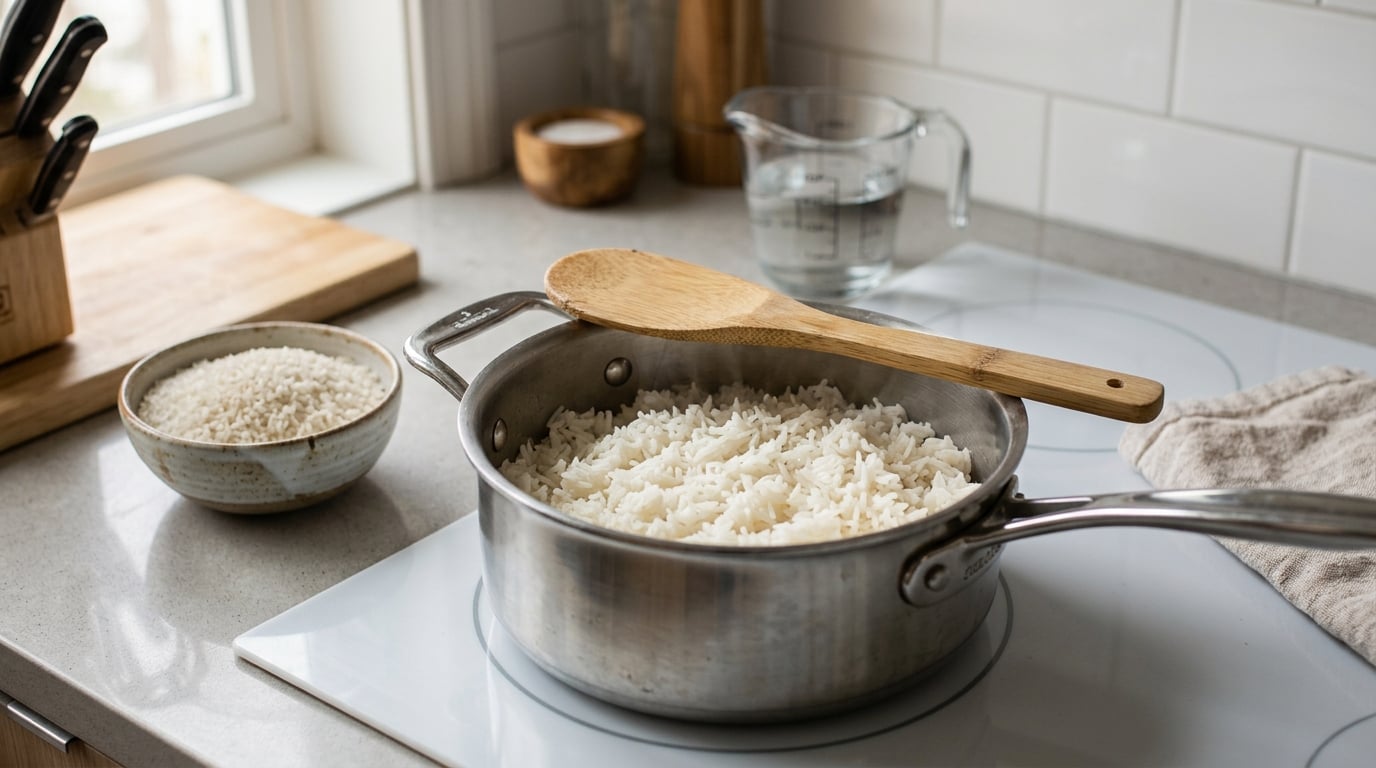
Cooking rice on the stove without a rice cooker takes about 25 minutes from the tap to the table, and most of that is waiting. Use 1.5 to 2 cups of water for every 1 cup of dry rice, bring it to a full boil, drop to your lowest heat with a tight lid on, simmer 12 to 15 minutes without lifting that lid, then rest the pot off the heat for 10 minutes before you fluff it. That is the whole method, and it works for a weeknight side dish the same as it does for a holiday batch.
The reason it feels hard is that the advice out there contradicts itself. One page says 1 to 1, the next says 1 to 2.5, and none of them tell you which number applies to the rice in your cupboard. Once you pick the ratio for the grain you actually bought and stop touching the lid, stovetop rice stops being guesswork.
Rice absorbs roughly its own volume in water, so the cooking ratio has to run a little above 1:1. The extra covers evaporation and the steam trapped under the lid, which is what cooks the center of each grain. Get that balance right and the stove gives you things a plugged-in rice cooker cannot, like a toasted nut aroma and a crisp layer at the bottom of the pot.
What You Need
A heavy-bottomed saucepan with a tight-fitting lid is the one piece of equipment that matters. Thin pans heat unevenly, so the bottom of your rice scorches before the top gets through. A 2 to 3 quart pot handles one to two cups of dry rice comfortably, and a 4 quart pot covers you up to about 4 cups.
Use a metal or glass lid that actually seats on the rim. A lid that rattles or sits loose lets steam escape, and you lose the closed environment the method depends on. A glass lid is fine and lets you watch the water without lifting anything, which matters more than people expect.
The rest of the kit is cheap. A fine-mesh strainer for rinsing, or a bowl and a colander if you do not own one. A dry measuring cup, or a kitchen scale if you have a strong opinion about consistency. A wooden rice paddle, though a fork genuinely does the same job.
Two optional ingredients do real work. A tablespoon of butter or a teaspoon of oil coats the grains, which cuts sticking and adds aroma, and salt in the water seasons the rice from the inside rather than only on the surface. I salt at roughly 1/2 teaspoon per cup of dry rice.
Know which rice you have, because the ratio changes with the grain. Long-grain white, jasmine and basmati all sit near 1 cup of water per cup of rice, with basmati taking a little more if you soak it first. Short-grain Japanese rice wants less water and less time, brown rice wants roughly double and a long simmer, and wild rice is closer to a pasta than a grain in the pot. Arborio, used for risotto, is not cooked this way at all, since you add broth gradually.
Before scaling up for a group, skim our guide to how to make brunch for a crowd without stress for the timing side of cooking for a crowd.
How to Cook Rice on the Stove Without a Rice Cooker: Step-by-Step
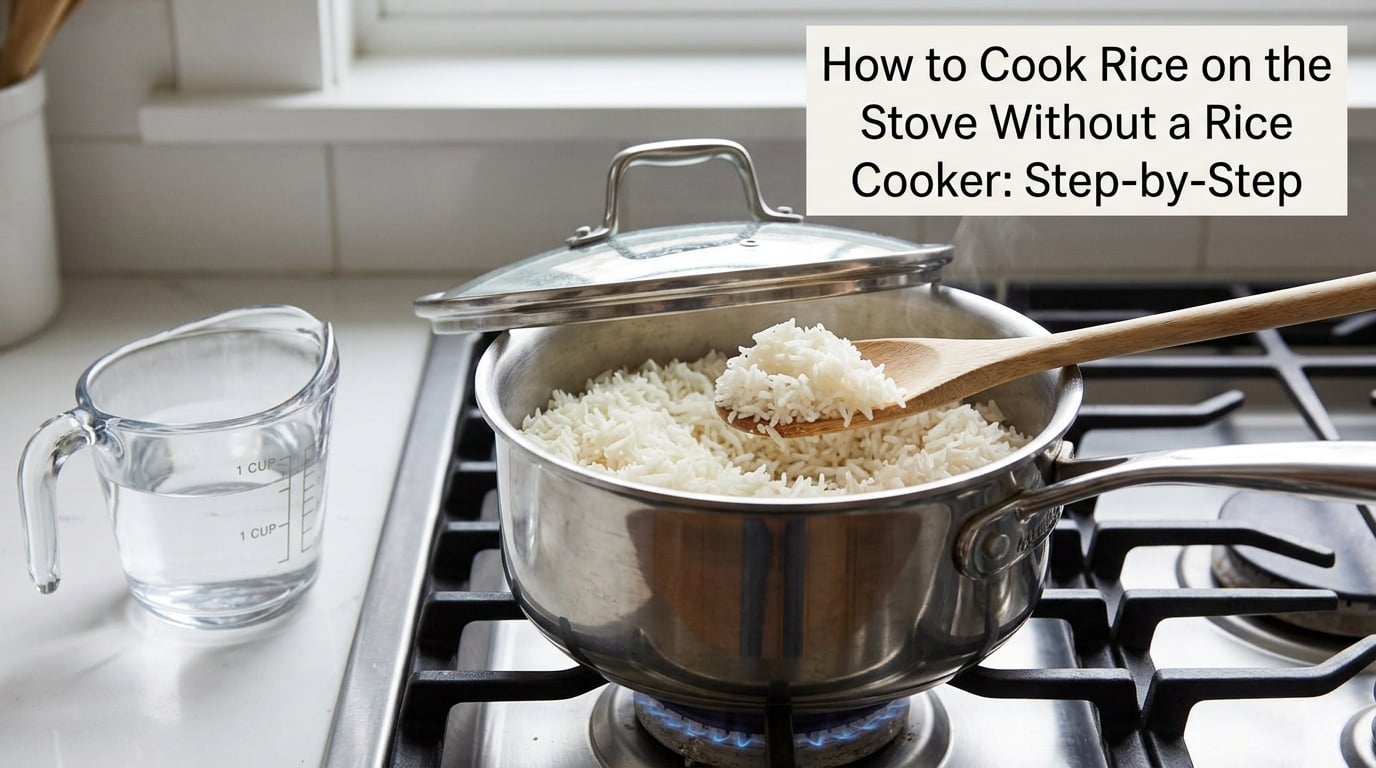
Step 1: Choose the Right Rice-to-Water Ratio
Measure 1 cup of dry rice and add water by the numbers below. The difference between grains is real, and it is the single biggest reason stovetop rice disappoints people who followed the instructions properly.
| Rice type | Water per 1 cup dry rice | Simmer time, covered on lowest heat | Rest time off the heat |
|---|---|---|---|
| Long-grain white | 1.5 cups | 15 to 18 minutes | 10 minutes |
| Jasmine | 1.5 cups | 12 to 15 minutes | 10 minutes |
| Basmati | 1.5 cups, or 1.75 if soaked | 12 to 15 minutes | 10 minutes |
| Arborio (risotto) | 1.75 cups, added gradually with broth | 18 to 20 minutes | Not the same method |
| Short-grain Japanese | 1.2 to 1.3 cups | 12 minutes | 10 minutes |
| Brown, long-grain | 2 cups | 25 to 30 minutes | 10 to 15 minutes |
| Wild | 2.5 to 3 cups | 30 to 40 minutes | 10 minutes |
Package directions are written for a specific brand, pot and stove, so treat them as a starting point and adjust from there. If you like softer rice, add a quarter cup of water next time. If you like it drier and separate, take a quarter cup off.
Step 2: Rinse the Rice
Put the rice in a fine-mesh strainer under cold running water and work it gently with your fingers until the water runs mostly clear, usually 30 to 60 seconds. That cloudy runoff is surface starch, and starch is what makes cooked grains glue to each other in a starchy clump instead of separating grain by grain.
Some cooks rinse until the water is perfectly clear, and they end up with bland grains. Modern milled rice has little bran left on it, so a quick rinse is enough. You are removing starch, not scrubbing the grain. If you soak basmati or brown rice instead, put it in a bowl of cool water for 30 minutes and drain it, which lets the outer layer hydrate and cook more evenly.
Step 3: Bring the Rice and Water to a Boil
Put the rinsed rice and the measured water in the pot, add the salt, and put it over medium-high heat. Stir once or twice well before it boils, right at the bottom of the pot, so the grains do not fuse into a solid layer while they sit in still water. This is a small step that regularly separates good stovetop rice from mediocre stovetop rice.
Wait for a full rolling boil, not a simmer. A rolling boil is what gets the cooking pot evenly heated before you drop the heat. If a strong boil threatens to climb out of the pot, put the lid on ajar for a moment, then finish with it off.
Step 4: Simmer, Cover, and Cook Without Peeking
Drop the heat to the lowest setting your stove offers, put the lid on tight, and set a timer for the time in the table above. The lid goes on now and stays on. Lifting it releases the steam, and the grains stop cooking evenly, which is the number one reason rice comes out with a crunchy middle and soft edges. Keeping that lid shut is the part of how to cook rice on the stove without a rice cooker that everybody second-guesses, and it is the part doing most of the work.
You should see a faint tremble in the pot rather than bubbles around the edge. A steady simmer over a high flame is too much heat, and it dries the bottom layer into a crust. The rice is done when the water has gone, which usually happens a minute or two before the timer.
Step 5: Rest, Fluff, and Check the Texture
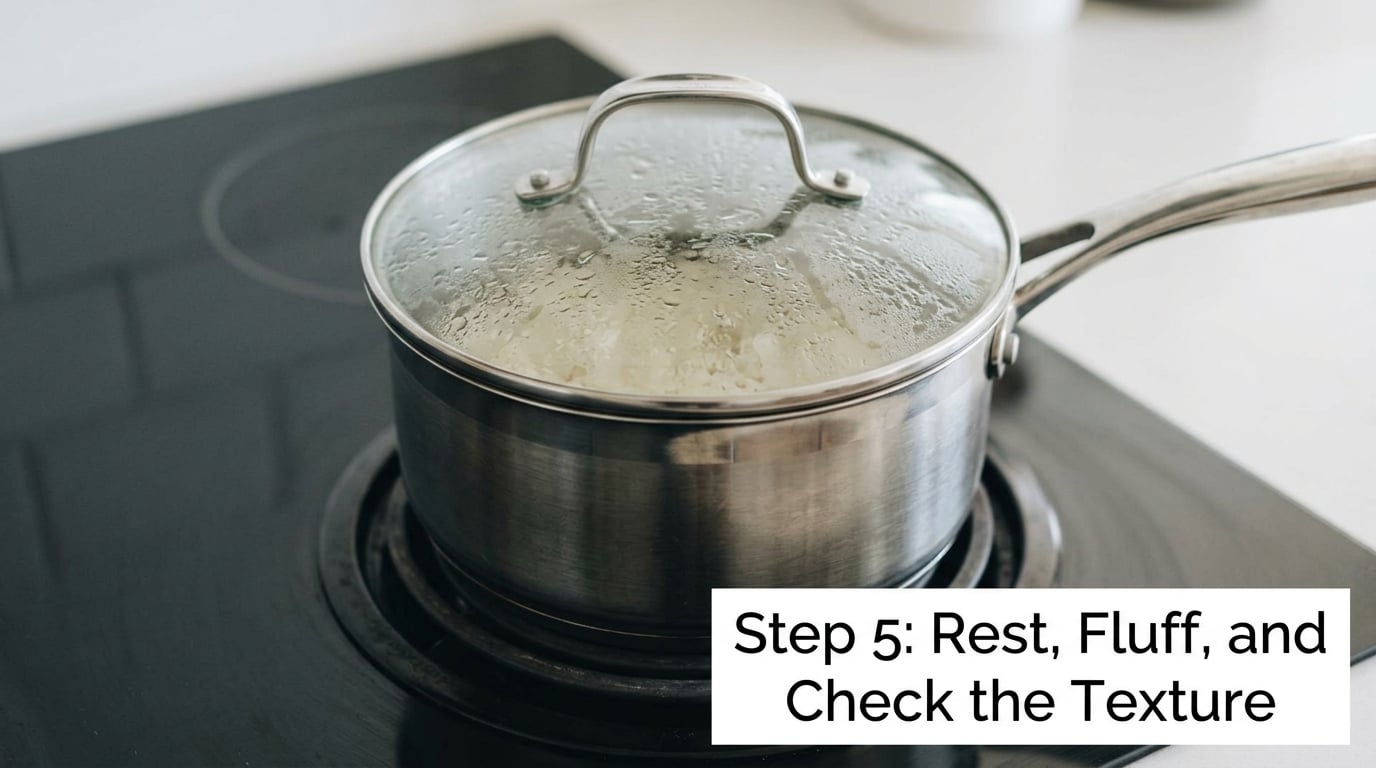
Turn the heat off entirely, leave the lid on, and wait 10 minutes. Do not skip this and do not shorten it. The pot is full of superheated steam, and that rest is when residual heat and moisture finish the grains evenly, including the ones at the bottom that would otherwise dry out.
Take the lid off, drop a few grains between your fingers, and squeeze. If they bend easily and break cleanly with no hard white core, they are done. If there is any resistance, put the lid back on for another 3 to 5 minutes without heat. This is a normal adjustment, not a failure, and if you are new to how to cook rice on the stove without a rice cooker, this squeeze test is the only doneness check you need to learn.
Fluff with a rice paddle or fork, cutting through the rice and turning it rather than stirring it, so grains separate instead of breaking. Taste before serving, and season with more salt if it needs it. Cooked rice keeps three to four days in the refrigerator, and rice safety guidance is to cool it within two hours and reheat to 165F.
Common Mistakes
The rice is crunchy in the middle but fine on the edges. Almost always too little water, heat too high, or the lid came off. Add a quarter cup of water next time and keep the heat at its lowest setting for the full simmer.
The bottom layer is dry, brown or crusted. The pot is too thin, the heat is too high, or you lifted the lid and let steam escape. A heavy-bottomed pot fixes most of this, and stirring once at the start keeps grains from fusing to the base.
The rice is watery or mushy. Too much water, or you overfilled the pot and drained it like pasta. That drain method is where a lot of home cooks started, and it is the reason they expect mush. Rice is not boiled and drained, so the water amount has to be exact. The next one you make, cut a quarter cup from the table number and leave it alone.
The rice is clumpy and sticky. You skipped the rinse, or you skipped the stir before the boil. Both put loose grains together, one with surface starch and one with a static layer of rice sitting in still water.
You lifted the lid to check. Every peek costs you steam, and steam is doing about half the cooking in that pot. Set a timer instead and trust it.
You rinsed until the water ran perfectly clear. You can strip flavor and break down the grain surface. Thirty seconds to a minute is enough.
You cooked brown rice at a hard boil. Brown rice has a bran layer to soften and needs a long, quiet simmer at 2 cups of water per cup of rice for 25 to 30 minutes, then a 10 to 15 minute rest. A rolling boil is what gives it a scorched exterior and a raw center.
You went big. Past about 5 cups of dry rice on the stove, the pot is too full to stir and the heat takes too long to distribute, so the middle cooks unevenly. Cook two smaller pots instead of one enormous one. If you like sear-and-serve dinners, our how to cook a steak in a cast iron skillet guide covers the same large-pan heat control from the other direction.
Two more habits pay off. Toasting the rice in oil for a minute before the water goes in coats the grains and cuts sticking further, and adding boiling water instead of cold water shaves a few minutes off the total without changing the ratio.
Frequently Asked Questions
Can I cook rice without a rice cooker?
Yes, and on the stove you get more control than most rice cookers give you. Bring rice and water to a rolling boil, drop to the lowest heat with a tight lid on, simmer 12 to 15 minutes for white rice, then rest covered off the heat for 10 minutes before fluffing. A heavy-bottomed pot with a tight-fitting lid is the only real requirement.
What is the ratio for making rice on the stove?
For long-grain white, jasmine and basmati, use 1.5 cups of water per 1 cup of dry rice. Short-grain Japanese rice wants 1.2 to 1.3 cups, brown rice wants 2 cups, and wild rice wants 2.5 to 3 cups. Rice absorbs about its own volume in water, so cooking ratios sit above 1:1 to cover evaporation and the steam trapped under the lid.
How much water do I need for 1 cup of jasmine rice on the stove?
Use 1.5 cups of water per 1 cup of dry jasmine rice. Rinse it, bring it to a rolling boil, cover, and simmer on your lowest heat for 12 to 15 minutes, then let it rest covered off the heat for 10 minutes. If your stove runs hot and dries out the bottom, drop to 1.4 cups or add a quarter cup at the boil.
Why is my rice crunchy in the middle?
A crunchy center with tender edges means heat reached the outside of the pot faster than the center could cook, usually from a hard simmer, a pot that is too thin, or a ratio that ran short. Use 1.5 cups of water per cup of rice, simmer on the lowest setting for the full time, keep the lid on, and add a quarter cup of water next time if it happens again.
What are the 1/2/3 and 5-5-5 rice rules?
Both are community shorthand for the same idea: rice to water ratios measured in different units. The 1/2/3 rule means 1 part rice to 2 parts water, the widely used baseline. The 5-5-5 rule means 5 parts rice to 5 parts water by weight, or a 1:1 by volume ratio that works when the rice is pre-soaked. Neither is a law, so use the variety table instead.
How do I store and reheat leftover rice?
Spread cooked rice in a shallow container, let the steam escape for a few minutes, then refrigerate it covered. Cool it within two hours and eat it within three to four days. To reheat, cover with a splash of water, microwave 90 seconds, stir, microwave another 90 seconds, and heat to 165F. The water keeps the grains from drying out and hardening.
Conclusion
If you remember one sequence for how to cook rice on the stove without a rice cooker, make it this: measure the rice, use the ratio for that specific variety, boil it hard once, then simmer covered on your lowest heat without touching the lid, and give it a full 10 minute rest off the heat before you fluff. Rinse first if the rice looks dusty or powdery, and let it run slightly firm the first time so you can adjust by a quarter cup of water from there.