
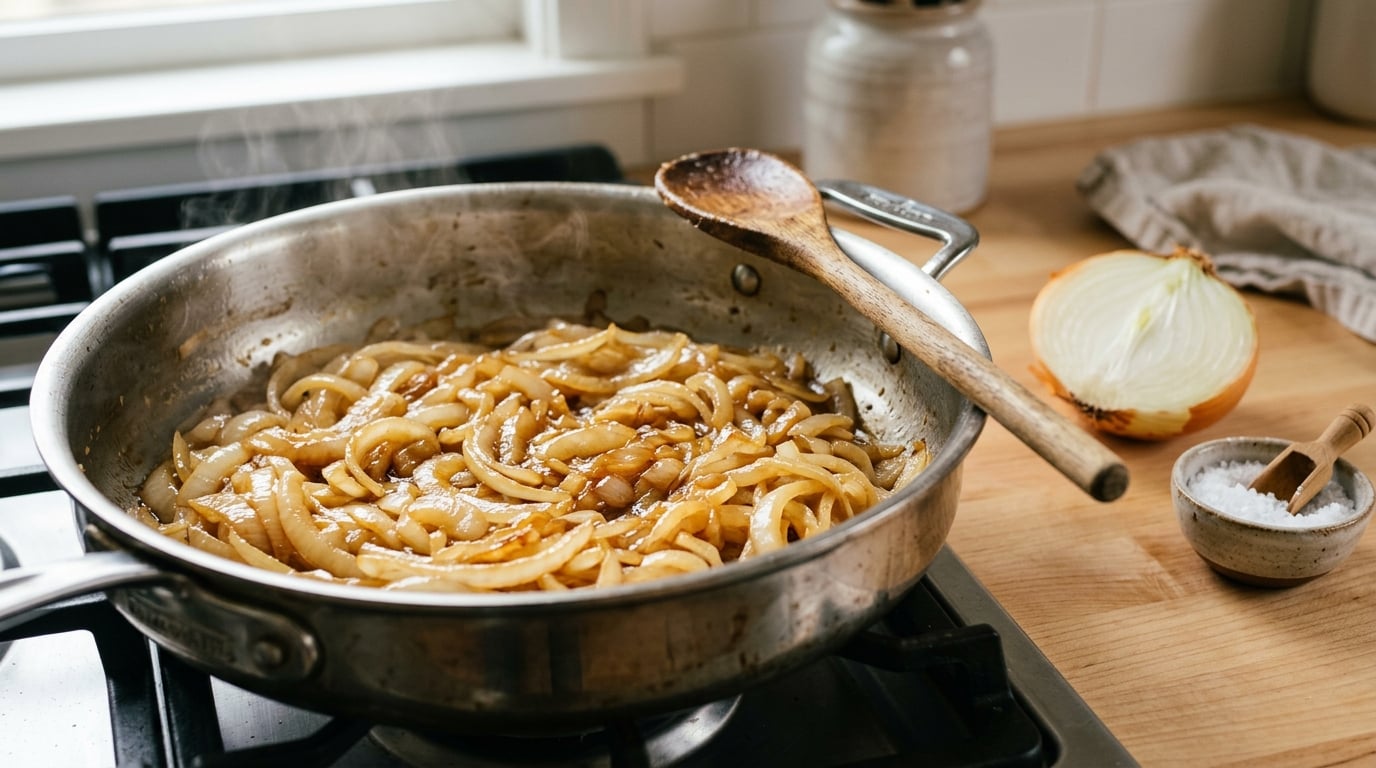
To caramelize onions without burning them, cook them slowly over low to medium-low heat in a wide skillet, stir every few minutes, and add a splash of water whenever the pan bottom looks dry. Real caramelization takes 45 to 60 minutes, and the finish is judged by color and texture, not by a timer.
I burned my first three batches. The third one turned into black shards I scraped into the trash and pretended I had not seen. Once I understood what was actually happening in the pan, it stopped being a guessing game.
What You Need
You need very little, and none of it is special. The pan and the slice thickness do most of the work.
- Onion: two to three medium yellow onions. Vidalia and other sweet onions go darker faster and need a gentler hand, so drop the heat slightly if you use them. Red onions work too and give a softer, deeper color.
- Fat: 2 tablespoons olive oil plus 1 tablespoon butter, or all olive oil if you want a cleaner flavor. Butter alone browns and burns before the onions have rendered down, so the oil is what protects it.
- Pan: a wide skillet, ideally 12 inches across. A big surface area means a thin layer of onions, which is the single best defense against burning.
- Salt: a teaspoon of kosher or fine sea salt, added at the start.
- Liquid for deglazing: water, vegetable broth, or a splash of white wine. Plain water is the one that prevents burning.
- Tool: a wooden spoon or a silicone spatula. Metal can scratch seasoning and, on cast iron, a metal utensil is a bad idea.
Slice the onions 1/4 inch thick, pole to pole. Thin and even is the goal, since pieces of different sizes go from translucent to burnt in the same pan.
Step-by-Step
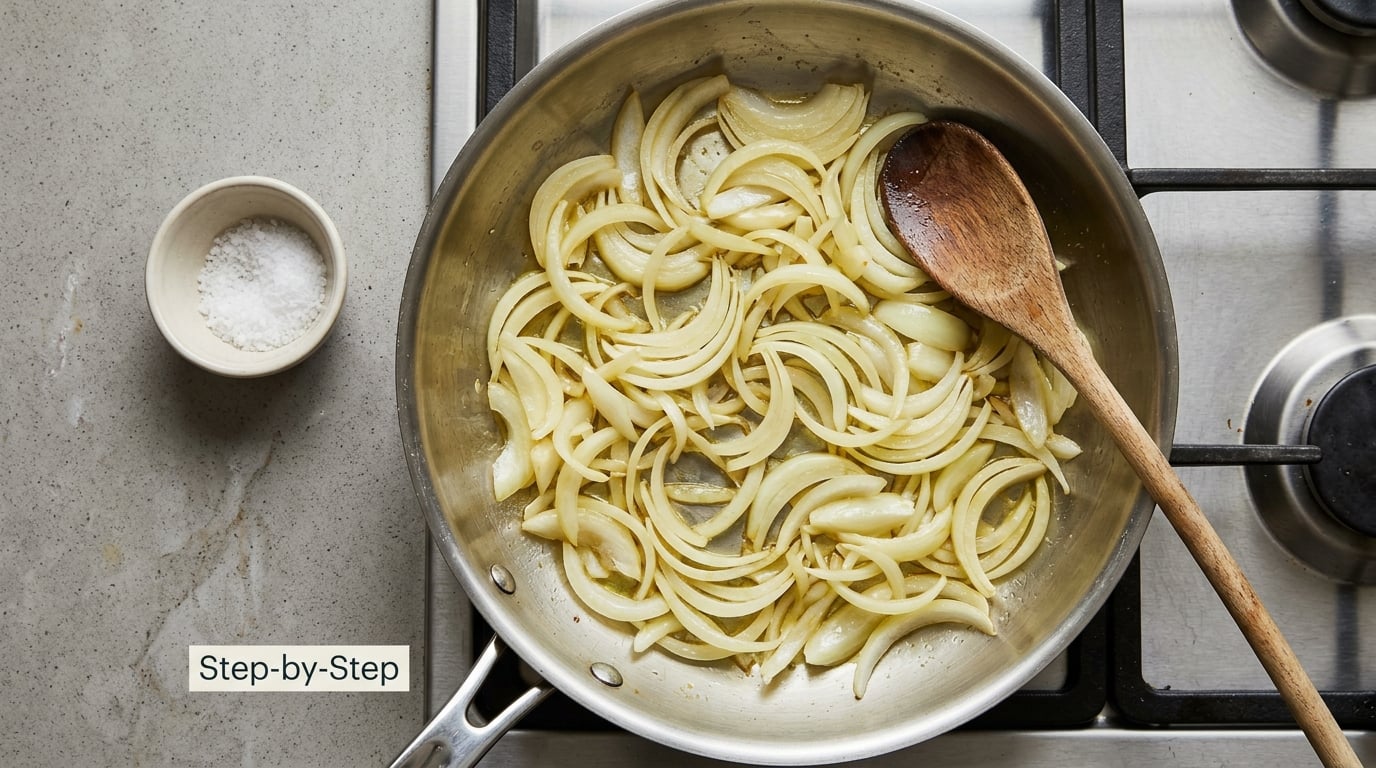
How to Caramelize Onions Without Burning Them: The Key Technique
- Slice evenly. Cut 1/4 inch slices from top to bottom through the onion. If your pieces are thick in some places and paper thin in others, the thin ones burn first.
- Heat the fat in a wide pan over medium heat. Use olive oil first, since it tolerates heat better than butter. Swirl it around until the whole base is coated, about 30 seconds.
- Add salt and the onions. Spread them in one loose layer and turn the heat down to medium-low right away. Salt early draws out moisture, which speeds the softening.
- Cook 10 to 15 minutes without stirring much. Let them sit. Onions release water and steam in their own liquid, and stirring constantly at this stage keeps them wet, which is exactly what you do not want.
- Stir every few minutes and scrape the fond. When the pan looks dry, add a tablespoon of water and scrape the bottom. The brown bits stuck to the pan, called fond, hold flavor you want back in the batch, not on the pan.
- Watch for the color change around 20 to 25 minutes. The onions go from pale to soft and translucent, then from translucent to straw, then to gold. Gold is the moment to slow down.
- Keep going for another 20 to 30 minutes. The last stretch goes from gold to deep amber to a mahogany brown. Stir more often here and keep a little liquid in the pan.
- Pull them off the heat at deep brown. The onions keep cooking from residual heat. If they look right in the pan and turn black on the plate, you went one stage too far.
Total cook time is 45 to 60 minutes. Some cooks report going to two hours, and that is not a mistake. It just means their burner runs cooler and the onions were cut thin.
How to Caramelize Onions in the Oven Without Burning Them
The oven is the low-effort answer, and it is gentler than a stovetop burner. Heat the oven to 350 degrees F, spread 1/4 inch slices in a single layer on a sheet pan, drizzle with olive oil, and salt them.
Roast uncovered for 30 minutes, then stir, and roast another 20 to 30 until deep brown. A thin layer with a little space between the slices matters more than the fat. If you crowd them, they steam instead of brown, and you end up with soft pale onions that never caramelize.
For hands-off cooking, a slow cooker works on the same principle. Cook on low for two to three hours, using a spoon of water or broth if the bottom starts to catch. Browning is gentler this way, so stir in a teaspoon of brown sugar or a splash of balsamic at the end if you want a jamier result.
| Method | Temperature | Total time | Burn risk | Best for |
|---|---|---|---|---|
| Stovetop skillet | Medium, then medium-low | 45 to 60 minutes | Medium | Best flavor, most control |
| Sheet pan, oven | 350 F | 50 to 60 minutes | Low | Big batches, even browning |
| Slow cooker | Low | 2 to 3 hours | Low | Unattended cooking |
| Cartouche, no fat | Low | 40 to 50 minutes | Low | Caramelizing without oil |
How Restaurants Caramelize Onions Fast
Kitchen onions go fast because they are started, not because they are burned. Most prep cooks slice and salt the onions ahead, sometimes blanch them for a few minutes to soften the cell walls, then spread them across a very wide pan so nothing sits on top of anything else.
Chefs also deglaze more often than home cooks think, adding water or broth every time the fond looks dry. A home version of that: blanch your sliced onions for 3 minutes, drain them, and start the skillet cook. You lose about 15 minutes and get noticeably faster, more even browning.
There is a no-fat method too, and it is worth knowing about. Slice the onions, put them in a dry pan with about a quarter cup of water, cover with a lid, and cook low until the water cooks away, roughly 20 minutes. Take the lid off, and the dry heat stage finishes them in another 20 or so. The steam does the softening, so nothing scorches.
Common Mistakes
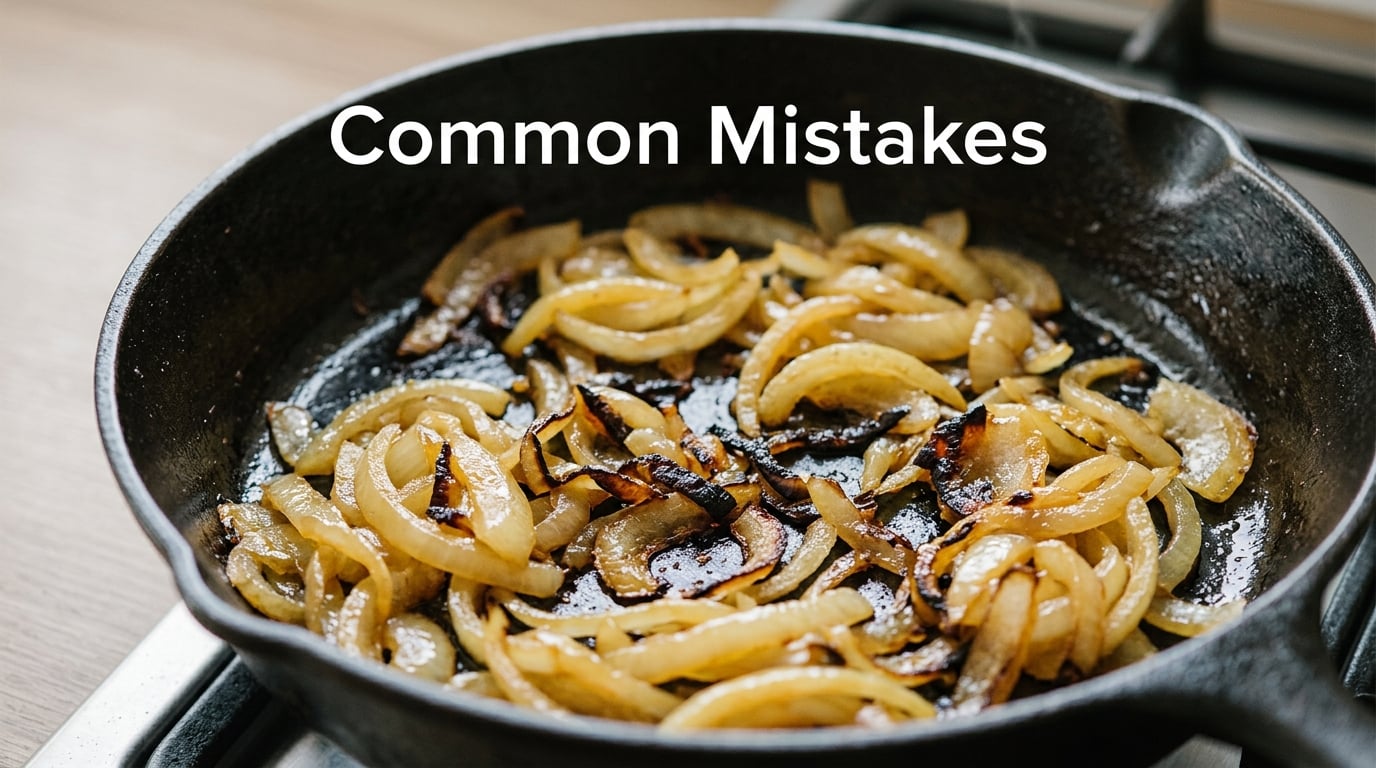
Why onions burn before they turn golden
Because you heat them harder than the water can leave. Onions are roughly 90 percent water when raw, and that water has to go before any browning can start. Until it does, the pan is at 212 degrees F no matter where the burner is set, so cranking the heat just gets you pale onions and a scorched pan.
Once the water is gone, the temperature jumps. Now the natural sugars on the surface are the thing cooking, and they go from gold to burnt fast. Everything from there is a heat management problem.
The mistakes and how to fix them
| Mistake | What happens | The fix |
|---|---|---|
| Heat too high | Onions brown outside, stay raw inside | Start medium, drop to medium-low after the onions go in |
| Crowded pan | Onions steam and never brown | Use a 12 inch skillet, one loose layer, two pans if needed |
| Uneven slices | Thin pieces burn, thick ones stay pale | Slice 1/4 inch from top to bottom, pole to pole |
| Stirring too rarely | Bottom layer welds to the pan | Stir every 3 to 5 minutes, scrape the bottom each time |
| Dry pan | Fond scorches and flavors everything bitter | Add a tablespoon of water whenever the bottom looks dry |
| Butter alone | Milk solids burn before onions cook | Use olive oil, or a mix of oil and butter |
| Stopping when translucent | Onions taste flat and sharp | Keep going until deep brown and jam-like |
| Walking away | Nothing to scrape, nothing to notice | Stay within earshot for 60 minutes |
What your onions are telling you mid-cook
If they are pale and releasing steam, the pan is still full of water. Wait it out and resist the urge to add heat.
If they are translucent and soft but pale, you have cooked off the water and the browning is just starting. Give it 15 to 20 more minutes.
If they are sticking and the pan is dry, add a tablespoon of water, scrape hard, and turn the heat down one notch. The fond stuck to the pan, and a lot of home cooks throw it away. Scrape it back in, because that is where the flavor is.
If a few pieces are dark brown and the rest is gold, fish the dark ones out. They will taste bitter on their own and drag the whole batch down.
How to rescue onions that are already sticking
Kill the heat and add two tablespoons of cold water. Stir, scrape everything loose, and put it back on low. This stops the burning without resetting your progress, and it is the move that appears over and over in cooking forums as the top fix.
If the onions are genuinely burnt and black, scrape off the black layer and throw it away, because that bitterness will not cook out. A tablespoon of vinegar at the end softens the edges of a too-bright batch, but no seasoning rescues true char.
A few small accelerators exist, with real trade-offs. A pinch of baking soda softens the cell walls and can cut 15 minutes off the cook, but the same alkalinity turns finished onions mushy. Salt does most of the same work without the downside, so start there.
Frequently Asked Questions
How long does it take to caramelize onions without burning them?
About 45 to 60 minutes for a medium skillet of 1/4 inch slices. The first 15 minutes are for softening and steaming, the next 15 for turning translucent, and the last 20 to 30 for actual browning to deep brown. Thinner slices go faster. If you are watching the clock past an hour, the burner is probably too hot or the pan is too small.
Should I cover the pan when caramelizing onions?
Only for the first phase. A lid traps steam and softens the onions quickly over the first 10 to 15 minutes, which is useful with firm red onions. Then take it off and leave it off, because covered onions sweat and never brown. If you use the cartouche method, the lid comes off once the water cooks away for the same reason.
What heat level is best for caramelizing onions?
Medium heat to bring the pan up, then medium-low or low for the whole cook. High heat boils the water off in a hurry and scorches the sugars the moment the pan runs dry. Most of the cook happens at the low end. If your pan is cast iron, which holds heat well, start one notch lower than you would with stainless steel.
Why are my onions burning before they turn golden?
Two reasons. Either the pan is too hot for the amount of onion in it, or the water has already cooked away and nobody is stirring. Add a tablespoon of water, scrape the bottom, and turn the heat down. A splash of liquid stops the burning and keeps the fond in the batch instead of turning it to char.
Can I caramelize onions ahead of time?
Yes, and it is worth doing. Caramelized onions keep in the fridge for about four days in a sealed container and freeze well for three months, flat in a bag so you can break off what you need. Cool them fully before sealing, or they turn soggy. Reheat gently in a skillet with a splash of broth rather than microwaving, which dries them out.
Which type of onion is best for caramelizing?
Yellow onions are the standard, balancing sweetness with enough bite to hold up to an hour of heat. Sweet onions like Vidalia cook faster and sweeter, so use less heat and check them every five minutes after the halfway mark. Red onions give a deeper, softer color and are less sweet. Avoid cooking onions from the freezer, which turn watery and never caramelize well.
Conclusion
Start by slicing your onions an even 1/4 inch and heating a wide skillet gently, not aggressively. Then judge the batch by color rather than by the clock, and add a splash of water the moment the bottom of the pan looks dry. Get those three things right and the burning stops.
Where you use the batch matters more than people expect. On a burger, a slice of French onion soup, or a weekend omelet for a crowd, the onions are already stretched thin, so spend the hour and get it right. If you are building a bigger spread around it, our guide to how to make brunch for a crowd without stress is worth a read before the day starts.