
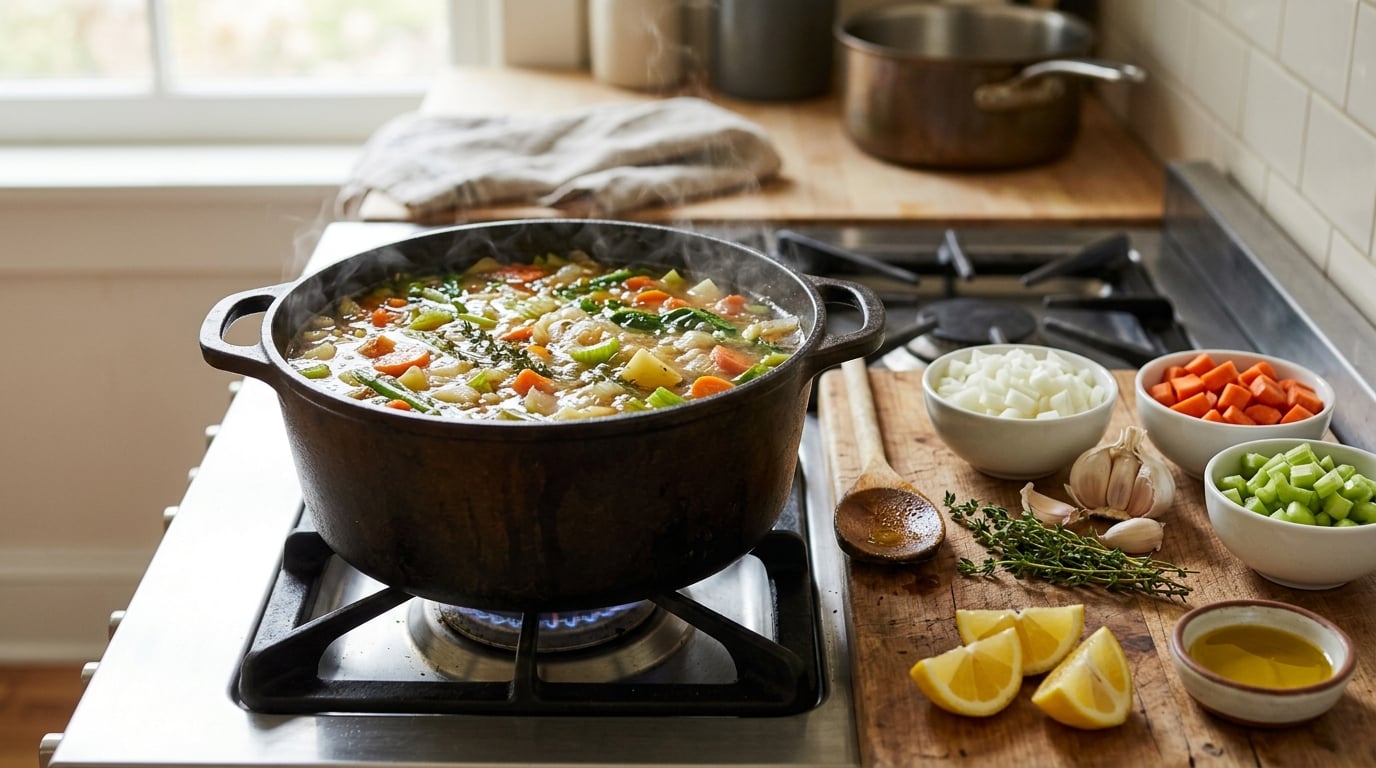
A soup base is the seasoned liquid foundation you build before the main ingredients go in, and it decides most of how the finished bowl will taste. To build flavor in a soup base, soften aromatics in fat, toast spices briefly in that same fat, deglaze the pan, then add good liquid and season in layers rather than all at once. Twenty minutes of active work buys you a pot that tastes finished.
The part most home cooks skip is the order. Seasoning everything before the liquid goes in, or dropping dried herbs in at the very end, leaves a soup that tastes flat no matter how much hot sauce you add later. Layering is the whole trick: fat carries aroma, heat converts it, simmering pulls it into the liquid, and a final hit of acid lifts the whole pot.
None of this is tied to one recipe. The same sequence works for clear chicken soup, a thick blended vegetable pot, or a tomato soup built from a carton of broth and a can of tomatoes.
What You Need
You need less than most people expect: fat, aromatics, a decent liquid, salt, and something acidic to finish. The equipment list is three items, and the ingredients are pantry staples you likely already have.
Essential tools
- A wide pot or Dutch oven, 5 to 6 quarts. A wide surface area is what lets aromatics soften and brown evenly. Use a tall stockpot instead only when you are simmering bones.
- A wooden spoon or silicone spatula. You stir often in this method, and a metal spoon dulls as it scrapes.
- A sharp knife and cutting board. Uniform dice matters more than size. Onion that is twice the size of the celery cooks at twice the rate.
- An immersion blender if you plan any pureed soups. Optional otherwise.
Essential ingredients
- Fat: olive oil, unsalted butter, or a neutral oil. This is the solvent that carries aroma, and skipping it is the most common reason a soup tastes thin of flavor.
- Aromatics: yellow onion, celery, and carrot is the classic French trio called mirepoix. Garlic and a leek join the pan later. Italian soffritto leans heavier on carrot, and Cajun refisi is mostly onion.
- Liquid: homemade stock, store-bought stock or broth, or water with a concentrate dissolved in it.
- Salt: both coarse for layering early and fine for the final adjustment.
- Acid: fresh lemon juice, cider vinegar, or rice vinegar. Every finished bowl wants some, and most flat soups are missing it.
Optional, but where good becomes great: tomato paste, miso, soy sauce or tamari, fish sauce, Worcestershire sauce, MSG, mushroom powder, a Parmesan rind, whole spices, a bay leaf, thyme, and fresh herbs for the end.
With just the first two lists you can build a solid base tonight. The optional list is what separates a decent pot from the one your guests ask about.
Step-by-Step: How to Build Flavor in a Soup Base
Work through these in order and each stage sets up the next. The active build takes 15 to 20 minutes, then the pot simmers while you do something else.
1. How to Build Flavor in a Soup Base With Aromatics
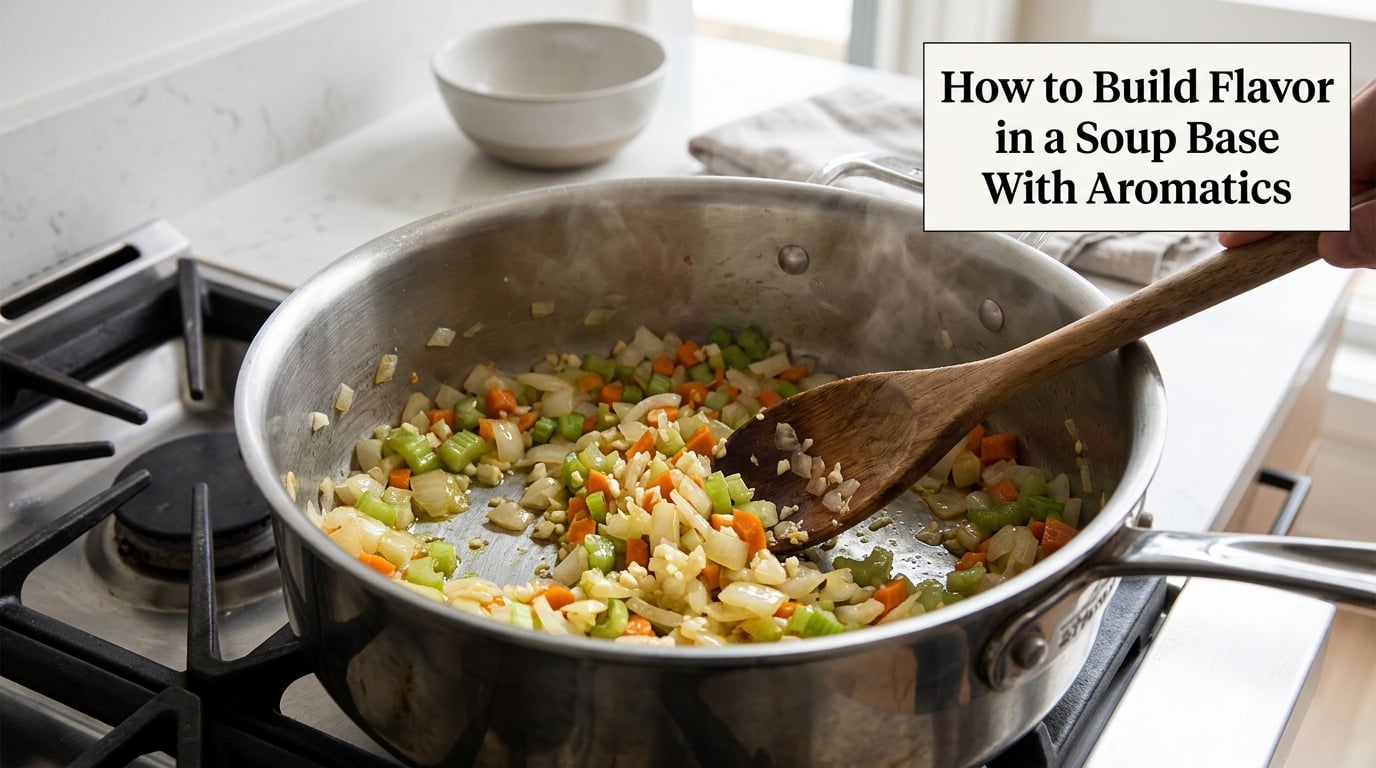
Dice your aromatics evenly, heat a couple tablespoons of fat in your pot over medium-low, and let them cook 4 to 5 minutes until soft and translucent with no color at all. That translucency is the doneness cue. If the edges turn golden before the centers go soft, your heat is too high.
Four different heat treatments get confused constantly, so it helps to keep them straight. Sweating is low heat with a little liquid, covered, for flavor and no color. Sauteing is higher heat for browning. Browning is going past golden until the sugars actually caramelize, which suits roasted-vegetable and tomato soups. Blooming is 30 to 45 seconds of spice in hot fat, which pushes out the compounds water cannot pull on its own.
Add garlic in the last 30 to 60 seconds so it does not turn acrid, and add a leek with the onion since it needs longer. Celery earns its place for a reason: it is one of the few vegetables with a genuinely savory aromatic profile, and its cellulose holds its shape while the onion dissolves around it.
Cooks on Reddit and Discuss Cooking argue about the right order constantly, and none of the arguments matter as much as cooking the vegetables until they smell sweet rather than raw. That smell is the signal that the base has actually started.
2. Brown and Deglaze for Deeper Flavor
Brown deliberately when you are using meat, tomato paste, or when a soup wants a roasted profile. Push the aromatics a little darker than translucent, and cook tomato paste in the pan for a full minute or two until it darkens from red to brick and sticks a little. That caramelized layer is the difference between a bright tomato soup and one that tastes cooked.
Deglaze while the fond is still hot. Pour in a ladle of stock, wine, or water, scrape the bottom with a wooden spoon, and let the liquid bubble to lift every browned bit into the soup. What sticks to the pan after that is the fond, and it holds more flavor than anything you will add later.
The one rule is to deglaze before the pan gets dry enough to scorch. A thin film of fond browns beautifully; a black film makes the whole pot bitter, and no amount of simmering fixes it.
Dried beans and grains get the same treatment. Coat them in the aromatic fat and toast for two or three minutes before adding liquid, the way you would toast rice before risotto, and you will notice the soup tastes nuttier.
3. Choose and Enrich the Liquid
Stock, broth, and water are not interchangeable. Stock is made from bones and carries body and depth. Broth is stock cooked with vegetables and seasoning, so it is lighter and tastes finished on its own. Water carries nothing, which means you are building all the flavor yourself, and for most soups that is a lot of extra work.
Match the liquid to the soup. Chicken stock for chicken soup, obviously. A light vegetable stock works well for bean, lentil, and tomato soups, and is forgiving. Seafood soups want shellfish shells and white fish bones simmered briefly, never long. Cream soups hold up better with chicken stock because dairy flattens flavor, and a rich dark stock overwhelms anything delicate.
If you use a bouillon concentrate, dissolve it in boiling water first. Better Than Bouillon is a paste that clumps and stays gritty if it goes straight into a cold pot, a failure point cooks mention over and over on cooking forums. Add it with the liquid and stir immediately.
Get the ratio roughly right before you start. Three parts liquid to one part solid is the usual starting point for a chunky soup, more if you plan to blend. Start a little under what you think you need, because a soup that is slightly thin can be reduced and a soup that is too thick can only be watered down, which flattens it.
Then enrich. A Parmesan rind dropped into a pot of beans, a tablespoon of miso whisked into a broth, a splash of soy or fish sauce, or a spoonful of mushroom powder all add savoriness that reads as depth rather than seasoning.
4. Layer Seasonings Instead of Adding Everything at Once
Salt in stages, not once. Season the aromatics lightly when they soften, again after the liquid goes in, and once more at the end. Each layer dissolves into a different part of the pot, so the finished soup tastes evenly salted instead of only salty on top.
Give long-simmering ingredients time and short ones none. A bay leaf, thyme, a tied bouquet garni, and peppercorns go in early because they need the whole simmer to give anything up. Dried oregano and chili powder also belong at the start. Fresh herbs such as parsley, cilantro, dill, and basil go in during the last minute, because heat and long cooking strip their aroma.
Spices get bloomed, not sprinkled. Toast them in the hot fat for 30 to 45 seconds while stirring, until fragrant, and add the liquid right after. This is the single highest-return habit in the whole method, and it comes up constantly as the answer when cooks ask how to incorporate spices into broth properly.
Taste at three checkpoints, not one. Right after the aromatics soften, about twenty minutes into the simmer, and again at the end. Tasting only at the end is why so many bowls get oversalted, since the cook adds everything at the boil and then has no way to correct it.
5. Simmer Until the Flavors Come Together
Hold the pot at a bare simmer, the point where bubbles break the surface without rolling. A hard boil scatters aromatics into the steam and can turn a clear soup cloudy and thin. Keep the lid ajar or off so you can skim, and take the foam off the surface in the first 10 to 15 minutes.
Time depends on what is in the pot. Chicken pieces need 25 to 45 minutes. Root vegetables go in with the aromatics since they take as long as the broth. Dried beans and legumes need 45 to 90 minutes, or a soak first. Delicate seafood and fish want the last 5 to 10 minutes only.
Your cues are aroma and body, not the clock. When the pot smells rounded rather than raw-onion sharp, and the liquid tastes a little more concentrated than it did when you poured it in, the build is done. Turn off the heat and let it sit a few minutes before tasting. Salt and acid both taste different in a pot that is too hot.
If the soup is thinner than you want, simmer it uncovered and let it reduce. A wide pot reduces far faster than a narrow one. If it is too thick, add hot liquid a ladle at a time and re-season afterward, since dilution pulls some seasoning out of balance.
6. Balance Flavor with Fat and Acid
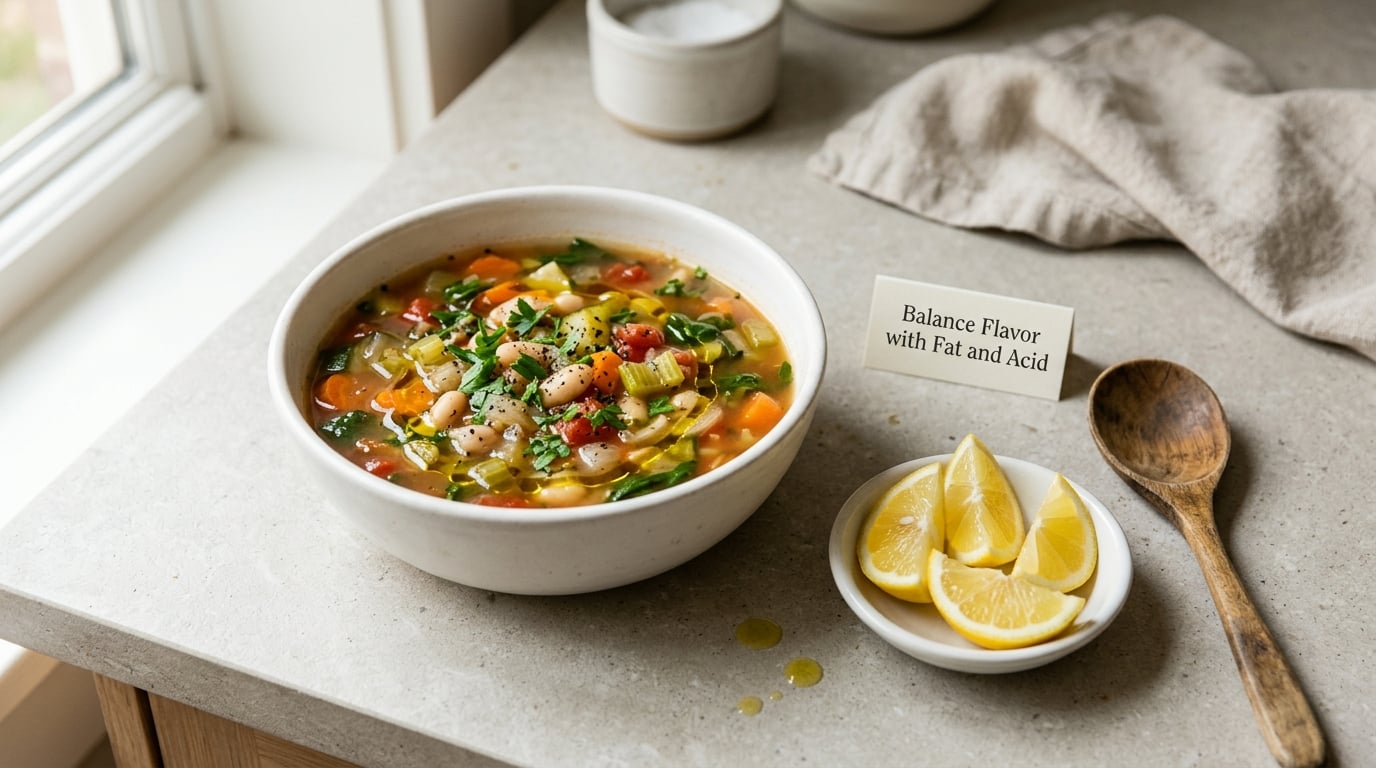
A soup that tastes flat after all that layering is usually short on acid, not salt. Add a tablespoon of lemon juice, taste, and add another if it needs it. The moment the flavor lifts and the aromatics get louder, stop. The same applies to cider vinegar, rice vinegar, or a splash of dry sherry or white wine.
Fat rounds out the finish rather than sharpening it. A drizzle of good olive oil over a vegetable soup, a knob of butter stirred in off the heat, or cream and coconut milk all soften sharp edges and give the mouth something to carry the flavor on. Add dairy and citrus off the heat so nothing curdles or boils.
Work in a fixed order at the end: salt, then acid, then fat, then fresh herbs and any chili heat. Tasting after each addition is the only way to know when to stop.
A gremolata is a good example of a finishing move that does double duty. Zest of lemon, minced garlic, and chopped parsley stirred into the pot early give background aroma, and the same mixture spooned over each bowl at the table gives a fresh, bright top note.
Common Mistakes
Seasoning everything at the start. Once salt, fish sauce, and pepper all go in before the boil, you cannot correct the pot without diluting it. Season in layers at the three checkpoints instead.
Browning the aromatics, then adding liquid too late. Dark fond is fine, scorched fond is bitter, and it does not simmer out. Deglaze as soon as the color you want is reached.
Boiling instead of simmering. A rolling boil drives off the aromatics you just spent 10 minutes building and keeps a clear soup cloudy. Bubbles should barely break the surface.
Using thin, low-sodium stock and treating the gap as a seasoning problem. More salt on watery stock makes it taste like salted water. Reduce the liquid by 10 minutes and the same stock tastes twice as concentrated.
Confusing flat with bland. If adding salt does nothing, the answer is acid. Taste a spoonful plain, then a spoonful with a little lemon, and notice how much brighter the second one is.
Thickening with a roux or starch and losing the flavor you built. A spoonful of roux adds body and dilutes aromatics. A better move for a pureed soup is to blend a ladleful of the soup itself back into the pot, which thickens with starch that is already seasoned.
Throwing in dried herbs and expecting them to develop in five minutes. Dried herbs need a long simmer, and if your soup only cooks for ten, use fresh herbs at the end instead.
For cooking ahead, cool soup fast in shallow containers rather than a deep stockpot, refrigerate within two hours, and use it within 3 to 4 days. For freezing, leave 2 inches of headspace because soup expands, freeze in single-serving containers, and keep it 2 to 3 months. Thaw overnight in the fridge, reheat only what you need to 165°F, and always taste before serving since salt and acid fade in storage. Freezing a base in one-cup portions, the way regulars on Discuss Cooking do with homemade stock, is what turns a Sunday batch into a ten-minute weeknight meal.
Once the base is built, it also makes a natural opener or middle course for a planned meal. If you are putting a dinner together, how to build a three course dinner menu at home is worth a read before you start cooking.
Frequently Asked Questions
Do I need homemade stock to build a flavorful soup base?
No. A good store-bought stock works well, and in most cases it is the only liquid most home cooks will ever need. What matters more is what you build in it. If your store-bought stock is thin or low sodium, simmer it alone for 10 minutes to concentrate it before you add anything else. Homemade stock adds body, but a well-built base on decent store-bought stock will beat a lazy base on homemade stock every time.
When should I add salt to soup?
In layers, starting with the aromatics. Season lightly when they soften, again after the liquid goes in, and a final taste at the end. That gives even seasoning because each layer dissolves into a different part of the pot. Seasoning only at the boil is the most common mistake, and it leaves a soup that is either flat or too salty with no room to adjust.
How can I make a thin soup taste more flavorful?
Reduce it before you add anything. Simmer uncovered in a wide pot for 10 to 20 minutes so the liquid concentrates and the flavor compounds have less water to hide in. If you are still short, add a spoon of a concentrate such as miso, soy sauce, or tomato paste, then finish with lemon juice. Thin soup is a concentration problem far more often than a seasoning problem.
Why does my soup base taste bitter?
Almost always heat, not ingredients. Burnt spices, aromatics taken too far past golden, or a fond that dried out and scorched in the pan will make a pot taste bitter, and simmering does not remove it. Taste the aromatic fat before adding liquid, and deglaze the moment you reach the color you want. A dark fond is fine, a black fond means starting over.
Should I add vinegar or lemon to every soup?
No, but nearly every savory soup benefits from some acid added at the end. Tomato, bean, chicken, and vegetable soups all get brighter and more defined with a small squeeze of lemon, while a creamy squash or potato soup usually does not need it. The test is simple: add a tablespoon, taste, and keep it only if the flavor opened up rather than turned sour.
How long can homemade soup be stored safely?
Refrigerated soup keeps 3 to 4 days when cooled quickly in shallow containers and chilled within two hours of cooking. Frozen soup keeps 2 to 3 months in airtight containers with headspace for expansion, and it is safe from a quality standpoint well past that. Thaw in the refrigerator overnight rather than on the counter, reheat only the portion you need to 165°F, and season again after reheating.
Conclusion
Start with the aromatics. Give them 4 to 5 minutes in fat until soft and translucent, bloom your spices in that fat for under a minute, deglaze before the pan dries out, and add a liquid you actually like. Then taste, adjust the salt, and finish with acid before fat and herbs. That sequence is the whole method, and it works whether your soup is clear, creamy, tomato-based, or built from beans.