
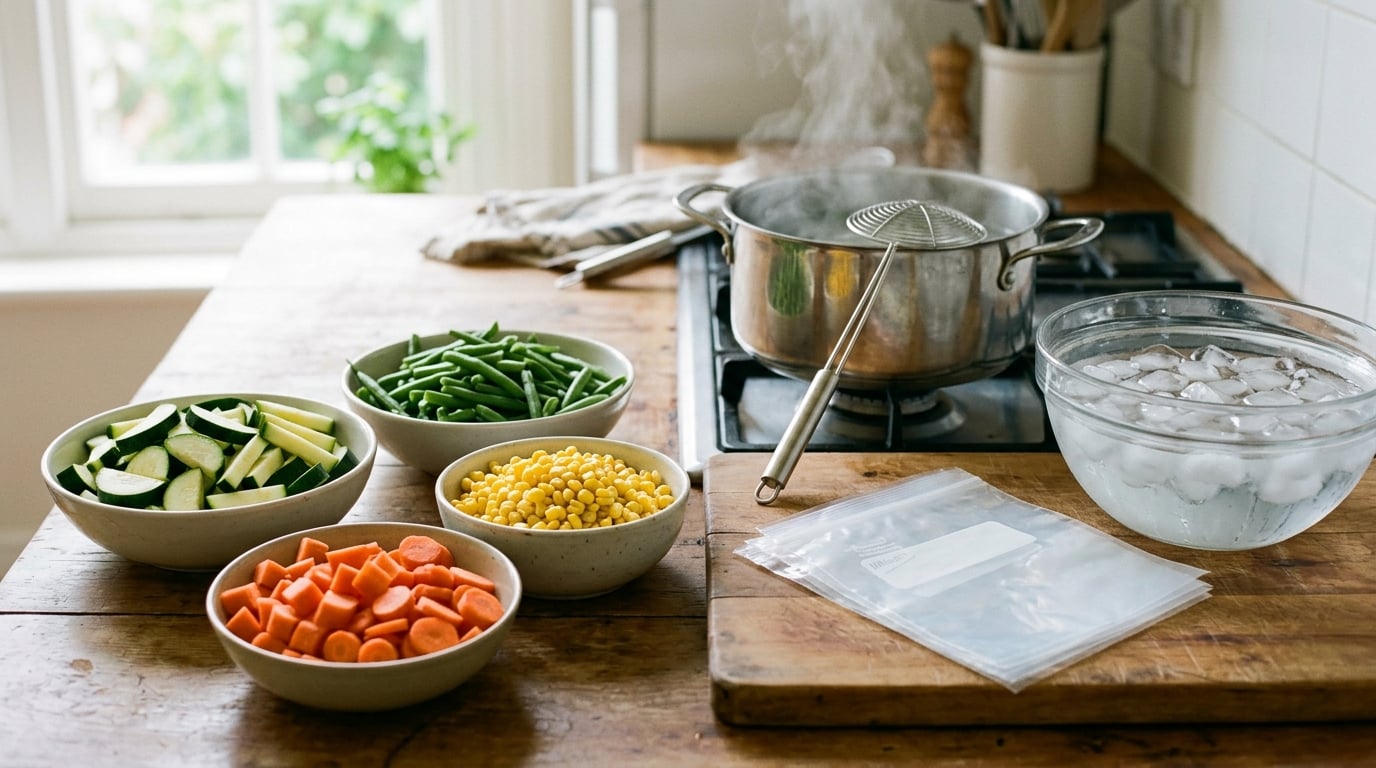
To blanch and freeze summer vegetables, cut them evenly, drop them into vigorously boiling water for the time listed for that vegetable, then plunge them straight into ice water to stop the cooking before freezing them airtight. The whole job takes maybe 30 minutes for a couple of pounds of produce.
I do this every August with the same glut everyone else gets: more zucchini than anyone can eat, a paper bag of peppers, and a market haul that will not survive the week. Blanching is the boring middle step that decides whether you pull out a bag in January that still tastes like something, or a brick of grey ice with an unpleasant memory attached.
Here is the version I have refined over a dozen summers, updated for 2026. The table gives you cut size, blanch time, cook-from-frozen time and how long it keeps in one row, so you can look up a vegetable mid-prep instead of guessing.
Table of Contents
- What You Need
- How to Blanch and Freeze Summer Vegetables Step by Step
- Common Mistakes
- Frequently Asked Questions
- Do all summer vegetables need to be blanched before freezing?
- How long should I blanch zucchini, green beans, corn, and carrots?
- Can I freeze summer vegetables without blanching them first?
- How should I thaw blanched and frozen vegetables?
- How long do blanched and frozen vegetables stay good in the freezer?
- Short Conclusion
What You Need
You do not need any special equipment, and none of the dedicated tools are required. You need a pot, something to lift vegetables out with, cold water, and a freezer-safe container or bag.
- A large pot — 8-quart stockpot or bigger. Use about 1 gallon of water per pound of vegetables so the temperature does not crash when you add the produce.
- A slotted spoon or a spider (the flat wire skimmer with a handle). A spider lets you scoop a whole handful out fast. If you have neither, a regular colander that fits inside the pot works, and so does a sieve.
- A colander or fine-mesh sieve for draining after the ice bath.
- An ice bath — a large bowl or second sink filled with cold tap water and ice. For every pound of vegetables, plan on roughly a gallon of ice water.
- A clean towel, a sheet pan lined with parchment, or a salad spinner to get the vegetables dry.
- Freezer-safe bags or containers. Heavy-duty freezer bags for flat stacking, rigid containers for things you eat in single portions.
- Optional, but useful: lemon juice or a tablespoon of ascorbic acid dissolved in water, for cauliflower and green vegetables that darken in the freezer.
One piece of optional equipment deserves a mention because it removes the most common mess: a steamer basket. Steaming instead of boiling works, it just takes about 50% longer and needs no water at all.
How to Blanch and Freeze Summer Vegetables Step by Step
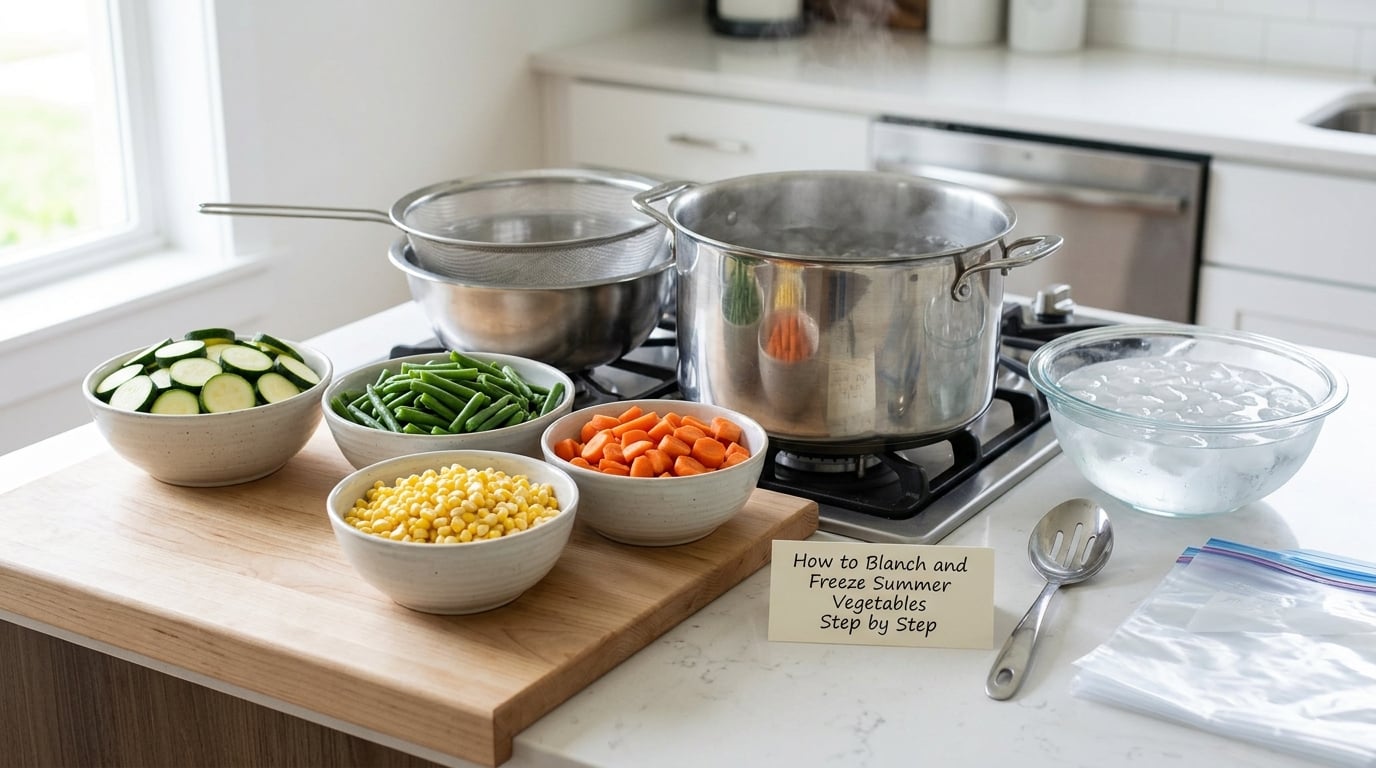
1. Wash and Prep the Vegetables
Rinse produce under cool running water and shake off the excess. Trim the parts you would not eat: stems, woody ends, the fuzzy bit of an okra pod, the big flat side of a bell pepper.
Then cut everything to a consistent size, and this matters more than anything else you do today. Enormous chunks take forever to blanch and freeze raw in the middle, while slivers collapse into nothing. Aim for a half-inch slice or a one-inch dice as your default.
For zucchini and summer squash, slice crosswise into half-inch coins. Cut corn off the cob after blanching the ears, or cut the kernels straight off if you prefer to skip a step. Trim green beans to the ends but leave them whole.
2. Bring Water to a Rolling Boil
Yes, you boil the water first. Fill the pot about two-thirds full, set it over high heat, and wait for a real rolling boil with big bubbles breaking the surface.
Salt is the one piece of folk advice I would skip. Extension guidance on blanching for freezing says not to add salt to the water, because you want the vegetables to stay unsalted in the bag so you can season them later. A single tablespoon of baking soda in the water will help green vegetables hold their bright color, but use it sparingly because it softens the texture.
Do not overcrowd the pot. If you cannot stir the vegetables freely, blanch in two or three batches. A crowded pot drops below boiling, and the vegetables simmer in a bath instead of blanching, which softens them without inactivating the enzymes you are trying to kill.
3. Blanch Each Vegetable for the Right Time
Lower the vegetables into the boiling water using the spider or a handful of batches, stir gently so they do not stick together, and start timing the moment the water returns to a full boil. Times below assume boiling water, not simmering.
You know it worked when the color brightens and the vegetables bend easily but still have a snap. Mushy and soft means you went too long.
| Vegetable | How to cut | Blanch time | Cook from frozen | Keeps at 0°F (-18°C) |
|---|---|---|---|---|
| Zucchini and summer squash | Half-inch slices | 3 minutes | 4 to 6 minutes | 8 to 12 months |
| Green beans | Whole, ends trimmed | 3 minutes | 4 to 6 minutes | 10 to 12 months |
| Sweet corn on the cob | Whole ears | 4 minutes for large ears, 7 for small | 4 to 6 minutes | 10 to 12 months |
| Sweet corn, kernels | Cut off the cob after blanching | 4 minutes | 3 to 5 minutes | 10 to 12 months |
| Carrots | Sliced or diced | 5 minutes | 4 to 6 minutes | 10 to 12 months |
| Okra | Whole pods | 3 minutes | 4 to 6 minutes | 8 to 10 months |
| Bell peppers | Strips or rings | 2 minutes (often skipped) | 4 to 6 minutes | 8 to 10 months |
| Eggplant | Three-quarter-inch slices | 3 minutes | 5 to 7 minutes | 8 to 10 months |
| Broccoli | Florets | 3 minutes | 4 to 6 minutes | 10 to 12 months |
| Cauliflower | Florets | 3 minutes | 4 to 6 minutes | 10 to 12 months |
| Cabbage | Shredded or wedges | 1.5 to 2 minutes | 3 to 5 minutes | 10 to 12 months |
| Peas, shelled | Whole | 1.5 to 2 minutes | 3 to 5 minutes | 10 to 12 months |
| Summer onions and green onions | Whole or sliced | 3 minutes (often skipped) | 3 to 5 minutes | 8 to 10 months |
4. Stop Cooking with an Ice Bath
Lift the vegetables out and drop them directly into the ice water. Do not let them sit on the counter or in a colander while you go looking for the bowl, because every one of those seconds is residual cooking.
Leave them in the ice water for roughly the same amount of time as the blanch, until the vegetables feel cold to the touch and the ice stops melting quickly. That is the whole job of this step: stop the heat, shrink the size of the ice crystals that form inside the cells later, and hold onto the color.
A gallon of ice water per pound of vegetables is enough. If your water is still tepid halfway through a large batch, dump it and refill.
5. Drain, Dry, and Pack for Freezing
Drain in a colander, then spread the vegetables on a towel, a parchment-lined sheet pan, or in a salad spinner. Surface moisture is the enemy here, because water left on the vegetables freezes into a single mass that turns into one solid block, and that is where mushy, watery zucchini comes from.
Free the moisture you can. Readers who freeze a big glut of squash often squeeze each slice gently in a clean towel, which costs a few minutes and makes an obvious difference in the thawed result.
Portion into what you will actually cook. One to one-and-a-half cup amounts land in most dinner plans and stop the freezer-ice-cube problem where you open a bag and commit to a whole quantity. Leave half an inch of headspace in containers for expansion, and push the air out of bags before you seal them.
Label every bag with the vegetable, the cut size, the date and the portion. In a freezer stacked to the ceiling, an unlabelled bag is a bag you will never thaw.
Freeze promptly, and for best quality lay bags flat on a sheet pan first so they freeze in a single layer, then stack them once solid. Keep your freezer at 0°F (-18°C) and avoid overfilling it, since a full freezer holds a steady temperature better than a half-empty one. This article was checked against current USDA and university extension guidance in 2026.
Common Mistakes
The worst outcome is not bad vegetables. It is a freezer full of unlabelled bags you throw out. Here are the mistakes I have actually made, and what fixes them.
Blanching Too Long
A vegetable left in boiling water for ten minutes when the chart says three comes out already cooked, and freezing cooked vegetables means mushy texture forever. Set a timer for every batch, and start counting when the water returns to a boil rather than when you drop the vegetables in.
Fix: if a vegetable is missing from the table, take the shortest listed time for a similar texture. Raw is more recoverable than over-cooked.
Skipping the Ice Bath
This is the mistake that turns good produce into soup. Vegetables straight from the pot keep cooking from stored heat, and the ice crystals they form in the freezer are bigger, which is what you feel as sogginess after thawing.
Fix: cool for the same number of minutes as the blanch. If you are blanching in batches, keep the ice bath cold by dumping and refilling it rather than skipping it.
The mushy zucchini complaint you will read about in gardening groups, thawed squash that looked more like soup, comes from this plus one more thing: freezing wet. Combine over-blanching, no ice bath, and packing vegetables wet and you get waterlogged squash that releases liquid into whatever you cook it in.
Crowding the Pot
Dropping four pounds of zucchini into a pot sized for one pound drops the water temperature, and a pot below boiling simmers instead of blanching. The enzymes you wanted to inactivate survive, and the texture suffers twice.
Fix: one pound per gallon of water, blanch in batches, keep the boil going the whole time, and stir the first thirty seconds so nothing clumps.
Freezing Wet Vegetables
Drained is not the same as dry. Surface water freezes into ice that binds everything into a block, and thawing pulls out even more water than went in.
Fix: spread vegetables on a towel or parchment for a few minutes before packing, or use a salad spinner on leafy items. Never rinse a bag after packing.
Forgetting to Label and Date
A bag with no label is a bag you guess about, and guessing wrong means you eat it far past its best quality or throw out something perfectly good. Dates also tell you the truth about freezer life, which is shorter than most people assume.
Fix: use a marker on the bag itself rather than a sticky label, which loses its grip once it hits freezer moisture. Write the vegetable, portion, and date.
Choosing the Wrong Container
Loose bags let air and moisture move, which is freezer burn. Rigid containers that are too deep force you to break off chunks every time you want a half cup. Single-serving rigid containers for corn and squash are the right call if you cook from frozen often.
Fix: heavy-duty freezer bags for anything you use in bulk, airtight rigid containers for single-meal portions, and vacuum sealing if you have a machine and freeze a lot.
One more worth knowing: vegetables you plan to eat in soups, stocks, stews and curries do not need to look pretty. Skipping the blanch for a bag destined for the pot is defensible. Freezing them raw and cooking from frozen, as several readers describe doing for leeks and soup greens, works well, and it saves you a step on a busy harvest night.
Frequently Asked Questions
Do all summer vegetables need to be blanched before freezing?
No. Cucumbers and avocados turn to mush frozen, so skip those. Bell peppers, onions and whole tomatoes are also usually frozen raw because they are going into cooked dishes anyway. Vegetables eaten plain after thawing, such as zucchini, green beans, corn, carrots, broccoli, cauliflower, okra and peas, do benefit from blanching, because it inactivates the enzymes that turn them soft and dull.
How long should I blanch zucchini, green beans, corn, and carrots?
Slice zucchini into half-inch coins and blanch it for 3 minutes. Green beans blanch whole for 3 minutes. Carrots need 5 minutes when sliced or diced. Sweet corn on the cob needs 4 minutes for large ears and about 7 minutes for small ones, then cut off the cob. Start your timer when the water returns to a full boil, not when the vegetables go in.
Can I freeze summer vegetables without blanching them first?
You can, but you trade texture for convenience. Freezing only pauses enzyme activity, so unblanched vegetables keep softening, darkening and losing flavor in the freezer. Skipping the blanch is reasonable for produce headed into soups, stocks and cooked dishes, and for peppers and onions. If you plan to eat it on its own after thawing, blanch it.
How should I thaw blanched and frozen vegetables?
Thaw in the refrigerator overnight for the best texture, or skip thawing entirely and cook from frozen, which is what most people do with corn, peas and green beans. Cooking from frozen takes about 4 to 6 minutes on the stovetop or 3 to 4 minutes in the microwave. Thawing at room temperature is the one to avoid, and thawed vegetables should be used, not refrozen.
How long do blanched and frozen vegetables stay good in the freezer?
At a steady 0u0026deg;F (-18u0026deg;C), most blanched summer vegetables keep their best color, flavor and texture for 8 to 12 months. Dense vegetables such as carrots, corn, green beans, peas and broccoli often hold to the full 12 months, while watery vegetables such as zucchini and summer squash are usually at their best within 8 months. Keep an eye on the date you wrote on the bag and cook the oldest bags first.
Short Conclusion
Blanch briefly, cool fast, dry well, label everything and freeze it in single-meal portions. That short sequence is the difference between a bag of vegetables that tastes like August in January and one you will not open again.
Buy the surplus while it is cheap and fresh, blanch it in batches while you still have the energy, and cook the oldest bags first.