
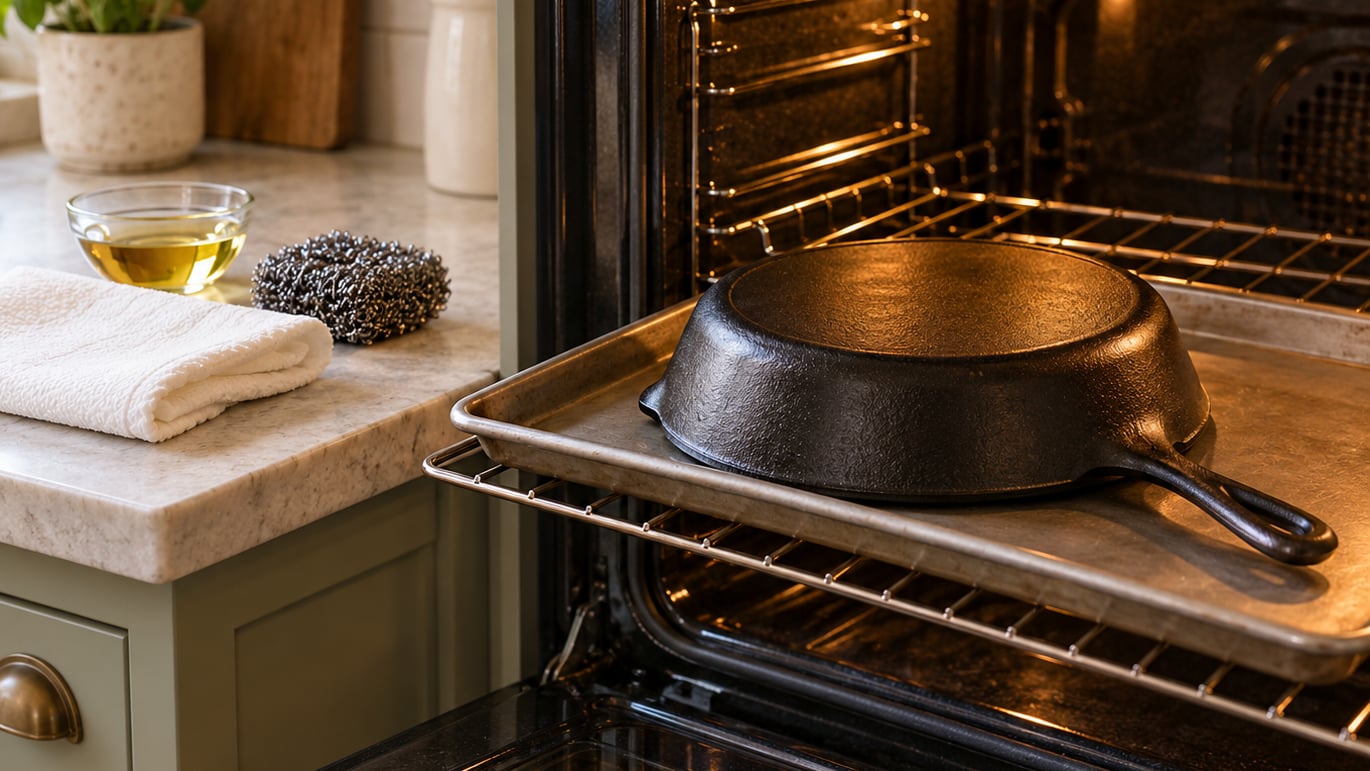
Seasoning a cast iron skillet in the oven takes one hour per coat, and the whole job is really three decisions: scrub the iron bare, wipe on the thinnest coat of oil you can manage, then bake it upside down at 450°F until the surface goes dry and matte. Repeat that three or four times for bare iron and you have a pan that will outlive you. It is the most talked-about kitchen task there is, and most of that talk is people arguing about temperature and oil when the answer is simpler than the arguments.
I have stripped and re-seasoned more pans than I care to count, and the ones that failed always failed the same way: too much oil and not enough drying. Get those two right and the rest is patience.
If you are still deciding between pans, our cast iron vs stainless steel for searing comparison covers where each one wins before you commit to a skillet that needs an afternoon of care.
What You Need
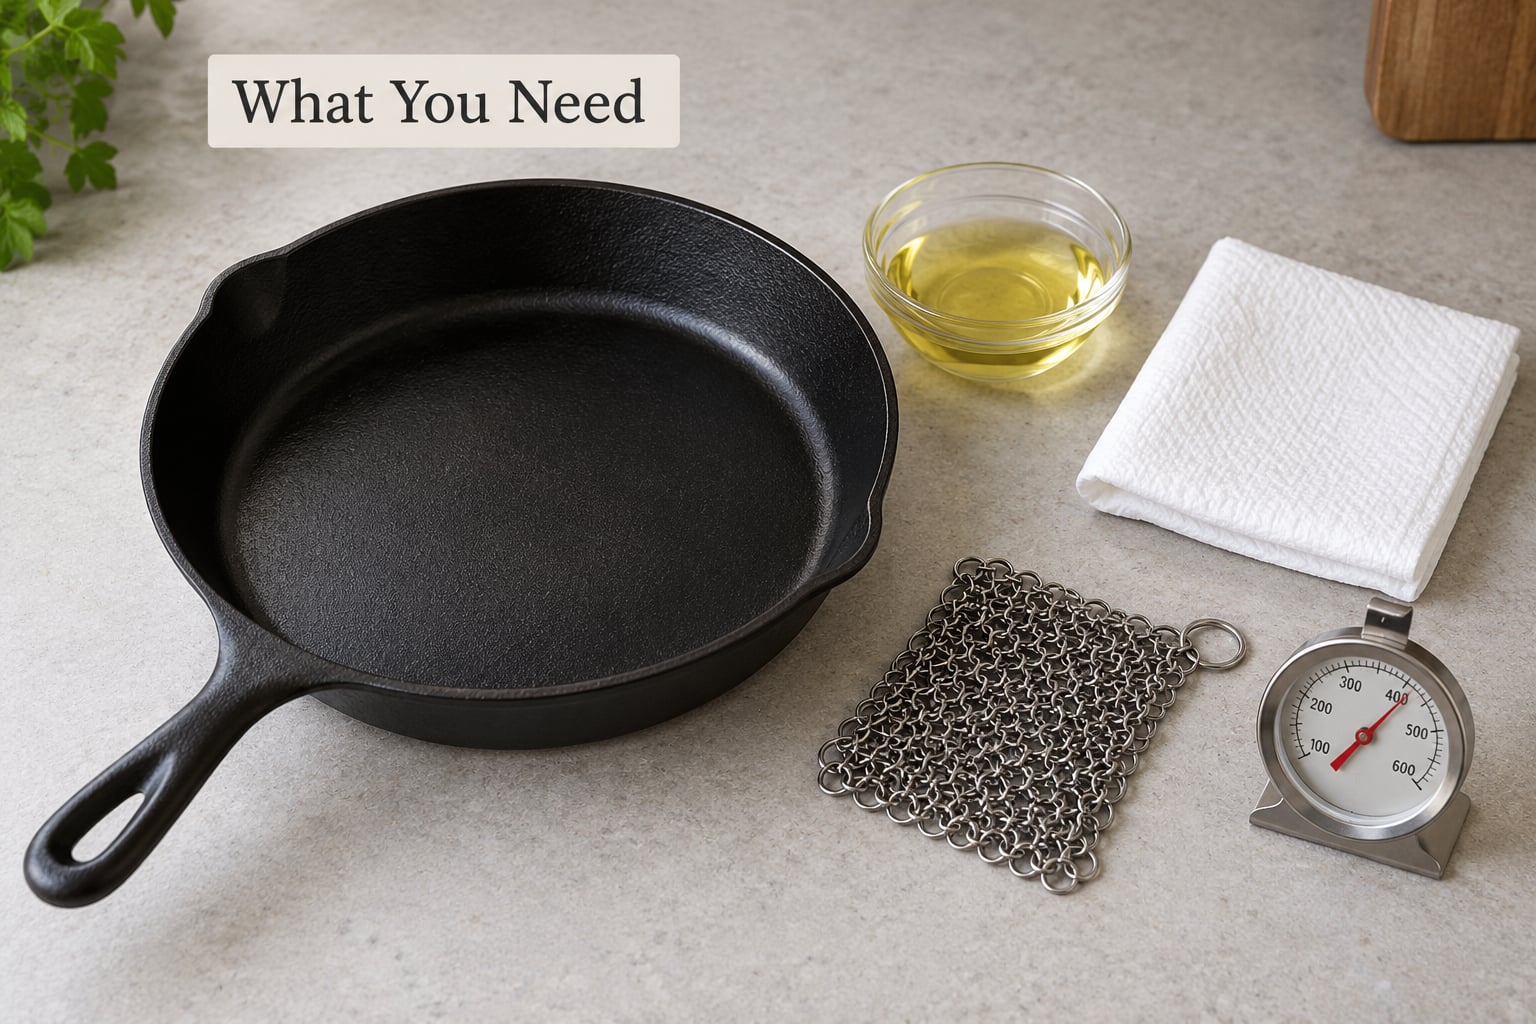
The supply list is short, and most of it is already in your kitchen. Here is what actually gets used during the process.
- A bare or stripped cast iron skillet. A new pan, a rusty flea-market find, or one whose seasoning has gone sticky or grey. If the seasoning on it is already good, you do not need to do any of this.
- A high-smoke-point oil. Vegetable oil, canola, grapeseed, avocado, or plain Crisco shortening all work. You need roughly half a teaspoon for a 10-inch skillet and a little more for a Dutch oven.
- Paper towels or lint-free cloths. Regular paper towels work. Blue shop towels leave less lint behind if you have some.
- A scrubber. A chainmail scrubber, coarse salt and a rag, or a non-scratch pad such as a Scotch-Brite pad. Steel wool is fine for stripping but leaves fibers that need extra care rinsing.
- An oven thermometer. This is the item people skip and regret. Home ovens run 25 to 50°F off the dial, and seasoning is exactly the process where that gap matters.
- A baking sheet or a sheet of foil. For catching drips on the oven floor and letting you cool the pan without setting it on a damp counter.
Skip the aerosol seasoning sprays for the first seasoning. They are fine for maintenance touch-ups later, but they make it hard to control how much oil lands on the iron, and control is the entire point.
Step-by-Step: How to Season a Cast Iron Skillet in the Oven
The process below is the one I use on every bare or stripped pan. Five steps, one hour per coat, and three or four coats for bare iron.
1. Scrub the Skillet and Get the Old Seasoning Off
Strip the pan first, and this holds even for a brand-new piece with a thin factory coat. That coat is uneven, and building on top of it is how you end up with bare patches that never darken.
Wash the skillet with hot water and a little dish soap, then scrub the cooking surface hard. Chainmail for stubborn seasoning, coarse salt with a few drops of water for a moderate scrub, a non-scratch pad for an already-stripped pan. Work the whole surface including the rim and the underside, then rinse.
For light surface rust, the salt scrub takes it off without stripping everything underneath. For heavy rust or an old failed seasoning, scrub until the iron reads as bare grey metal. You know you are done when water runs across the pan and beads up instead of soaking in.
2. Dry It Fully in a Warm Oven
This is the step that gets skipped and it is the reason so many pans come out of the first bake with rust speckles. Seasoning oil on damp iron traps moisture, and trapped moisture underneath the first coat gives you rust later.
Set the skillet in a cold oven, turn it to 200°F, and leave it for 15 to 20 minutes. If the pan is thick or you just washed it hot, give it 30. Take it out and wipe it with a dry towel while it is still warm, then let it cool for a few minutes before you add oil.
Answering the obvious question directly: yes, you can season dry cast iron in the oven, and dry is the only condition that works. There is no version of this where damp iron is fine.
3. Wipe On the Thinnest Possible Layer of Oil
Put about half a teaspoon of oil in the pan, then wipe it out with a paper towel until the towel comes back nearly dry. Keep wiping. The surface you want should look almost identical to bare iron, just with a faint sheen.
Cover everything: the cooking surface, the rim, the walls, the handle and the underside. Seasoning is not a non-stick treatment for the food surface alone, and rust starts wherever you skip.
Two extra tricks help. Wipe in small concentric circles so the oil spreads into a genuinely even film instead of streaks. And if you are seasoning a smooth antique or vintage pan that refuses to take seasoning, a second wipe with a clean dry towel removes the oil that has already soaked into the pores and leaves a thinner film behind. That is the method that gets vintage cast iron to cooperate.
Now put the pan upside down, handle hanging off the edge of the baking sheet so any oil runs to the sheet instead of pooling under the handle where it bakes onto the pan as a gummy blob.
4. Bake Upside Down at 450°F for One Hour
Preheat the oven to 450°F with the skillet already inside it. Starting with a cold pan in a hot oven heats the oil gradually, which is gentler on the seasoning than dropping a room-temperature pan into a blast of heat.
Set a sheet of foil or a baking sheet on the lowest rack to catch drips. Some smoke in the first few minutes is normal and expected. Crack a window or run the range hood; if you have sensitive smoke alarms, turn them off for the hour.
Bake for one hour. That is the standard, and it comes from the manufacturers and most of the established methods. A slower 400°F bake for two hours works just as well and is gentler on an antique pan. What matters is landing above the temperature where the oil polymerizes rather than just smoking and evaporating.
Turn the pan halfway through the bake so it heats evenly and the seasoning does not pool on one side. If you see oil beading at the low point of the pan during the bake, you applied too much, and that bead is going to harden into a sticky spot.
For anyone who wants a more gradual build, a ramp method works too: 20 minutes at 200°F, then 20 minutes at 300°F, then an hour at 400°F. It is slower and it produces an even, hard layer on smooth vintage iron. Save it for pieces that fight you.
5. Cool in the Oven, Look, and Repeat
Turn the oven off and leave the skillet where it is until it is cool enough to touch. Cooling in the oven matters because the pan finishes curing as it comes down, and pulling it out hot can crack the coating before it sets.
Then look at it. Properly seasoned cast iron is matte and dry, a dark brown to black with a faint sheen. It should not feel tacky anywhere, and it should not look glossy. Those are the two failure signs to watch for: gloss means oil that never fully polymerized, and tack means the same thing with a heavier dose.
Black residue wiping onto your hand with a paper towel is normal, especially on the first coat. Light gray or brown wiping off in streaks means the layer is thin and can use another hour.
Wipe the cooled pan with a clean dry towel to lift any un-bonded residue, then repeat steps 3 through 5. Bare iron and most new pans need three to four coats. Stripped vintage pans may need five or six, and antique cast iron is usually smoother and less porous, so expect it to take more passes than a modern sand-cast pan.
After the final coat, make one meal on the pan. Cooking fatty food like bacon or a steak seared in cast iron adds a layer that no oven coat replicates, and it tells you whether the surface is ready. If eggs or fish slide with no sticking, you are done. If they grip, the seasoning needs another hour in the oven, not more oil.
Common Mistakes
Nearly every seasoning failure traces back to one of these, and all of them are fixable.
Too Much Oil
This is the big one, and it is the top complaint on r/castiron. Oil that sits on the surface instead of soaking in bakes into a thick, gummy layer that peels and flakes into your food. The fix is to strip the pan back to bare metal and start over with a much thinner wipe. Wipe until the paper towel looks almost clean, not slightly stained.
Spiderweb marks, the fine crackle pattern in the middle of a pan, are the same problem in an early stage. Pooled oil dried in rings while baking. Another thin coat fixes light ones; strip if the center is sticky.
Rusting After Seasoning
Rust means moisture reached bare iron, usually because the pan was not fully dried, or because air drying on the counter left water trapped in the casting pits. Dry at 200°F before oiling, dry on the stovetop after every wash, and keep the pan off a damp or cold surface when it is warm.
Seasoning a Dirty or Damp Skillet
Any food residue or grease that is not a thin film will polymerize into something that peels off later. Wash the pan first, every time, even if it looks clean.
Skipping the Foil or Baking Sheet
Without something under the pan, drips land on the oven floor and the oven smokes for the rest of the hour. Worse, oil can run off the pan, leaving the handle and the rim bare.
Baking Too Cool
Below roughly 375°F the oil does not fully polymerize. You will get a dark-looking pan that stays tacky and wipes off. Above about 500°F you bake past the useful point and the surface goes brittle and starts flaking. 450°F for one hour sits in the middle of the range that works.
Stripping Seasoning That Was Already Fine
You only need to strip a pan whose coating is sticky, flaking, grey or rusty. Seasoning that is dark, matte and smooth just needs a wipe of fresh oil and an hour in the oven. Full stripping is a reset, not a yearly chore.
Rinsing With Soap or Leaving It Soaking
Modern dish soap will not destroy seasoning in a single wash, contrary to what old rules say. A short soak will strip a thin, new first coat though. Scrape, wash briefly, rinse, dry immediately. For the full routine, including what to do about the eggs that weld themselves on, see our guide to cleaning a cast iron skillet after cooking eggs.
Frequently Asked Questions
At what temperature do you season cast iron in the oven?
Bake seasoned cast iron at 450°F for one hour per coat, with the pan upside down on a baking sheet or foil. A 400°F bake for two hours works just as well and is gentler on antique pans, while 350°F often leaves the coating tacky. Use an oven thermometer, since home ovens routinely run cooler than the dial.
Should I season cast iron at 350 or 450 degrees?
Go with 450°F. At 350°F the oil does not fully polymerize, so the surface stays slightly tacky and wipes off with a paper towel. 450°F for one hour gives you a hard, dry coat in a single session. If you are worried about cracking an old pan, 400°F for two hours is a safe compromise.
What ruins cast iron seasoning?
Too much oil is the most common culprit, followed by drying the pan on the counter instead of the stove. Other offenders are seasoning over a dirty or damp skillet, baking below 375°F, and letting a pan soak in water. Acidic foods like tomato sauce break down a seasoning faster than anything else in a home kitchen.
Can I season dry cast iron in the oven?
Dry iron is the only condition that works. Put the skillet in a cold oven at 200°F for 15 to 20 minutes, wipe it with a dry towel while it is still warm, then apply your oil. Any water left under the coating gets trapped and turns into rust spots that show up a few weeks later.
How many layers of seasoning does a new cast iron skillet need?
Three to four thin coats for bare or new iron, which means three to four hours of baking time. One hour is enough for a routine touch-up on a pan that already has good seasoning. Vintage and antique pans are smoother and less porous, so they often need five or six passes before they take an even coat.
Why is my seasoned cast iron sticky after baking?
Sticky seasoning almost always means a thick coat that never fully polymerized. Strip the pan back to bare metal with hot water and chainmail, then redo the process with roughly half a teaspoon of oil wiped out until the paper towel comes back nearly dry. Properly seasoned cast iron feels matte and dry, with a faint sheen and no tack at all.
Conclusion
Start by scrubbing the skillet down to bare metal and drying it in a 200°F oven. Then wipe on the thinnest layer of oil you can stand to apply and bake the pan upside down at 450°F for one hour.
Repeat until the surface is uniformly dark and matte, three or four times for bare iron. Once it feels dry rather than tacky, the pan is done. From then on it just needs a wipe of oil and an hour in the oven every few months, plus a short blast on the stovetop after every wash.