
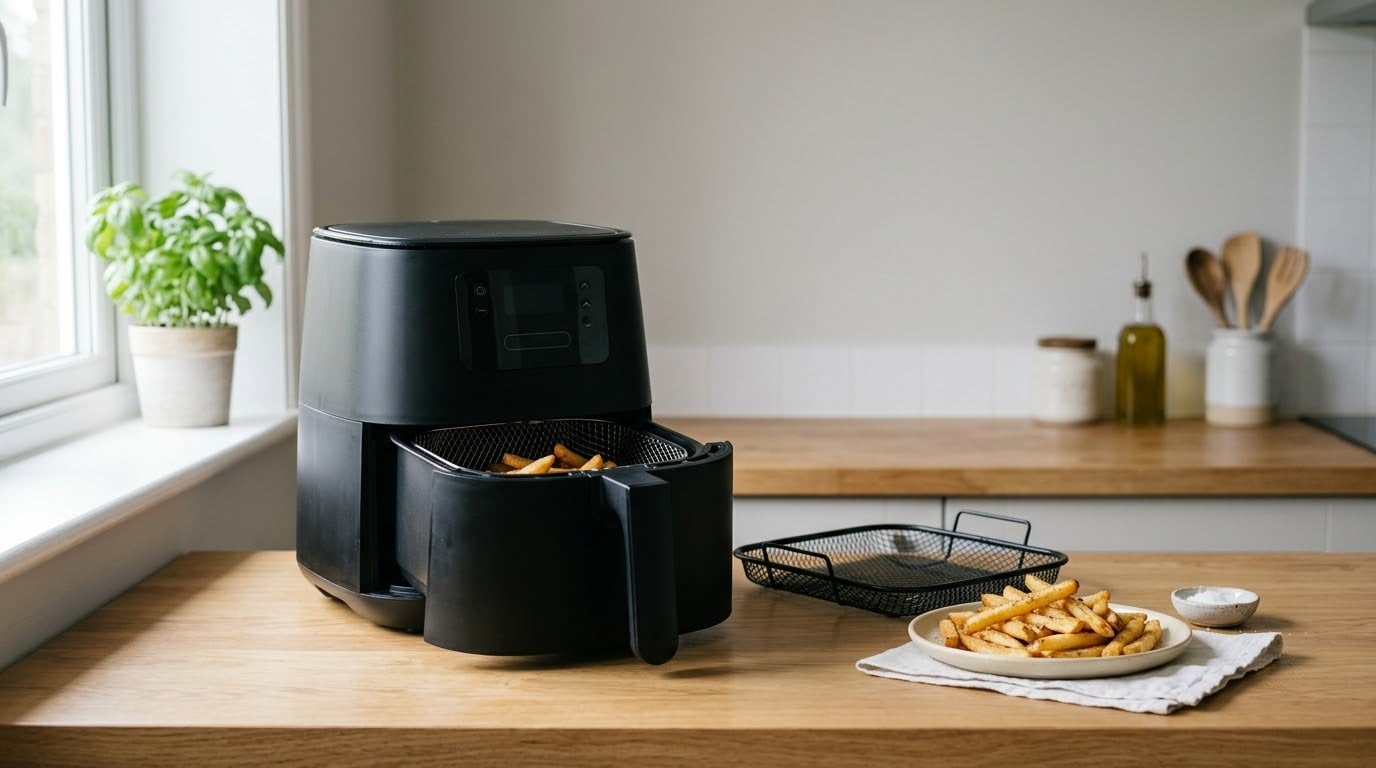
If you have just unpacked one, how to use an air fryer for beginners comes down to three mechanics: put it on a flat surface with room for hot air to escape, place food in a single layer with space between the pieces, and set the time and temperature yourself rather than leaning on the presets. That really is all it takes. The rest of this guide is what to do in what order during your first half hour with the appliance, so you avoid the three classic beginner results: food that burns outside while raw inside, food that stays pale and limp, and a basket that sticks.
If you have been burned once already, the fix is usually one of three things: too much food in the basket, a temperature copied straight from an oven recipe, or no one opening the drawer halfway through. Each is easy to correct once you know what it looks like.
Table of Contents
- What You Need
- How to Use an Air Fryer for Beginners: Step-by-Step
- Beginner Tips for Better Results
- Food Safety and Cooking Temperatures
- Frequently Asked Questions
- Do I need to preheat an air fryer before using it?
- Do you need to add oil when using an air fryer?
- How do I convert an air fryer recipe from a conventional oven?
- What are the easiest foods for air-fryer beginners to make?
- How do I know when food is cooked in an air fryer?
- Can I use parchment paper or a silicone liner in an air fryer?
- Conclusion
What You Need
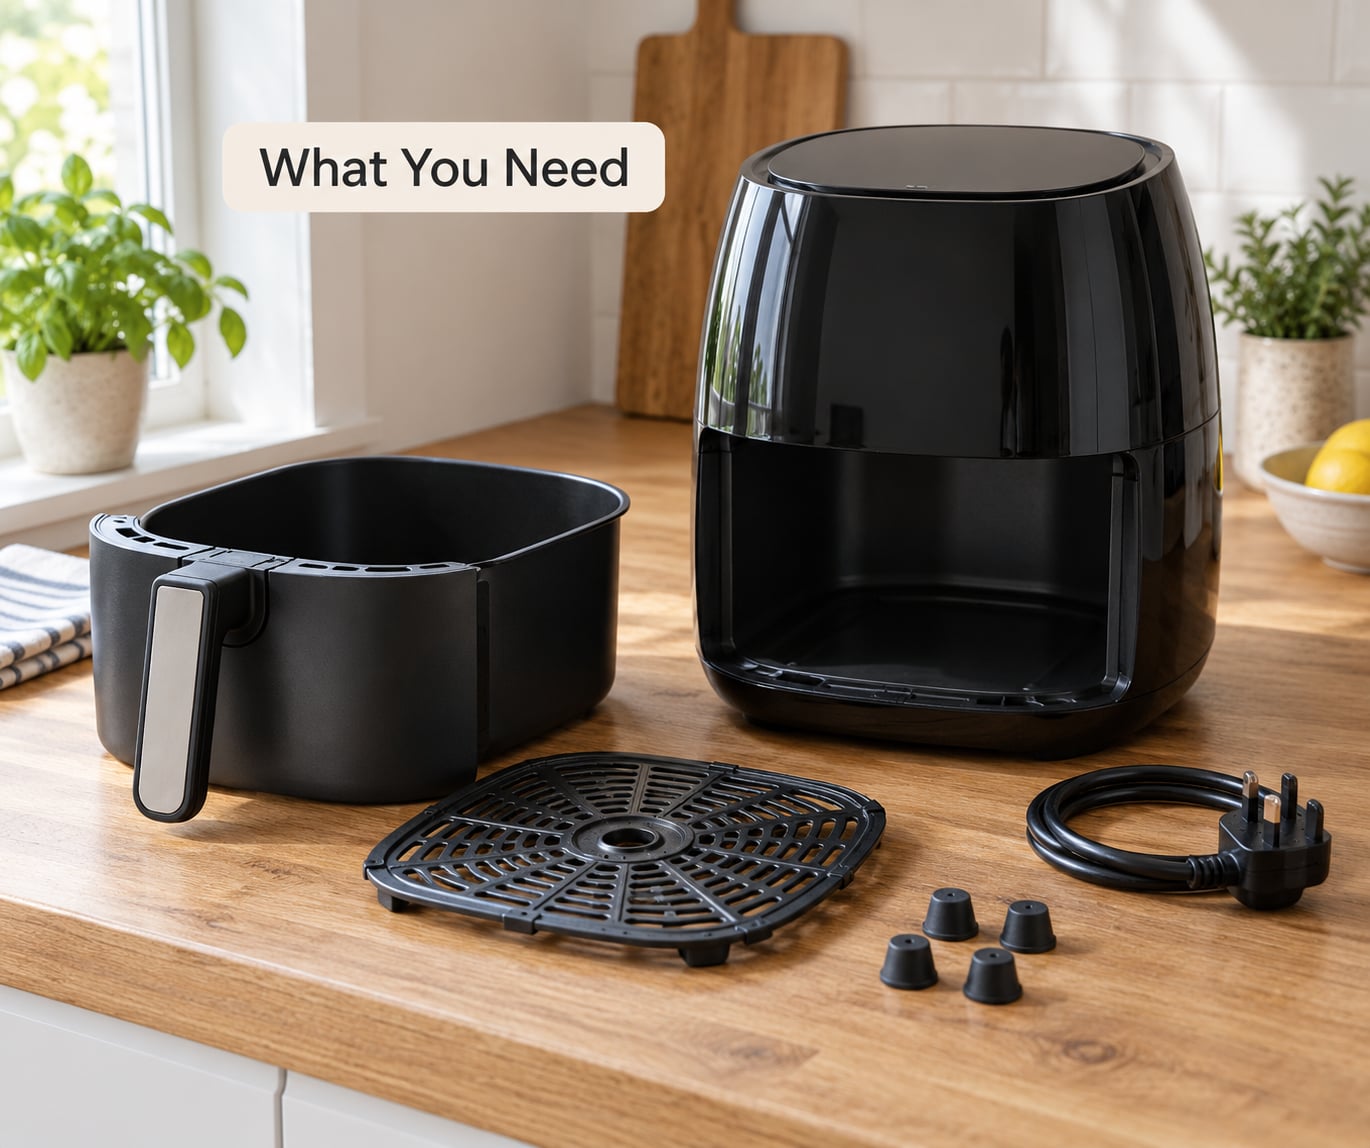
Almost nothing. The appliance, the food, and about ten minutes. Here is the full list, and the parts of it that actually matter.
- The fryer itself — basket fryer, dual basket, or countertop oven. Note the wattage on the label; a 900-watt tower and a 1500-watt oven cook the same food at noticeably different speeds.
- The manual — the fastest answer to every control question, and the only document that tells you which parts are dishwasher safe.
- The basket and crisper tray — both come out for cleaning, and both sit close to the heating element.
- A heat-resistant surface — a counter with at least 5 inches (13 cm) of clearance behind it and space above. The rear exhaust vents hot air, and it will discolour a wall or cabinet finish if blocked.
- Oven mitts or a thick towel — the basket rim gets hot enough to burn bare hands.
- Non-metallic tongs or a silicone spatula — metal scratches the non-stick coating.
- An oil mister or pump sprayer — not an aerosol can. Aerosol cooking spray leaves an oily residue that eventually breaks down the non-stick coating.
- An instant-read thermometer — optional at first, essential once you cook meat.
- Food for one small batch — a single layer, not a full freezer bag’s worth.
Skip the preset buttons for now. They are convenient and they work, but the temperatures and times built into them vary so much between brands that you learn nothing from them. Once you can set a recipe’s numbers by hand, the presets become a shortcut rather than a crutch.
How to Use an Air Fryer for Beginners: Step-by-Step
How to use an air fryer for beginners: Set up and preheat safely
Before anything goes in, run the fryer empty. Pull it out of the box, remove all packaging, wash the basket and tray in warm soapy water, dry them well, and slot them back in. Then set the temperature to its maximum, set the timer to 10 minutes, and let it run with nothing inside.
This conditioning run burns off factory oils and gets rid of the plastic or chemical smell that puts beginners off before they cook anything. Some light smoke in the first few minutes is normal. If the smell persists after that, air fry a thick slice of lemon for 15 minutes at 375°F (190°C) and let it sit for an hour; owners use this trick and it works far more often than it should.
Now learn the controls. On a manual model you turn a dial for temperature and a dial for time, then press start. On a digital model you tap the temperature and time fields and use the plus and minus buttons. Presets are shortcuts to numbers that already exist — ignore them until you know the numbers.
Position the unit where the heat can leave: on a flat, heat-tolerant surface, at least 5 inches from the wall behind it, with nothing stored on top. Plug it into a grounded socket directly on the wall, not through a power strip or extension lead, and keep the cord clear of the hot exhaust.
A short preheat helps. Two to five minutes at your target temperature gives thin and delicate foods — fries, breaded items, frozen appetizers — a hot chamber to land in, which is most of what crisping means. Thick proteins like a whole chicken breast do not need it. Preheat for five minutes, not fifteen; these appliances heat fast.
Load the basket without overcrowding
Dry the food. Moisture is the enemy of crisp, and wet surfaces steam instead of brown. Pat meat and vegetables dry with paper towel before they go in.
Then a very light coat of oil. Hold the mister about 6 inches above the food and spray once or twice — you want a sheen, not a gloss. Frozen vegetables and plain fries need almost nothing; breaded and bare-bones items benefit most from oil.
Arrange everything in a single layer with visible gaps between the pieces. This is the rule beginners break most often. When food touches, the hot air cannot circulate around it, so the underside steams, the surface never dries, and the result is limp and unevenly coloured.
If you have more food than fits with gaps, cook in batches. Two smaller batches finish faster than one crowded batch, and they finish better.
Parchment paper and silicone liners are useful for sticky, sugary foods like tater tots or caramelised vegetables, but only if they fit the basket exactly with the edges trimmed so they cannot lift into the heating element. Never leave loose paper sitting on an empty basket, and never use a liner while the basket is empty and hot. Check the manual first — it is the only reliable answer for your model.
Start with an easy first batch
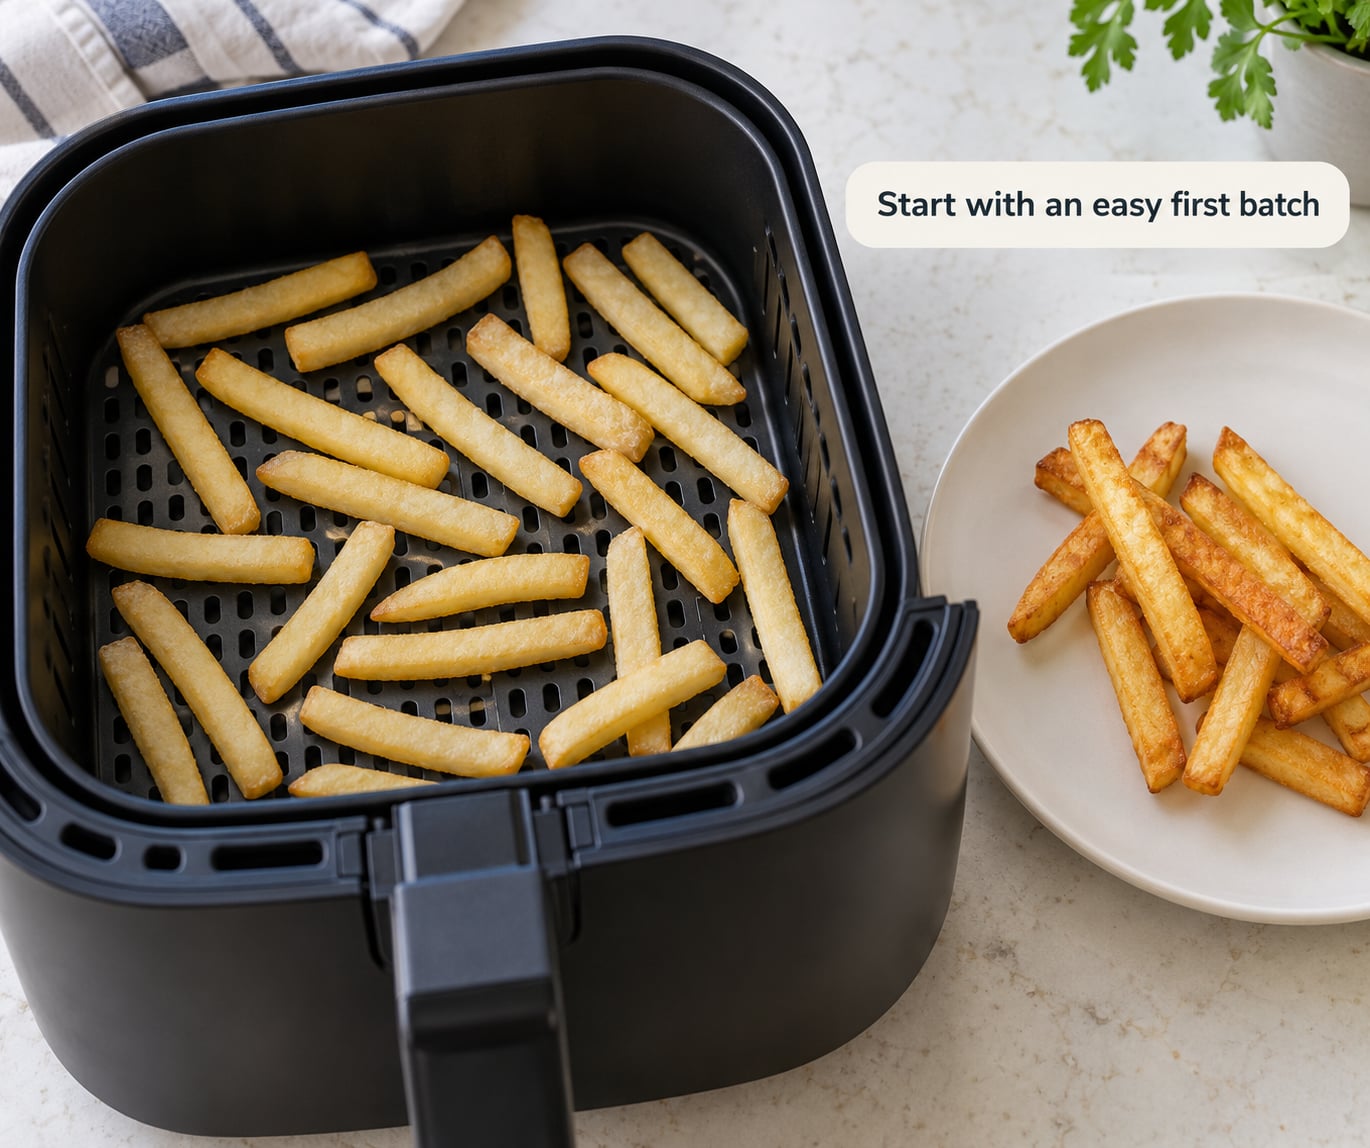
Frozen fries are the right first cook. They are consistent, forgiving and impossible to ruin badly. A single layer of frozen fries in a preheated basket at 400°F (200°C) for 10 to 12 minutes is a solid starting point. Pull the basket at the halfway mark, shake it a few times, and push the food back in. Check from 8 minutes onward on smaller, lower-wattage fryers.
You are looking for an even golden-brown colour, a crisp coating, and fries that bend without snapping. Pale fries mean the batch was too crowded or the fryer is genuinely lower-powered than the recipe assumed. Dark or blackened edges mean it is running hotter, so drop the temperature by 25°F (15°C) or add a minute less time.
Once the basics are steady, the same fryer handles the rest of a party spread. Our 10 easy cocktail party food ideas for beginners list works well as a second and third cook, because most of those items are small, quick and forgiving in the same way fries are.
A short reference set for the next few cooks, with the usual caveat that wattage and basket size change the results:
- Frozen fries — 400°F (200°C), 10-12 minutes, shake halfway.
- Frozen tater tots or hash browns — 400°F (200°C), 12-15 minutes, shake twice.
- Chicken wings — 380°F (195°C), 22-28 minutes, flip at 15.
- Chicken breast, boneless — 375°F (190°C), 12-16 minutes, flip at 8.
- Salmon fillet — 390°F (200°C), 8-10 minutes, one flip.
- Steak bites, 1 inch cubes — 400°F (200°C), 8-12 minutes, shake twice.
- Mixed vegetables — 390°F (200°C), 10-14 minutes, shake twice.
- Reheated pizza slice — 350°F (175°C), 4-6 minutes, check early.
Check doneness and adjust the next batch
Open the drawer by the handle with oven mitts on, keeping your face and hands away from the escaping hot air. Look at colour first, then texture: a browned surface with clear crisp edges is usually right. Cut into the thickest piece and check that it is opaque all the way through with no translucent pink.
For anything with a meat safety threshold, use the thermometer rather than appearance. Pull the drawer slightly, probe the centre of the thickest part, and read it fast. Add time in 1-2 minute increments until it is right. Keep the drawer shut between checks; opening it repeatedly drops the chamber temperature and slows everything down.
Cooked food should rest on the basket or a warm plate for two or three minutes before serving. Chicken breast and salmon lose less juice, and crisping surfaces firm up slightly as they settle.
Clean, cool, and store the air fryer
Switch it off, unplug it, and let it cool fully — usually 15 to 30 minutes. Wash the basket and crisper tray in warm soapy water with a soft sponge, rinse, and dry. Wipe the interior and the heating element area with a barely damp cloth, never soapy and never dripping wet. Never run water over the element, and never submerge the base unit.
A monthly deep clean is worth the five minutes: loosen baked-on grease with a soft brush or a cloth with a drop of dish soap. Let everything dry completely before reassembling.
Use the dishwasher only where the manual says so. Many manufacturers hand-wash only, because the high heat and detergent shorten the life of a non-stick basket. Store the fryer with the basket and tray inside it, or beside it — but never store utensils, oil, or food in the basket.
Common mistakes beginners make
- Food is pale and limp. Too much in the basket, or no oil. Cook in smaller batches and give everything a light mist of oil.
- Outside is burnt, inside is raw. Time is too long for the wattage, or the food sat in one crowded heap with an unturned top. Cut pieces smaller, flip at halfway, and start checking a few minutes early.
- Food sticks to the basket. Aerosol cooking spray on the coating, or a very sugary marinade. Switch to a pump mister and clean the basket with a soft sponge.
- Uneven browning. No shake, no flip. Give the basket a firm shake at halfway and turn any flat pieces over.
- Overly hot cooking. An oven temperature copied across without adjusting. Drop the temperature by 25°F (15°C) and start checking at roughly half the oven time.
- Heavy smoke or a burning smell mid-cook. Grease hitting the element, usually from food loaded wet, or drips from an overloaded basket. Turn the heat down, and if the smoke persists, switch off, open the door and pull the basket out until it clears.
- Raw poultry or ground meat straight from the freezer. It will never cook evenly from frozen. Thaw it in the fridge first.
Beginner Tips for Better Results
Most of what people search for when they ask how to use an air fryer for beginners is really about a few habits, not recipes. A few of them do more than any recipe tweak.
- Follow the recipe’s temperature. If it gives one, use it rather than a general rule of thumb.
- Preheat for two to five minutes when the food is thin, frozen or breaded.
- Shake the basket or flip the food at the halfway mark every single time, even when the recipe does not say to.
- Keep food clear of the heating element — nothing should be touching it or standing upright against it.
- Cook a small test batch of a new food. One piece beats a full tray when you are still learning the appliance.
- Write down what worked. A note of “chicken breast, 375°F, 14 minutes, flipped at 7” saves you guessing forever.
- Expect variation. A bigger wattage cooks hotter and faster, so treat times as starting points to adjust rather than fixed rules.
When you move on to meat, timing matters more than recipes do. Steak bites that come out pink in the middle usually mean one of three things: too much in the basket, not enough shaking, or a time copied straight from the oven. Our guide to how to pair wine with steak for beginners is worth a read before your next steak cook, so you know what doneness you are actually aiming for.
Food Safety and Cooking Temperatures
An air fryer is a small oven, not a safer appliance in the general sense. It gets hot enough to burn hands and to scorch countertops, and it still needs the same food handling as any other high-heat cooker.
Never put food directly onto the heating element. Never leave the unit unattended with the drawer pulled out and the basket sitting on a worktop. Do not leave metal or wood utensils inside a hot fryer. And keep water away from the base unit and the element — pull the plug before cleaning, always.
For safe internal temperatures, use the USDA figures: poultry 165°F (74°C), ground meat 160°F (71°C), and whole cuts of meat and fish 145°F (63°C). Confirm doneness with a thermometer rather than colour alone, especially with chicken, which can look cooked on the outside while the centre is still cool.
Raw poultry and ground meat should never be cooked from frozen, and marinated food that has touched raw meat should not be reused as a dip. For anything more specific to your household, your local food safety authority is the right place to ask.
Frequently Asked Questions
Do I need to preheat an air fryer before using it?
A short preheat helps thin, frozen and breaded foods, because they need a hot chamber to crisp in the first few minutes. Set the fryer to your target temperature and give it two to five minutes. Thick proteins such as a whole chicken breast do not need it. Longer preheating is unnecessary, since these appliances heat quickly and running them empty just dries the element.
Do you need to add oil when using an air fryer?
Usually a very light mist, and never from an aerosol cooking spray. Hold a pump mister about 6 inches above the food and spray once or twice for a sheen rather than a gloss. Frozen vegetables and plain fries need almost none, while breaded items and bare chicken benefit most. Aerosol sprays leave an oily residue that gradually breaks down the non-stick basket coating.
How do I convert an air fryer recipe from a conventional oven?
Lower the oven temperature by about 25°F (15°C) and start checking at roughly half the original cooking time. An air fryer’s small chamber and fast fan concentrate heat quickly, so a recipe that bakes for 40 minutes in an oven may finish in 15 to 20. Add one-minute checks from there, and remember that lower-wattage models cook more slowly than a wattage-based recipe assumes.
What are the easiest foods for air-fryer beginners to make?
Frozen fries are the best first cook, then tater tots, chicken wings, and mixed vegetables. They are consistent, they brown predictably, and a mistake costs one batch rather than a dinner. Save chicken breast, salmon and steak until you understand how your particular model handles heat, since those go from done to dry fast and are better judged with a thermometer.
How do I know when food is cooked in an air fryer?
Colour and texture come first: an even golden-brown surface with crisp edges, and a piece that cuts easily and looks opaque all the way through. For meat, do not rely on looks alone. Pull the drawer slightly with oven mitts, probe the thickest part with an instant-read thermometer, and add time in one or two-minute checks until it hits 165°F (74°C) for poultry, 160°F (71°C) for ground meat, or 145°F (63°C) for whole cuts and fish.
Can I use parchment paper or a silicone liner in an air fryer?
Yes, for sticky or sugary foods, but only if the liner fits the basket exactly and the edges are trimmed so nothing can lift into the heating element. Never use paper in an empty hot basket, where the airflow can catch it, and never let it sit above the rim. A silicone liner that sits below the basket rim is the safer option, and your manual will say which parts are approved.
Conclusion
Here is the whole first session: wash the basket and tray, run the fryer empty at maximum heat for 10 minutes, park it at least 5 inches from the wall, then cook one small batch of frozen fries at 400°F (200°C) for 10 to 12 minutes with a shake halfway.
After that, write down what worked. Most people who learn how to use an air fryer for beginners quickly stop needing a recipe at all, and the ones who do still keep notes on temperature and time. When you adjust by small amounts and keep the note, you will not be guessing after a dozen cooks. If your food is browning too fast, drop the temperature before you shorten the time — more time at a lower heat gives a better crust than less time at a high one.