
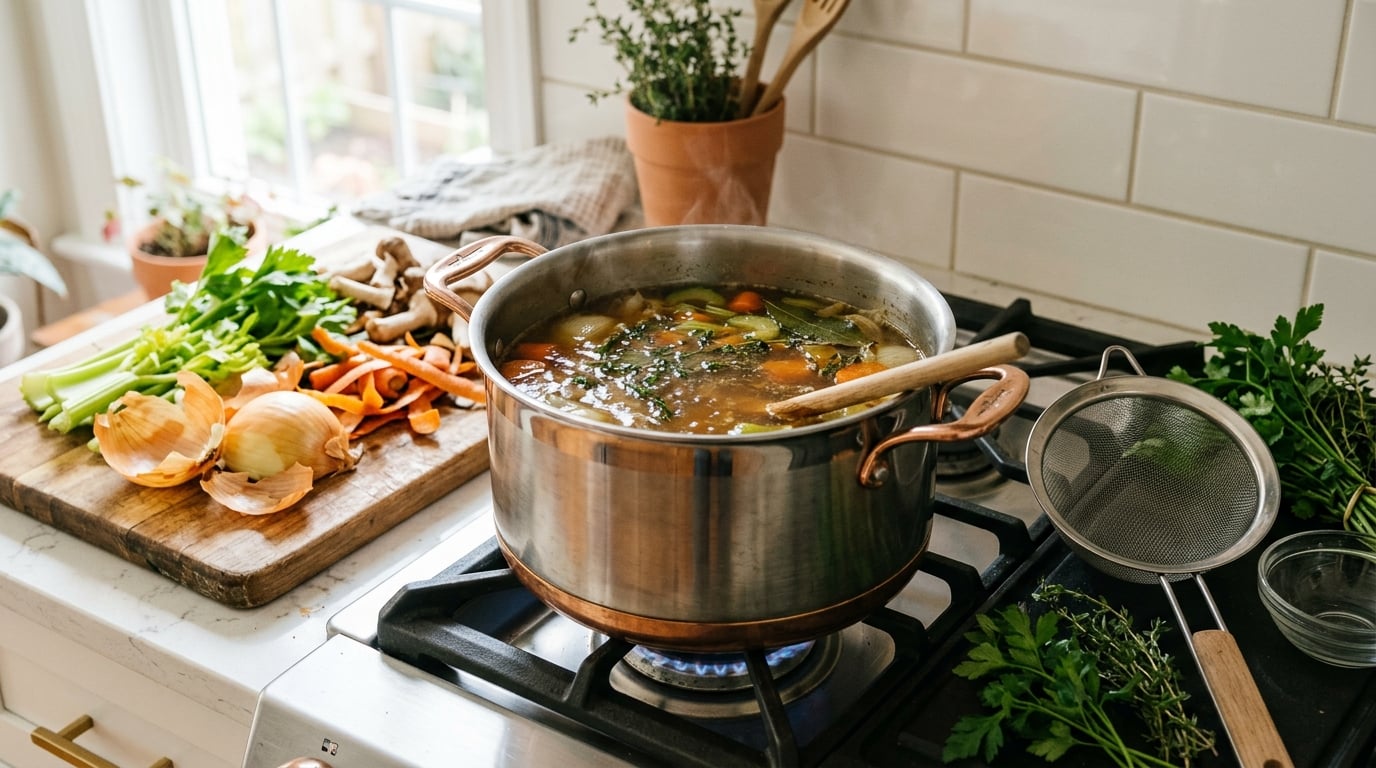
To use vegetable scraps for stock, collect the peels, ends, stems and tops in a zip-top bag in your freezer, dump them into a pot with enough water to cover them by an inch, bring it to a boil, then simmer gently for 30 to 60 minutes before straining out the solids. The whole process takes about an hour on the stovetop, or roughly 5 minutes at high pressure in an Instant Pot once the bag is full, and the only real skill it asks of you is knowing which scraps make a good stock and which ones turn it bitter.
The reason this works is simple. Simmering in water pulls flavor, sugars, minerals and a surprising amount of umami out of vegetable material. Onion skins and mushroom stems carry more of that than most of the flesh people actually cook with, which is why a bag of “garbage” produces a better stock than a pile of plain carrots.
You need exactly one container and a pot. If you like the idea but not the smell of a permanently freezing bag in your freezer, our guide to homemade stock compared with store-bought broth covers whether the flavor difference is real enough to bother.
Table of Contents
- What You Need
- Step-by-Step: How to Use Vegetable Scraps for Stock
- Step 1: Collect and Sort the Scraps
- How to Store Scraps Until You Have Enough
- Which Scraps to Save and Which to Skip
- Step 2: Choose Aromatics and Stock Vegetables
- Step 3: Add Water and Bring to a Simmer
- Step 4: Simmer and Skim the Stock
- Step 5: Strain, Cool, and Store the Stock
- Step 6: Use the Stock in Your Cooking
- Common Mistakes and Helpful Tips
- Frequently Asked Questions
- Get Started Tonight
What You Need
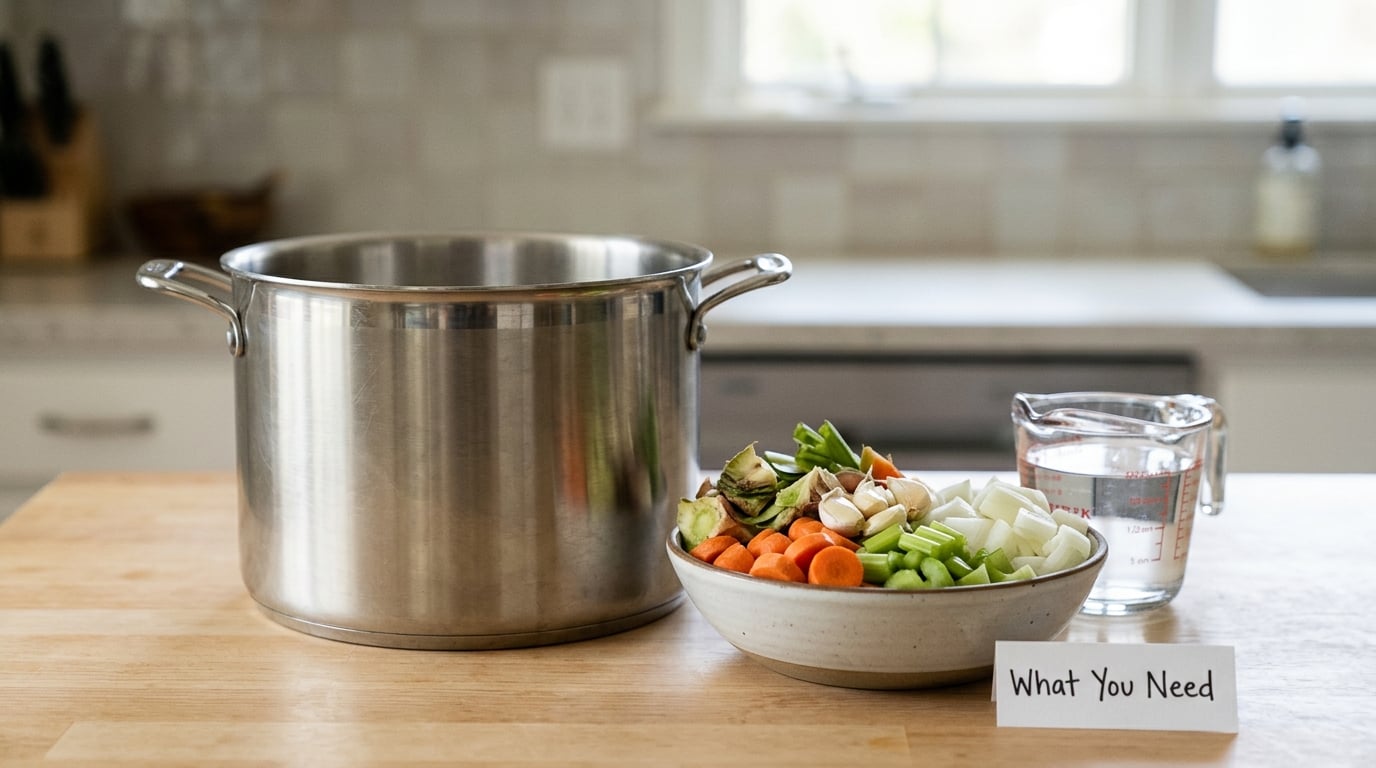
Most of the equipment is already in your kitchen. The one thing worth buying, if you don’t own it, is a second freezer bag so you can keep collecting while a batch simmers.
- A stockpot or Dutch oven with a lid. A 6-quart pot handles a typical week’s bag; 8 quarts gives room for a full freezer bag plus aromatics.
- A large zip-top freezer bag or a silicone container that fits flat in the freezer. Freezer bags stack and take up almost no space, and a rigid container is easier if you freeze the scraps loose in compartments.
- Fine-mesh sieve or colander, plus cheesecloth if you want a clearer liquid.
- Mason jars or a lidded container for the finished stock, plus a marker for labeling.
- A fine-mesh skimmer for the foam that rises in the first ten minutes.
On the ingredient side, water is the only non-negotiable item. Everything else is optional, and the honest truth is that a strong batch usually needs a mirepoix anchor: one onion, one carrot, one celery stalk, roughly a cup of each. Cooks on cooking forums converge on this for a reason. When the bag is mostly odd ends, the fresh aromatics keep the result from tasting like a pile of leftovers.
Worth adding if you have them: a couple of bay leaves, a few peppercorns, thyme sprigs, parsley or dill stems, and a few pinches of salt so you control the sodium in the dishes you cook later.
One decision to make up front: how to store scraps. If you have a freezer, freeze them raw. If you don’t, simmer them the same day, since wilting produce in the fridge for several days starts to break down and turns the stock muddy. You can read more about that in our bone stock guide, which uses the same simmer-and-skim logic with a different base.
Step-by-Step: How to Use Vegetable Scraps for Stock
Step 1: Collect and Sort the Scraps
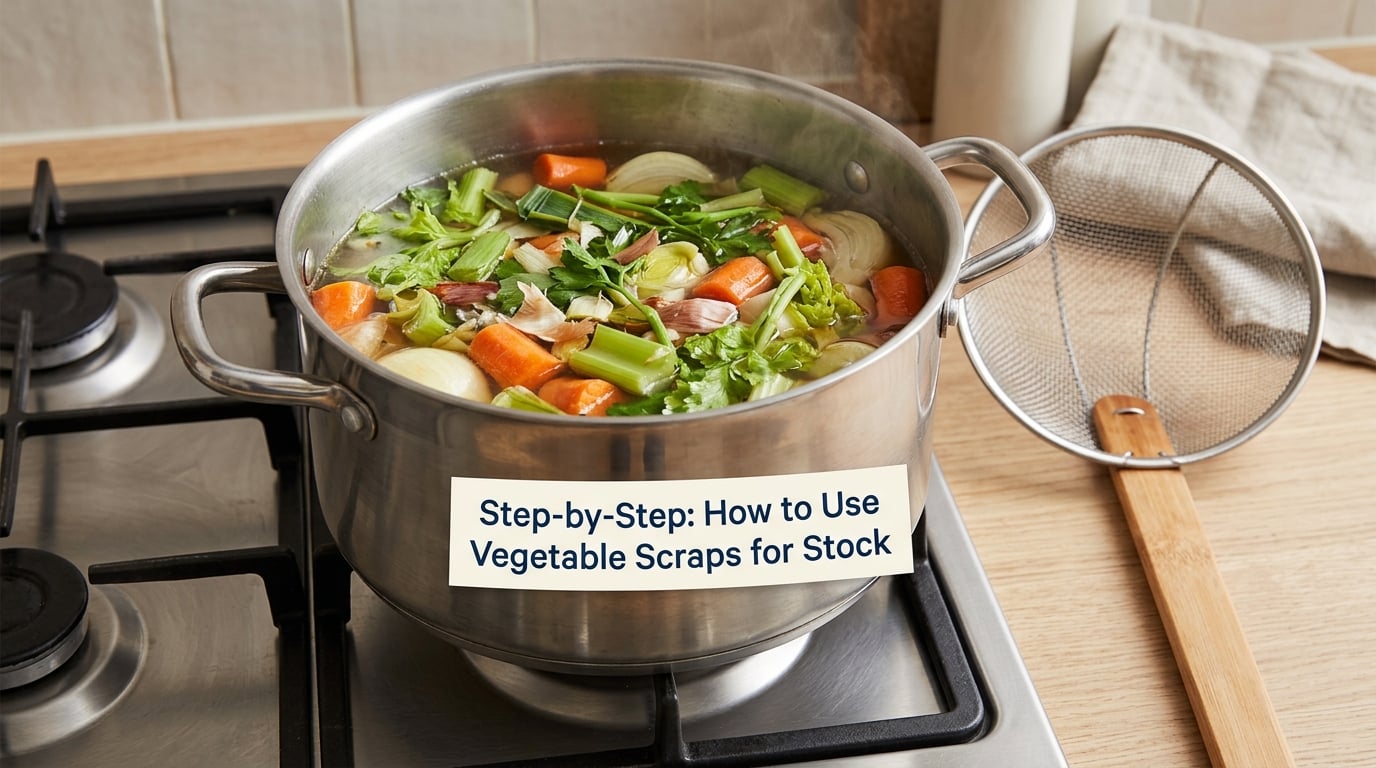
Save the parts you would normally bin: onion skins and ends, carrot peels and tops, celery ends and leaves, leek tops, green onion roots and tops, mushroom stems, garlic cloves, fennel fronds and tough outer layers, scallion tops, tomato stems, squash ends, and parsnip or turnip ends. Wilted but unspoiled produce counts. A bag that looks like a pile of scraps is exactly the point.
Be ruthless about three things. Toss anything moldy, slimy, or genuinely rotten; there is no technique that makes that safe or good. Skip peels with soil still attached, because grit survives straining and muddies the texture. And watch the balance, since a freezer bag fills with whatever you happen to trim that week, and too much of one vegetable makes a one-flavor stock.
As a rough guide, a two-quart bag of mixed scraps gives about 3 to 4 quarts of water and yields roughly 2 quarts of strained stock. Keep the bag loose so it can lie flat, and press out air before sealing so it stacks with the others.
How to Store Scraps Until You Have Enough
The freezer is what makes this a system instead of a one-off. Keep a dedicated bag in the freezer and drop trimmings in as you cook, then pour the whole thing into a pot when it feels full. Frozen scraps work as well as fresh, and anyone who can make a good stock from fresh vegetables will find frozen does the same job.
Press the air out before sealing, and lay the bag flat so it stacks against the freezer wall. Date it with a marker. Scraps keep about 3 months in a sealed bag, and a frozen bag is always safer than one you have left sitting in the crisper for a week waiting for you to get around to it.
Two communities of home cooks use variations worth knowing. Plenty of cooks reach for a pressure cooker and blast the contents for roughly 30 minutes after coming to pressure, which is a slower, deeper extraction than the 5-minute route. Others set scraps and water in a slow cooker on low and leave the house for the day. And one frugal method skips simmering entirely: decimate the vegetables, add about 150g of rock salt per kilo of scraps and cook for 20 minutes on high heat, which pulls the water out of the scraps rather than extracting flavor into water. It is a different result, but it is a real technique and it is fast.
Which Scraps to Save and Which to Skip
This is the table I wish every scrap stock guide had. Each entry below says what a given scrap does to the pot, good or bad.
| Scrap | What it does in the stock |
|---|---|
| Onion skins and ends | Dye the liquid a deep brown and add real sweetness |
| Mushroom stems | Best umami and body in the whole bag; use them generously |
| Carrot peels and tops | Sweetness and color |
| Celery ends and leaves | The aromatic backbone of the batch |
| Leek tops and green onion roots | Sweet, mild onion flavor; good in large amounts |
| Garlic cloves | Sharp savory depth, mellows as it simmers |
| Parsley, dill and thyme stems | Freshness; woody stems can go in from the start |
| Fennel fronds and outer layers | A licorice note; a small handful is plenty |
| Tomato stems and squash ends | Acidity and depth, pectin for body |
| Parsnip, turnip and celery root ends | Sweetness that survives a long simmer |
| Wilted but unspoiled vegetables | Fine. Soft produce gives up flavor faster, not less |
| Moldy, slimy or rotten scraps | Unsafe and untasteable; no cooking time fixes it |
| Peels with soil attached | Grit survives the sieve and dulls the texture |
| Broccoli, cauliflower, cabbage, Brussels sprouts | Turn a batch bitter and muddy when boiled |
| Green bell pepper | An unpleasant sharp note; dose it, or leave it out |
| Kale, chard and other bitter greens | Reinforce bitterness, especially in quantity |
| Potato peels | Starchy and gluey; they thicken the liquid badly |
| Asparagus | Overpowers everything else in the pot |
| Beets | Not harmful, but they turn the whole pot pink |
The rule of thumb that falls out of this: keep any single strong vegetable to about a quarter of the batch volume. Experienced cooks on cooking forums say the same thing in different words, mostly mirepoix as the base, herbs in, strong flavors handled with a light hand rather than banned outright.
Step 2: Choose Aromatics and Stock Vegetables
Add one chopped onion, one carrot and one celery stalk if the bag is thin on them. These three are the base almost every good batch relies on, and they are what turns a bag of ends into something that tastes deliberate.
Then add whatever is missing from the usual balance. A little leek or a couple of garlic cloves help. A few tomato ends deepen the color. Mushroom stems are the single best addition for body and umami, so use them generously rather than saving them for something else. Onion skins do the same job, dyeing the liquid a deep brown.
Herbs go in late rather than early. Parsley, dill and thyme stems are good; the leafy herbs go in for the last 10 minutes, or they turn bitter. A couple of bay leaves and a few peppercorns can go in from the start and get fished out at the end.
Step 3: Add Water and Bring to a Simmer
Empty the bag into the pot, cover everything with cold water by about an inch, and start with 3 to 4 quarts per batch. Cold water extracts more slowly but more evenly; dumping scraps into boiling water scorches nothing here the way it would with meat, but the flavor is cleaner when you start cold.
Bring the pot to a full boil over high heat, then drop the heat immediately to the lowest setting that keeps a bubble or two breaking the surface. That drop is the single most important moment in the whole method.
Step 4: Simmer and Skim the Stock
Hold that gentle simmer for 30 to 60 minutes. Thirty minutes gives a light, clean-tasting stock suited to soups; an hour gives more depth for braises and sauces. Skim the foam and grey scum in the first ten minutes, and skim again whenever it reappears.
Set the lid slightly ajar so steam can escape. A lid sealed flat traps a rolling boil inside, and a stock that boils for an hour turns cloudy and faintly bitter. You want the occasional lazy bubble, not a churn.
In a pressure cooker, skip the stovetop simmer entirely: add everything and the water, seal the lid, bring to high pressure and cook for 5 minutes, then let the pressure release naturally for another 10 to 15 minutes. A slow cooker works too, on low for 6 to 8 hours, which suits people who want it done while they are out of the house.
You will know it is ready when the liquid tastes like stock rather than like water, and it usually happens a little earlier than the clock suggests. Taste from a clean spoon every ten minutes in the last half hour.
Step 5: Strain, Cool, and Store the Stock
Strain through a fine-mesh sieve, pressing gently on the solids with the back of a spoon. Skip hard squeezing; it forces out cloudy starch and grit. Line the sieve with a layer of cheesecloth if you want a noticeably clearer result.
Then cool it fast, which is the part people skip and then regret. Pour it into a shallow container or set the pot in an ice bath, and get it into the refrigerator within two hours. Leave the lid ajar until the stock is fully cold, then seal it.
A typical 2-quart batch keeps 3 to 4 days in the fridge. Freeze the rest in pint jars or a flat container, leaving an inch of headroom because liquid expands as it freezes, and label it with the type and the date. Frozen stock holds its quality for 3 to 4 months, and the frozen scraps waiting to become a batch keep fine for about 3 months in a sealed bag.
Whatever is left in the sieve goes to the compost, not the kitchen bin. Those solids are fully cooked and mostly fiber, and they break down fast in a compost pile.
Step 6: Use the Stock in Your Cooking
Use it wherever you would reach for a carton: soups and stews, risotto, mashed potatoes, and any sauce you build by deglazing a pan. Vegetable stock is thinner than chicken stock because there is no gelatin and no fat, so in a pan sauce whisk in a small spoon of cornstarch slurry at the end rather than reducing for an hour.
Scrap stock is milder than a mirepoix stock, so season it more aggressively than you would a carton. Salt, a crack of pepper, and a squeeze of lemon work. A final splash of anything acidic is the fastest way to make a thin batch taste finished.
If the stock tastes weak, the fix is not more simmering. Start the next batch with a fresh onion, carrot and celery base, add a few more mushroom stems, and let it cook a full 60 minutes.
Common Mistakes and Helpful Tips
Almost every disappointing batch traces back to one of a handful of avoidable habits.
- Stale or spoiled scraps went in. A single rotten piece taints the whole pot, and no amount of simmering fixes the smell. Sort as you collect, not as you cook.
- The stock boiled instead of simmered. A hard boil for an hour is what makes stock bitter and cloudy. Lid ajar, heat low, bubbles barely breaking the surface.
- Too much of one vegetable. All-beet batches turn pink, all-pepper batches taste sharp, all-cabbage batches go muddy. Aim for a mixed bag and keep any single strong vegetable to about a quarter of the total volume.
- Peels with dirt went in unscrubbed. Soil survives the strainer and gives the stock a dusty, flat texture. Scrub or skip.
- The pot was overfilled. More scraps means less water, so it concentrates and burns on the bottom. Simmer in batches instead of cramming one pot.
- Stock sat at room temperature. Cool it within two hours, and refrigerate within four. Do not leave a warm pot on the stove overnight.
- Nobody expected it to taste like bone stock. Vegetable stock is thinner and milder by nature. Season it yourself and use it where a light body is wanted, not where a rich, gelatinous one is.
Two habits make the whole system easier. Blanching day is free stock: when you blanch vegetables for freezing, throw the blanching water and the trimmed pieces into the same bag, since blanched vegetables are already partly cooked and need no softening. And write the date on the bag when you seal it, because a freezer bag marked with a month tells you whether it is still in its window.
Frequently Asked Questions
What veggie scraps not to use for stock?
Skip anything moldy, slimy or spoiled, and any peel with soil still on it, since neither improves with cooking. Also leave out cruciferous vegetables such as broccoli, cauliflower, cabbage and Brussels sprouts, which turn a stock bitter and muddy, along with green bell pepper, bitter greens like kale and chard, starchy potato peels, and asparagus. Beets are safe but will turn the whole pot pink, so use them only if you want that.
What are the best veggie scraps to save for broth?
The dependable base is onion skins and ends, carrot peels and tops, celery ends and leaves, and leek or green onion tops. Add mushroom stems for umami and body, garlic cloves, fennel fronds and tough outer layers, parsley and dill stems, tomato stems, squash ends, and parsnip or turnip ends. Wilted but unspoiled vegetables are fine, so a bag of ends from a week of cooking is exactly what you want.
How long should you boil veggie scraps for broth?
Bring the pot to a boil, then reduce the heat to the gentlest simmer and cook 30 to 60 minutes with the lid ajar. Thirty minutes keeps the stock light and clean for soups; a full hour gives more depth for sauces and braises. In a pressure cooker, cook at high pressure for 5 minutes and let it release naturally for 10 to 15 minutes afterward.
Can I store vegetable scraps for making stock?
Yes, and freezing is the better option. Collect scraps in a large zip-top bag, press out the air, seal it and keep it flat in the freezer, then pour the whole bag into a pot when it is full. Frozen scraps stay usable for about 3 months, provided nothing in the bag was moldy when you sealed it. If you have no freezer, simmer the same day rather than letting produce sit and break down in the fridge.
What are common mistakes in making stock?
The usual problems are a hard boil instead of a simmer, which makes stock bitter and cloudy, and too much of one vegetable, which gives the batch a single overpowering note. Other mistakes include overfilling the pot so the water cannot cover the scraps, adding dirty peels, storing cooled stock at room temperature, and expecting vegetable stock to taste as rich as bone stock. Fix each by simmering gently, cooking in batches, and seasoning the finished liquid yourself.
Get Started Tonight
Rinse out a zip-top bag, set it in the freezer, and start dropping trimmings into it as you cook. The next time you chop an onion or trim a leek, that is the whole setup. When the bag feels full, tip it into a pot with an inch of cold water, boil once, simmer 30 to 60 minutes with the lid ajar, and strain.