
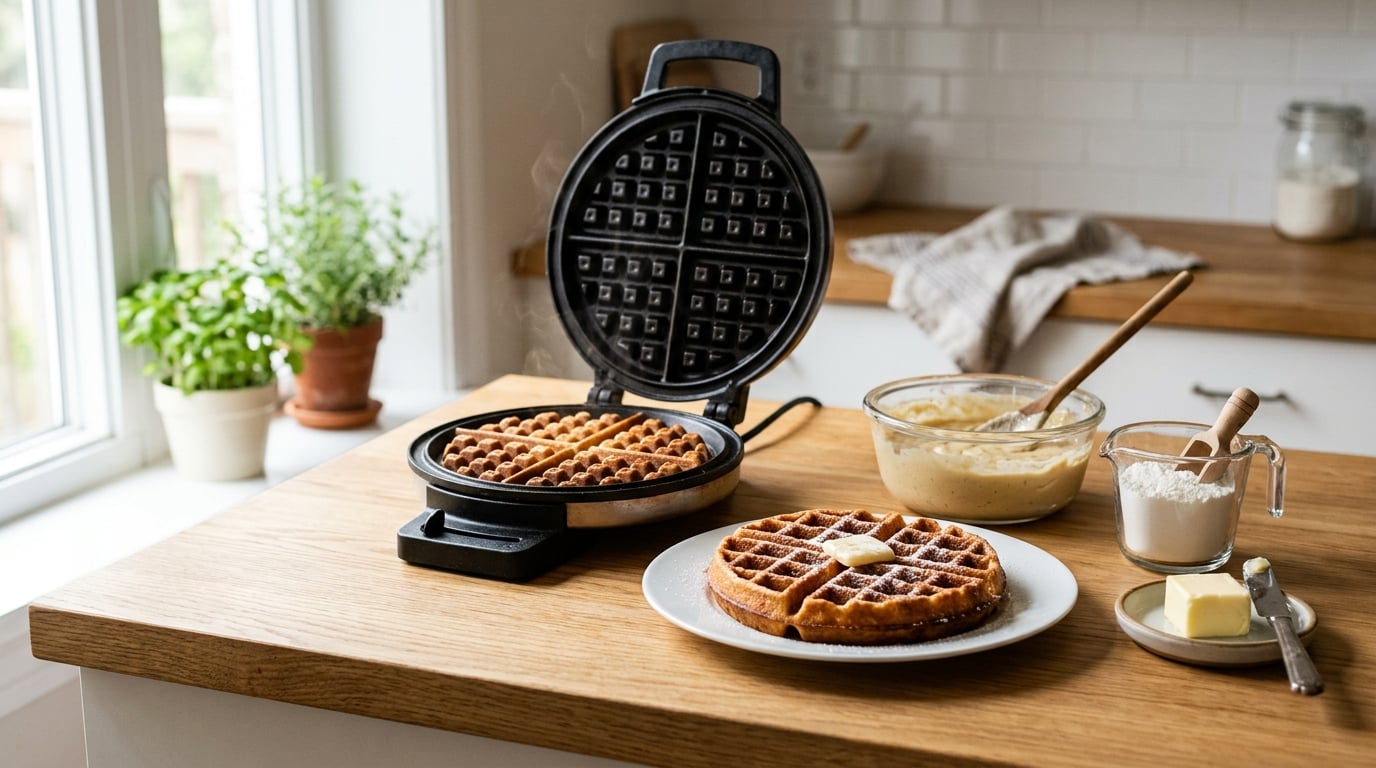
To make waffles crispy on the outside, you need three things working together: a waffle iron heated to full temperature, a batter with less water and enough fat to brown, and a fill level that lets steam escape instead of soaking back in. A waffle is closer to a shallow fry than a bake, so the crust forms on contact with a hot, lightly oiled plate. The whole method takes about 20 minutes from mixing bowl to plate.
The reason most homemade waffles come out limp is almost never the recipe. It’s a lukewarm iron, a heaping pour, and a plate where the finished waffles sit and steam each other soft.
What You Need
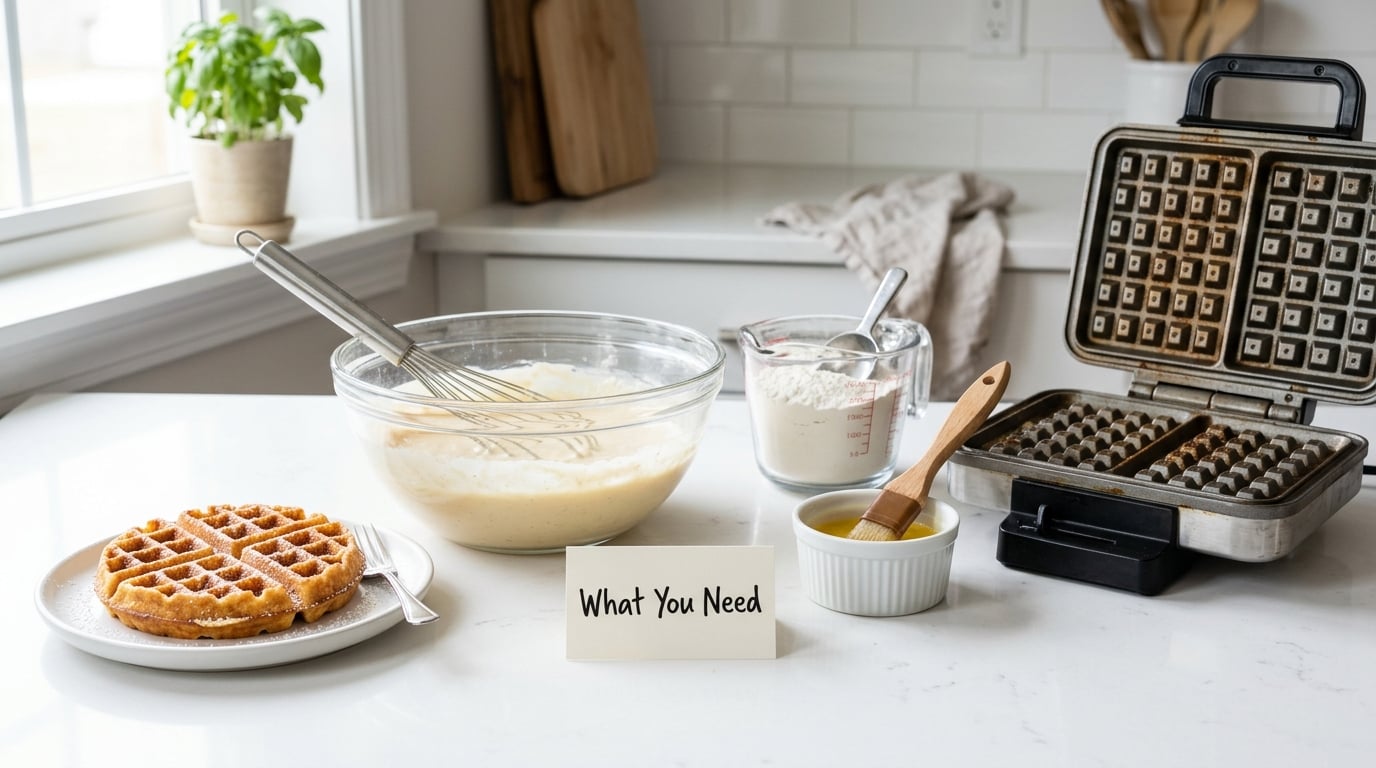
A waffle iron with a temperature range, not just an on-off switch. The dial matters because crispness is a heat story, and an iron that cycles cool can only brown the first waffle of a batch.
A wire whisk, a rubber spatula, and a pastry brush or folded paper towel for greasing. A digital thermometer is overkill, but a drop of water flicked onto the plate is a fine readiness test: it should sizzle and skate across the surface.
For the batter, most crisp waffles want all-purpose flour with a quarter to a third of its weight swapped for cornstarch, baking powder, a couple of eggs, milk or buttermilk, melted butter or neutral oil, and a tablespoon or two of sugar. The cornstarch is the one swap worth making first, because it lowers the batter’s water binding and leaves a drier crumb that browns rather than steams.
Oil for the plates. Butter burns at waffle temperatures and leaves milk solids behind that brown unevenly and can glue a waffle to the iron.
Butter and maple syrup for serving, and a wire cooling rack if you are making more than two. If you’re cooking a bigger batch alongside eggs and toast, our guide to how to make French toast with brioche keeps the timing in the same lane.
Step-by-Step: How to Make Waffles Crispy on the Outside
1. Preheat the Waffle Iron Thoroughly
Heat the iron on its highest setting for a full 10 minutes, not until the light goes on. Most indicator lights mean the plate is at temperature, not that the iron’s heat reservoir is full, and the first waffle of a batch pays the difference by coming out pale.
This is the step that most often decides whether you succeed at how to make waffles crispy on the outside. The batter hits a plate that has been soaking heat for ten minutes and browns during the first few seconds, forming the thin rigid shell that everything else builds on. Drop the batter into an iron that warmed for three minutes and that shell never forms, no matter how long you leave the waffle inside.
Wipe a drop of water on the lower plate. If it skates and evaporates in a second, you are ready. You will still hear a faint hiss for the first few waffles as the iron works through its reserve, and that is normal rather than a sign you should adjust the dial.
Between batches, let the iron sit a minute before you pour again. Every waffle pulls a surprising amount of heat out of the plates, and a thirty-second pause usually beats dropping the dial and cooking a paler waffle.
2. Mix Batter Without Overworking It
Whisk the dry ingredients first, then add the wet ones and stir only until the last streak of flour disappears. A few lumps are fine; a smooth, gluey paste is not.
Overmixed batter develops gluten, and gluten gives you a tough, chewy crumb that stays pale and dense no matter how hot the iron is. Stop while it still looks slightly under-mixed.
Thin the batter with a splash of milk if it falls off a spoon in a thick ribbon. It should pour and spread on its own, because waffle iron pockets are deep and a stiff batter sets before the middle cooks through.
3. Rest the Batter Before Cooking
Let the batter sit 5 to 10 minutes at room temperature. The flour hydrates, the baking powder gets a head start, and the batter spreads more evenly instead of tearing as it hits the plate.
Don’t rest it for an hour. Batter that has sat too long goes flat as the baking powder loses its lift, and you lose the airy pockets that give a waffle its crunch-then-tender contrast.
4. Lighten and Season the Batter
Baking powder is doing the structural work here. Use the amount on the can and no more, because excess leavening makes a waffle rise, then sag, then crack as it cools.
Whipping egg whites to stiff peaks and folding them in gently is the classic move for a taller, lighter waffle. It’s contested among cooks, and the honest answer is that it changes texture more than crispness. Test it once with your own recipe and decide from the result.
Sugar is what browns, and it browns before flour alone ever will. A tablespoon or two per waffle is enough for caramelization without turning the batch into a dessert. Fat does the same job from the other side: melted butter tastes better, vegetable oil browns slightly more evenly. Both work, and using oil is the single change most often credited with fixing soft waffles in home kitchens.
Yogurt or buttermilk acid is worth keeping in the batter for a different reason. It tenderizes the crumb, and a tender crumb is what lets you eat a crisp waffle without the crust fighting you.
If you are working from a boxed pancake mix, treat it as a starting point rather than a finished batter. Add a couple of tablespoons of oil, swap in an equal measure of milk for part of the liquid, and let the mixture stand ten minutes. The starch in pancake flour hydrates slowly, and using it straight from the box gives you a waffle that tastes bready and bakes flat.
5. Grease the Plates Lightly
Brush or wipe a thin film of neutral oil onto both plates while the iron heats. That’s it. A visible puddle of grease turns into steam before it turns into a crisp surface, and it collects in the pockets as a greasy film.
Cooking spray works, but it leaves a polymer behind on older nonstick plates, so use oil for anything you plan to keep for years. Skip butter unless the iron is rated for it, and skip butter sticks.
6. Pour the Right Amount of Batter
Start about two-thirds of the way up the wells and add more where the iron stays bare. On a standard American maker that’s usually a scant quarter cup; on a Belgian round iron, closer to a half cup for a thin, restaurant-style layer.
An underfilled iron gives you spindly legs of batter that crisp oddly and leave bare hot spots. An overfilled one welds the waffle shut, traps steam, and the center steams itself soft while the edge burns. When in doubt, make a thin waffle. Thin is crisp; thick is cake.
Tilt the iron in each direction after pouring so the batter runs into the four corners rather than sitting in a disc in the middle.
7. Cook Until the Outside Is Deeply Golden
Close the lid and ignore the ready light. Watch the iron instead: when the steam slows from a hard hiss to a lazy wisp and the color deepens to a real golden brown at the ridges, the surface has lost enough water to brown properly.
On a standard maker that’s 4 to 5 minutes. If your iron stops early, leave the waffle in for another 30 to 45 seconds. On a flip waffle maker, rotate the whole machine a half turn once the top side shows a minute and a half of color, so both faces brown at the same rate.
Lift the corner with a spatula to check. If the underside is sandy and dry rather than tacky, it’s done. Pale and shiny means more time, not more heat.
8. Let the Waffle Rest Before Serving
Move finished waffles to a wire rack and leave them for two minutes. Steam is still escaping, and that vapor will soften any surface it’s allowed to sit on.
Serve in a single layer, or hold a batch in a 250 to 300°F oven with the rack set directly on the oven rack so air circulates underneath. Never stack them on a plate. If you’re cooking for a group rather than a family of three, our guide to brunch for a crowd without stress covers the timing side of holding a batch.
Common Mistakes
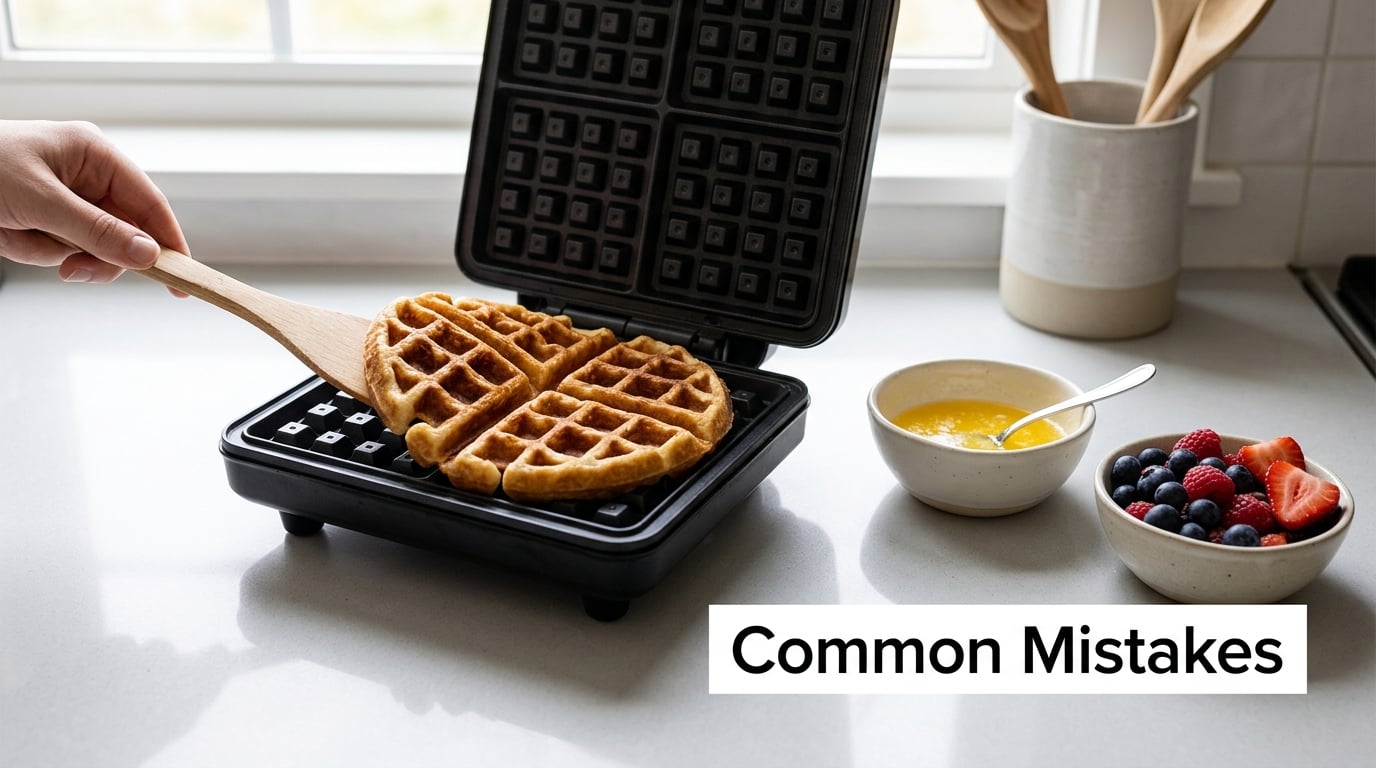
Waffles come out pale and flat when the iron was never fully hot, or when the batter went into a cold machine. The fix is time, not temperature: 10 minutes on high, verified with a drop of water.
Waffles are soggy in the center when the iron was overfilled, when the batter was too watery, or when the waffle sat stacked. Overfilling is the usual culprit. Cut the pour by a third and cook 30 seconds longer.
Waffles are chewy rather than tender when the batter was overmixed, or when too much flour went in with no cornstarch to interrupt the gluten network. Mix until barely combined, and swap a quarter of the flour for cornstarch.
Waffles stick and tear when the iron was not greased, or when they were left to cool on the plate until the sugar set like glue. Oil the plates every round, and lift waffles while they’re still hot and flexible.
Waffles are crisp for two minutes and limp after that when they were stored badly. A wire rack in a low oven, or ten minutes back in a hot iron, reverses it.
One more trick worth trying: some irons have a deep, square American grid that traps steam, while a Belgian round iron at about half an inch deep lets a thin layer of batter cook like a crepe. If your iron is the grid type, cooking a thinner batter and adding a minute of heat will do more than any ingredient change.
Symptom, Cause, Fix
If you would rather diagnose the waffle you already made than prevent the next one, this is the short version.
- Pale, flat, almost crepe-like waffles — the iron was not fully hot, or the cook time was short. Preheat a full 10 minutes and add 30 to 45 seconds past the steam stopping.
- Soggy or damp in the center only — overfilled iron, so steam could not escape. Cut the pour by a third and cook slightly longer.
- Chewy and tough all over — the batter was overmixed or had no cornstarch. Stir until barely combined and swap a quarter of the flour.
- Sticks and tears when you lift it — no grease, or sugar left to set on the plate. Oil both plates each round and lift while hot.
- One side burnt, the other side raw — uneven heat, common on thin non-flip irons. Rotate the machine halfway if your model allows it, or drop the temperature a notch and add time.
- Crisp at first, limp within minutes — stacked or plated storage. Use a wire rack, single layer, or a 250 to 300°F oven with the rack set directly on the oven rack.
Extra Crisp Tips
Cook a waffle twice. Pull it at the color you like, let it rest a minute on the rack, then put it straight back in the iron for another 2 to 3 minutes. It dries out and re-crisps like a hash brown, and it is the fastest fix for a batch that is close but not quite there.
Toppings are a bigger threat to crispness than most people expect. Maple syrup soaks in within seconds and turns a shell to sponge, whipped cream and ice cream collapse it. Powdered sugar, a squeeze of lemon, or fruit added at the table is the kinder choice.
Freezing works well if you do it right. Cool the waffles completely, lay them in a single layer on a baking sheet to firm up, then stack them with parchment between and freeze. Reheat straight from frozen in a hot iron or air fryer, and skip the microwave, which heats the middle faster than the crust and leaves you with a soft shell.
Frequently Asked Questions
How long should I preheat a waffle iron?
Give it a full 10 minutes on the highest setting rather than waiting for the indicator light, which only means the plate reached temperature and not that the iron’s heat reserve is full. A drop of water flicked onto the lower plate should sizzle and skate away. The first waffle of a batch is the one that usually bakes pale if you skip this, and the rest of the batch will follow.
Why aren’t my waffles crispy on the outside?
Three causes cover most cases: an underheated iron, an overfilled one, and a batter with too much water. Preheat for 10 minutes, pour only about two-thirds of the way up the wells, and swap a quarter of the flour for cornstarch. Also resist stacking cooked waffles on a plate, since trapped steam softens the crust within minutes.
What can I add to waffle batter to make it crispier?
Cornstarch is the highest-value addition, generally a quarter to a half cup replacing part of the flour per couple of cups of batter. A tablespoon or two of sugar speeds up browning, and a couple tablespoons of melted butter or neutral oil browns more evenly than batter with no added fat. Cook 30 to 45 seconds past the point where the steam slows for the final gain.
Do you need to separate and whip the egg whites?
It is genuinely contested. Whipping whites to stiff peaks and folding them in gives a lighter, airier crumb, but most of the crispness comes from heat and batter dryness, not lift. If you have never tried it, make one waffle with it and one without using the same batter base, then compare the texture. It takes five extra minutes and settles the question for your recipe.
How do I reheat a waffle so it stays crispy?
Put it straight back in the waffle iron for 3 to 4 minutes, which is the best option and needs no oil. A toaster works for a single standard waffle, and a toaster oven or air fryer at 375°F for about 4 minutes works well for a batch. Avoid the microwave, which heats the interior faster than the crust and leaves you with a soft shell.
Why do restaurant waffles stay crisp and mine go limp?
Restaurants spread a thin layer of batter across a very hot commercial iron, cook it fast, and serve within a minute or two. Home irons run cooler and the waffle often sits while the rest of the batch finishes. Thin your pour, push the heat higher, and get the waffle onto a wire rack rather than a plate to close most of the gap.
Conclusion
Start with the iron. Ten minutes on high, tested with a drop of water, sets the ceiling for how crisp any waffle from that batch can get.
Then keep the batter fluid and rested but not overworked, with a quarter of the flour swapped for cornstarch and enough fat and sugar to brown.
Pour about two-thirds of the way up the wells, and cook until the steam slows and the color is deep gold, which is usually 30 to 45 seconds past the ready light. Two minutes on a wire rack finishes the job. And stop discarding that first pale waffle out of superstition. Give the iron its full 10 minutes and the first waffle is as crisp as the rest of the batch.