
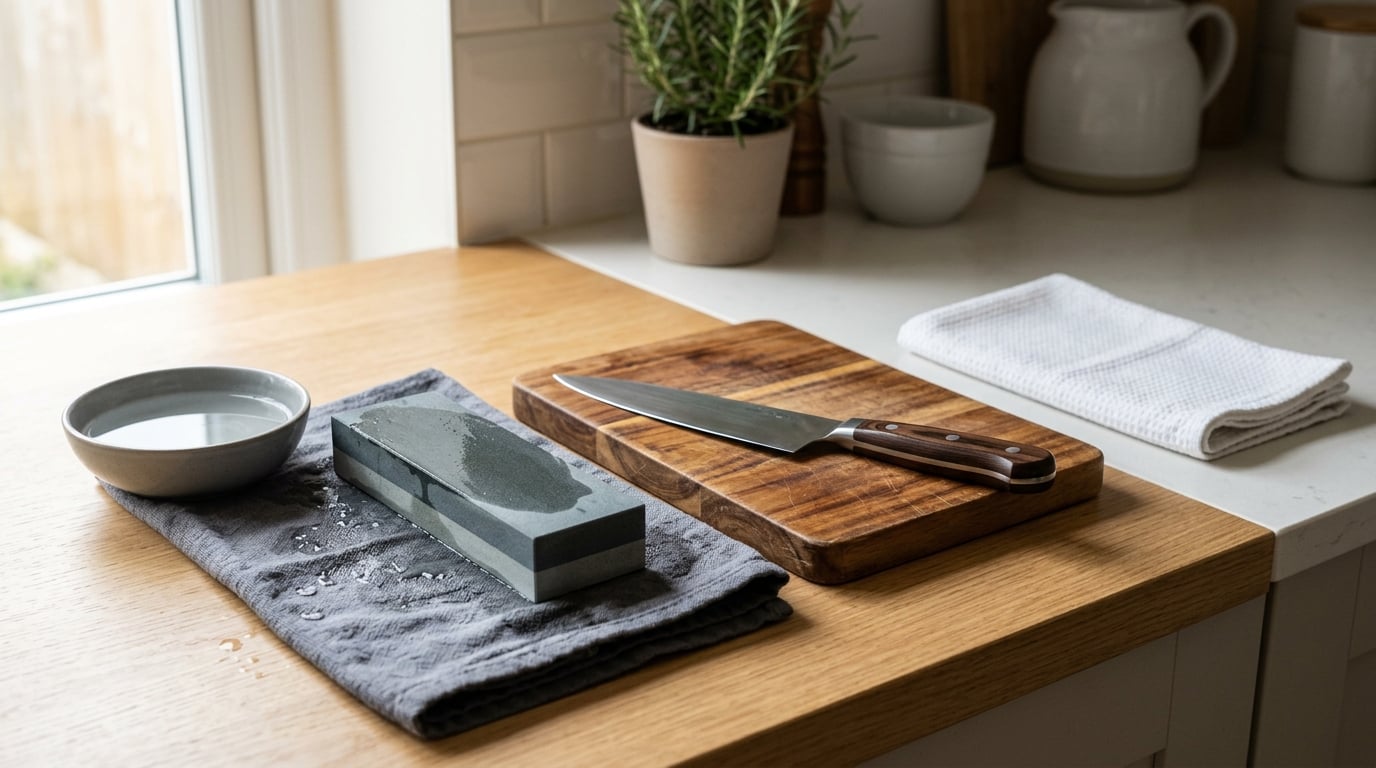
To sharpen a kitchen knife at home, soak a dual-grit whetstone for 10 to 20 minutes, hold the blade at roughly 15 to 20 degrees per side, and work coarse grit on one face until a burr (a rough ridge of metal) forms along the opposite edge. Flip, match the strokes on the other face, then finish on fine grit and strop. Allow 15 minutes for a routine touch-up, 30 or more for a neglected knife.
I sharpened my first whetstone-acquired knife on a windowsill in my apartment, and I made every mistake in this guide before I got a result I liked. That is the honest part: whetstone sharpening has a real learning curve, and most of it is about three things — a steady angle, light pressure, and patience.
What it buys you is prep that feels faster and safer. A dull knife crushes instead of slicing, so you press harder, the food tears, and the knife wanders more. A sharp one glides. If prep quality matters to you, that is worth a Saturday morning. Our guide to building a three-course dinner menu at home assumes prep you can trust, and a lot of home cooks notice the same thing we did — a sharp knife makes every other technique easier to learn.
Table of Contents
- What You Need
- Step-by-Step: How to Sharpen a Kitchen Knife at Home
- 1. Check the knife and choose the right stone grit
- 2. Soak the whetstone and stabilize the knife
- 3. Establish the sharpening angle
- 4. Sharpen one side with steady strokes
- 5. Flip the knife and repeat on the other side
- Why isn’t your knife getting a burr?
- 6. Hone and test the finished edge
- 7. Rinse, dry, and store the knife
- Common Mistakes
- Frequently Asked Questions
- Start With a Clean, Stable Whetstone Setup
What You Need
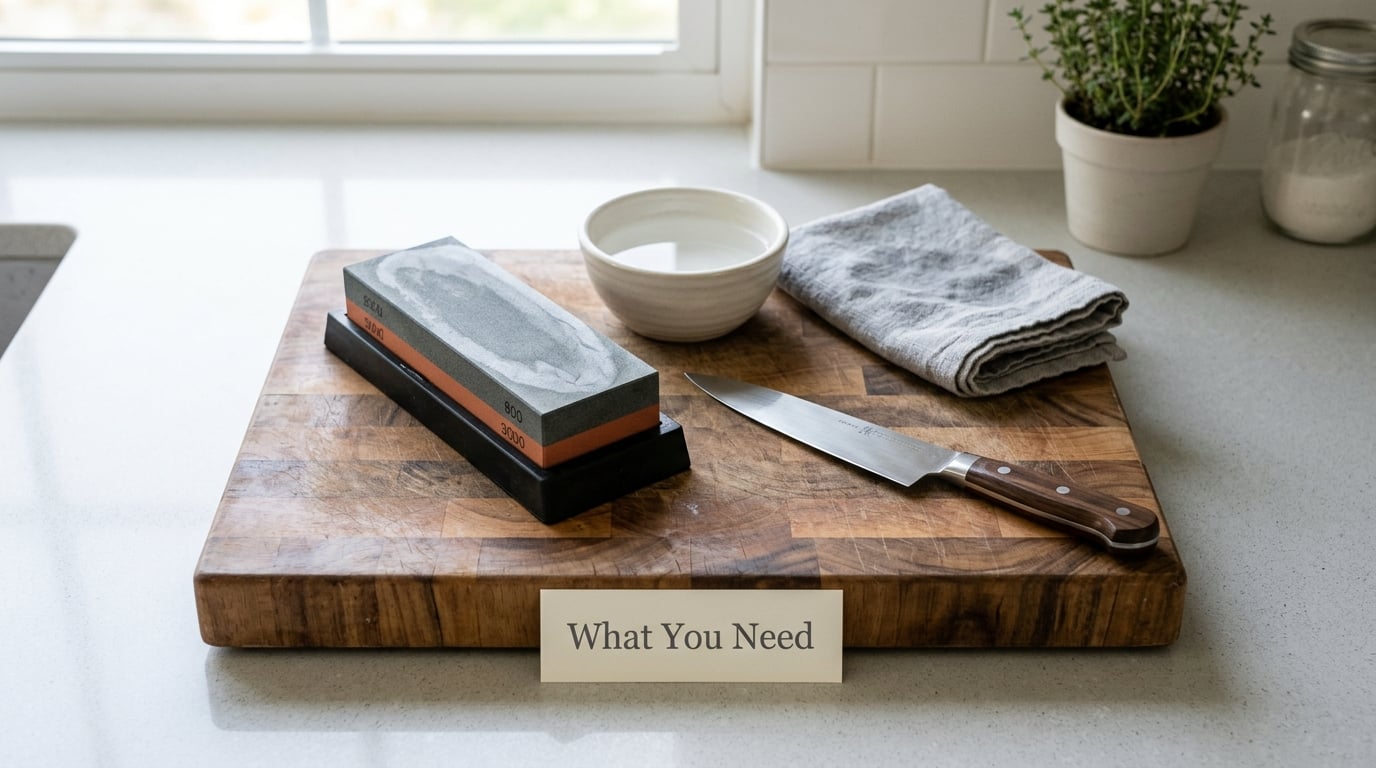
The method below needs less than most people expect. A single dual-sided waterstone handles both halves of the job.
- A dual-grit waterstone. A 1000/3000 grit stone covers most home sharpening. Add a 400 or 600 grit stone later if you want to fix deeper damage.
- A shallow tray or bowl of water, plus a damp cloth or a rubber non-slip mat to keep the stone from sliding.
- A stable cutting board for your free hand to brace against. Sharpening on a slippery surface is how people hurt themselves.
- A clean, dry towel for drying the blade before it goes near a drawer or a block.
- A paper towel or sheet of printer paper to test the edge afterward.
Two optional items earn their place. An angle guide removes the single hardest part of the process for a beginner, and a honing rod (a steel rod that realigns an already-sharp edge) keeps the knife sharp between full sessions.
That last distinction matters more than anything else on this page, so here it is plainly: sharpening removes metal to create an edge. Honing does not remove metal, it straightens an edge that has already dulled out of true. A honing rod cannot fix a knife that has lost its bevel, and no amount of rod work will bring a genuinely dull blade back. Plenty of home kitchens have a rod and no sharpener, then wonder why nothing improves.
One more warning before you start. A cheap abrasive bar from a hardware store rack is not a honing rod, and using it on a high-carbon chef’s knife can chew the edge unevenly and leave it worse than you found it. If that is the only steel-shaped thing you own, buy a stone before you touch the knife.
Step-by-Step: How to Sharpen a Kitchen Knife at Home
1. Check the knife and choose the right stone grit
Run your thumb forward along the blade, away from you, and note how it feels. A keen edge bites into the skin almost immediately. A dull one slides over it, and a badly dull one has a visibly rounded, grey-looking corner instead of a clean bright line.
Grit is simply the size of the abrasive particles bonded to the stone, and a higher number means finer. Match the grit to the damage:
- Rough, rounded edge or a rounded tip: start on 400 or 600 grit to reshape, then move to 1000.
- Everyday knife that is just a bit dull: 1000 grit is plenty.
- Small nicks along the edge: 400 grit first, more carefully than you would for general dullness.
- Finishing a Japanese single-bevel knife: 3000 grit or finer, and only on the bevel side.
How do you know it worked? By feel. A coarse stone should leave the blade feeling noticeably different — not sharp, but with a distinct grazing resistance under the thumb. Stop grinding when the shape is right, not when the steel feels like it has had enough.
Skip this step for knives with deep chips, cracks near the spine, or a very thick edge geometry. Those are a send-it-out job, and more on that below.
2. Soak the whetstone and stabilize the knife
Spray or pour water over the stone until the surface is dark and evenly wet, not dripping. A waterstone (a stone sharpened using water as the lubricant, rather than oil) needs a soak of 10 to 20 minutes if it is new, and a quick re-wet every few minutes once you start. Water that is too thin leaves a dry friction burn that dulls the stone itself.
Set the stone on a damp towel or a non-slip mat and press down until it does not move. Test it with a firm shove before you put a blade near it.
Hold the knife in your dominant hand with a relaxed grip, thumb on the flat of the blade near the heel, fingers wrapped around the handle. Relaxed is the operative word. Tension in the hand shows up as uneven strokes, and uneven strokes produce an uneven edge no matter how good your angle is.
3. Establish the sharpening angle
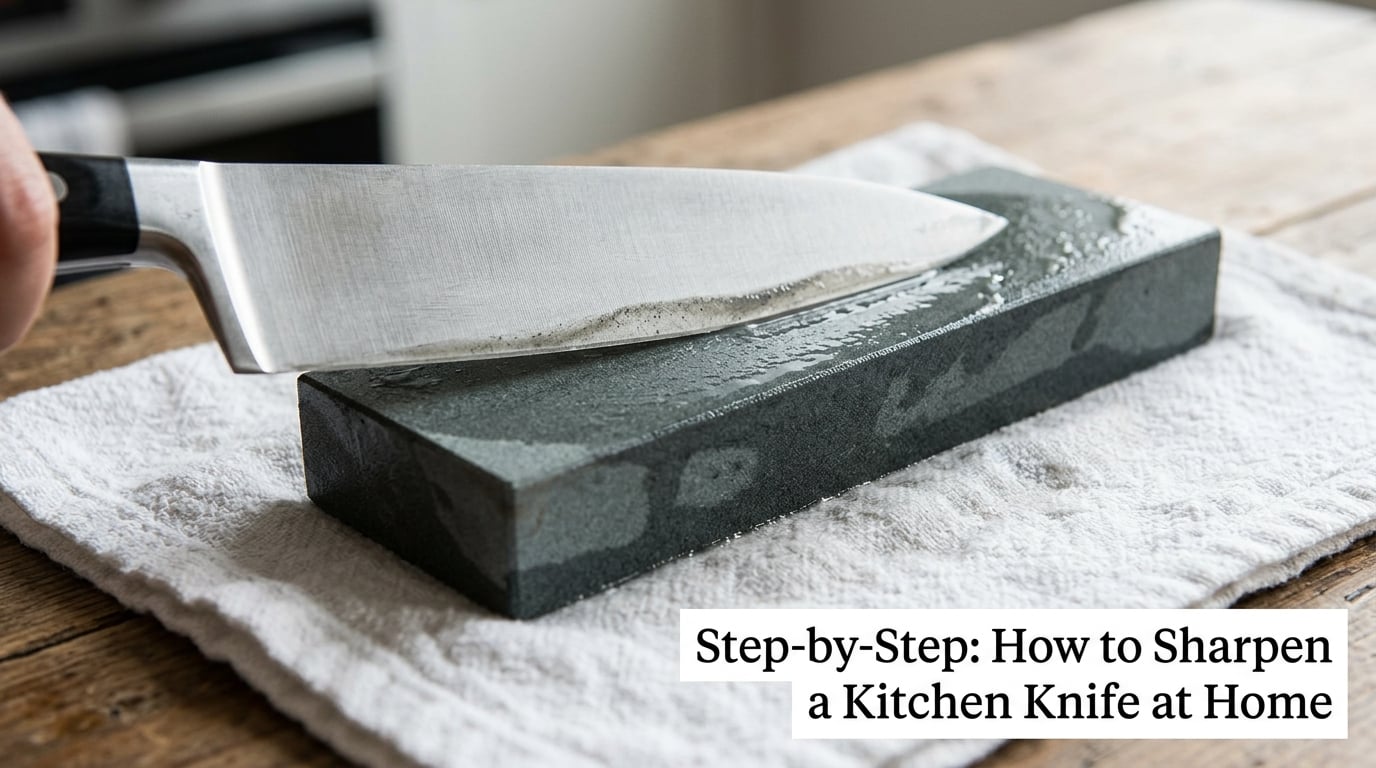
Hold the knife so the edge touches the stone and the spine rides high — roughly 15 to 20 degrees per side. The bevel (the sloped face of the edge that meets the food) should be roughly half as wide as the blade is thick.
If that sounds too precise, use the trick that is quoted constantly because it works: start with the blade standing straight up at 90 degrees to the stone, tilt it to 45, tilt it again to about 22, then drop the spine just slightly. That is your angle. Stacking two pennies on the stone and resting the spine on them while the edge rests on the surface gives you a similar 20-degree reference, and an angle guide does it for you every time.
How do you know it worked? The evidence is in the refinement. When the angle is right, strokes glide smoothly and evenly. When it is wrong, the blade rocks, catches, or you feel a distinct notch partway along the edge where a low spot has not been reached.
4. Sharpen one side with steady strokes
Begin at the heel — the thick part of the blade nearest the handle — and draw the knife forward toward the tip, using the full length of the stone. Lift the knife, return to the heel, and repeat. That is one stroke, and this push-pull rhythm is far better than scrubbing back and forth in one continuous motion.
Use light, even pressure. A common beginner mistake is pressing hard, but force does not sharpen a blade, it only generates heat and a faster wear rate on the stone. Lift the pressure slightly on each return pass. Aim for somewhere around 10 to 25 strokes per side for a routine job and stop sooner if you feel resistance at the heel before you do at the tip.
Watch for the burr. Running a fingertip carefully along the opposite side of the edge, you should feel a rough ridge — that is the burr, a thin wire of folded metal that has peeled off the face you have been working. It means the grit has cut past the old edge and started forming a new one. If the burr is rough and even from heel to tip, move on. If it is patchy, keep going on this face and pay attention to the dull-feeling spots until the whole length feels the same.
Keep the stone wet. A grey slurry (the mix of metal particles, stone grit and water that forms on the surface as you work) actually helps cut and finish the edge, but let it dry out and it turns into abrasive paste that glazes the stone and leaves a scratchy, uneven result.
5. Flip the knife and repeat on the other side
Turn the knife over and sharpen the second face, staying at the same angle and the same light pressure. Count your strokes and match them. If you did 15 on the first side, do 15 on the second, then add a couple of alternating passes on each side to even things out.
Unequal work is the most common reason a hand-sharpened edge feels sharp in the middle of the blade and dull near the heel. Match the numbers and it evens out.
Now move to the finer stone. If you have a 3000 grit side, wet it again and do 5 to 10 light strokes per side, then a few alternating passes. This is what removes the burr and polishes the edge, and the difference in feel afterward is dramatic. You are no longer shaping, you are finishing.
Why isn’t your knife getting a burr?
If you have worked a side carefully and no burr appears, it is almost always one of five things, and each has a fix:
- Too much pressure. Heavy force glazes the stone. Ease off and re-wet the surface.
- Too few strokes. A dull edge takes more work than most people expect. Keep going before you decide something is wrong.
- Starting too fine. A 3000 grit stone on a very dull edge will take a long time. Start coarse.
- The edge is already thinner than your bevel. You are already at the floor. Move to the next stone rather than grinding harder.
- Very hard steel. Modern powder-metallurgy blades resist abrasion and may need many more passes. This is normal, not a mistake.
Also check the obvious: is the stone actually wet, and is the blade moving along the stone rather than rocking side to side across it?
6. Hone and test the finished edge
Now, and only now, a honing rod is appropriate. Stand the rod at a slight angle, lay the blade against it at about 20 degrees, and draw it from heel to tip with light pressure, alternating sides on each pass. Three or four passes per side is plenty. This is cleanup, not shaping.
If you have a leather strop, or a leather belt with a little polishing compound on it, that does the same job even better — it refines the edge without touching the steel.
Test with paper. Hold a sheet flat and slice downward through it with one smooth, unhurried motion. A sharp edge bites in immediately and cuts cleanly. A dull edge folds the paper or tears a ragged start.
Then test with food. A ripe tomato should split under light pressure without crushing. Onions should separate into clean rings instead of tearing and slipping. Keep your fingers curled and your cutting hand behind the knuckle, and slice away from your body.
Avoid the fingernail test that circulates online. Pressing a sharpened edge into your thumb pad is how people end up in an emergency room. Paper and produce tell you everything you need to know.
7. Rinse, dry, and store the knife
Rinse the blade and the stone under cool water and dry both immediately. A waterstone left soaking indefinitely can warp, and a damp blade left in a block or drawer will spot and rust.
Work on a solid end-grain or hardwood board and hand-wash the knife. The dishwasher is the single most common cause of a ruined home knife — the heat, the detergent and the rattling against other cutlery destroy an edge faster than months of cutting.
Store the knife in a sheath, a block, a drawer insert with a blade guard, or on a magnetic strip kept away from where you reach into drawers. A loose knife in a full drawer is the most common way a sharpened edge gets chipped.
Common Mistakes
Almost every ruined at-home sharpening job traces back to one of these.
- Pressing too hard. Force generates heat and wears the stone, but it does not sharpen faster. Light, even pressure is faster work.
- Letting the angle drift. Most people start at the right angle and wander off it by the tenth stroke. Check visually, reset, and use an angle guide until the muscle memory arrives.
- Honing a badly dull knife. A rod straightens an edge. It cannot build one. If the paper test fails, sharpen first.
- Moving too fast. A fast stroke at a wrong angle ruins more work in ten seconds than a careful one ruins in an hour. Slow and deliberate, especially at the start.
- Skipping the coarse grit. Starting at 1000 grit on a knife that has not been sharpened in a year is why the burr never comes. Two-stage work is not optional.
- Sharpening on an unstable board. If the stone moves, the angle changes without you noticing.
- Letting the whetstone dry. Re-wet every few minutes. A dry stone cuts badly and wears unevenly.
- Leaving the burr unfinished. A raw burr feels sharp and behaves like a saw that grabs and tears. Fine grit plus a strop removes it.
A few habits that keep a knife sharp longer, none of which involve a sharpener: hand-wash and dry it immediately, use a wooden board rather than glass or marble, store it where it cannot be knocked, and run a honing rod for a minute or two before heavy prep if the edge feels fuzzy. A dedicated kitchen knife sharpener of decent quality makes a measurable difference, but the board and the wash routine are free. The payoff carries straight into side dishes — the same prep habits show up in how to make restaurant style mashed potatoes at home, where a blunt knife is half the problem.
Safety first, always. Sharpen over a stable surface with a dry cloth beneath, keep the blade pointed away from you, and never rush. Forum users who stick with whetstones keep saying the same thing: a fast stroke at the wrong angle spoils the work faster than anything else on this page.
Frequently Asked Questions
What angle gives the sharpest edge?
About 15 to 20 degrees per side is the sharpest practical angle for a kitchen knife, and it is the Japanese standard. 20 to 25 degrees is the durable all-rounder most European-style knives use. Traditional European knives often run 30 to 45 degrees per side, which sacrifices a little sharpness for a much tougher edge. Match the angle your knife already has rather than forcing a thinner one.
Can you mess up a kitchen knife with a whetstone?
Yes, though it takes real effort. The common failures are pressing too hard, drifting off angle partway through, using only a coarse stone and leaving a burr unfinished, and sharpening a chipped blade into a worse chip. A badly wrong angle permanently alters the edge geometry, which makes the knife harder to hone later. Start on a cheap knife, keep the angle steady, and finish on fine grit.
What happens if you sharpen a knife at the wrong angle?
You are reshaping the blade whether you meant to or not, and you cannot undo it. Too steep an angle gives a blunt, weak edge that wedges and slips. Too shallow removes more steel than necessary and leaves an edge that is fragile and hard to hone. On a Japanese single-bevel knife, working the flat back side by mistake can effectively ruin the edge and send it to a professional.
How do you know when a kitchen knife needs sharpening?
Watch how it behaves rather than how it looks. It crushes a tomato instead of splitting the skin, it tears paper rather than cutting it, and onions slip apart under the blade instead of separating into rings. You will also find yourself pushing harder than you used to. First, try a honing rod — many dull-feeling knives only need straightening, not full sharpening.
How do I sharpen a kitchen knife without a sharpener?
A few household methods work in a pinch. The unglazed base of a ceramic mug or porcelain plate is the most searched, and it behaves like a very coarse stone. A car window edge, a smooth flat stone, a length of old leather belt, or a sheet of 400 to 600 grit sandpaper laid on a flat counter will all put an edge back. All of them are slow and remove steel quickly, so treat them as backups.
Should I use a honing rod or a whetstone?
Both, at different stages. The whetstone does the real work: it removes metal to form an edge when the blade is genuinely dull. The honing rod realigns microscopic bends in an edge that is still fundamentally sharp, which is why it belongs at the start of a busy prep session. If a rod leaves the knife no better, stop honing and go straight to a stone.
Start With a Clean, Stable Whetstone Setup
Start here: soak the stone until it is dark and wet, lay it on a damp towel and confirm it does not shift, and set the blade at roughly 15 to 20 degrees per side. Then work coarse grit on one face with light, slow, even strokes until the burr runs the full length, flip and match your stroke count, and finish on the fine grit before a few passes on a rod or leather belt.
Retest with a sheet of paper and a ripe tomato before you put the knife away, dry everything immediately, and hand wash rather than dishwasher. If the paper tears at the very tip, that spot is still a low point and needs another few strokes rather than a whole second session.
Some knives should not be sharpened at home. Deep chips or cracks, edges that feel visibly wedge-shaped, and Japanese single-bevel knives are all worth a professional service — send those out and keep the whetstone for the European chef’s knife you use every day. It is a small, satisfying hour of work that changes how every other kitchen technique feels, and it closes part of the gap behind why restaurant food tastes better than home cooking — most of that comes down to prep you can trust.