
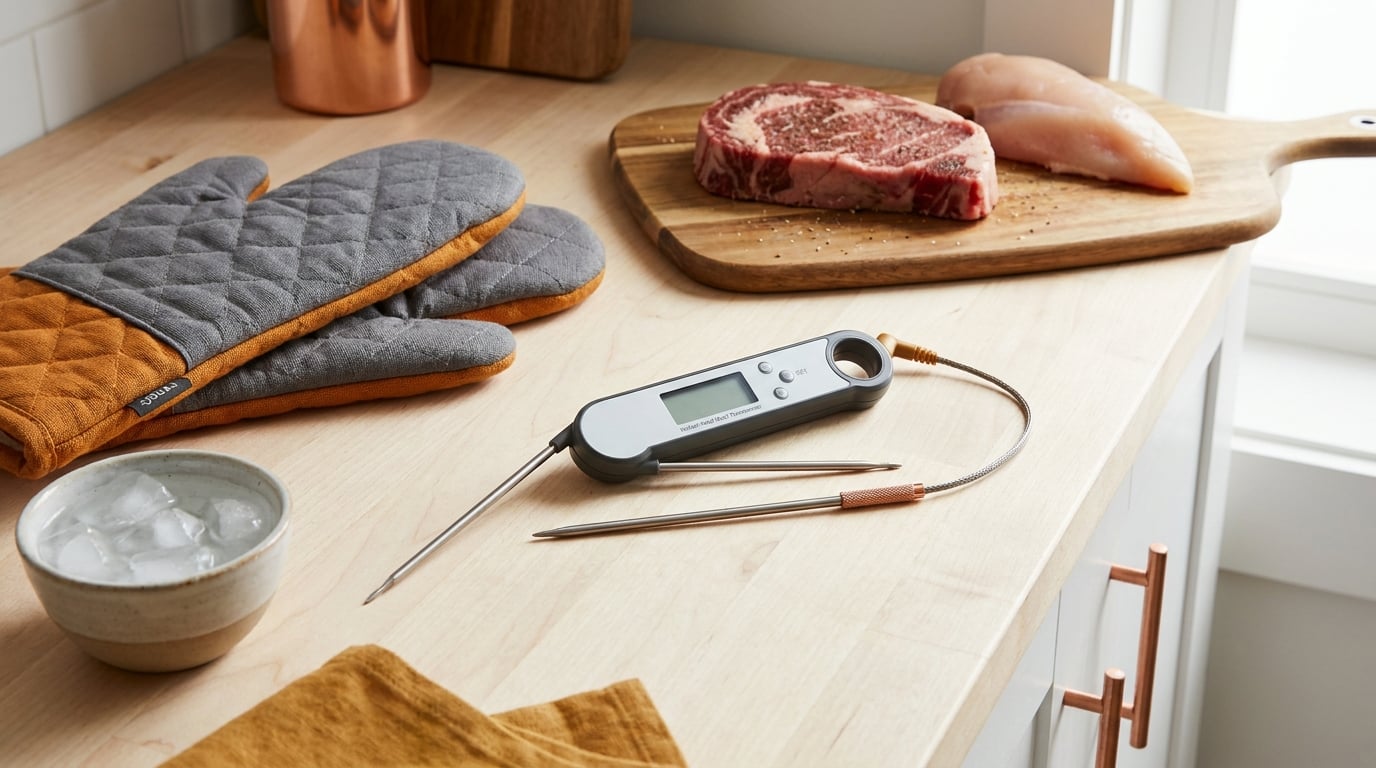
To use a meat thermometer correctly, push the probe into the thickest part of the food, keep the sensing tip clear of bone, fat and the pan, and wait until the number stops climbing before you read it. Everything else — calibration, cleaning, resting — exists to make that one number trustworthy.
Most ruined dinners trace back to a shallow insertion or a number grabbed too early. Get those two right and dinner lands on time every single night, no matter how thick the cut or how badly behaved your oven is.
Table of Contents
- What You Need to Use a Meat Thermometer Correctly
- Step-by-Step: How to Use a Meat Thermometer Correctly
- Common Mistakes That Ruin Your Reading
- Frequently Asked Questions
- Can you use a meat thermometer on frozen food?
- Why does my meat thermometer show different temperatures in different spots?
- Is a leave-in meat thermometer more accurate than an instant-read one?
- How do you check doneness in a very thin steak or piece of chicken?
- Does the recommended meat temperature change with the cooking method?
- Conclusion
What You Need to Use a Meat Thermometer Correctly
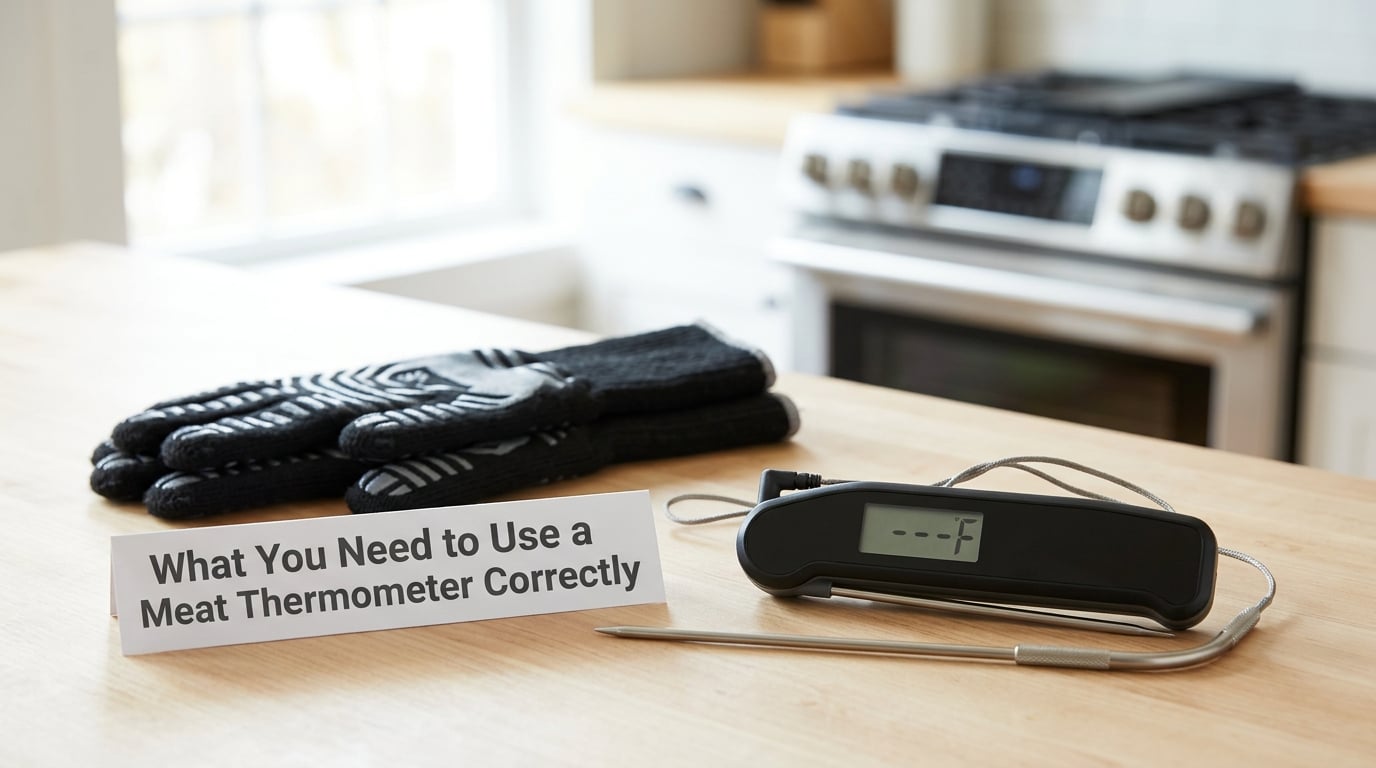
You need two things: a thermometer that reads accurately, and somewhere to rest the food when it comes out. Everything else is optional comfort.
An instant-read thermometer is a handheld probe you push into the food, read, and pull out. It suits steaks, chops, burgers and fish, and it is what most home cooks need. A leave-in probe stays in the meat while it cooks and reports to a base unit or your phone, which is the right call for a whole turkey, a brisket or a pork shoulder.
Analog dial thermometers still work, but they are slower to respond and depend on a dial you adjust with pliers. If you already own one, keep it for a backup reading and test it in ice water first.
For what the probe has to survive, look for a device with a clearly marked display, a fast response time, and either a waterproof body or a probe you can rinse under a tap. Replaceable probes are worth paying up for, because the probe is the part that eventually fails.
Nice-to-haves: heat-resistant gloves for pulling a leave-in probe out of a hot pan, a damp cloth or food-safe sanitising wipe for the shaft between uses, and a wooden board with a groove for catching resting juices.
Step-by-Step: How to Use a Meat Thermometer Correctly
Here is the full sequence, from the moment you start the oven to the moment you slice. Work through it once and it becomes automatic.
| Food | Safe minimum internal temperature | Celsius | Rest before serving |
|---|---|---|---|
| Poultry — chicken, turkey, duck, whole or ground | 165°F | 74°C | None required |
| Ground meat — beef, pork, lamb, veal | 160°F | 71°C | None required |
| Ground poultry | 165°F | 74°C | None required |
| Beef, pork, lamb, veal — whole cuts and steaks | 145°F | 63°C | 3 minutes |
| Fish and shellfish | 145°F | 63°C | Optional |
| Ham, pre-cooked, to reheat | 140°F | 60°C | None required |
| Eggs, egg dishes | 160°F | 71°C | None required |
| Leftovers and casseroles, to reheat | 165°F | 74°C | None required |
The USDA Food Safety and Inspection Service sets these minimums, and they apply whether you roast, grill, pan-sear, air-fry or braise. Resting times for whole cuts come from the same guidance.
If you want a doneness ladder for beef rather than the safety minimum, the middle of medium-rare sits at 130°F, medium at 140°F, medium-well at 150°F and well-done at 160°F, with carryover cooking adding a few more degrees after the pan leaves the heat.
How to Use a Meat Thermometer Correctly: Choose the Right Thermometer
Reach for an instant-read on anything under an inch thick or anything you cook in under 20 minutes. Pull a leave-in probe for long cooks where opening the oven door 15 times would wreck your heat, or where you want an alarm instead of a watch.
Before the food goes anywhere near heat, check that the thermometer behaves. Switch it on in room-temperature air and confirm it settles near the temperature of the room rather than drifting. A thermometer that jumps around wildly at the start is a thermometer that will waste dinner.
Once a month, run the ice-water test. Fill a cup with finely crushed ice and just enough water to make slush, stir, and read. You want 32°F, or 0°C.
Prepare the Thermometer and Food
Wash the probe with hot soapy water before and after every use and dry it before storing. Raw chicken juices on a probe you then push into a cooked steak is exactly the cross-contamination you are trying to avoid.
Preheat the oven or let the grill fully ripen before the food goes in. A thermometer gives you an honest reading of the food, not a fix for a grill that never got hot enough.
Season close to the moment of cooking, and let thick cuts come up toward room temperature for 20 to 30 minutes if you have time. A steak that spends the whole cook going from fridge to done is cooked unevenly on the outside, no matter what the probe says at the centre.
Insert the Probe in the Thickest Part
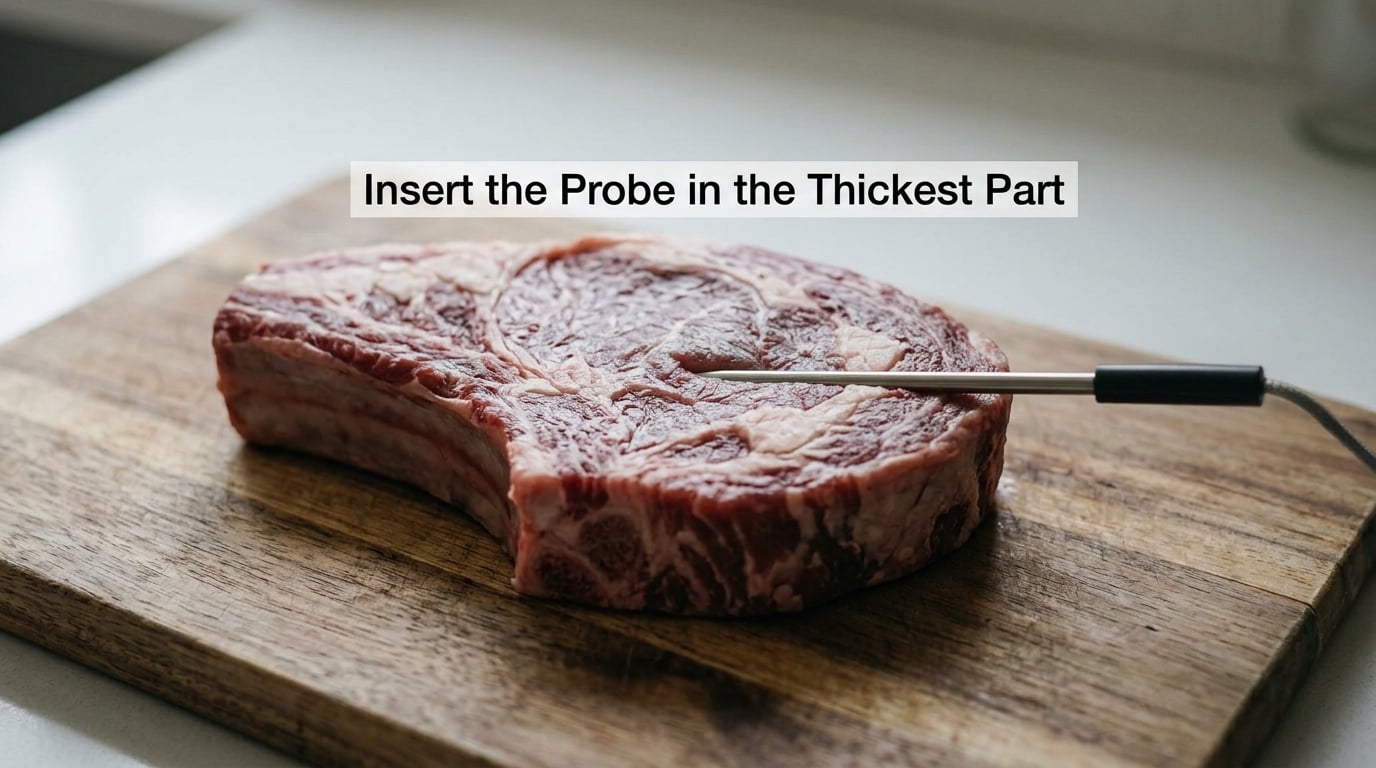
Push the probe into the fattiest-looking edge, which is usually the thickest one, and keep the sensing dimple — the small hollow near the tip — completely inside the food. If you can feel the dimple through the side of the meat, you have not gone deep enough.
These are the placements that trip people up most often:
- Steak and pork chops: insert from the side, horizontally, so the tip reaches the middle without punching through the top. Avoid any bone you can feel.
- Chicken breast: the thickest part is on the bone side, but push from the side, not straight down, and stay clear of the joint. Check the stuffing area too if the bird is stuffed.
- Chicken or turkey thigh: this is the meatiest spot on the bird, and it cooks before the breast does. Read the thigh, not the breast.
- Roasts and large cuts: work from the bone end toward the open side, keeping the tip in the eye of the muscle.
- Burgers and meatballs: press in from the side. Burger patties are thin, and a probe pushed straight down touches the griddle and reads high.
- Sausages: go in between two links, never through one, and never pierce the casing.
- Fish fillets: slide the tip into the thickest part of the fillet, along the spine, without pushing all the way through the flesh.
Bone conducts heat faster than muscle, fat runs cooler than lean, and the side of a hot pan can read 100 degrees above the food. Touch any of those three and your number is fiction.
Read the Temperature Without Overcooking
Do not read the instant the probe lands. Pull the device out, re-insert it away from where you just poked, and wait until the digits stop changing. Most instant-read thermometers need 5 to 10 seconds to settle, and a leave-in probe needs a couple of minutes longer.
There is a second trick worth learning, and cooking forums pass it around constantly. Push the probe all the way through the meat, then draw it back slowly and note the lowest number you pass on the way out. That low point is the true centre of the cut, and it is the number you plan your rest around.
Early readings are almost always misleading because the sensor registers the heat travelling in from the outside before the core catches up. The same rule applies in reverse: a reading taken right after the food comes off the heat is lower than the settled temperature, because the interior keeps climbing.
Confirm Doneness and Rest the Food
Check a second thick area before you call it done — the other end of the loin, the second turkey thigh, the far side of a stuffed cavity. A single reading proves the spot you touched, not the whole bird.
This is carryover cooking, and it is why you pull early. A large roast can gain 5 to 10°F after leaving the oven, so pull a medium-rare roast at about 125°F to 130°F and let it climb. Small steaks gain a few degrees; a whole turkey gains a lot.
Rest whole cuts of beef, pork, lamb and veal for at least 3 minutes, and 5 to 10 minutes for anything you plan to slice. Resting lets the muscle fibres relax so the juices stay in the meat instead of running onto the board.
Keep safety and preference separate in your head. The 145°F minimum for whole cuts is a food-safety floor, not a flavour target. Serving beef or pork medium-rare above that line is a matter of taste, and the same goes for how you like your chicken, as long as it has passed 165°F.
Common Mistakes That Ruin Your Reading
Nearly every bad reading comes from one of these, and nearly all of them are quick to fix.
- Reading too high: the probe touched bone, fat, a gristle seam or the pan. Re-insert in a different spot, angling the tip away from the bone and staying inside the meat.
- Reading too low: the probe is resting on the bottom of the pan, or the tip never got inside the food. Lift the probe’s handle so the shaft isn’t pinned against the surface.
- Shallow insertion: the most common error of all, and the one people are most surprised by. Push until the sensing dimple is well inside, not just far enough to see the tip.
- Taking the number too early: the display is still climbing. Wait for the digits to hold steady, or re-insert away from the hole you just made.
- Trimming off the probe hole: cutting into the part of the steak where you took the reading. Slice from the opposite end instead.
- A wet or dirty probe: moisture can confuse some sensors and a dirty one carries bacteria between foods. Wipe it, rinse it, dry it.
- Confusing scales: a device set to Celsius showing 63 has just reached a safe 145°F. Check the unit setting before you panic, and toggle between °F and °C with the button most models have.
- Trusting one spot: a thick roast has cold pockets. Two or three readings beat one every time.
A quick monthly ice-water test, a note in your phone of the last three temperatures you cooked to, and a printed chart taped inside a kitchen cupboard will fix more ruined dinners than any gadget.
Frequently Asked Questions
Can you use a meat thermometer on frozen food?
You can, but the reading means something different. A frozen core will show a low number that climbs as the food thaws, so a thermometer cannot tell you when a frozen roast has thawed enough to cook through. Use it once the surface is no longer solid, and take several readings across the cut rather than trusting the first spot.
Why does my meat thermometer show different temperatures in different spots?
Because a thick cut is not one temperature. Fat and bone heat differently from lean muscle, and the outside of the food is always further along than the centre. Expect several degrees of variation, and a lot more in a stuffed bird or a rolled roast. Take a reading in two or three thick areas and go with the lowest one.
Is a leave-in meat thermometer more accurate than an instant-read one?
Neither is inherently more accurate if both are calibrated. Leave-in probes win on long cooks because they stay put and can alert you, and instant-read thermometers win on responsiveness and simplicity for quick sears. Accuracy comes down to calibration and placement, not to the style. Test whichever you own in ice water before trusting it.
How do you check doneness in a very thin steak or piece of chicken?
Insert from the side so the tip stays in the flesh, then watch the reading climb. A thin cut cooks in a couple of minutes, so pull at 130°F to 135°F for medium-rare beef and let the residual heat finish the job off the heat. Pressing a thin chicken fillet straight down usually reads the pan, not the food.
Does the recommended meat temperature change with the cooking method?
No. The safe minimum internal temperatures are the same whether you roast, grill, pan-sear, air-fry or braise, because the danger is bacteria inside the food rather than the cooking environment. What the method changes is the pull temperature: a fast sear leaves more carryover heat to manage than a slow oven roast.
Conclusion
Start with the thickest part of the food. Push the probe in far enough that the sensing dimple disappears inside, keep it off bone, fat and the pan, and let the number hold still before you believe it.
Everything else in this guide — the ice-water test, the second reading, the rest afterwards — exists to make that single number honest. Once you trust it, you can stop watching the clock.