
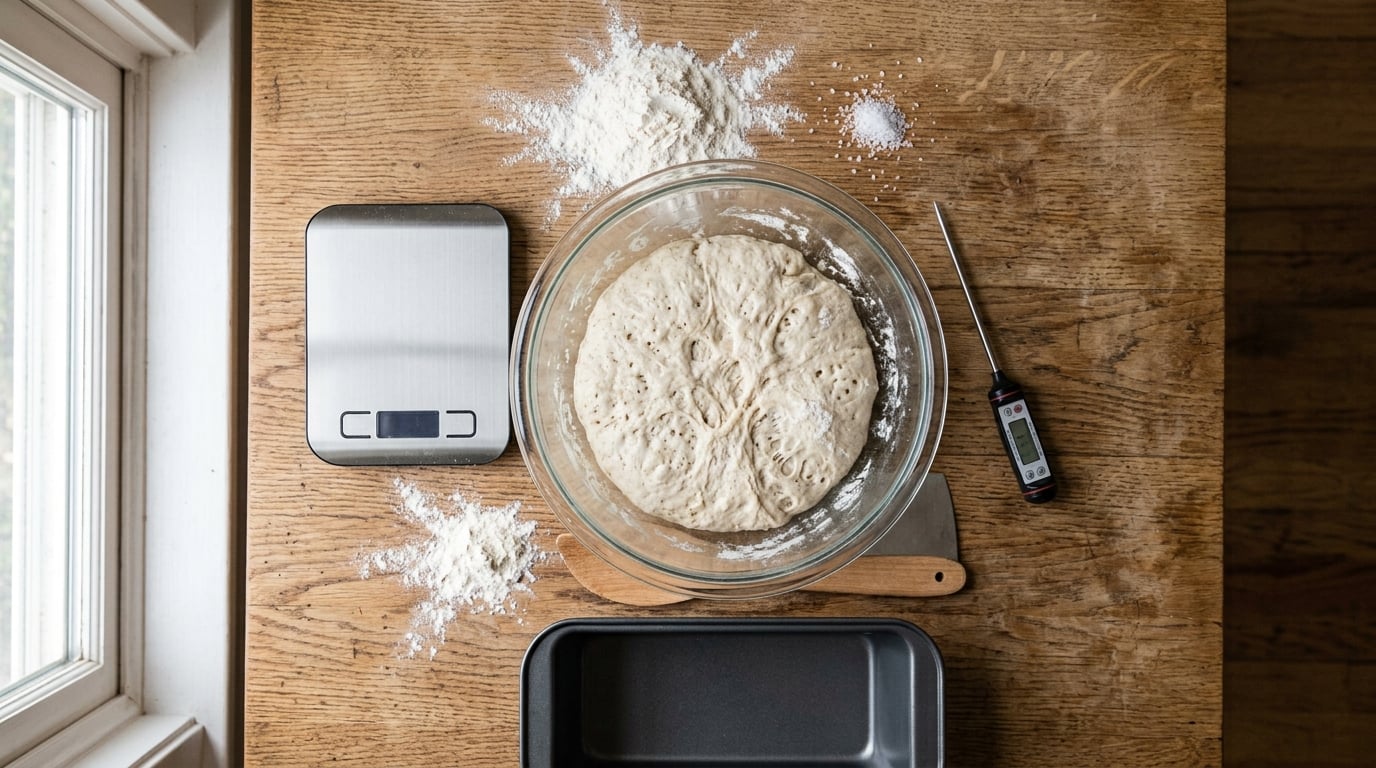
Why bread does not rise and how to fix it comes down to three things: living yeast, a gluten network strong enough to hold gas, and enough time at a workable temperature. If any one of those fails, your dough either stays flat during bulk fermentation or spreads into a dense brick in the oven.
Most failed loaves trace back to something ordinary — yeast that expired last spring, water straight from the kettle, flour kept in the fridge, or a final proof cut short because the dough already looked big. You can diagnose and correct all of them at home with a scale, a thermometer, and about ten minutes of observation before you mix anything.
Kitchens change more than recipes do. The loaf that worked in July can fail in January because the same dough now ferments at half the speed, and most bakers never check the dough temperature. That is usually the whole problem.
Table of Contents
- What You Need to Diagnose Why Bread Does Not Rise
- Step-by-Step: Test and Fix the Dough
- Fix 1: Why Bread Does Not Rise From Inactive Yeast
- Fix 2: Use Fresh, Properly Stored Flour
- Fix 3: Adjust the Dough Temperature for Faster Yeast
- Fix 4: Check Salt, Sugar, and Other Dough Ingredients
- Fix 5: Build Enough Gluten to Trap Gas
- Fix 6: Use Enough Water Without Making the Dough Unworkable
- Fix 7: Give Bulk Fermentation Enough Time
- Fix 8: Preserve Yeast Activity During Shaping
- Fix 9: Avoid Overproofing Before Baking
- Fix 10: Give the Final Proof Enough Time to Rise
- Common Bread-Rising Mistakes and How to Fix Them
- Frequently Asked Questions
- Conclusion: Start With Yeast and Proofing
What You Need to Diagnose Why Bread Does Not Rise
You need very little to run a proper diagnosis. The dough itself is the best evidence, so gather that first before you buy or borrow anything.
- Your yeast — dry instant, active dry, cake yeast, or a sourdough starter you feed regularly
- The flour you used, plus a fresh bag to compare against
- Water and a way to measure its temperature
- Salt, and any sugar, oil, or milk the recipe called for
- A kitchen scale accurate to a gram or two
- An instant-read thermometer for water and dough
- A clear glass bowl so you can watch volume changes through the side
- A clean towel or plastic wrap to cover the bowl
- The baking vessel, plus a note of its size
No special equipment is required. A scale and a thermometer solve the majority of cases, and a scale matters more than most people expect — one extra tablespoon of flour or salt changes a dough’s behavior far more than any technique tweak.
If you enjoy the kitchen side of this, how to make hollandaise sauce that does not break follows the same logic. A broken emulsion and a collapsed dough are both temperature and ratio problems, not mysterious ones.
Step-by-Step: Test and Fix the Dough
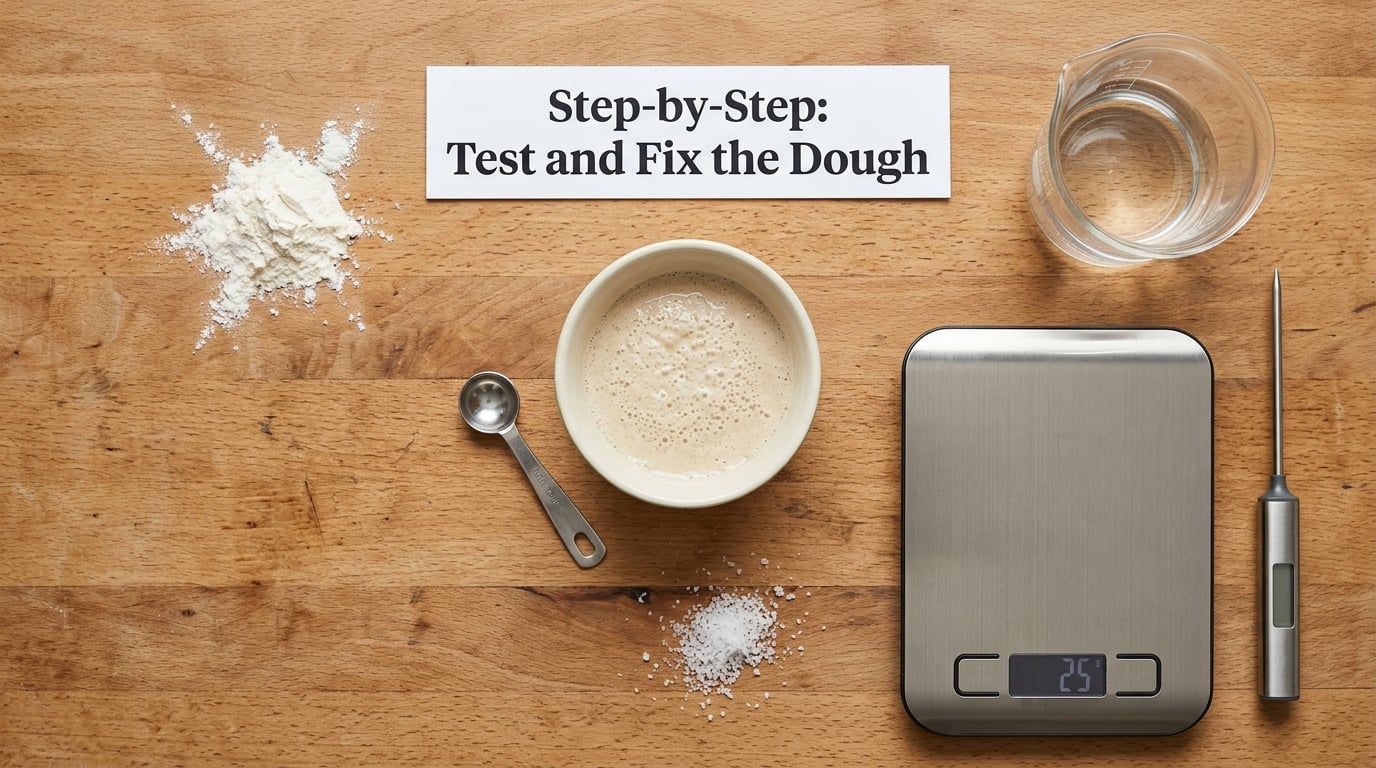
Work through these in order, because the order follows how often each cause shows up and how much it explains. Fix the yeast before anything else. If there is no living culture, nothing downstream matters.
Fix 1: Why Bread Does Not Rise From Inactive Yeast
Dead yeast is the single most common cause, and it produces no warning. The dough feels workable, sits in a warm corner, and simply never changes.
Test it before you mix. For active dry yeast, stir a teaspoon into a third cup of water warmed to about 100°F and wait five to ten minutes. A healthy sample grows a thick foam cap and smells sweet and yeasty. If the water sits flat and clear, the yeast is finished and the dough is not your fault.
Instant yeast does not need that activation step because it is designed to hydrate directly into the dough, though a quick check costs nothing. For a sourdough starter, feed it and watch for the rise and doming that signal activity. If your yeast was stored in a hot cupboard or a freezer that repeatedly dipped in temperature, replace it regardless of the printed date.
You know the fix worked when a fresh spoonful of yeast foams in warm water and your dough has visibly increased in volume and shows bubbles at the edges by the end of bulk fermentation.
Fix 2: Use Fresh, Properly Stored Flour
Flour does not spoil loudly. It loses baking power gradually, so a bag that still smells fine can quietly weaken a dough for weeks.
Buy a current bag of bread flour with 11 to 13 percent protein and use it before the six-month mark for best results. Whole wheat and rye lose usable baking power faster than white bread flour because of the oils and bran they retain.
Storage matters as much as age. A sealed container in a cool, dry cupboard beats an open bag on a counter, and refrigeration is a bad trade for long-term flour storage in most kitchens — the condensation that forms when you bring it out chills your dough and dulls the flavor. If the flour smells musty or you see any webbing of mold, discard it rather than sifting past it.
A working loaf on fresh flour, from the same recipe, same room, tells you the flour was the variable.
Fix 3: Adjust the Dough Temperature for Faster Yeast
Yeast is a living thing with a preferred range, roughly 70 to 80°F. A kitchen at 62°F produces dough that ferments at a crawl, and the recipe’s two-hour timeline quietly becomes five.
Temperature controls time, and this is the point that explains most seasonal failures reported on r/Breadit: the same recipe works in summer and fails in winter. Measure your water and aim for the low 70s on the Fahrenheit scale for yeast-leavened bread, and check the finished dough temperature with your thermometer. Around 75°F is a good target.
Cold ingredients drag the whole batch down. Take flour, water, and eggs out of the fridge an hour ahead, or use warm water to bring the mix up. A switched-off oven with the light on, an oven with a pilot light, or a closed cupboard beside the kettle all make usable warm spots. An oven proofing box works well: heat the oven, switch it off, let it fall to around 75 to 80°F on the thermometer, and put the dough in with the light on.
Success looks like faster gas production, more bubbles at the sides of the bowl, and a dough that reaches volume sooner than the recipe suggests.
Fix 4: Check Salt, Sugar, and Other Dough Ingredients
A workable dough can still be one the yeast cannot live in. Salt above roughly 2 percent of flour weight tightens the gluten and slows the yeast noticeably, and far more than that stops fermentation outright. Sugar, oil, and milk in generous amounts slow it further.
Measure everything by weight and check your recipe percentages rather than trusting volume measures, which for flour can swing 20 percent between scoops. A tablespoon of salt misjudged is the difference between a good loaf and a stalled one.
If you have overdosed, you can often rescue the dough during bulk or shaping by diluting it with additional flour and water to bring the ratios back into range. Mix gently and let the extra time pass. Some bakers pinching salt straight into a large yeast quantity also weaken the rise, so mixing salt evenly through the flour before adding water gives a more reliable result.
Salt in the right range will not make dough rise faster, but the dough will stop fighting you, and it is the same lesson as how to make an omelet that does not stick — proportions carry the technique.
Fix 5: Build Enough Gluten to Trap Gas
Gas alone does not raise bread. It has to be caught in a gluten network, and a weak network means dough that spreads instead of climbing.
Knead long enough to develop gluten, or use stretch-and-folds for no-knead dough: a set of four folds spaced 30 minutes apart builds structure with far less handling. Choose a flour whose protein can carry the hydration, and if your dough feels slack and sticky at first, keep working it rather than adding flour.
Test with the windowpane test. Take a small piece, stretch it gently, and a well-developed dough thins to a translucent membrane without tearing. A smooth or even slightly tacky surface is not proof of anything — plenty of underdeveloped dough looks tidy and still fails to hold shape.
You will see the improvement in the dough’s behavior: it holds a rounded shape when you shape it instead of puddling, and it springs back slowly after a poke.
Fix 6: Use Enough Water Without Making the Dough Unworkable
Hydration is a variable to adjust, not a defect. Too little water and the dough resists expansion; too much and it tears when you try to shape it, and gas escapes through the gaps.
Judge the dough instead of the recipe number. On the stiff side it cracks at the edges when you pull it; on the slack side it sticks to everything and never tightens. Most home bakers do well between 65 and 75 percent hydration on commercial bread flour, and going higher usually means a flour with more protein to support it.
Corrections are simple mid-ferment. Pinch in a little flour for a dough that is tearing and spreading, or add a splash of water to a dough that is stiff and dry. Mix gently, and wait until the dough is nearly doubled before shaping so the adjustments can ferment properly.
Dough that holds a taut, slightly domed surface during bulk fermentation is the marker to aim for.
Fix 7: Give Bulk Fermentation Enough Time
A slow ferment and a dead starter look identical on the clock. The difference shows up in the dough: a live dough warms, grows, and fills with visible bubbles, while a dead one does nothing at all.
Watch the dough rather than the timer, which is the most repeated advice on r/Sourdough. Mark the starting level on your clear bowl with a piece of tape and look for a 50 to 75 percent increase, a domed top, and bubbles along the sides. Many bakers stop at nearly doubled when the dough still has another 30 to 60 minutes of gas left in it, and a cold or slow batch simply needs the cover on for longer.
If you are not sure, give it more time. A dough that has fermented hard and then sat is a different problem, but under-fermentation is far more common than over-fermentation at home. Warm water, a warm spot, and patience usually fix it.
A dough that has visibly increased in volume, feels aerated and jiggly, and passes the poke test is ready for shaping.
Fix 8: Preserve Yeast Activity During Shaping
All that gas you built during bulk fermentation can be lost in a few careless minutes on the work surface. Punching a firm dough, tearing instead of stretching, and rolling it hard under a heavy rolling pin all drive out the air you spent hours creating.
Handle gently. Stretch and fold rather than degas, and when you do degas deliberately, press out the big pockets first while keeping the dough’s overall volume. Salt added in a large pile directly on the yeast also inhibits the local area, so distribute it evenly through the flour.
After shaping, the dough should keep some of the gas it had. A boule or loaf that puffs slightly and holds a rounded edge is retaining yeast activity; one that sits flat and dense already is not.
Fix 9: Avoid Overproofing Before Baking
Over-fermented dough has plenty of gas and nothing to hold it. The gluten has relaxed past the point of holding shape, and the loaf spreads in the pan instead of rising in the oven.
The signs are consistent: sides that slump away from the pan, a surface covered in large uneven bubbles, a slack fragile dough that tears rather than stretches, and dough that spreads flat the moment it lands. Underproofed dough feels tight and springs back hard, which is the opposite tell.
You cannot un-ferment dough, so shorten the next batch instead — cut the bulk or final time, lower the room temperature, or reduce the yeast or starter amount. Meanwhile, bake what you have; an over-fermented loaf still makes decent toast, and you learn something useful from it.
If you want an early read, bake a small test portion. Dense but gummy inside means under-proofed; flat and cakelike with big holes means over-proofed.
Fix 10: Give the Final Proof Enough Time to Rise
An under-proofed dough bakes dense no matter how good the bulk ferment was. This second rise is where a lot of loaves get lost, because the dough already looks like bread when it goes in the pan.
Expect another 30 to 90 percent increase in volume after shaping, and watch the pan for a slow, steady creep. The poke test decides it: gently press a floured finger about a half inch into the dough and pull it back out. An instant springback means more time needed. A slow, partial rebound with a slight dent means bake now. No rebound and no dent means you have gone too far.
A refrigerator proof slows everything down for overnight schedules, so take refrigerated dough out early enough to finish at room temperature before baking. In the oven, the first 10 to 15 minutes of heat produce oven spring, and that rise is possible only if gas is still waiting in the dough when it goes in. Always preheat the oven and a Dutch oven fully; a cool pot absorbs the loaf’s energy instead of helping it expand.
Worth adding: pan size quietly affects the result. Dough spread too thin across a large pan cannot build height, and too much dough in a small pan gives you a dense, over-extended loaf.
Common Bread-Rising Mistakes and How to Fix Them
Here is the short version, paired one to one, so you can match a symptom to an action without re-reading the whole list.
- Dough never moved at all: test the yeast in warm water, replace it if it does not foam, and check the water was not too hot.
- Dough moved but slowly: the kitchen is too cold. Warm the ingredients, use warmer water, and give it a warm spot with the cover on.
- Dough spread flat in the pan: over-proofed, or the gluten was never developed. Cut the next fermentation time and knead or fold more.
- Dough rose, then went flat in the fridge: it over-proofed in the cold, or it was sealed so tightly that gas could not escape before pressure collapsed the structure. Cover loosely and shorten the cold rest.
- Loaf baked dense with a tight crumb: under-fermented or under-proofed. Extend the final rise and trust the poke test over the clock.
- Crumb gummy and under-baked inside: a short final proof, or a loaf cut too soon. Give the dough the last 30 minutes it needed and add a few minutes to the bake.
- Measurements off: weigh everything, including salt, and check your recipe percentages.
- Water killed the yeast: above about 140°F yeast dies on contact, while water around 100 to 110°F wakes it up. Use a thermometer rather than guessing from a kettle.
- Starter floats but dough stalls: a starter can be active and the dough still under-fermented. Build the bulk around dough markers, not hours, and check the flour and salt levels.
- Gluten-free or bread machine dough flat: gluten-free blends need xanthan gum and a different hydration, and bread machines follow a fixed cycle, so temperature matters even more.
The one rule that makes troubleshooting actually work: change one variable per attempt and write down what you did. Baking memory is unreliable, and a notebook beats guessing every time.
Kitchen tools fail the same way recipes do. A pan that will not take heat behaves like a pan at the wrong temperature, which is the theme running through guides like how to make an omelet that does not stick.
Frequently Asked Questions
Can I fix dough that has already failed to rise?
Usually yes, unless the dough smells of alcohol or vinegar, which means it has over-fermented badly. If the yeast was simply too cold, move the dough to a warm spot and wait until it has increased roughly 50 to 75 percent in volume before baking. If it is dead, no amount of waiting helps, so discard it and fix the yeast next time.
Why does my bread dough rise during bulk fermentation but collapse in the oven?
That is over-proofing. The dough fermented, then sat too long, so the gluten relaxed and could not hold the gas. Signs include slumped sides, a slack fragile surface, and a loaf that spreads flat in the pan. Shorten your bulk or final proof next time, lower the room temperature, or cut the yeast or starter amount. The dough will still bake, but expect a flatter loaf.
How do I know whether my sourdough starter is active?
A float test is the quickest check. Stir a spoonful of starter into water; if it floats, it has enough gas to leaven dough. You can also feed it and look for a domed top with visible bubbles within four to six hours at room temperature. A sour smell alone does not mean it is active, because a neglected starter smells strong long after its gas is gone.
Should I let bread dough rise overnight before baking it?
For most home loaves, no. An overnight room-temperature rest pushes most dough into over-proofing territory before you get to the oven. A cold overnight proof in the refrigerator works well, but it slows everything down, so take the dough out early enough to finish at room temperature. Watch the volume markers, not the schedule, and use the poke test before baking.
How can I tell if bread is underproofed or overproofed?
Poke the dough before baking. Press a floured finger in about a half inch. Instant springback means under-proofed, a slow partial rebound means ready, and no rebound at all means over-proofed. After baking, a dense, tight crumb points to under-proofing, while a flat loaf with a cakey crumb and large holes points to over-proofing.
Conclusion: Start With Yeast and Proofing
Start with yeast: test it in warm water before the next mix, and discard anything that does not foam. Confirm your measurements by weight, especially salt, then watch the dough instead of the timer during bulk fermentation and mark the bowl so volume change is obvious.
After shaping, use the poke test. That single habit catches under-proofed and over-proofed dough before the oven does. Why bread does not rise and how to fix it comes down to the same three conditions every time, so a living culture, developed gluten, and enough time at a workable temperature will get you the loaf you wanted.