
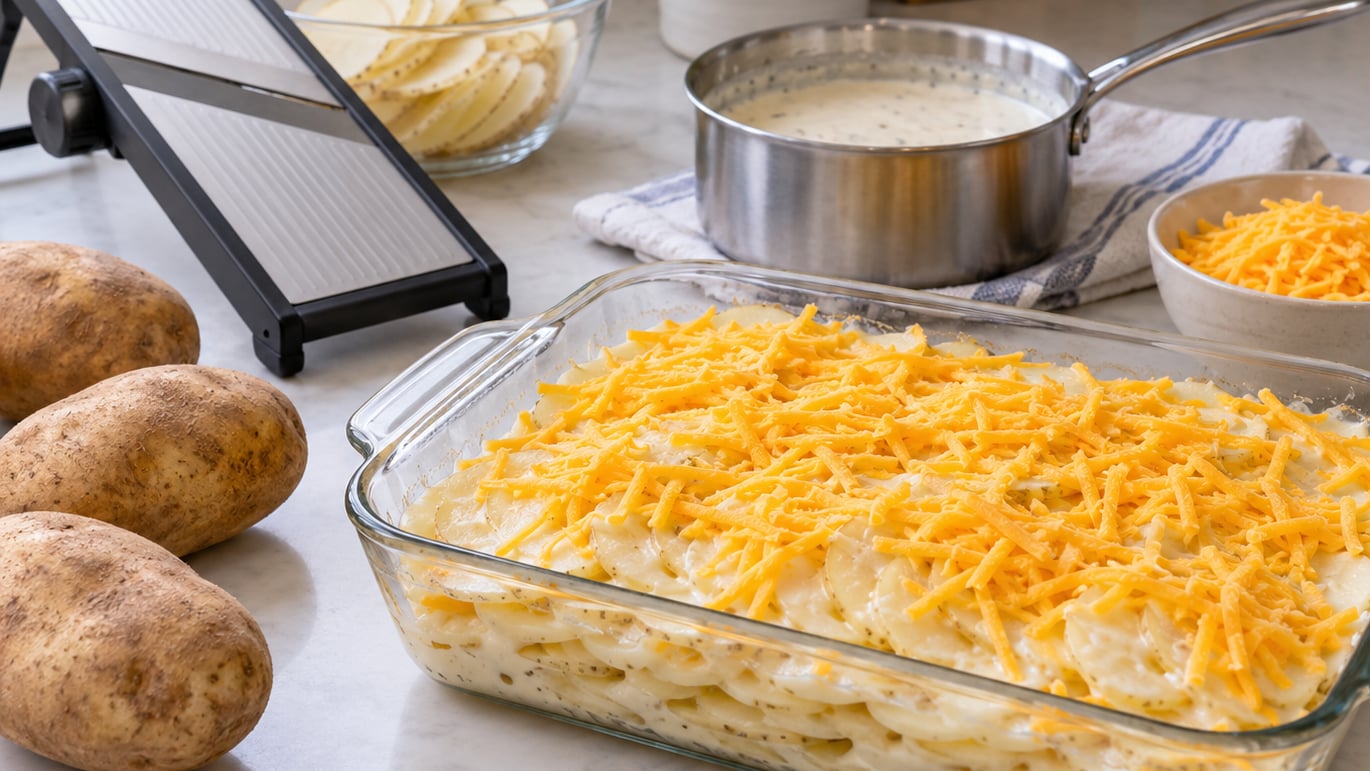
Learning how to make scalloped potatoes from scratch is mostly about two things: even slices and a cream sauce that thickens without breaking. Thin the potatoes to about 1/8 inch, layer them tight in a 9×13 dish, pour a warm béchamel over them, and bake at 400°F until a knife slides through with no resistance. From prep to serving it takes about 20 minutes of hands-on work and roughly 75 minutes in the oven.
If you want the short answer on the classic version: it is three core ingredients, potatoes, cream, and cheese. Everything else — butter, flour, garlic, a pinch of nutmeg — makes it taste like a holiday table instead of a weeknight casserole.
Table of Contents
- What You Need
- Step-by-Step: How to Make Scalloped Potatoes From Scratch
- Common Mistakes and Tips
- Frequently Asked Questions
- Should you cook potatoes before making scalloped potatoes?
- What type of potatoes are best for scalloped potatoes?
- What is the secret to making scalloped potatoes?
- Can scalloped potatoes be made ahead of time?
- How long do scalloped potatoes keep, and can they be frozen?
- Why did my cheese sauce curdle, and how do I fix it?
- Conclusion
What You Need
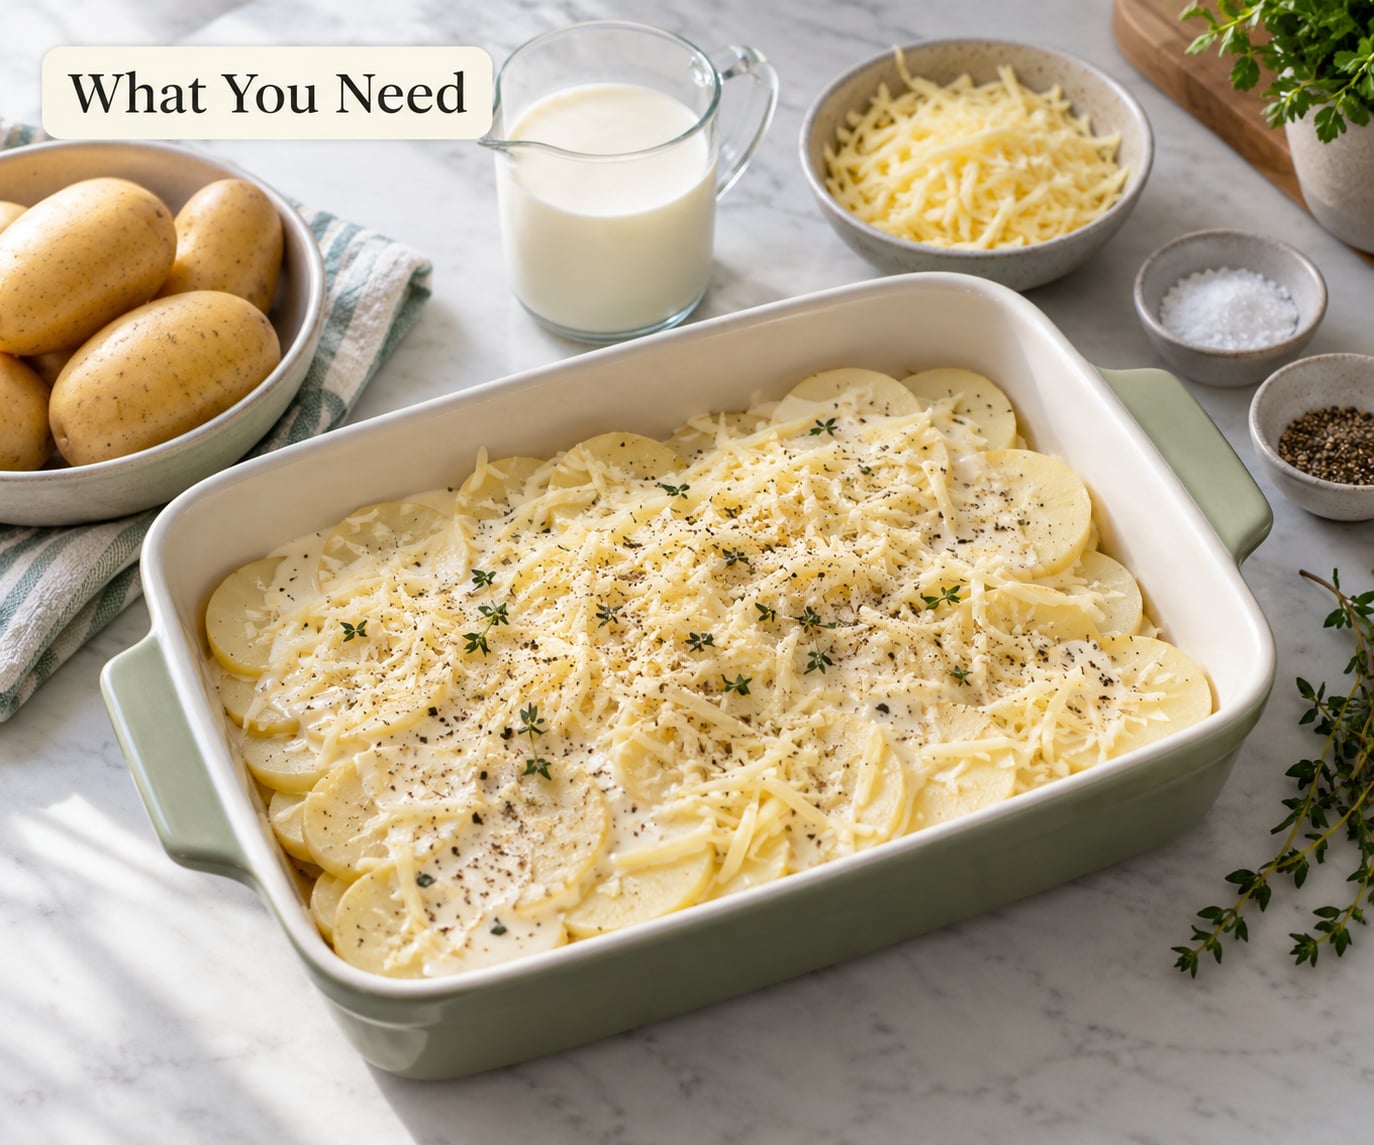
The potatoes
Three pounds is right for a 9×13 dish. That is roughly six medium russets or about eight Yukon Golds, and it feeds six to eight as a side.
Russets have the most starch, so they thicken the sauce on their own and give you the creamy, almost gluey texture people call authentic. They also fall apart if you push them, so slice them carefully. Yukon Golds hold their shape better and taste buttery, which makes them the easier pick if this is your first time making it. Peel either one if you want a smooth dish; leave the skin on Yukon Golds for a more rustic, earthy result.
The sauce
- 3 tablespoons unsalted butter
- 3 tablespoons all-purpose flour
- 3 cloves garlic, minced
- 2 cups whole milk
- 1 cup heavy cream
- 1 teaspoon kosher salt, plus more to taste
- 1/2 teaspoon freshly grated nutmeg
- Black pepper, freshly ground
- 2 sprigs fresh thyme, leaves picked
The milk and cream split does one job well. Milk brings the volume and keeps the sauce from tasting too rich, cream adds body so it stays silky when it comes out of the oven. Half and half works if that is what you have. Avoid skim milk; it makes a thinner sauce and is more likely to break when you add cheese.
The cheese
Two cups shredded, and shred it yourself if you can. Pre-shredded cheese has an anti-caking coating that keeps it from melting smoothly. Sharp cheddar is the traditional choice, but a blend of cheddar and Gruyère has more depth. Parmesan mixed in at the top adds a salty, nutty crust. Use about two-thirds cheese in the layers and one-third on top.
The equipment
A mandoline slicer does the most important job here, cutting 1/8-inch slices far more evenly than a knife. Use the guard and keep your fingers clear; it is the one tool in this recipe worth owning. A sharp knife and a steady hand can substitute, but expect some slices thicker than others, and those thick ones cook unevenly.
You also need a 9×13 inch casserole dish, a small saucepan for the sauce, a whisk or wooden spoon, and a sharp knife for mincing the garlic.
Step-by-Step: How to Make Scalloped Potatoes From Scratch
Step 1: Prep the potatoes
Heat the oven to 400°F. Peel the potatoes if using russets, then slice them to 1/8 inch on the mandoline. As you slice, drop the pieces into a bowl of cold water with a squeeze of lemon juice or a splash of vinegar. The acid slows the oxidation that turns cut potatoes grey, and the water rinses away surface starch that would otherwise make the finished dish gluey.
Drain the slices well and pat them dry with a towel. Wet slices dilute the sauce, and this is the step where most watery scalloped potatoes begin. Do not par-cook them at this stage — the oven has plenty of time to do that, and boiling the slices first makes them fall apart when you try to layer them.
Step 2: Make the cream sauce
Melt the butter in a saucepan over medium heat. Add the garlic and cook for about 30 seconds until it smells sweet, not brown. Stir in the flour and cook for a full 60 to 90 seconds, whisking constantly.
That minute of cooking is what makes the difference between a silky sauce and one that tastes faintly of raw flour. It also cooks off the gluten that would otherwise make the finished dish gummy.
Pour in the milk a little at a time at first, whisking hard, then add the cream. Add the salt, nutmeg, black pepper, and thyme. Simmer until the sauce thickens enough that you can drag a spoon through it and see the bottom of the pan for a second before it fills back in. That is called nappe consistency, and it is the target. Taste it and add salt if it seems flat.
Step 3: Assemble the layers
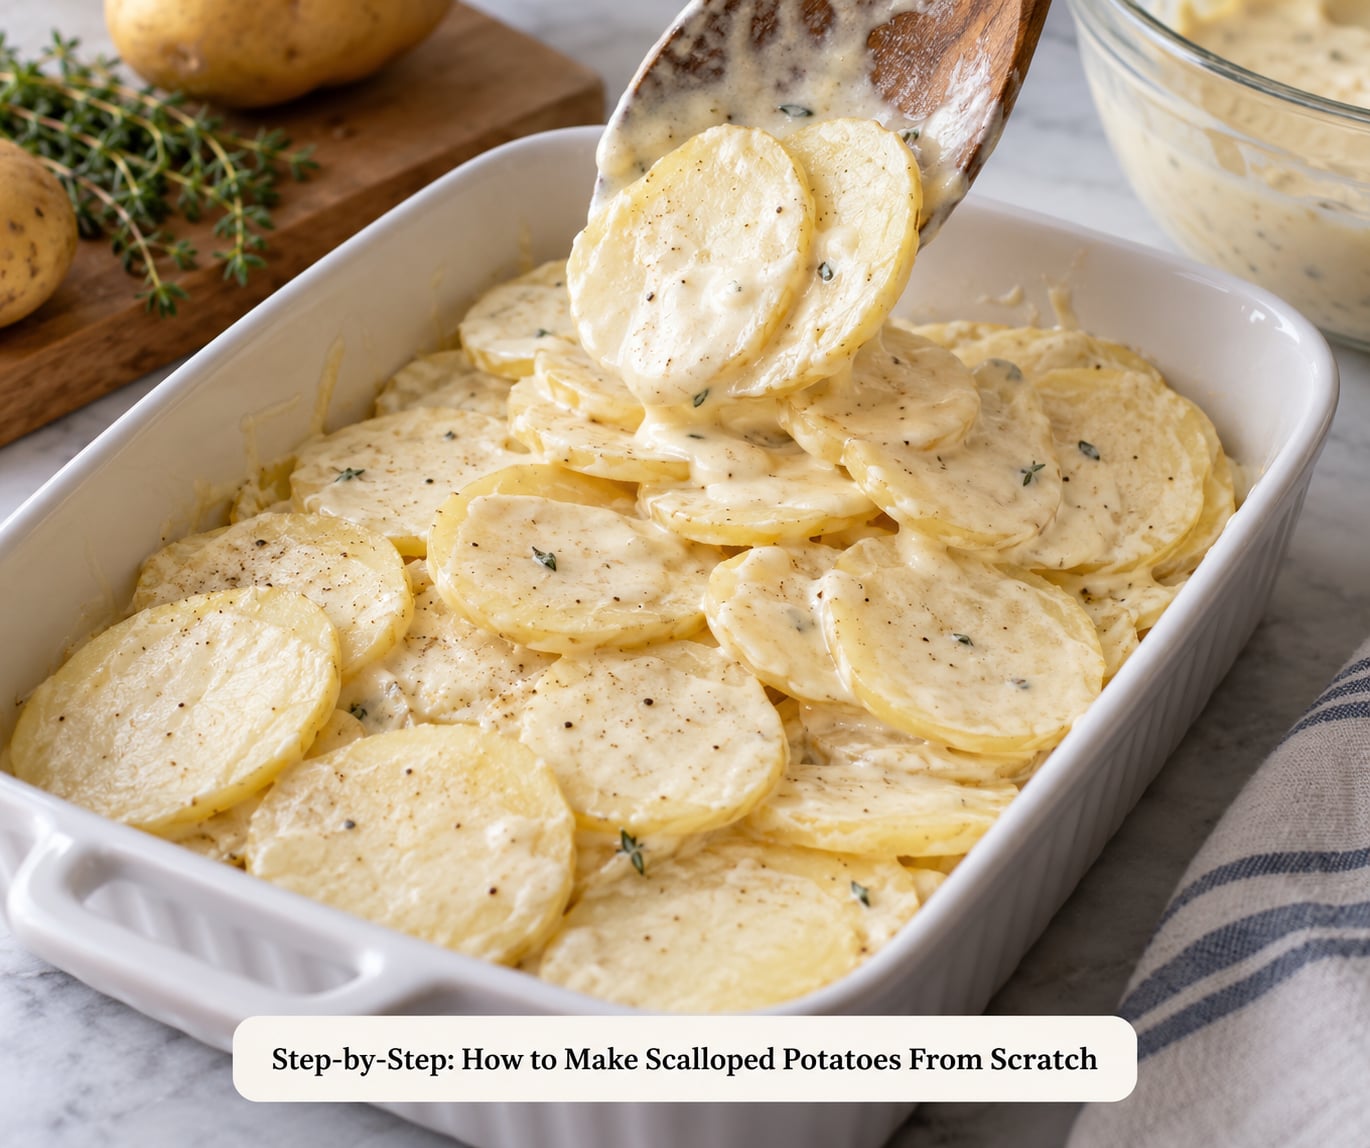
Spread about a third of the sauce across the bottom of the baking dish. Add a layer of potato slices, overlapping them by about a third, then spoon some sauce over the top so it reaches the edges. Repeat once more, and finish with a layer of potatoes, sauce, and a good handful of cheese.
Two or three potato layers works better than five. More layers means the middle never cooks through, and the sauce has further to travel to reach every slice. Press each layer down gently with the back of your spoon so the potatoes sit tight and there are no big air pockets.
Set the dish on a rimmed baking sheet before it goes in the oven. Sauce that bubbles over a deep casserole dish is a mess to scrape off later, and a sheet catches all of it.
Step 4: Cover and bake
Cover the dish tightly with foil and bake at 400°F for 35 minutes. The foil traps steam so the potatoes cook in a moist environment instead of drying out at the edges.
Pull off the foil, scatter the rest of the cheese over the top, and bake uncovered for another 25 to 30 minutes until the top is golden brown and the sauce bubbles slowly around the edges.
The doneness test is simple: slide a thin knife into the center. If it meets no resistance, the potatoes are done. If it stops halfway, give it another 10 minutes. Cutting a slice open should show sauce coating every layer with no raw, hard core.
Step 5: Rest before serving
Let the dish sit 15 to 20 minutes after it comes out. The sauce is still setting as it cools, and cutting too early gives you a runny, soupy serving. Fifteen minutes is enough for a side dish; an hour is fine if the table is late.
Common Mistakes and Tips
The sauce broke or curdled
Cheese is a protein, and proteins tighten and squeeze out fat when they get too hot. Add it off the heat or at the lowest heat you have, shred it finely so it disperses evenly, and stir constantly until the last shred disappears. Pulling the pan off the heat for a minute before adding cheese buys you plenty of margin.
The potatoes are still hard in the middle
Almost always slice thickness. Uneven slices mean the thick pieces are still raw while the thin ones fall apart. Check your mandoline’s thinnest setting, and push the potato with force rather than letting the blade do the work. Thicker slices also need more time, so if you insist on 1/4-inch slices, add about 15 minutes to the covered bake.
The dish is watery
Three causes, in order of likelihood. You did not drain the sliced potatoes, you did not cook the sauce long enough to thicken, or you covered the dish loosely enough that steam escaped and never softened the potatoes. Drain properly, simmer the sauce a full minute past the point it looks ready, and seal the foil.
The top browned before the center was tender
Cheese browns fast under direct heat while potatoes underneath still need 20 minutes. Cover with foil the moment the top gets darker than you want, or move the dish to the lowest rack for the last stretch.
The finished dish is gluey
Gluey texture is usually starch, not undercooking. Rinse the slices in cold water after cutting, and if you are using russets, do not skip it. It removes the surface starch that sets into a paste-like film between layers. Also check that your flour got its full minute in the butter; uncooked flour starch behaves the same way.
The potatoes turned grey while you prepped everything else
Keep sliced potatoes submerged in cold water with a little acid. If you have drained them already and they have gone grey, that affects looks more than flavor, and the dish will still taste fine. Slice last if your kitchen is warm.
Tips worth remembering
- Make it two days ahead: slice and store the potatoes in water in the fridge, and make the sauce separately. Assemble and bake the next day.
- Make it one day ahead: assemble raw, cover tightly, refrigerate, and add 10 minutes to the covered bake since it starts cold.
- Freeze it unbaked in a foil pan, laid flat in the freezer. Thaw overnight in the fridge before baking.
- Swap in a cast iron skillet for crispier edges, or a slow cooker on high for 4 to 5 hours for the same layers.
- Want more crunch? Broil the top for two minutes at the very end, watching it closely.
If you want the crisp-skinned potato side to go alongside it, our how to make crispy roasted potatoes uses the oven for a completely different texture. For the other end of the spectrum, restaurant style mashed potatoes at home comes together in about 20 minutes with no baking at all.
Frequently Asked Questions
Should you cook potatoes before making scalloped potatoes?
No. Raw slices cook fine during the covered bake, and par-boiling them makes them fall apart while you layer the dish. Slice raw, rinse in cold water to wash off surface starch, and give the covered stage a full 35 minutes at 400°F. If you use thicker 1/4-inch slices, add about 15 extra minutes to the covered stage instead of boiling them first.
What type of potatoes are best for scalloped potatoes?
Russets give the creamiest result because their high starch content thickens the sauce as it bakes. Yukon Golds are easier to handle, hold their shape better, and taste buttery. Both work. Peel the russets for a smooth, restaurant-style texture; leave the skin on Yukon Golds if you want a more rustic dish with added fiber.
What is the secret to making scalloped potatoes?
Cook your roux for a full 60 to 90 seconds before adding liquid, slice the potatoes to a consistent 1/8 inch, and press each layer down tight so there are no air pockets. Those three things fix the most common problems: raw flour taste, gummy texture, and uneven cooking. A final 15-minute rest before serving lets the sauce finish setting.
Can scalloped potatoes be made ahead of time?
Yes, and most holiday cooks do it two ways. Two days out, slice the potatoes and hold them in water in the fridge, then make the sauce separately. One day out, assemble the raw layers, cover tightly, and refrigerate. Bake from cold with about 10 minutes added to the covered stage. Keep the foil sealed so nothing dries out.
How long do scalloped potatoes keep, and can they be frozen?
Refrigerated leftovers keep about 4 days in a sealed container, and reheat at 350°F until the center is hot, roughly 20 to 25 minutes. They freeze well unbaked: assemble in a disposable foil pan, wrap tightly, and lay it flat in the freezer for up to 3 months. Thaw overnight in the refrigerator, never on the counter, and bake as usual.
Why did my cheese sauce curdle, and how do I fix it?
Cheese is a protein, and it tightens and splits into oil and curds when it gets too hot or boils. Melt the cheese in a low-temperature sauce off direct heat, add it in small handfuls, and stir constantly. If it has already broken, take the pan off the heat and whisk in a tablespoon of cold milk or a bit more starch slurry off the heat to bring it back together.
Conclusion
Slice the potatoes evenly and pack the dish tight. Those two decisions do most of the work: even slices cook at the same rate, and tight layers give the sauce less space to pool in. Start with the classic cheddar-and-cream version, slice at 1/8 inch, rinse, and let it rest before serving. Once you have that down, swapping Gruyère in or baking it in a cast iron skillet is a small change.
If you like planning ahead with potatoes, our guide to making potato salad ahead of time covers the same make-a-day logic for a cold dish.